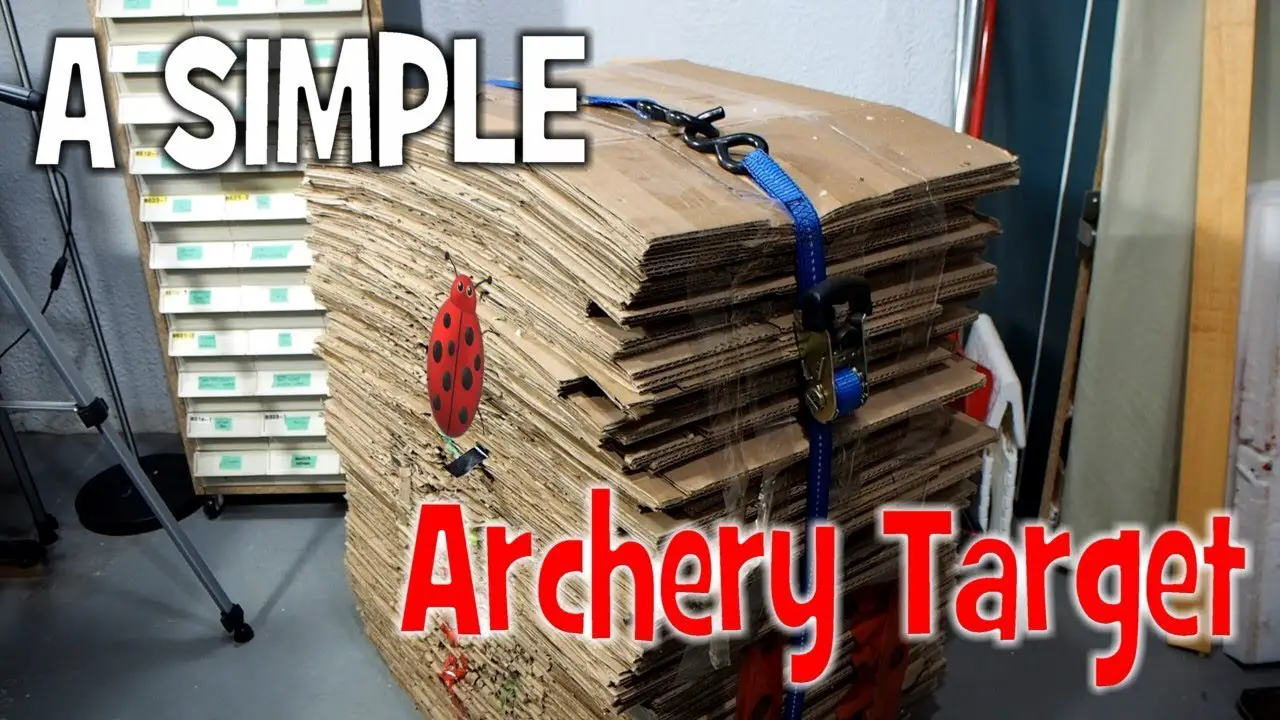
Diy Cardboard Archery Target
In the world of archery, the compound bow stands as a true testament to the fusion of tradition and innovation. This guide takes you on a journey through the intricate world of compound bows, exploring their mechanics and advantages. Unlike traditional bows, compound bows utilize a system of cables and pulleys that provide power and speed, allowing for greater accuracy and adjustability. Whether you’re a seasoned archer or just starting out, the compound bow offers a thrilling experience that respects the past while embracing the advancements of modern technology. And if you’re looking to practice your archery skills, we’ve got just the thing for you – a DIY cardboard archery target. Get ready to hit the bullseye and elevate your archery game.
DIY Cardboard Archery Target: A Cost-Effective Way to Hone Your Archery Skills
Are you an archery enthusiast looking for a cost-effective way to practice your skills at home? Look no further! In this comprehensive guide, we will walk you through the step-by-step process of creating your very own DIY cardboard archery target. With just a few materials and a little bit of creativity, you can build a durable and functional target that will help you improve your aim and precision. So let’s dive in and get started!

Materials Needed
Before we begin assembling our DIY cardboard archery target, let’s gather all the materials we will need for this project. Here’s a quick list:
- Cardboard sheets: These will form the main structure of your target.
- Cutting tool (e.g., utility knife): You’ll need this to cut out the cardboard sheets.
- Ruler: A ruler will help you measure and mark the desired size of your target.
- Marker or pen: This will be used for marking measurements and drawing the bullseye.
- Duct tape: This will help secure the cardboard sheets together.
- Scissors: You’ll need these to cut any additional shapes or details.
- Paint or markers (optional): If you want to add some color or decorate your target, paint or markers can be used.
- Stapler (optional): A stapler can be used to reinforce the edges of the target if desired.
Make sure you have all these materials on hand before proceeding to the next step.
Preparing the Cardboard
Now that you have gathered all the necessary materials, it’s time to prepare the cardboard for your archery target. Follow these steps:
-
Measure and mark the desired size of your target: Use a ruler to determine the dimensions you want for your target. Mark these measurements on the cardboard sheets, ensuring accuracy and precision.
-
Cut out the cardboard sheets according to your measurements: Take your cutting tool (e.g., utility knife) and carefully cut out the marked cardboard sheets. Take your time and follow the measurements closely to ensure that the sheets are the correct size and shape.
-
Optional: Paint or decorate the cardboard sheets: If you want to add some personality to your target, now is the time to get creative. You can use paint or markers to color the cardboard sheets or create unique designs. This is entirely optional but can make your target more visually appealing.
Once you have completed these steps, you will have your prepared cardboard sheets ready to be assembled into a target.

Assembling the Target
Now comes the fun part – assembling your DIY cardboard archery target! Follow these steps to put everything together:
-
Align the cut-out cardboard sheets to form the target face: Take the cardboard sheets you prepared in the previous step and align them side by side to create the face of the target. Make sure they are lined up evenly and there are no gaps between the sheets.
-
Secure the sheets together using duct tape: Once the sheets are aligned, use duct tape to secure them together. Place strips of duct tape along the seams where the sheets meet, both horizontally and vertically. This will provide stability and hold the target face in place.
-
Optional: Use a stapler to reinforce the edges: If you want to add extra reinforcement to the edges of the target, you can use a stapler. Simply staple along the outer edges of the target, ensuring that the staples are evenly spaced. This step is optional but can help make the target more durable.
By following these steps, you will have successfully assembled the main structure of your DIY cardboard archery target. Now it’s time to move on to creating the bullseye.
Creating the Bullseye
No archery target is complete without a bullseye! Follow these steps to create the bullseye on your DIY cardboard archery target:
-
Measure and mark the center of the target: Use a ruler to find the exact center of your target face. Mark this spot using a marker or pen. This will be the starting point for creating the bullseye.
-
Draw concentric circles around the center to create the bullseye: Starting from the marked center, use your ruler to draw concentric circles around it. Each circle should be evenly spaced and increase in diameter. You can choose how many circles you want to include in your bullseye, depending on the level of difficulty you desire.
-
Color or paint each circle with different colors: To make your bullseye visually appealing and easier to see, color or paint each circle with a different color. Starting from the center circle, work your way outwards, ensuring that each circle is a different shade or color. This will help you distinguish the scoring zones during your practice sessions.

Adding Target Details
If you want to take your DIY cardboard archery target to the next level, you can add some additional target details. Follow these steps to customize your target:
-
Optional: Draw or paint additional target details such as scoring zones or numbers: Using your marker or pen, you can draw additional target details on your cardboard sheets. This can include scoring zones with corresponding numbers or any other designs you prefer. This step is entirely optional but can add an extra element of challenge and accuracy to your archery practice.
-
Use a ruler or other tools to ensure accuracy: When adding target details, it’s important to maintain accuracy. Use a ruler or any other measuring tools to ensure that your markings are straight, evenly spaced, and aligned properly. This will make your target more professional-looking and enhance your shooting experience.
By completing these steps, you will have personalized your DIY cardboard archery target according to your preferences, making it more engaging and challenging.
Setting Up the Target
Now that you have your DIY cardboard archery target ready, it’s time to set it up for use. Follow these steps to ensure proper installation:
-
Find a suitable location for your archery target: Look for a safe and suitable location where you can set up your target. Ideally, this should be a spacious area with a comfortable shooting range. Make sure there are no obstructions or objects behind the target that could interfere with your shooting.
-
Secure the target to a sturdy backstop (e.g., wooden frame): To prevent the target from moving or falling, secure it to a sturdy backstop. This can be a wooden frame or any other stable structure that can support the weight of the target. Ensure that the target is tightly fastened to the backstop to minimize any possible movement.
-
Ensure the area behind the target is clear of obstructions: Safety should always be a top priority when using your DIY cardboard archery target. Before shooting, check that there are no people or objects behind the target that could be at risk of being hit by stray arrows. Clear the area and create a safe shooting zone to prevent any accidents or injuries.
By following these steps, you will have set up your DIY cardboard archery target in a safe and suitable location, ready for some archery practice.

Using the DIY Cardboard Archery Target
Now that you have your DIY cardboard archery target set up, it’s time to put your archery skills to the test! Follow these steps for a successful shooting session:
-
Stand at a safe distance from the target: Position yourself at a safe distance from the target, taking into consideration your skill level and the specific requirements of your bow and arrows. Ensure that you have enough room to draw back your bow and release your arrow without any obstructions.
-
Load your bow with appropriate arrows: Choose arrows that are suitable for your specific bow’s draw weight and length. Make sure they are in good condition with no signs of damage. Load your bow with a single arrow, ensuring it is securely nocked and ready to be released.
-
Aim and shoot at the target, focusing on the bullseye: Take aim at the target, focusing on the bullseye you created earlier. Steady your aim, take a deep breath, and release the arrow. Focus on your form, follow-through, and consistency with each shot to improve your accuracy and precision.
-
Retrieve your arrows and repeat as desired: After each shot, carefully retrieve your arrows from the target. Assess your results by observing where your arrows hit the target and adjust your aim or technique accordingly. Repeat the process, shooting multiple arrows, and continue to practice until you are satisfied with your performance.
Remember, practice makes perfect, and with regular use of your DIY cardboard archery target, you will see improvements in your skills and accuracy over time.
Target Maintenance
To ensure the longevity and functionality of your DIY cardboard archery target, it’s essential to perform regular maintenance. Follow these steps for target maintenance:
-
Regularly inspect the target for signs of damage or wear: Check your target regularly for any signs of damage or wear. Look for tears, punctures, or areas where the cardboard is weakening. Identifying and addressing these issues early on will help prevent further damage and extend the lifespan of your target.
-
Replace any damaged cardboard sheets or duct tape as needed: If you notice any damaged cardboard sheets or areas where the duct tape is no longer holding the target together, replace them promptly. This will ensure that your target remains strong and durable, providing a reliable surface for your archery practice.
-
Consider applying additional tape or reinforcement if the target becomes too weak: If you find that your target is becoming weak or easily penetrable, consider adding additional tape or reinforcement to strengthen it. This can involve applying more duct tape along the seams or using a stapler to secure loose areas. Reinforcing weak spots will help maintain the target’s integrity and maximize its lifespan.
By performing regular maintenance on your DIY cardboard archery target, you can ensure that it remains in optimal condition and continues to serve its purpose effectively.

Target Storage
If you need to store your DIY cardboard archery target for any reason, it’s important to do so correctly to preserve its condition. Follow these steps for target storage:
-
If the target needs to be stored, disassemble it carefully: If you need to disassemble your target for storage, start by carefully removing any staples or tape that is holding it together. Take the target apart, separating the cardboard sheets.
-
Store the cardboard sheets in a dry and safe location: Find a dry and safe location to store the cardboard sheets. This can be a closet, garage, or any other space where they will be protected from moisture and potential damage.
-
Reassemble the target when ready to use again: When you are ready to use the target again, reassemble it using the same steps outlined earlier. Ensure that all the pieces fit together tightly and securely before shooting.
By following these storage guidelines, you can maintain the quality and durability of your DIY cardboard archery target during periods of non-use.
Conclusion
Creating a DIY cardboard archery target is a cost-effective and accessible way to practice your archery skills from the comfort of your own home. By following the step-by-step instructions outlined in this guide, you can build a durable and functional target that will help you improve your aim, precision, and overall archery performance. Remember to prioritize safety, conduct regular maintenance, and practice consistently to ensure a long-lasting target that serves you well on your archery journey. So grab your materials, get creative, and start building your DIY cardboard archery target today! Happy shooting!