How To Install Whisker Biscuit
In the world of archery, the compound bow stands as a symbol of innovation and tradition merging together. This guide takes you on a journey through the intricacies of compound bows, explaining their mechanics, advantages, and why they have become the go-to choice for many archers. From the key components like limbs, cams, and strings, to the advantages of power, speed, accuracy, and adjustability, you’ll gain valuable insights into choosing the right compound bow for your purpose. Plus, we’ll cover the importance of maintenance and safety when using this powerful tool. So whether you’re a seasoned archer or just starting out, get ready to embrace the thrill of the compound bow. And stay tuned for a surprise twist as we reveal how to install the enigmatic whisker biscuit, an essential accessory for any archery enthusiast.

What is a Whisker Biscuit?
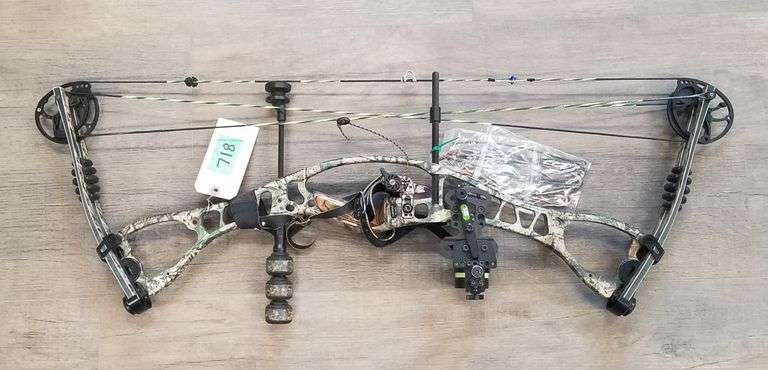
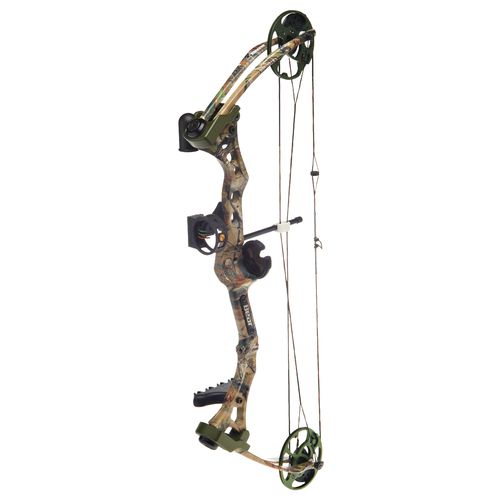
A Whisker Biscuit is an arrow rest designed for use with compound bows. It is a circular rest made up of bristles that create a nest-like structure to hold the arrow in place. The bristles securely cradle the arrow, preventing it from falling off the rest while drawing or shooting the bow. The Whisker Biscuit is a popular choice among archers due to its simplicity, durability, and reliability.
Step 1: Gather the Necessary Tools
Before installing a Whisker Biscuit, it’s essential to gather all the necessary tools. You will need the following items:
- Whisker Biscuit rest: This is the main component of the arrow rest system. It consists of a circular plate with flexible bristles.
- Allen wrench: This tool is used for tightening and loosening screws.
- Bowstring wax: Bowstring wax is applied to the bowstring to minimize friction and protect it from wear and tear.
Having these tools at hand will make the installation process smoother and more efficient.

Step 2: Prepare the Bow
Before installing the Whisker Biscuit, it’s important to prepare the bow for the installation process. Follow these steps:
- Remove any existing arrow rest: If your bow has a different arrow rest installed, carefully remove it according to the manufacturer’s instructions.
- Clean the bow riser with a damp cloth: Wipe down the area where the Whisker Biscuit will be mounted to ensure it’s free from any dirt, debris, or residue that could interfere with the installation process.
- Apply bowstring wax to the bowstring: Use bowstring wax to lubricate and protect the bowstring. Apply it evenly along the length of the bowstring, paying extra attention to the areas that come into contact with the arrow rest.
Preparing the bow will create a clean and optimal surface for the installation of the Whisker Biscuit.
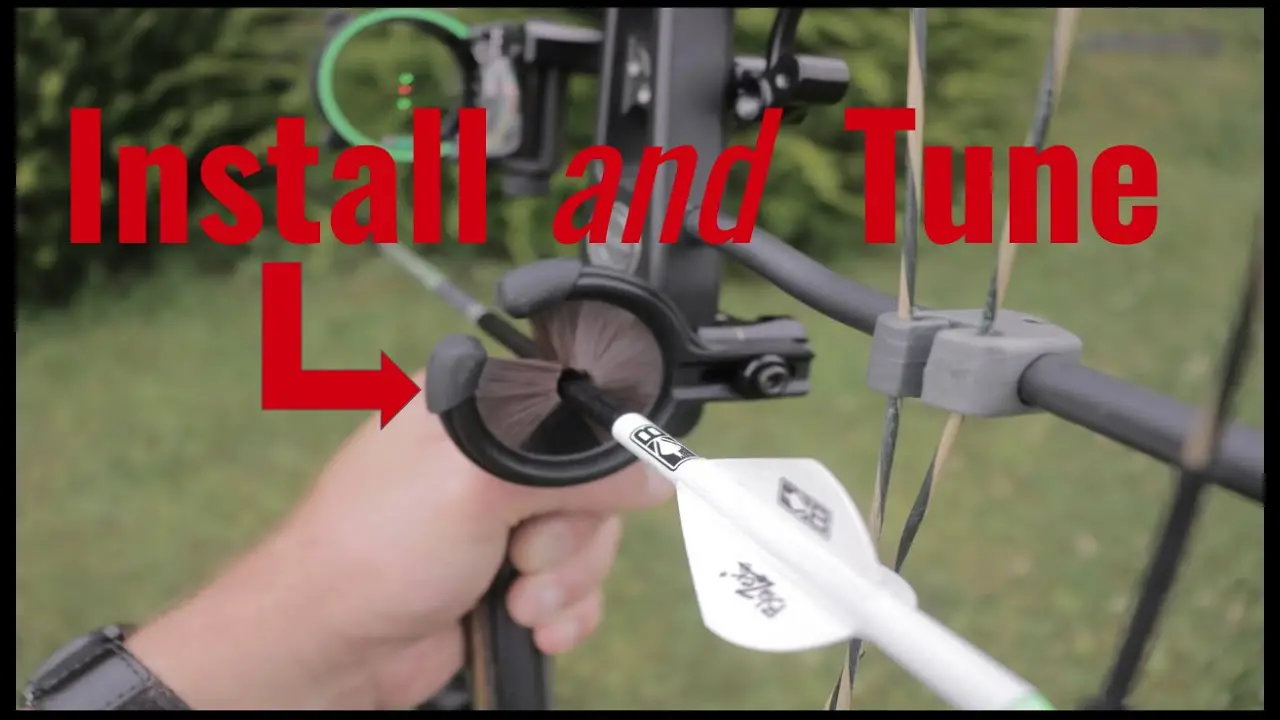
Step 3: Install the Whisker Biscuit
Now it’s time to install the Whisker Biscuit onto the bow. Follow these steps:
- Insert the Whisker Biscuit into the mounting hole on the riser: Line up the mounting hole on the Whisker Biscuit with the corresponding hole on the bow’s riser. Insert the Whisker Biscuit into the hole, ensuring a snug fit.
- Tighten the mounting screw with the Allen wrench: Once the Whisker Biscuit is inserted, use the Allen wrench to tighten the mounting screw. Apply enough pressure to securely attach the Whisker Biscuit to the bow, but be careful not to overtighten and damage the bow or the rest.
- Ensure the Whisker Biscuit is securely attached: Double-check the Whisker Biscuit to make sure it is firmly attached to the bow and doesn’t wiggle or move. A secure attachment is essential for proper arrow support and accurate shooting.
Properly installing the Whisker Biscuit onto the bow is crucial for its functionality and performance.

Step 4: Adjust the Whisker Biscuit
After installing the Whisker Biscuit, it’s important to adjust it to align with the center of the bow. Follow these steps:
- Use the Allen wrench to loosen the adjustment screws on the Whisker Biscuit: These screws allow for fine-tuning and adjusting the position of the Whisker Biscuit.
- Align the Whisker Biscuit’s bristles with the center of the bow: Carefully manipulate the Whisker Biscuit, so the bristles align with the centerline of the bow. This alignment ensures that the arrow is properly guided during the shot.
- Tighten the adjustment screws to secure the position: Once the Whisker Biscuit is aligned, use the Allen wrench to tighten the adjustment screws. This will lock the Whisker Biscuit into place and prevent it from moving during use.
Adjusting the Whisker Biscuit is essential for achieving consistent arrow flight and accuracy.
Step 5: Check Alignment
After adjusting the Whisker Biscuit, visually inspect its alignment to ensure it is properly positioned. Follow these steps:
- Visually inspect the alignment of the Whisker Biscuit: Stand back and look at the Whisker Biscuit from multiple angles to verify that it is centered on the bow and aligned with the arrow’s path.
- Ensure the bristles are centered and not touching the arrow shaft: The bristles should be evenly spaced around the arrow and should not make contact with the shaft. If any adjustments need to be made, go back to Step 4 and make the necessary changes.
Checking the alignment of the Whisker Biscuit will help ensure its proper function and prevent any interference with the arrow during the shot.

Step 6: Test the Whisker Biscuit
With the Whisker Biscuit installed and properly aligned, it’s time to test its performance. Follow these steps:
- Nock an arrow onto the bowstring: Place an arrow onto the bowstring, ensuring it is seated correctly and securely.
- Draw the bow and align the arrow with the Whisker Biscuit: Slowly draw the bow, keeping the bowstring aligned with the Whisker Biscuit. Pay attention to how the arrow rests on the bristles.
- Release the arrow and observe its flight path: Release the arrow and watch its trajectory closely. Note any unusual behavior or deviations from the desired flight path.
- Make any necessary adjustments to the Whisker Biscuit: If the arrow’s flight path is not satisfactory, go back to Step 4 and make further adjustments to the Whisker Biscuit’s position or alignment.
Testing the Whisker Biscuit will help ensure that it functions as intended and provides optimal arrow support during shooting.
Step 7: Fine-Tune the Whisker Biscuit
Once you have tested the Whisker Biscuit and made any necessary adjustments, it’s time to fine-tune its position for optimal performance. Follow these steps:
- Continue shooting arrows and making small adjustments as needed: Shoot multiple arrows using the Whisker Biscuit and pay attention to their flight and accuracy. Make small adjustments to the Whisker Biscuit’s position, if necessary, to achieve optimal results.
- Ensure consistent arrow flight and accuracy: The goal of fine-tuning the Whisker Biscuit is to achieve consistent arrow flight and accuracy. Continue making adjustments until you are satisfied with the performance.
Fine-tuning the Whisker Biscuit is a gradual process that requires patience and attention to detail. It may take several attempts to find the optimal position for your specific setup.

Step 8: Maintenance and Care
To ensure the longevity and functionality of the Whisker Biscuit, regular maintenance and care are necessary. Follow these steps:
- Regularly inspect the Whisker Biscuit for any signs of damage: Check the Whisker Biscuit for cracks, broken bristles, or any other signs of wear and tear. If any damage is detected, replace the Whisker Biscuit or the damaged parts.
- Clean the bristles with a brush to remove any debris: Over time, debris such as dirt, dust, or grass may accumulate in the bristles. Use a brush to gently clean the bristles, ensuring they are free from any obstructions that could affect arrow support.
- Apply bowstring wax to the bowstring regularly: Apply bowstring wax to the bowstring at regular intervals to maintain its condition and minimize friction. Follow the manufacturer’s instructions for applying the wax properly.
Proper maintenance and care will prolong the lifespan of the Whisker Biscuit and ensure its continued performance.
Step 10: Practice and Enjoy
With the Whisker Biscuit properly installed and adjusted, it’s time to practice your shooting skills and enjoy the benefits of a reliable and accurate arrow rest. Take the time to familiarize yourself with shooting using the Whisker Biscuit, and continue practicing to improve your archery skills.
The Whisker Biscuit offers excellent arrow support and consistency, allowing you to focus on other aspects of your shooting technique. Embrace the confidence that comes with knowing your arrow rest will securely hold your arrow, giving you the best chance for accurate and successful shots.
In conclusion, installing a Whisker Biscuit requires careful preparation, precise adjustments, and regular maintenance. By following the steps outlined in this guide, you can ensure that your Whisker Biscuit functions optimally, providing you with a reliable and accurate arrow rest. Happy shooting!