How To Sight In A Ravin Crossbow
Looking to sight in your Ravin crossbow? Look no further! This article provides you with a comprehensive guide on how to sight in your crossbow, ensuring accuracy and precision. From understanding the mechanics of compound bows to choosing the right components for your bow, this article covers it all. With its power, speed, and compact design, the Ravin crossbow is a formidable weapon in the archery world. So, let’s dive into the world of sighting in a Ravin crossbow and maximize your shooting capabilities.

Understanding the Ravin Crossbow
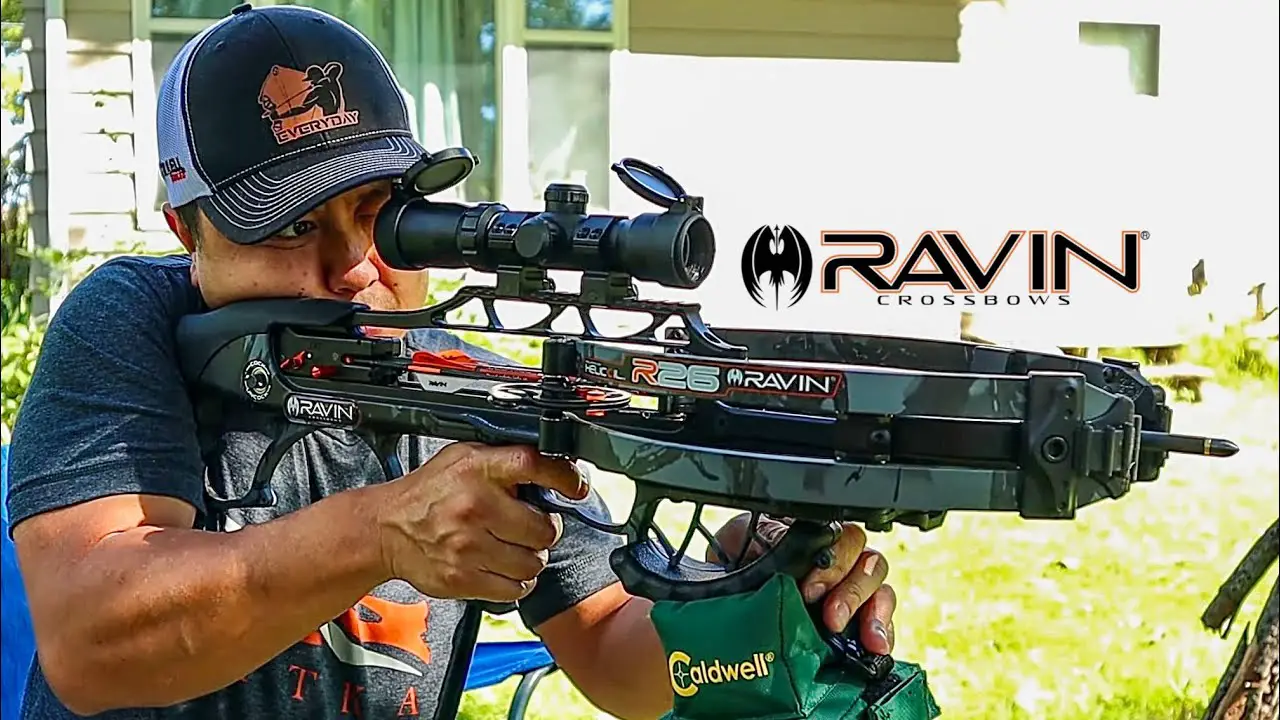
The Ravin Crossbow is a high-performance crossbow known for its precision, power, and innovative design. With its cutting-edge technology and attention to detail, the Ravin Crossbow has become a popular choice among archers of all levels. In this article, we will explore the features, advantages, and steps to properly sight in your Ravin Crossbow.
Features of the Ravin Crossbow
The Ravin Crossbow is packed with features that set it apart from other crossbows on the market. One notable feature is its HeliCoil Technology, which utilizes a unique cam system to rotate the cams 340 degrees, allowing for a compact design without sacrificing power or speed. This technology also reduces the string friction and eliminates the need for a traditional cable slide.
Another feature of the Ravin Crossbow is its Trac-Trigger Firing System, which ensures consistent and precise trigger pulls. This system eliminates friction and sliding rail designs, resulting in a smoother and more accurate shot. Additionally, the Frictionless Flight System reduces the contact between the arrow and the rail, minimizing the loss of speed and accuracy.
The Ravin Crossbow also boasts an ergonomic design with its Versa-Draw Cocking System, which requires only 12 pounds of force to cock the crossbow. This ease of use makes it accessible to a wider range of archers, including those with physical limitations. The compact size and balanced weight distribution further enhance the overall shooting experience.

Advantages of Using a Ravin Crossbow
There are several advantages to using a Ravin Crossbow. One of the main advantages is the exceptional accuracy it offers. The combination of the HeliCoil Technology, Frictionless Flight System, and Trac-Trigger Firing System ensures that each shot is precise and consistent. This accuracy makes the Ravin Crossbow a reliable choice for both hunting and target shooting.
The power and speed of the Ravin Crossbow are also major advantages. With its high poundage and efficient energy transfer, the Ravin Crossbow can propel arrows at tremendous speeds, resulting in increased kinetic energy and improved penetration. This makes it a formidable weapon for big game hunting.
Additionally, the compact design of the Ravin Crossbow provides maneuverability in tight spaces, such as hunting blinds or tree stands. The balanced weight distribution and ergonomic grip further enhance the user’s control and comfort, allowing for better shot placement and reduced fatigue during extended shooting sessions.
Preparing for Sighting In
Before sighting in your Ravin Crossbow, there are a few important steps you need to take to ensure accuracy and safety.
Choosing a Suitable Location
Selecting an appropriate shooting location is crucial. Find an area that provides a clear and safe shooting lane, preferably with a backstop or target designed to stop arrows. Ensure that there are no people, animals, or valuable property in the potential line of fire.
Gathering the Necessary Equipment
To properly sight in your Ravin Crossbow, you will need a few essential items. These include the crossbow, arrows, a target, a stable rest or shooting bench, a torque wrench (if necessary for any adjustments), and a chronograph to measure arrow speed if desired.
Inspecting the Crossbow for Any Defects
Before beginning the sighting-in process, carefully inspect your Ravin Crossbow for any defects or damage. Check the limbs, cables, strings, and other components for any signs of wear, fraying, or loose parts. Address any issues or concerns before proceeding.

Setting Up the Crossbow
Once you have chosen a suitable location, gathered your equipment, and ensured the crossbow is in good condition, it’s time to set up the Ravin Crossbow for sighting in.
Attaching the Scope
Most Ravin Crossbows come with a scope included. Follow the manufacturer’s instructions for attaching the scope securely to the crossbow. Ensure that the scope is aligned properly with the bow’s rail and level with the stock.
Adjusting the Crossbow’s Stock and Grip
Personal comfort and proper form are essential for accurate shooting. Adjust the stock and grip of your Ravin Crossbow to fit your body and shooting style. This adjustment may involve altering the length of pull or adjusting the cheek rest. Experiment with different settings until you find the most comfortable and consistent position.
Mounting the Crossbow on a Stable Rest
To eliminate unnecessary movement and ensure consistency during the sighting-in process, mount your Ravin Crossbow on a stable rest or shooting bench. This will provide a solid foundation and reduce the influence of any user-induced movements.
Adjusting the Scope
Now that your Ravin Crossbow is set up and ready for sighting in, it’s time to adjust the scope for optimal accuracy.
Understanding Scope Adjustments
Scopes typically have adjustment knobs for windage (horizontal adjustment) and elevation (vertical adjustment). Familiarize yourself with these adjustments and how they affect the point of impact on your target.
Determining the Ideal Distance to Begin Sighting In
It is recommended to start the sighting-in process at a relatively close distance, such as 20 yards. This allows for easier adjustments and a better understanding of the crossbow’s initial accuracy. As you become more proficient, you can gradually increase the distance.
Starting with Rough Adjustments
Begin by taking a few shots at the target and assessing where the arrows are hitting in relation to your intended point of aim. Make rough adjustments to the scope accordingly, using the windage and elevation knobs to move the point of impact closer to your desired target.
Fine-Tuning the Scope
As you make initial adjustments, continue shooting groups of arrows and analyzing their grouping pattern on the target. Make small, incremental adjustments to the scope to fine-tune the point of impact. This step may require patience and several repetitions to achieve the desired accuracy.

Sighting In Process
With the scope properly adjusted, you can now proceed to the actual sighting-in process. This involves refining your shooting technique, analyzing groupings, and making further adjustments as needed.
Establishing a Consistent Shooting Form
Consistency is key to achieving accuracy with a crossbow. Focus on maintaining a stable and repeatable shooting form. Pay attention to your grip, trigger pull, stance, and overall body alignment. Consistent form will minimize variations in shot placement and improve the reliability of the sighting-in process.
Making Initial Shots
Take a series of shots while aiming at the target’s designated aiming point. Pay close attention to where the arrows are hitting and note any consistent patterns. While it is normal to have some initial variations, look for consistency within those variations.
Analyzing Groupings
Evaluate the grouping pattern of your shots. Are they consistently clustered in a particular area, or are they scattered around the target? Analyzing groupings can provide insights into any adjustments needed for windage and elevation.
Adjusting for Windage
If your shots are consistently hitting to one side of the target, adjustments for windage are necessary. Refer to the scope’s windage adjustment knob and make small adjustments in the appropriate direction. Continue shooting groups of arrows and reassessing until the windage is corrected.
Adjusting for Elevation
If your shots consistently fall above or below the desired point of impact, adjustments for elevation are needed. Utilize the scope’s elevation adjustment knob to make incremental changes in the appropriate direction. Continue shooting groups and refining the adjustments until the elevation is properly aligned with your aiming point.
Continuing to Shoot and Adjust
The sighting-in process is iterative. It is essential to shoot multiple groups of arrows and analyze their patterns to ensure consistency and accuracy. Make any necessary adjustments to windage and elevation as you progress. Patience and persistence will lead to a well-sighted-in Ravin Crossbow.
Confirming Accuracy
Once you have achieved satisfactory groupings at your initial desired distance, it is crucial to confirm the accuracy of your Ravin Crossbow by shooting from various distances and assessing consistency.
Shooting from Various Distances
Gradually increase the shooting distance and repeat the sighting-in process outlined earlier. Start with small increments, such as 5 or 10 yards, and shoot groups of arrows at each distance. This will confirm the consistency of your Ravin Crossbow’s accuracy across different ranges.
Checking for Consistency
At each new distance, evaluate the grouping patterns and compare them to the previous distances. Consistency is key. If you notice any significant variations or inconsistencies, revisit the sighting-in process and make the necessary adjustments to the scope.
Revisiting and Fine-Tuning if Necessary
If the Ravin Crossbow’s accuracy is consistent across various distances, you can consider your sighting-in process complete. However, if you encounter any issues or inconsistencies, revisit the process, and fine-tune the scope accordingly. Regularly reviewing and adjusting the sighting-in ensures optimal accuracy and performance.

Maintaining and Caring for Your Ravin Crossbow
To ensure the longevity and functionality of your Ravin Crossbow, proper maintenance and care are essential. Regular inspections, cleaning, lubrication, and component replacement will keep your crossbow in excellent condition.
Inspecting the Crossbow Regularly
Inspect your Ravin Crossbow before and after each use. Examine the limbs, cables, strings, cams, and other components for any signs of wear, damage, or loose parts. Address any issues promptly to prevent further damage or potential safety hazards.
Cleaning and Lubricating the Crossbow
Maintain a clean and well-lubricated crossbow. Use a soft cloth to wipe away dirt, debris, and moisture from all surfaces. Apply lubricant to the necessary moving parts, such as the cams and trigger mechanism, following the manufacturer’s recommendations. Regular cleaning and lubrication prevent corrosion, ensure smooth operation, and extend the lifespan of your crossbow.
Replacing Worn Components
Over time, certain components of your Ravin Crossbow may wear out or become damaged. Pay attention to the condition of the strings, cables, and other replaceable parts. Follow the manufacturer’s guidelines for replacement and consider professional servicing if needed. Regularly replacing worn components ensures consistent performance and minimizes the risk of malfunctions or accidents.
Ensuring Safety
Safety should always be a top priority when handling and shooting a Ravin Crossbow. Follow these guidelines to ensure safe and responsible use.
Following Proper Handling and Shooting Procedures
Familiarize yourself with the manufacturer’s instructions and guidelines for handling, cocking, loading, and shooting your Ravin Crossbow. Always follow these procedures carefully to minimize the risk of accidents and ensure safe operation.
Using the Correct Bolts and Broadheads
Use the appropriate bolts and broadheads recommended for your Ravin Crossbow. The proper selection ensures compatibility, optimal performance, and maintains the safety standards set by the manufacturer. Avoid using damaged or incorrect ammunition, as it can jeopardize both accuracy and safety.
Practicing Mindful Target Selection
Choose targets that are suitable for your Ravin Crossbow’s power and speed. Ensure your target is capable of stopping arrows safely without causing damage or ricochets. Be mindful of your shooting environment and consider the potential consequences of missed shots.
Troubleshooting and Common Issues
Despite its advanced design and quality construction, the Ravin Crossbow may encounter some common issues. Here are a few troubleshooting tips for addressing them.
Addressing Scope Misalignment
If you find that your scope is consistently off target, check for scope misalignment. Ensure that the scope is securely attached and properly aligned with the bow’s rail. Make any necessary adjustments to correct alignment and retest for accuracy.
Dealing with String Slippage
String slippage can occur if the Ravin Crossbow is not properly maintained or if the strings are worn. Regularly inspect the strings for signs of wear and replace them as needed. In some cases, using string wax or similar products can help reduce string slippage. If persistent string slippage issues occur, consult with a professional for further assistance.
Resolving Bolt Flight Inconsistencies
If you experience inconsistent arrow flight, it may be due to various factors, such as arrow selection, bow tuning, or shooting form. Verify that you are using the recommended arrows and broadheads for your Ravin Crossbow. Consider professional tuning or consult with an experienced archer to evaluate your shooting form and bow setup.
Conclusion
Sighting in a Ravin Crossbow is a process that requires patience, attention to detail, and a commitment to safety. By understanding the features and advantages of the Ravin Crossbow, preparing properly, following the necessary steps for sighting in, and maintaining the crossbow adequately, you can enjoy the exceptional performance and accuracy that this high-quality crossbow offers. Embrace the innovation and precision of the Ravin Crossbow, and elevate your archery experience to new heights.