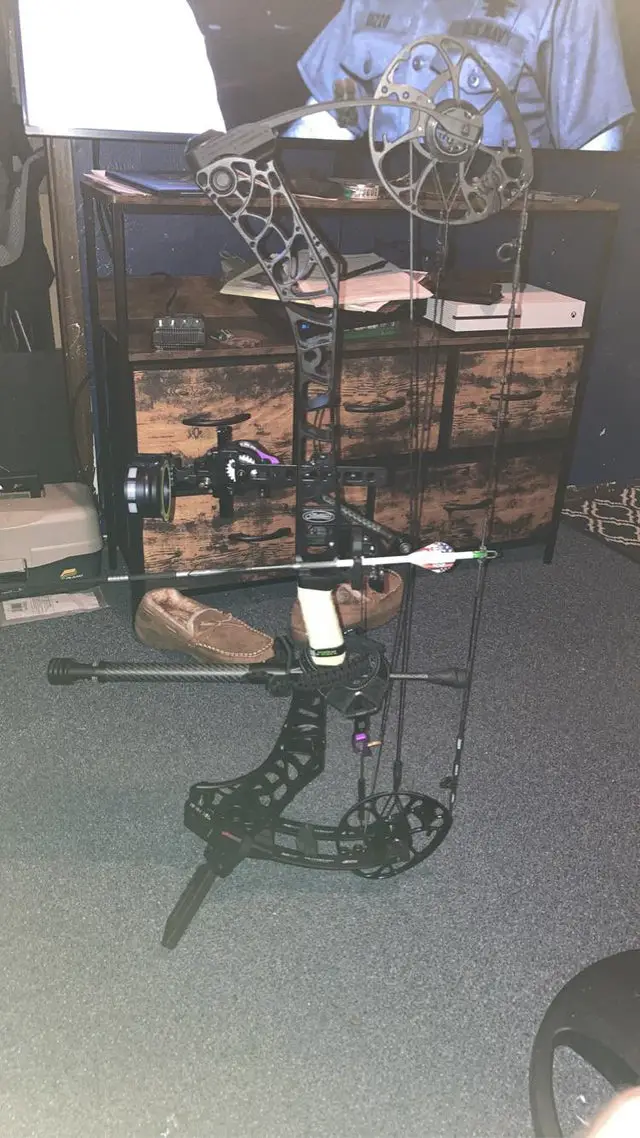

How to Remove Nocks from Arrows
To remove nocks from arrows, you will need a pair of pliers and some arrow removal wax. Begin by heating the arrow shaft with a heat source such as a hairdryer or small torch to soften the glue holding the nock in place. Once heated, use your pliers to carefully pull out the old nock while taking care not to damage the shaft of your arrow.
Once removed, apply some arrow removal wax on both sides of where the nock sat and wait for it to dry before applying new glue and inserting a new nock into your arrow. Be sure that when gluing in a new nock that you don’t over-apply glue so as not to weaken or distort the shape of your arrow’s shaft.
- Gather all the necessary tools: an arrow puller, a set of pliers, and a pair of needle-nose pliers
- Place the arrow puller on top of the nock where it’s attached to the shaft and press down firmly with both hands until you feel it lock into place
- Grasp both sides of the nock with your pliers and twist counterclockwise while pulling up slightly at the same time to loosen it from its attachment point on the arrow shaft
- Once loosened, use your needle-nose pliers to grip onto one side of the nock and gently pull upwards to slide it off completely from its original position on top of the arrow shaft
- Discard or store away any removed pieces for later use if desired; now that your arrows are free from their old nocks, they’re ready for new ones!
How To Remove and Replace Arrow Nock
Are Arrow Nocks Glued In?
Yes, arrow nocks are usually glued in. This helps to keep the arrow secure and prevent it from coming out of the bowstring. The most common type of glue used for this purpose is superglue, although some archers prefer to use a more specialized adhesive specifically designed for arrows.
Additionally, using an appropriate amount of glue is essential as too much can make it difficult to remove should you need to replace the nock in future or swap between different types of arrows with different sized nocks.
How Do You Remove a Broken Lighted Nock?
To remove a broken lighted nock, you will first need to gather the proper tools. You’ll need an arrow puller or vice grips of some kind, needle-nose pliers, and an Allen key (hex key). Begin by using the arrow puller or vice grips to grip the shaft of your arrow and gently twist it free from your bowstring.
Next, use the needle-nose pliers to grip onto the back end of the broken lighted nock. Gently wiggle it back and forth until it loosens from its mounting threads in the arrow shaft. Finally, use your Allen key to unscrew any remaining pieces that may still be attached inside of the arrow’s shaft before discarding them properly.
Can You Replace Nocks?
Yes, nocks can be replaced. Nock replacement is a relatively simple process and only requires a few basic tools such as an arrow puller and some pliers. Depending on the type of nock you have, you may need to purchase a new one or find a compatible replacement.
Once you’ve selected your new nock, simply use the pliers to remove any remnants of old glue or material from the shaft before installing your new nock. Be sure to apply plenty of pressure on both sides when securing it in place so that it won’t come off while shooting!
How Do You Remove a Broken Nock from a Wooden Arrow?
Removing a broken nock from a wooden arrow can be difficult and time consuming, but it is not impossible. The first step is to use pliers or tweezers to grip the broken piece of the nock and gently pull it out with steady pressure. If that doesn’t work, you may need to create a small channel in the wood around where the nock was attached.
This can be done by using either an X-Acto knife or a rotary tool with a router bit attachment. Once you have created this channel, use some glue or epoxy before inserting a small dowel into the hole and then press firmly on both sides until it’s secure. Finally sand down any excess material from around your new nock so that it fits flush against your wooden arrow shaft.

Credit: www.amazon.ca
How to Remove Glued Nocks from Carbon Arrows
Removing glued nocks from carbon arrows can be a tricky task, but it is possible! The best way to do this is by using a heat source such as a hair dryer or lighter. Start by heating up the shaft, then carefully pry off the nock with needle nose pliers.
If necessary, you may also need to use some adhesive remover or acetone for tougher glue residue. Once the nock has been removed and any residual glue washed away, your arrow should be ready to use again!
How to Remove Easton Arrow Nocks
Removing an Easton arrow nock is a simple process that can be done with just a few basic tools. First, use a pair of pliers to hold the nock firmly in place while you unscrew it from the shaft of the arrow using either an allen wrench or screwdriver. Once completely removed, clean off any excess glue residue and apply new glue before putting your new nock into place.
Finally, make sure to tighten up the screws on both sides of your new nock to ensure it won’t come loose during shooting!
Arrow Nock Removal Tool
The Arrow Nock Removal Tool is an invaluable tool for any archer. The tool allows you to easily and quickly remove the nocks from arrows, so that you can replace them with new ones or adjust the length of your arrows. With a simple twist, this tool will help you make adjustments to your equipment without damaging the shaft of your arrow.
It is especially helpful if you have arrows with deeper grooves in the nock area that are difficult to reach with other tools.
Conclusion
Removing nocks from arrows is a relatively simple process, but it must be done carefully to avoid damaging both the arrow and the nock. Utilizing an archery clamp can make this process easier by securely holding the arrow in place so that you don’t damage your hands or equipment. Once you have removed the broken nock, use sandpaper or other methods to ensure that all rough edges are smoothed out before attaching a new one.
With these steps in mind, removing nocks from arrows should become less of a chore and more of an opportunity to customize your gear.