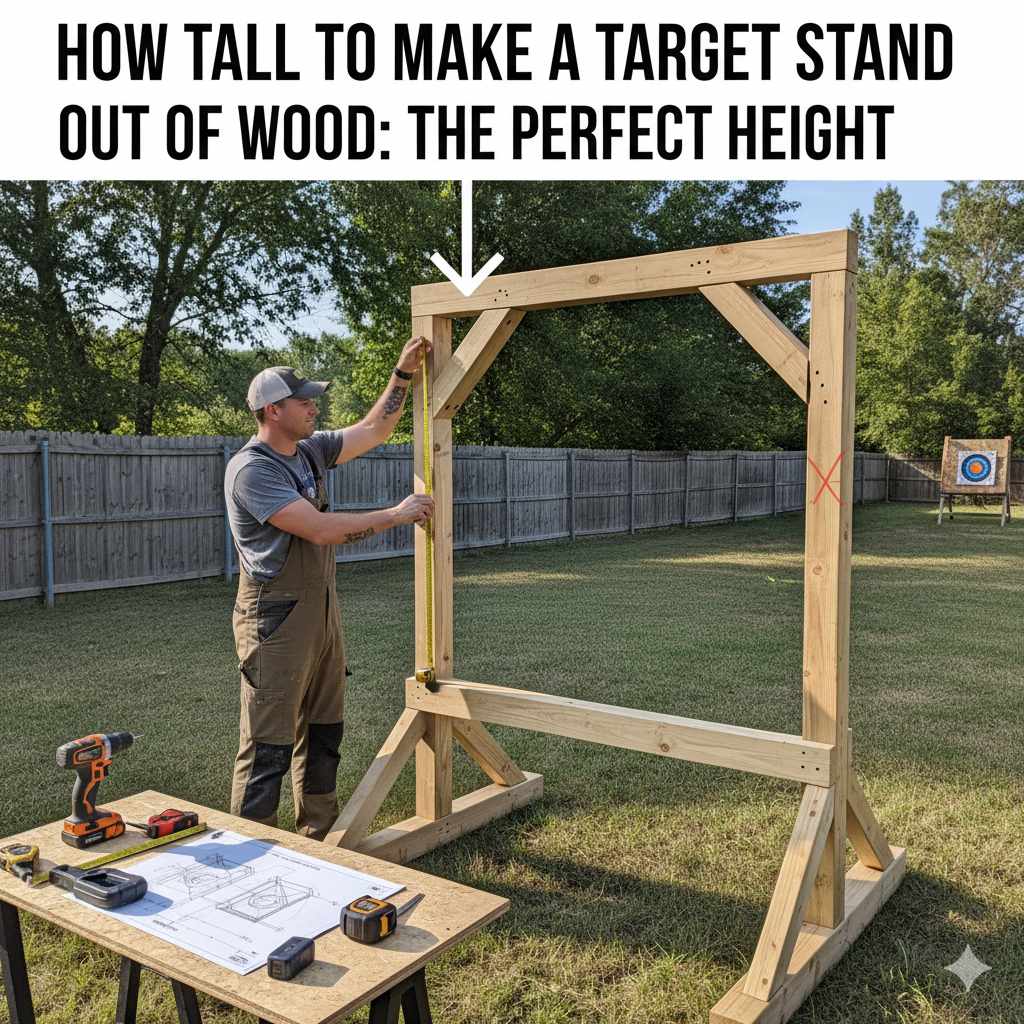
For most archers, the ideal height for a wooden target stand places the center of the target (the bullseye) at shoulder level. This is typically between 48 to 60 inches (122 to 152 cm) from the ground. This height promotes proper shooting form, ensures safety, and mimics competition standards for effective practice.
Have you ever set up your target, taken a few shots, and felt like something was just… off? Maybe you felt like you were aiming awkwardly high, or crunched down too low. You’re not alone! The height of your target stand is one of those small details that makes a huge difference in your accuracy, comfort, and safety. Getting it wrong can build bad habits without you even realizing it.
But don’t worry, finding the perfect height is much easier than you think. It’s not about a magic number, but about finding the right height for you. This guide will walk you through everything you need to know to build a wooden target stand that feels just right. We’ll find your personal “sweet spot” and give you the confidence that your gear is helping, not hurting, your progress.
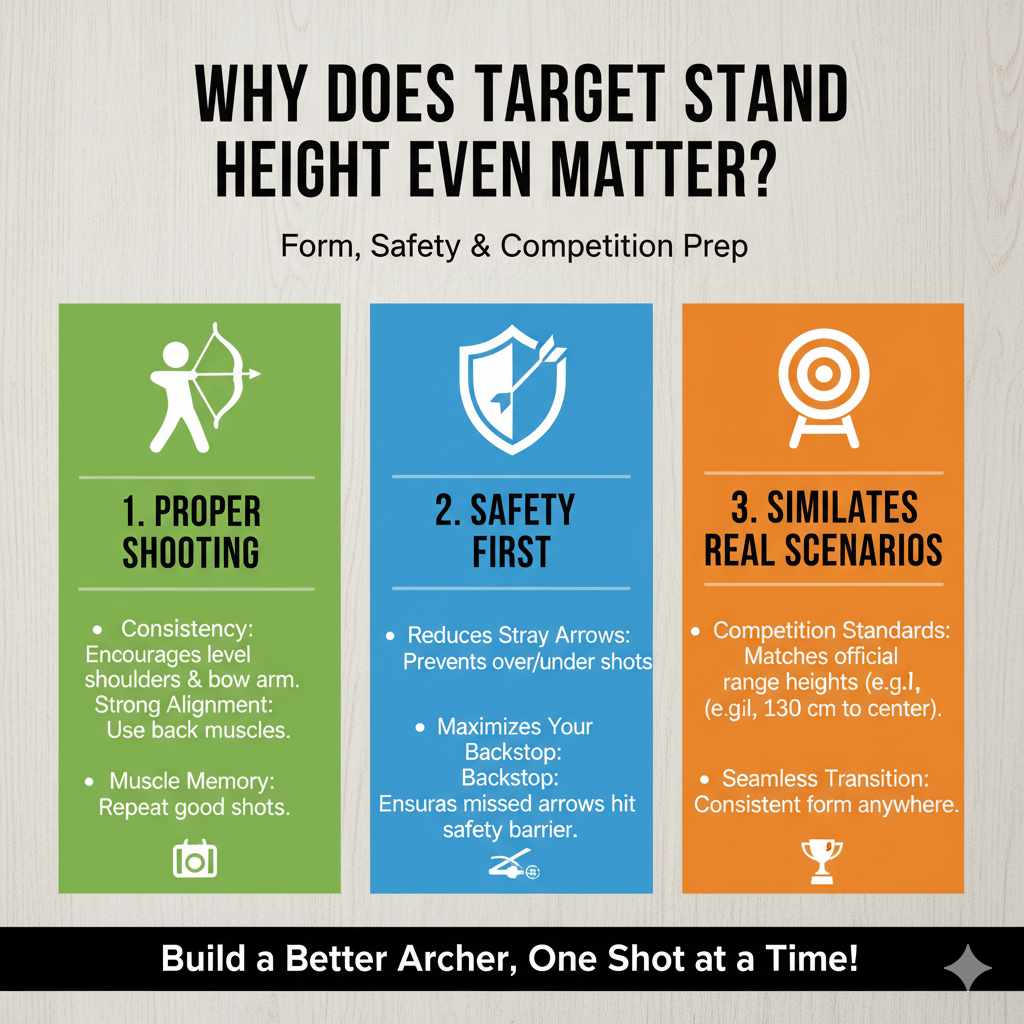
Why Does Target Stand Height Even Matter?
You might think that as long as the target is in front of you, you’re good to go. But the height of that target plays a critical role in your development as an archer. Getting it right helps with three key things: your form, your safety, and your preparation for more formal shooting.
1. It Builds Proper Shooting Form
Archery is all about consistency. Your body needs to learn the same exact motion over and over again. When your target is at the right height—right around shoulder level—it encourages the correct posture.
- Level Shoulders: A shoulder-height target helps you keep your bow arm parallel to the ground. This prevents you from raising your shoulder, a common mistake that causes fatigue and inconsistent shots.
- Strong Alignment: It helps you align your shoulders, drawing arm, and bow arm in a straight line, allowing you to use your strong back muscles instead of just your arms.
- Muscle Memory: By practicing at the same optimal height every time, you build reliable muscle memory. Your body learns what a good shot feels like, making it easier to repeat.
2. It Puts Safety First
Safety is the most important rule in archery. An improperly positioned target can create unnecessary risks. A well-placed target ensures your arrows fly in a predictable and safe path.
- Reduces Stray Arrows: If a target is too low, you risk sending an arrow over the top into an unsafe area. If it’s too high, a missed shot could ricochet off the ground in an unpredictable direction.
- Maximizes Your Backstop: Every archer needs a safe backstop (like a large hill or a purpose-built wall). A correctly-heighted target ensures that any missed arrows will fly straight into the backstop, not over or under it.
3. It Simulates Real Shooting Scenarios
If you ever plan to shoot in a competition or at an official archery range, you’ll find that their targets are set to a standard height. Practicing with a similar setup at home prepares you for success elsewhere.
- Competition Standards: Organizations like World Archery have specific rules for target height, usually placing the center of the target 130 cm (about 51 inches) from the ground.
- Seamless Transition: By practicing at a standard height, you won’t have to make major adjustments when you shoot at a club or event. Your form will feel natural and consistent, no matter where you are.
The “Goldilocks Zone”: Finding the Ideal Target Height
So, what is the perfect height? The simple answer is: the center of the target should be level with your shoulder. This is the “Goldilocks Zone” that feels just right. For most adults, this places the bullseye somewhere between 48 inches (4 feet) and 60 inches (5 feet) off the ground.
This shoulder-height rule is the foundation of good archery posture. When you raise your bow, your front shoulder should stay low and relaxed. Your arm should extend straight out towards the target. A shoulder-height bullseye makes this natural alignment easy. It encourages you to draw the bowstring back in a straight line, engaging your back muscles for a powerful and stable shot.
| Archer Type | Recommended Bullseye Height | Why It Works |
|---|---|---|
| Youth / Shorter Archer | 40 – 48 inches (100 – 122 cm) | Matches their lower shoulder height, preventing them from having to aim up uncomfortably and building good form early. |
| Average Adult Archer | 48 – 55 inches (122 – 140 cm) | This is the sweet spot that aligns with the shoulder height of most adults, promoting a level, stable shot. |
| Tall Adult Archer | 55 – 60 inches (140 – 152 cm) | Accommodates a higher shoulder line, ensuring the archer isn’t forced to aim downward, which can alter form. |
| Competition Standard | ~51 inches (130 cm) | Practicing at this height prepares you for official events and ensures your form is consistent with tournament regulations. |
Factors That Change the “Perfect” Height
While “shoulder height” is a fantastic rule of thumb, a few factors can influence your personal perfect height. Think of these as small adjustments to get everything dialed in just for you.
Your Height and Draw Length
This is the biggest factor. A taller person will naturally have a higher shoulder than a shorter person. The goal isn’t to match a specific number, but to match your own body’s geometry.
Here’s a simple way to find your personal number:
- Stand up straight in the shoes you normally wear for shooting.
- Relax your shoulders and let your arms hang naturally at your sides.
- Have a friend use a tape measure to measure the distance from the ground to the center of your shoulder.
That number is your personal bullseye height. It’s the perfect starting point for your target stand design.
The Type of Bow You Use
While the shoulder-height rule works for all bow types, the way you aim can feel slightly different.
- Recurve and Longbow Shooters: These archers often shoot “instinctively” or use the arrow’s tip to aim. A target that is perfectly level with the eye line (which is close to shoulder height) makes for a very natural and repeatable sight picture.
- Compound Bow Shooters: Archers using a compound bow have sights and a peep to help them aim. While these tools make aiming easier at various heights, setting your target at shoulder level creates the most neutral and comfortable body position, which is the best foundation for accuracy.
Your Primary Shooting Distance
Gravity affects your arrow, and the farther you shoot, the more the arrow will drop. You’ll need to aim higher to compensate for this drop.
- Short Distances (10-20 yards): At these ranges, your arrow flies almost perfectly flat. A shoulder-height target is ideal because your aim point and the bullseye will be very close together.
- Long Distances (30+ yards): When shooting farther, you’ll naturally have to aim above the target. Some archers prefer a slightly lower target (closer to chest height) for long-distance practice because it can feel more comfortable than aiming high into the sky. However, for building foundational form, it’s best to keep your stand at a standard height and simply learn to adjust your aim.
Step-by-Step: How to Build Your Stand to the Perfect Height
Now for the fun part! Let’s translate this knowledge into a real-world plan for your wooden stand. It just takes three simple measurements and a little bit of math.
Step 1: Determine Your Ideal Bullseye Height
This is the number we found earlier. Stand straight and have a friend measure from the ground to the middle of your shoulder. For this example, let’s say your ideal bullseye height is 54 inches.
Step 2: Measure Your Target
Next, get the target you’ll be using (like a bag target or a foam block). Measure it from its bottom edge up to the very center of the bullseye. Let’s imagine this measurement is 16 inches.
Step 3: Do the Simple Math
Here is the simple formula to find out how high your stand needs to be:
(Your Bullseye Height) – (Target’s Center Height) = Height of the Stand’s Support Ledge
Using our example numbers:
54 inches – 16 inches = 38 inches
This is your magic number! It means the part of your wooden stand that the target actually sits on should be 38 inches from the ground. When you place your target on this support, the bullseye will be at a perfect 54 inches.
Step 4: Design Your Stand with This Height in Mind
With your key measurement (38 inches in our example), you can now build any style of stand. Focus on making the support ledge or platform hit that exact height. Here are a few popular, beginner-friendly designs:
- The H-Frame Stand: Very simple to build and uses minimal wood. It consists of two vertical legs connected by one or two horizontal supports. The target rests on the lower support.
- The A-Frame Stand: Extremely stable, especially on uneven ground. It’s built like a letter “A,” with a support beam in the middle for the target.
- The Easel Stand: This design has a pivoting back leg, making it easy to fold and store. It’s great for portability but may be slightly less stable than an A-Frame.
| Stand Part Calculation | Your Measurement | Example Calculation |
|---|---|---|
| 1. Ideal Bullseye Height (Ground to your shoulder) | ____ inches | 54 inches |
| 2. Target Center Height (Bottom of target to bullseye) | ____ inches | 16 inches |
| 3. Stand Support Height (Measurement 1 – Measurement 2) | ____ inches | 38 inches |
Essential Tools and Materials for Your Wooden Stand
Building a basic wooden target stand is a great beginner project. You don’t need a fancy workshop—just a few key tools and materials.
Materials List
- Wood: Standard 2×4 lumber is perfect. It’s strong, inexpensive, and easy to find. For an outdoor stand that will be exposed to rain, consider using pressure-treated 2x4s to prevent rot.
- Screws: 2.5-inch or 3-inch deck screws are your best choice. They are weather-resistant and hold strong. You can use bolts for extra strength at key pivot points if you like.
- Wood Glue (Optional): Applying a bit of waterproof wood glue to the joints before you screw them together will make your stand incredibly sturdy.
- Sandpaper (Optional): A quick sanding on the edges will prevent splinters.
Tools List
- Tape Measure: Absolutely essential for accurate cuts.
- Pencil: For marking your measurements.
- Saw: A simple hand saw will work just fine. If you have one, a circular saw or miter saw will make the cuts faster and straighter.
- Drill: A cordless drill is perfect for driving screws. Be sure to have the right size drill bit if you want to pre-drill your holes to prevent the wood from splitting.
- Safety Glasses: Non-negotiable. Always protect your eyes when cutting or drilling wood. The Occupational Safety and Health Administration (OSHA) highlights eye protection as a critical safety step for any project.
- Gloves: A good pair of work gloves will protect your hands from splinters.
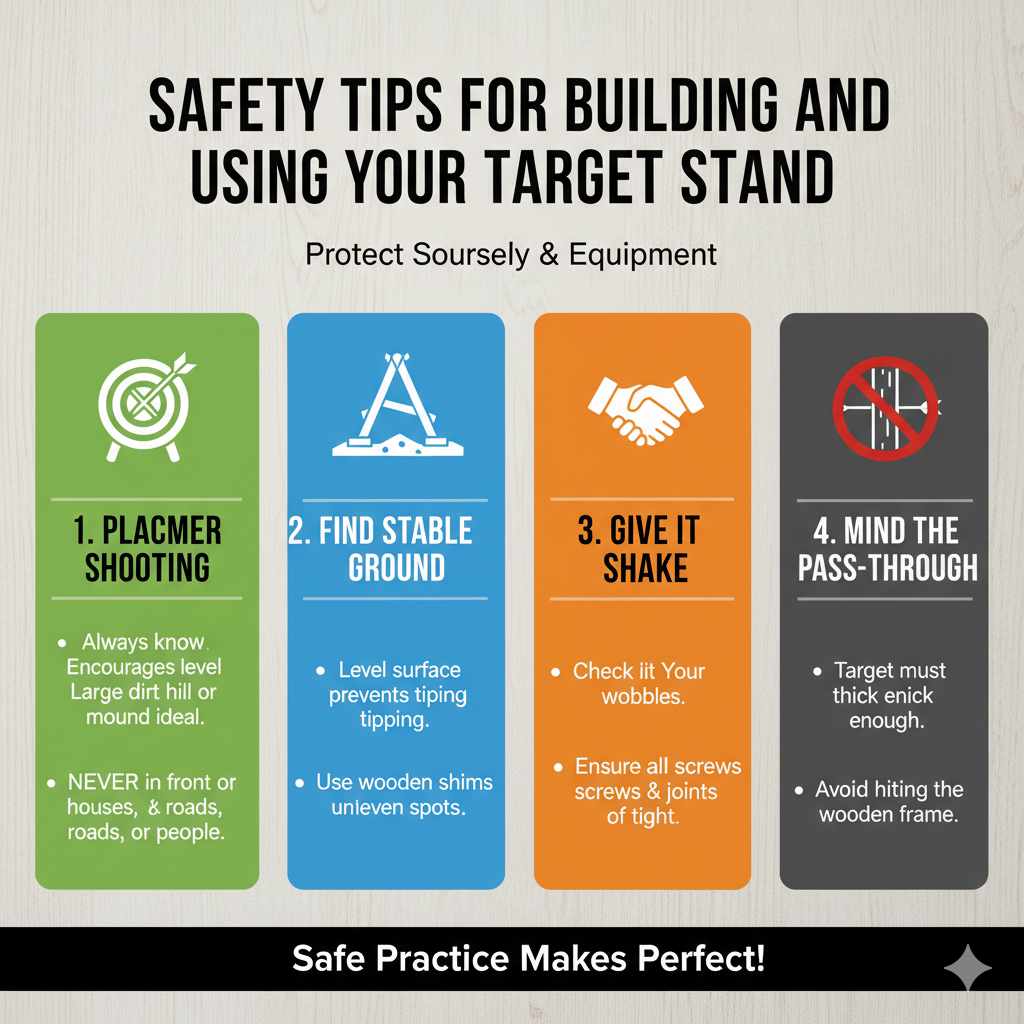
Safety Tips for Building and Using Your Target Stand
Your stand is built and your target is set. Before you nock your first arrow, let’s run through a quick safety check to ensure every shot is a safe one.
- Placement is Key: This is the most important rule. Always be 100% sure of what is behind your target. Never set up your target in front of houses, roads, or any area where people or animals might pass by. The best backstop is a large dirt hill or mound.
- Find Stable Ground: Set up your stand on the most level ground you can find. A wobbly stand can tip over, especially on a windy day. If the ground is uneven, you can use small wooden shims under the legs to make it stable.
- Give it a Shake: Before you start shooting, give your stand a good shake. Make sure all the screws are tight and the joints are solid. A sturdy stand is a safe stand.
- Mind the Arrow Pass-Through: Make sure your target is thick enough to stop your arrows completely. You don’t want an arrow passing through the target and striking the wooden frame of your stand, as this can damage both the arrow and the stand.
Frequently Asked Questions (FAQ)
What is the standard archery target height for competitions?
For most major archery competitions, like those governed by World Archery, the center of the target is set at 130 cm (approximately 51 inches) from the ground. Practicing at this height is great preparation for competitive events.
Does the target stand height need to be different for kids?
Yes, absolutely. The shoulder-height rule applies to everyone. For children, this will mean a much lower target stand. Measure to their shoulder and build a stand that places the bullseye at their level to help them build good, comfortable shooting habits from the start.
Can I make my wooden target stand adjustable?
You can! A simple way to do this is by drilling multiple holes in the vertical legs of your stand. You can then use bolts with wing nuts to attach the horizontal support ledge, allowing you to move it up or down as needed. This is great for a family with archers of different heights.
How wide should my target stand be?
The width of your stand should be slightly wider than your target to provide a stable base. A good rule of thumb is to make the base of the stand about 1.5 times the width of your target. For example, if you have a 24-inch wide target, a stand with a 36-inch wide base would be very stable.
What’s the best type of wood for an outdoor target stand?
Pressure-treated pine is the best choice for a stand that will live outdoors. It’s treated to resist rot, decay, and insects. Cedar or redwood are also naturally weather-resistant options, though they tend to be more expensive.
Is it okay if my target is slightly higher or lower than my shoulder?
Yes, a few inches won’t hurt, especially as you become more experienced. The shoulder-height rule is the ideal starting point for building good form. Once your form is solid, you’ll be able to adapt to different target heights, like those found on a 3D archery course.
How do I stop my target stand from tipping over in the wind?
To prevent tipping, you can widen the base of the stand (an A-frame design is excellent for this). You can also place sandbags or heavy rocks on the bottom legs of the stand to weigh it down on windy days.
Conclusion: Your Perfect Shot Starts with the Right Setup
Building a wooden target stand is more than just a fun weekend project. It’s about taking control of your practice and creating the perfect environment to grow as an archer. By understanding why height matters and following the simple steps to customize your stand, you are setting yourself up for success.
Remember the simple rule: bullseye at shoulder height. This small detail will help you build consistent form, ensure every practice session is safe, and give you the confidence that your equipment is perfectly tailored to you. Now you have all the knowledge you need. Measure twice, cut once, and get ready to watch your arrow groups get tighter than ever before. Happy shooting!