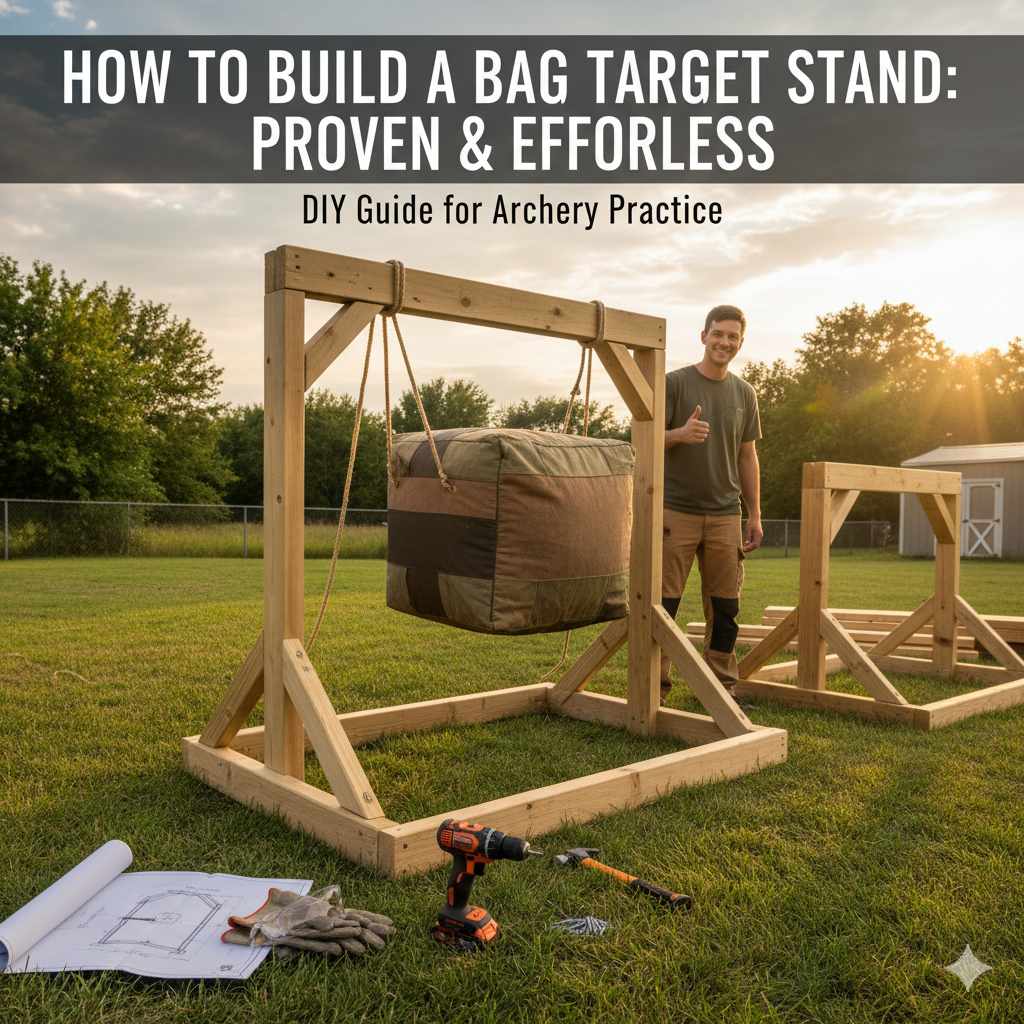
To build a bag target stand, construct a simple, sturdy frame using 2×4 lumber or PVC pipes. Cut your pieces to size, assemble the base and upright supports with screws or fittings, and add a top crossbar. Finally, attach heavy-duty hooks or chains to hang your bag target securely at the proper height for safe and consistent archery practice.
Hey there, fellow archer! I’m Salman Arfeen, and I’m so glad you’re here. If you’ve just gotten a new bag target, you’ve probably discovered the first big challenge: where do you put it? Leaning it against a tree isn’t safe, and propping it on a chair is just asking for trouble. A wobbly target can ruin your practice and, more importantly, be a serious safety risk.
Don’t worry, this is a problem every archer faces, and the solution is easier than you think. You don’t need to be a master carpenter to build a solid, reliable stand. I’m going to walk you through a simple, proven, and effortless plan to build your very own bag target stand. We’ll get it done together, step by step. Let’s build something that makes your practice safer, more effective, and a lot more fun!
Why Bother Building Your Own Target Stand?
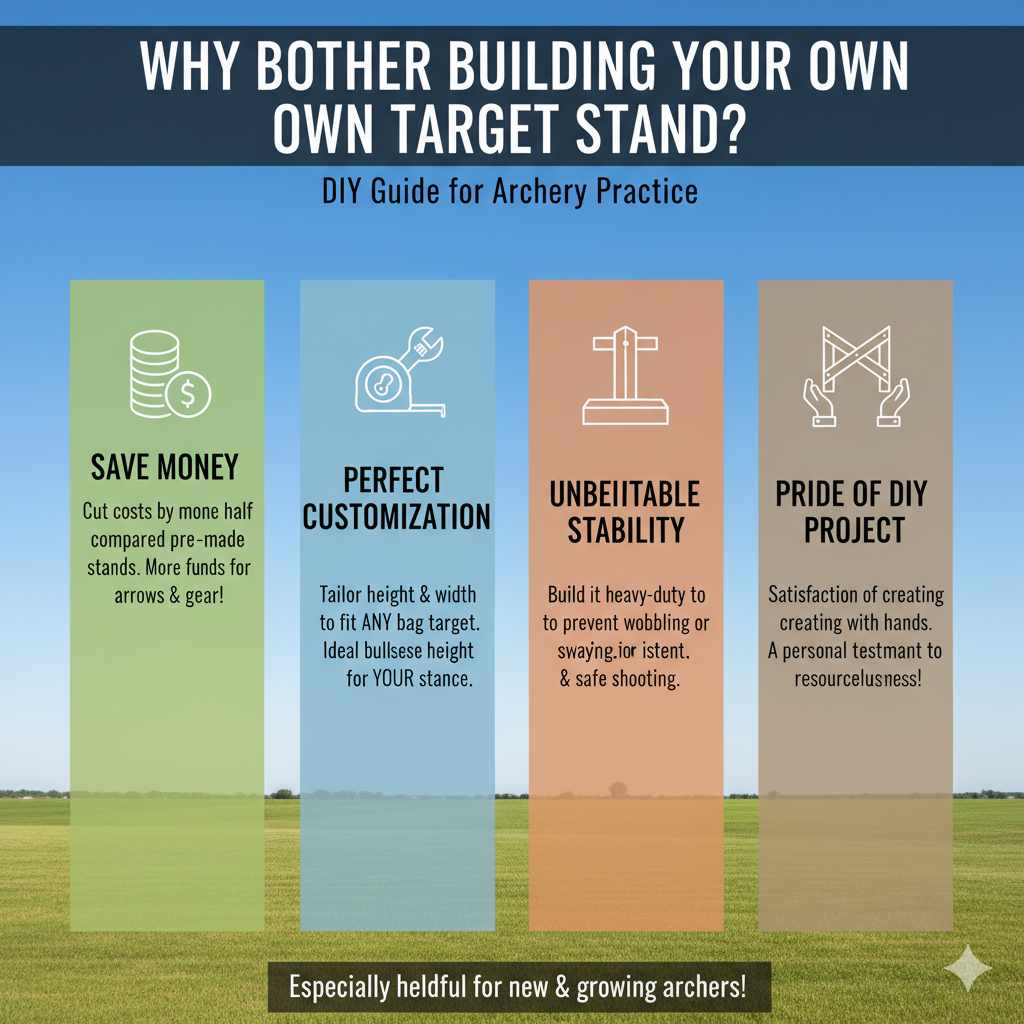
You might see pre-made stands for sale and wonder, “Why go through the trouble of building one?” That’s a fair question! While buying one is an option, building your own comes with some fantastic benefits that are especially helpful for new and growing archers.
- Save Money: Let’s be honest, archery gear can add up. Pre-made stands can be surprisingly expensive. Building your own from common materials like wood or PVC can cut the cost by more than half, leaving more money in your pocket for arrows or other fun accessories.
- Perfect Customization: Bag targets come in all shapes and sizes. When you build your own stand, you aren’t stuck with a one-size-fits-all solution. You can customize the height and width to perfectly fit your specific target, ensuring it hangs just right. This means the bullseye is at the ideal height for your shooting stance.
- Unbeatable Stability: Many commercial stands are designed to be lightweight and portable, which can sometimes mean they are flimsy. By building your own, you can make it as heavy-duty and stable as you need. A rock-solid stand won’t sway in the wind or wobble when your arrow hits, giving you a more consistent and safe shooting experience.
- The Pride of a DIY Project: There’s a special kind of satisfaction that comes from building something with your own two hands. Every time you step up to shoot, you’ll see the stand you created. It becomes part of your archery journey and a testament to your resourcefulness.
Choosing Your Material: Wood vs. PVC
The two most popular materials for a DIY target stand are standard lumber (like 2x4s) and PVC pipe. Both are great options, but they have different strengths. Think about your budget, the tools you have, and where you’ll be using the stand to decide which is right for you.
The Classic Wood Stand
Wood is the traditional choice for a reason. It’s strong, sturdy, and relatively inexpensive. A stand made from 2x4s will easily hold the heaviest bag targets and can withstand years of use, even if left outdoors (especially if you use pressure-treated lumber). It feels substantial and provides a very stable base for your practice sessions.
The Lightweight PVC Stand
PVC pipe is a fantastic modern alternative. It’s incredibly lightweight, making it easy to move around your yard or transport to a different location. Assembly is a breeze—it’s like building with adult-sized LEGOs! You cut the pipes to length and connect them with fittings, often without needing any glue for a portable design. It won’t rot or be damaged by weather, which is a huge plus.
Here’s a quick comparison to help you choose:
| Feature | Wood (2x4s) | PVC Pipe |
|---|---|---|
| Cost | Low to Moderate | Low to Moderate |
| Durability | Very High (can last for decades) | High (weatherproof, won’t rot) |
| Weight | Heavy and very stable | Lightweight and highly portable |
| Ease of Assembly | Easy (requires cutting and screwing) | Very Easy (requires cutting and fitting) |
| Tools Needed | Saw, drill, measuring tape | PVC cutter or saw, measuring tape |
| Best For | A permanent or semi-permanent setup in a backyard where stability is key. | Archers who need a portable stand they can easily move or take with them. |
For this guide, we’re going to focus on building a simple and incredibly sturdy wood stand using 2x4s, as it’s a fantastic first project that guarantees a rock-solid result.
Your Blueprint: Tools and Materials for a Wood Stand
Before we start cutting, let’s make sure we have everything we need. A trip to the hardware store should cover it all. This plan is designed for a standard bag target around 28-30 inches wide and tall, but you can easily adjust the measurements to fit your specific target.
Tools List:
- Safety Glasses: Non-negotiable! Always protect your eyes when cutting or drilling.
- Tape Measure: For accurate cuts. Remember the old rule: measure twice, cut once!
- Pencil: For marking your cuts.
- Power Drill: With a Phillips head bit for driving screws.
- Saw: A miter saw is fastest, but a circular saw or even a simple hand saw will work just fine.
- Drill Bit: Slightly smaller than the diameter of your screws, for drilling pilot holes. This prevents the wood from splitting.
Materials List:
- Lumber: Four (4) 8-foot-long 2×4 boards. Standard, untreated lumber is fine for a stand kept in a garage or shed. If you plan to leave it outside, consider pressure-treated wood.
- Wood Screws: A box of 2.5-inch or 3-inch exterior-grade wood screws. These are tough enough to hold everything together securely.
- Target Hangers: Two (2) heavy-duty eye bolts or hooks with screw ends. Make sure they are rated to hold at least 100 pounds to be safe.
- Optional: A short length of chain and two carabiners if your target doesn’t have grommets at the top for hooks.
Your Cutting List
Here are the pieces you’ll need to cut from your 8-foot 2x4s. This will create a stand that is about 4 feet wide and 4 feet tall, perfect for most standard bag targets.
| Piece Name | Quantity | Length | Purpose |
|---|---|---|---|
| Base Runners | 2 | 48 inches (4 feet) | The long bottom feet of the stand. |
| Upright Supports | 2 | 48 inches (4 feet) | The vertical posts that hold the target up. |
| Top Crossbar | 1 | 40 inches | The top piece where the target hangs. |
| Base Cross-Braces | 2 | 24 inches | Connects the base runners for stability. |
| Angled Supports | 2 | ~28 inches | Braces that connect the base to the uprights. (We’ll cut these to fit later). |
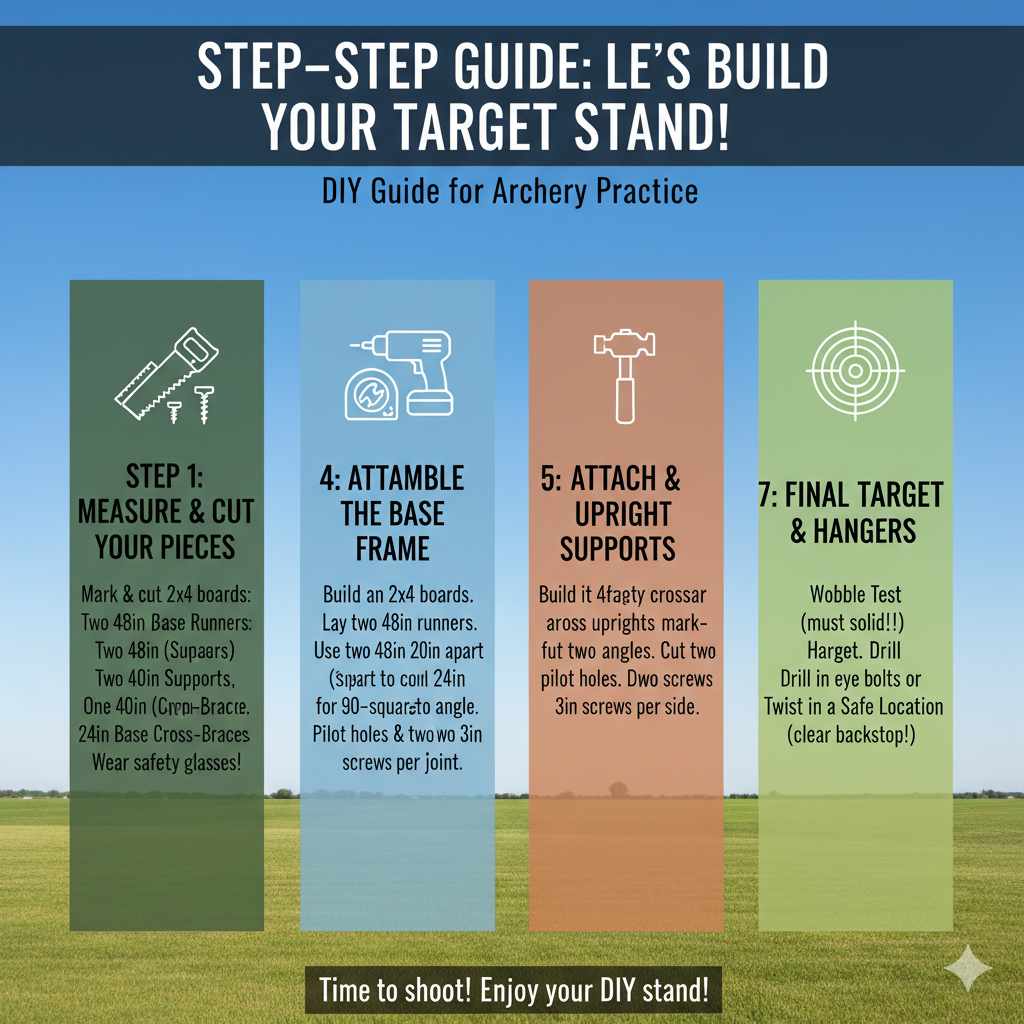
Step-by-Step Guide: Let’s Build Your Stand!
Alright, with our tools and materials ready, it’s time for the fun part. Follow these steps carefully, and you’ll have a professional-looking target stand in no time. Take your time and enjoy the process!
Step 1: Measure and Cut Your Main Pieces
Put on your safety glasses! Using your tape measure and pencil, mark the lengths from the cutting list onto your 2×4 boards. Try to plan your cuts to use the wood efficiently. For example, you can get one 48-inch piece and one 40-inch piece from a single 8-foot board.
Once everything is marked, carefully cut your pieces. You should have:
- Two 48-inch pieces (Base Runners)
- Two 48-inch pieces (Upright Supports)
- One 40-inch piece (Top Crossbar)
- Two 24-inch pieces (Base Cross-Braces)
We will cut the angled supports in a later step, as it’s easier to measure them once the main frame is assembled. For woodworking safety tips, you can review resources like this guide from Woodworker’s Journal.
Step 2: Assemble the Base Frame
The base is the foundation of your stand, so we want to make it wide and stable. We’ll build an “H” shape.
- Lay your two 48-inch Base Runners on a flat surface, parallel to each other, about 20 inches apart.
- Take one of your 24-inch Base Cross-Braces and place it between the runners at one end, forming a “U” shape. Make sure the ends are flush.
- Drill two pilot holes through the outside of the Base Runner and into the end of the Cross-Brace. This is key to preventing the wood from splitting.
- Drive two 3-inch wood screws into your pilot holes to secure the corner.
- Repeat this process on the other side, and then again with the second 24-inch Cross-Brace at the other end. You should now have a sturdy rectangular base frame.
Step 3: Attach the Upright Supports
Now, let’s give our stand some height.
- Take one of the 48-inch Upright Supports and stand it vertically on the inside of one of the Base Runners, right in the middle (at the 24-inch mark of the runner).
- Make sure the upright is perfectly straight (90 degrees to the base). You can use a speed square for this if you have one, or just eyeball it carefully.
- Drill two pilot holes at an angle (this is called “toe-nailing”) through the bottom of the upright and into the Base Runner.
- Drive two 3-inch screws to secure it. It might be a little wobbly for now, but don’t worry—the angled supports will fix that.
- Repeat this for the second Upright Support on the other Base Runner, making sure it’s directly opposite the first one.
Step 4: Install the Top Crossbar
This piece connects the two uprights and will hold the weight of your target.
- Place the 40-inch Top Crossbar across the tops of the two Upright Supports. The uprights should be on the inside of the crossbar.
- Make sure the crossbar is centered and level.
- Drill two pilot holes down through the top of the crossbar and into the top of each Upright Support.
- Drive two 3-inch screws on each side to lock it all together. Your frame should now be standing on its own and feeling much more rigid.
Step 5: Add the Angled Support Braces (The Key to Stability!)
These braces are what make the stand rock-solid. They prevent any side-to-side or front-to-back swaying.
- Take your remaining 2×4 lumber. Hold it diagonally against the frame, from the outside of the Base Runner up to the side of the Upright Support.
- Use your pencil to mark the angles you need to cut on both ends of the board so it fits snugly against both pieces of the frame.
- Carefully cut along your marked lines. Test the fit. If it looks good, use this piece as a template to mark and cut the second angled support for the other side.
- Attach each angled brace by drilling pilot holes and driving screws through the brace into both the Upright Support and the Base Runner. Use at least two screws on each end.
Once these braces are on, give the stand a good shake. You’ll be amazed at how sturdy it has become!
Step 6: Attach the Target Hangers
We’re on the home stretch! It’s time to add the hardware to hang your bag.
- Measure the distance between the hanging grommets or straps on your bag target.
- Transfer this measurement to the bottom of your Top Crossbar, centered. For example, if your grommets are 20 inches apart, make two marks on the crossbar, each 10 inches from the center.
- Drill a pilot hole at each mark. The hole should be slightly smaller than the screw part of your eye bolts or hooks.
- Twist the eye bolts or hooks into the pilot holes until they are tight and secure. You can use a screwdriver or pliers for extra leverage to get them all the way in.
Step 7: Final Checks and Placement
Congratulations, you’ve built a target stand! Before you hang your target and start shooting, do one last check:
- Wobble Test: Give the stand a good push from all sides. It should feel solid and stable. If it wobbles, check that all your screws are tight.
- Hang the Target: Lift your bag target onto the hooks. Make sure it hangs freely and at a comfortable height for you to shoot at.
- Find a Safe Spot: Move your new stand to a safe shooting location. This means a place with a solid backstop (like a large hill, dense woods, or a purpose-built backstop) and absolutely no chance of people, pets, or property being behind the target. For more on range safety, check out guidelines from organizations like USA Archery.
Frequently Asked Questions (FAQ)
How tall should my target stand be?
A great rule of thumb is to build the stand so the center of your target (the bullseye) is at shoulder height when you’re standing at your shooting position. For most adults, a stand that is around 4 to 5 feet tall works perfectly.
Can I use PVC pipe instead of wood?
Absolutely! PVC is a great lightweight and weather-resistant option. You would use a similar design, but instead of screws, you would use PVC corner and T-fittings to connect the pipes. For a simple stand, you often don’t even need to glue the joints, which makes it easy to take apart for storage or transport.
How do I make my stand more stable on uneven ground?
If your shooting area is bumpy, making the base wider can help a lot. You can extend the length of the Base Runners (the feet). You can also place heavy sandbags or concrete blocks over the base runners to weigh the stand down and keep it from tipping.
What’s the best way to hang the bag on the stand?
Using heavy-duty screw-in hooks or eye bolts on the top crossbar is the most common and secure method. If your target has straps instead of metal grommets, you can use carabiners to clip the straps to the eye bolts. This makes it easy to take the target on and off.
Can I leave my wood target stand outside?
You can, but its lifespan will be shorter unless you take precautions. If you build it with standard, untreated lumber, it will eventually rot. To leave it outside, either use pressure-treated lumber (which is resistant to rot and insects) or apply a few coats of exterior-grade paint or wood sealant to your finished stand.
How much does it cost to build a simple target stand?
The cost is very reasonable. Using 2×4 lumber, you can typically buy all the necessary materials—wood, screws, and hooks—for under $40. This is often less than half the price of a comparable pre-made stand from a store.
What if my bag target is very heavy?
If you have an extra-large or heavy-duty bag target, you might want to upgrade your materials slightly. Consider using 4×4 posts for the uprights and base, or simply add more angled support braces to your 2×4 design to increase its rigidity and weight-bearing capacity.
Conclusion: Your Archery Practice, Upgraded
There you have it! You’ve just learned how to build a strong, reliable, and custom-fit bag target stand. By taking an afternoon and following these simple steps, you’ve not only saved money but also created a piece of equipment that will make your practice sessions safer and more consistent. You’ve solved a common problem with a bit of creativity and effort, and that’s something to be proud of.
Now, the best part is yet to come. It’s time to head outside, hang that target on the stand you built, and send some arrows downrange. Every satisfying thud of an arrow hitting the mark will be a little sweeter knowing you created the perfect setup for your archery journey. Happy shooting!