Making carbon fiber arrows involves cutting the arrow shaft to your draw length, squaring the ends for perfect alignment, cleaning the components, and then gluing the inserts, nocks, and fletchings (vanes). With basic tools and careful attention to detail, you can craft custom arrows perfectly tuned to your bow for superior accuracy and performance.
Hello, fellow archers! Salman here. Have you ever looked at a store-bought arrow and thought, “I wonder if I could make my own?” It’s a common question, and the answer is a big YES! Building your own carbon fiber arrows might seem like a job for a pro, but it’s one of the most rewarding skills you can learn in archery. It gives you total control over your setup and can even save you money.
I know it can feel a bit intimidating at first, but don’t worry. I’m here to walk you through every single step in plain, simple language. We’ll turn that pile of components into a set of tack-driving arrows you can be proud of. Let’s get started!
Why Bother Building Your Own Arrows?
Before we dive into the “how,” let’s talk about the “why.” You might be perfectly happy with the arrows you buy off the shelf, and that’s completely fine. But building your own opens up a whole new level of archery. Here are a few great reasons to give it a try:
- Perfect Customization: You get to choose every single component. From the shaft and the vanes to the nocks and inserts, you can build an arrow that is perfectly matched to your bow, your shooting style, and your specific goals (like hunting, target shooting, or just having fun in the backyard).
- Improved Accuracy: When you build your own arrows, you can ensure they are all perfectly identical. This consistency from arrow to arrow is the secret sauce for tighter groups and better accuracy downrange. Every arrow will fly the same way.
- Cost Savings: While there’s an initial investment in tools, building your own arrows is often cheaper in the long run. You can buy components in bulk, and when you damage a single vane, you can repair it yourself instead of buying a whole new arrow.
- It’s Fun and Rewarding: There’s a special kind of pride that comes from hitting the bullseye with an arrow you built with your own two hands. It connects you more deeply to the sport and the equipment you use.

Gathering Your Workshop Essentials
Having the right tools makes all the difference. You don’t need a massive workshop, just a clean, well-lit space and a few key items. We can break these down into “must-haves” and “nice-to-haves.”
Must-Have Tools & Materials
These are the non-negotiable items you’ll need to get the job done right and safely.
- Arrow Shafts: These are the backbone of your arrow. Make sure you buy shafts with the correct spine (stiffness) for your bow’s draw weight and your draw length. We’ll talk more about spine later.
- Inserts and Points (or Broadheads): Inserts are the small metal pieces glued into the front of the arrow shaft that your screw-in points or broadheads attach to.
- Nocks: These are the plastic clips at the back of the arrow that attach to the bowstring.
- Vanes (Fletchings): These are the “wings” or “fins” at the back of the arrow that stabilize its flight. They come in various shapes, sizes, and materials.
- Fletching Jig: This is a crucial tool that holds your arrow shaft securely and guides your vane placement for perfect, consistent alignment. A good jig is your best friend in this process.
- Arrow Saw or High-Speed Cut-Off Saw: A dedicated arrow saw is the best and safest way to cut carbon fiber shafts. A Dremel tool with a cut-off wheel can also work, but an arrow saw gives you a cleaner, more square cut.
- Fletching Glue / Adhesive: You’ll need a special, fast-setting glue designed for fletching. Don’t try to use regular super glue!
- Insert Glue: This is typically a stronger, slow-curing epoxy or hot melt glue designed to handle the high impact of the arrow hitting a target.
- Denatured Alcohol or Acetone: This is for cleaning the arrow shafts and components before gluing. This step is critical for a strong bond.
- Safety Gear: Always wear safety glasses and a dust mask when cutting carbon. Carbon fiber dust is harmful if inhaled. The Occupational Safety and Health Administration (OSHA) has strict guidelines on respiratory protection for a reason!
Nice-to-Have Tools
These tools aren’t strictly necessary, but they can make the process easier and your results more professional.
| Tool | What It Does |
|---|---|
| Arrow Squaring Device | This tool perfectly flattens the ends of the arrow shaft after cutting. A square end ensures your insert and nock sit perfectly flush, which is a big factor in accuracy. |
| Arrow Spinner | Lets you spin an arrow to check for straightness and see if the insert and point are mounted perfectly. A wobbly arrow won’t fly true. |
| Grain Scale | Allows you to weigh each arrow and component to ensure your finished arrows are all identical in weight, further improving consistency. |
| Fletching Stripper | A small tool with a blade designed to safely scrape old, damaged vanes and glue off a shaft without damaging the carbon. |
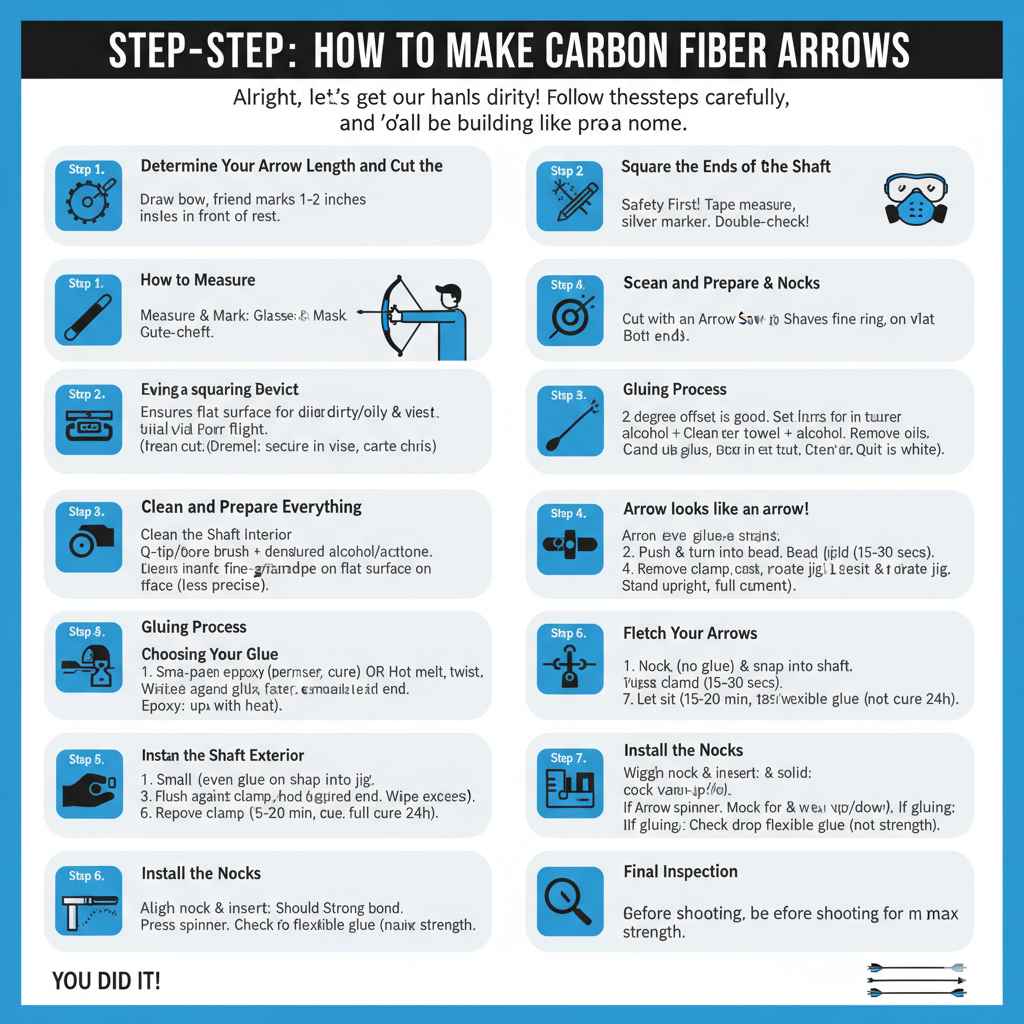
Step-by-Step: How to Make Carbon Fiber Arrows
Alright, let’s get our hands dirty! Follow these steps carefully, and you’ll be building like a pro in no time.
Step 1: Determine Your Arrow Length and Cut the Shaft
First things first, we need to know how long your arrows should be. An arrow that’s too short is dangerous, and one that’s too long can hurt performance.
How to Measure: The easiest way to find your correct arrow length is to have a friend help you. Draw your bow back to your full, comfortable anchor point with a long, uncut arrow nocked. Have your friend mark the arrow shaft about one to two inches in front of where it rests on the arrow rest. This extra length provides a critical margin of safety.
Cutting the Shaft:
- Safety First! Put on your safety glasses and dust mask. Carbon dust is no joke.
- Measure and Mark: Use a tape measure and a silver marker to clearly mark the cut line on your arrow shaft. Double-check your measurement! Remember the old rule: measure twice, cut once.
- Cut with an Arrow Saw: Place the shaft in your arrow saw, align the blade with your mark, and turn on the saw. Gently and slowly rotate the shaft as you cut. Don’t force it. Let the saw do the work. This will give you a clean, straight cut. If using a Dremel, secure the shaft in a vise and proceed with extreme care to keep the cut as straight as possible.
Step 2: Square the Ends of the Shaft
This is a small step that makes a huge difference. An arrow saw can sometimes leave a slightly uneven edge. Squaring ensures that your insert and nock have a perfectly flat surface to sit on. This is vital for arrow flight.
If you have an arrow squaring device (like the G5 ASD or similar tools), simply insert the end of the shaft and twist it a few times against the cutting surface. You’ll see it shave off a fine ring of carbon. Do this for both ends of the arrow shaft until the entire edge is clean and flat.
If you don’t have one, you can try to carefully sand the end flat on a piece of fine-grit sandpaper laid on a perfectly flat surface, but a dedicated tool is far more precise.
Step 3: Clean and Prepare Everything
Glue will not stick to a dirty or oily surface. This step is non-negotiable for a strong, reliable arrow.
- Clean the Shaft Interior: Dip a Q-tip or a bore brush in denatured alcohol or acetone. Run it inside both ends of the arrow shaft where the insert and nock will go. You’ll be surprised how much black dust comes out. Keep cleaning with fresh Q-tips until they come out clean.
- Clean the Inserts and Nocks: Wipe down the shank of your inserts and nocks with a paper towel and a little bit of alcohol to remove any mold release agents or oils from the manufacturing process.
- Clean the Shaft Exterior: Lightly wipe down the back end of the shaft where you’ll be fletching. This ensures your vanes stick properly.
Step 4: Install the Inserts
Now we’ll install the “guts” at the front of the arrow.
Choosing Your Glue: You have two main choices: a two-part epoxy or hot melt glue. Epoxy provides a permanent, rock-solid bond but takes longer to cure. Hot melt is faster and allows you to easily remove or adjust inserts later by simply heating them up.
Gluing Process:
- Apply a small, even amount of your chosen glue around the shank of the insert. Don’t use too much, or it will squeeze out and make a mess.
- Slowly push the insert into the front of the shaft while turning it. This spreads the glue evenly inside the shaft for a complete bond.
- Push the insert all the way in until it sits flush against the squared end of the shaft.
- Immediately wipe away any excess glue with a paper towel. If using hot melt, you can screw in a field point to help with handling.
- Stand the arrow upright on its point and let the glue cure completely according to the manufacturer’s instructions. For epoxy, this can be up to 24 hours.
Step 5: Fletch Your Arrows
This is the fun part where your arrow starts to look like an arrow! Your fletching jig is the star of this step.
Set Up Your Jig: Most jigs allow you to adjust the fletching angle. Here’s a quick guide:
| Fletching Style | Description | Best For |
|---|---|---|
| Straight | The vane is perfectly straight along the shaft. Least amount of drag, but also least stable. | Some indoor target archery or crossbows. |
| Offset | The vane is straight, but set at a slight angle on the shaft. This creates spin for stability. | A great all-around choice for beginners, target shooting, and hunting. |
| Helical | The vane has a curve or twist, like an airplane wing. Creates the most spin and stability. | Excellent for broadhead flight and long-range accuracy, but has more drag. |
For beginners, a 2-degree offset is a fantastic place to start. Set your jig to your desired configuration (usually a 3-fletch pattern).
Fletching Process:
- Place a nock on your arrow (don’t glue it yet) and snap the arrow into the jig.
- Place a vane into the clamp of your jig. Make sure it’s seated properly.
- Apply a very thin, continuous bead of fletching glue down the base of the vane. Less is more here!
- Firmly press the clamp onto the arrow shaft and hold it for the recommended time (usually 15-30 seconds). Let the magnet on the jig do its job.
- Carefully remove the clamp. Rotate the jig to the next position (it will click into place).
- Repeat the process for the second and third vanes.
- Once all vanes are on, let the arrow sit for at least 15-20 minutes before handling it further. Full cure time is usually 24 hours.
Step 6: Install the Nocks
This is the final assembly step. Most modern nocks are “press-fit,” meaning they don’t require glue. However, a tiny drop can ensure they never move or make noise.
Simply align the nock with your vanes (the “cock” vane, or the odd-colored one, typically points up or down depending on your arrow rest) and press it firmly into the back of the shaft. You should feel it snap securely into place. If you choose to glue, use a tiny amount of a flexible glue, not your brittle fletching cement.
Step 7: Final Inspection
You did it! But before you head to the range, give your new arrows a once-over.
- Gently try to wiggle the nock and insert. They should be solid.
- Tug lightly on the vanes to ensure they have a strong bond.
- If you have an arrow spinner, give each arrow a spin to check for any wobbles.
- Let the arrows cure for a full 24 hours before shooting them to ensure all the glue has reached maximum strength.
Frequently Asked Questions (FAQ)
What is arrow spine and why is it important?
Arrow spine is a measure of the arrow’s stiffness. It’s crucial for safety and accuracy. An arrow that is too weak (underspined) for your bow can flex dangerously and even shatter upon release. An arrow that is too stiff (overspined) won’t fly correctly. Always use an arrow spine chart from the manufacturer to match the right spine to your bow’s draw weight and your arrow length.
How do I know my draw length?
The most accurate way is to visit a pro shop. A quick home method is to stand with your arms outstretched to your sides (like a “T”) and have someone measure your wingspan from fingertip to fingertip in inches. Then, divide that number by 2.5. This will give you a very close estimate of your draw length.
Can I use any kind of glue for fletching?
No, you should not use regular super glue. Fletching glues like Bohning Blazer Bond or Loctite Gel Control are specifically formulated to be slightly flexible and withstand the shock and vibration of an arrow’s flight. Standard super glue is too brittle and will crack, causing your vanes to fall off.
What’s the difference between field points and broadheads?
Field points are simple, pointed tips used for practice and target shooting. Broadheads have sharp blades and are used exclusively for hunting. It’s important to practice with field points that weigh the same as the broadheads you plan to hunt with to ensure they fly similarly.
How often should I inspect my carbon arrows?
You should inspect your carbon arrows after every shooting session, and especially after any hard impact or pass-through on a target. Gently flex the arrow shaft and listen for any cracking or splintering sounds. Look for any dents, cracks, or frayed carbon fibers. If you find any damage, discard the arrow immediately. A damaged carbon arrow can fail catastrophically and cause serious injury.
Can I fletch with feathers instead of plastic vanes?
Absolutely! The process is identical. Feathers are lighter and more forgiving if they make contact with the arrow rest, making them a popular choice for traditional archers. Plastic vanes are more durable and waterproof, making them ideal for modern compound bows and wet weather conditions.
How many arrows should I make for my first batch?
A great starting point is to build a half-dozen (6) arrows. This gives you enough arrows to practice with and get a feel for the process without investing too much in components right away. If you make a mistake on one or two, you still have plenty of good arrows left.
Your Journey to Perfect Arrows Starts Now
Congratulations! You now have the knowledge and the step-by-step plan to build your very own custom carbon fiber arrows. It might seem like a lot of steps, but once you build your first one, you’ll see how simple and satisfying the process is. Take your time, pay attention to the details, and most importantly, have fun with it.
Building your own arrows is more than just a DIY project; it’s a way to take full control of your accuracy and connect with your sport on a deeper level. The confidence you’ll feel at the range, knowing you’re shooting arrows built by you, for you, is something you just can’t buy. So gather your tools, get some components, and start building. Your best shooting might just be an arrow away.