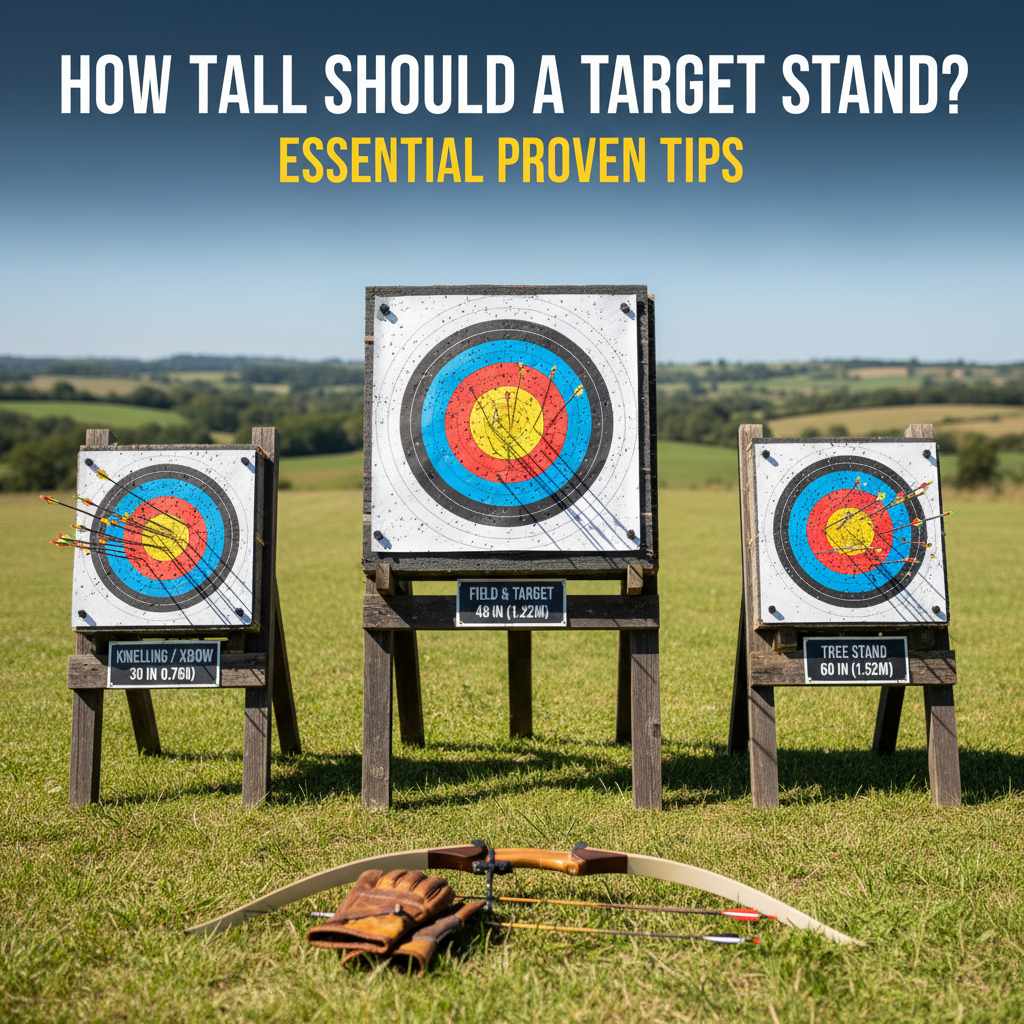
For most archers, the center of your target should be level with your shoulder when you stand at the shooting line. This height promotes proper shooting form, ensures a straight arrow path, and enhances safety. Starting at shoulder height provides the most consistent and accurate practice setup for beginners and experienced archers alike.
Hello, fellow archers! Salman Arfeen here. If you’ve ever set up your target and wondered, “Is this the right height?” you’re not alone. It’s one of the most common questions I hear. You might think it’s a small detail, but the height of your target stand has a huge impact on your accuracy, your form, and even your safety.
Getting it wrong can lead to frustration and bad habits. But don’t worry! Finding the perfect height is simple once you know the secret. In this guide, I’ll walk you through everything you need to know, step-by-step. We’ll cover the ideal height, how to adjust for different situations, and common mistakes to avoid. Let’s get you shooting with confidence!
Why Your Target Stand Height Matters More Than You Think
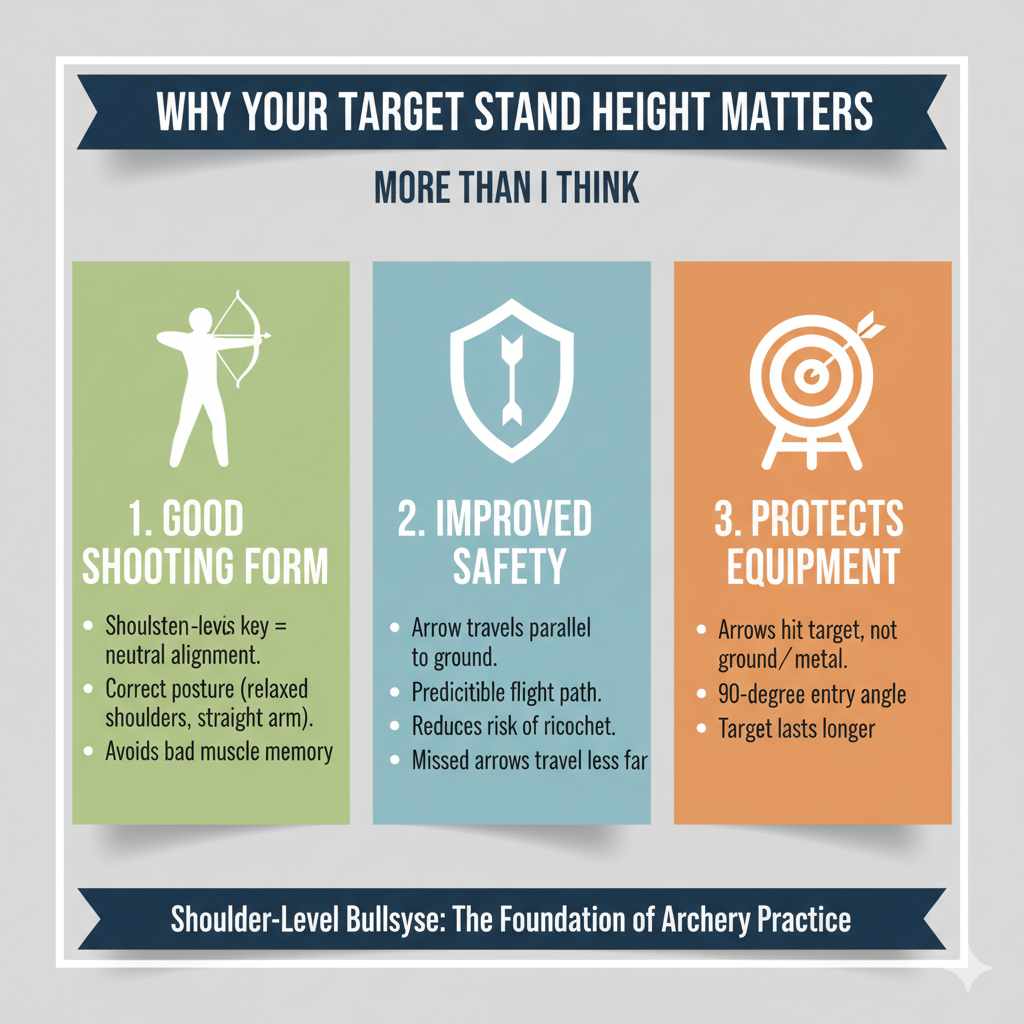
Setting up your target might seem like the easiest part of archery. You just put it out there and start shooting, right? Not quite. The height of that target stand is a foundational piece of your practice puzzle. It directly influences three key areas: your shooting form, your safety, and the lifespan of your arrows.
1. It Develops Good Shooting Form
The goal in archery is consistency. You want to repeat the same good form with every single shot. When your target is at the correct height—shoulder level—your body stays in a natural, neutral alignment. Your drawing arm can move straight back, your shoulders can stay relaxed and level, and your release will be smooth.
If the target is too high, you’ll naturally raise your bow arm, which can cause you to tense your shoulder and alter your anchor point. If it’s too low, you’ll drop your bow arm, leading to a collapsed posture. Both of these mistakes build bad muscle memory that is difficult to correct later on.
2. It Greatly Improves Safety
Safety is always our number one priority. A target placed at the proper height ensures your arrow travels parallel to the ground. This makes its flight path predictable. A target that is too low can increase the risk of an arrow skipping or ricocheting off the ground if you miss. A target that is too high might cause a missed arrow to travel much farther than intended, which is incredibly dangerous without a massive, professional-grade backstop.
3. It Protects Your Arrows and Target
Arrows are an investment, and you want them to last. Shooting at a low target increases the chance of hitting the ground, which can damage or break your arrows. Hitting the metal legs of a target stand is also more likely with a poorly positioned target. By setting the bullseye at shoulder height, your arrows enter the target at a straight, 90-degree angle, which is ideal for both the arrow and the target material. This helps your target last longer, too!
The Golden Rule: Set the Bullseye at Shoulder Height
If you remember just one thing from this guide, let it be this: the center of the target should be level with your shoulder.
This isn’t just a random suggestion; it’s the standard for a reason. This height allows your body to perform the shot cycle in the most biomechanically efficient way possible. It promotes a straight line of force from your bow hand, through your body, to your drawing elbow. This is the foundation of a powerful and accurate shot.
How to Find Your Shoulder Height
- Stand at Your Shooting Line: Go to the spot where you will be shooting from. Stand up straight with good posture, feet shoulder-width apart.
- Get a Helper or a Marker: Have a friend stand beside you and mark the height of the top of your shoulder on a wall or a tall post. If you’re alone, you can stand next to a wall and use a pencil to mark it yourself.
- Measure from the Ground: Use a tape measure to find the distance from the ground to the mark you just made. This measurement is your ideal target center height.
Once you have this number, you can adjust your target stand so the bullseye sits right at that height. This simple step will make your practice sessions more effective and help you build a consistent, repeatable shot.
Adjusting Target Stand Height for Different Scenarios
While shoulder height is the perfect starting point for practicing on level ground, archery rarely happens in a perfect world. You’ll eventually want to practice for different situations, like shooting on hills or at various distances. Here’s how to adjust.
Shooting on Uneven Ground: Uphill and Downhill Shots
Shooting on a slope changes the angle of your shot. Your body mechanics have to adjust, and so should your target height to simulate real-world conditions and ensure safety.
- For Uphill Shots: When shooting uphill, you will naturally be aiming higher. To compensate and ensure safety, it’s often wise to place the target slightly lower than your normal shoulder height relative to the ground it’s sitting on. This prevents a missed arrow from flying too high over the backstop.
- For Downhill Shots: When shooting downhill, your arrow’s trajectory will be flatter and it will hit lower. You should place the target slightly higher than your normal shoulder height relative to the ground it’s on. This ensures you aren’t shooting down into the ground, which can damage arrows. The most important rule for downhill shots is to have a very good backstop, as arrows carry more energy.
Remember to always bend at the waist when aiming up or down, rather than just raising or lowering your bow arm. This helps maintain proper form.
How Distance Affects Perceived Target Height
As you move farther away from the target, your arrow will follow a more pronounced arc. To hit the bullseye from a long distance, you will have to aim slightly above it. This is called “pin-gapping” or using the correct sight pin.
For practice, you don’t need to change the physical height of the target stand itself. Keep the bullseye at your shoulder height. Your aiming process will naturally account for the arrow’s drop over distance. Keeping the target height consistent helps you learn how your bow performs at 20, 30, and 40 yards and beyond. It makes your sighting-in process much more reliable.
Setting Up Targets for Kids and Shorter Archers
The “shoulder height” rule applies to everyone, regardless of their size! For children or shorter archers, it’s crucial to lower the target to match their shoulder height. Forcing a child to shoot at an adult-height target will cause them to raise their arm too high, creating bad habits and frustration.
A stand with easy height adjustment is perfect for families or clubs with archers of different sizes. Always adjust the target for the person who is shooting. It builds their confidence and ensures they learn the correct form from day one.
Choosing a Target Stand: A Look at Your Options
Not all target stands are created equal, especially when it comes to height adjustment. Here’s a quick comparison of the most common types you’ll find.
| Stand Type | Pros | Cons | Height Adjustability |
|---|---|---|---|
| Tripod Stand | Very stable, often portable, works on uneven ground. | Can be bulky, some models have fixed heights. | Good to Excellent. Many models have telescoping legs or adjustable target holders. |
| Bag Target Stand | Simple, lightweight, designed specifically for heavy bag targets. | Often a fixed height, may not be stable with other target types. | Poor to Fair. Most are built to a standard height and are not adjustable. |
| DIY Wooden Stand | Inexpensive, can be customized to your exact needs. | Requires tools and time to build, may be heavy. | Excellent. You can build it to be perfectly adjustable for your height. |
| Easel Stand | Lightweight and very portable. Folds up for easy storage. | Less stable, especially in wind or with heavy targets. | Fair. Some have adjustable hooks, but the overall height is limited. |
For a beginner, a tripod stand with adjustable legs is often the best investment. It offers the perfect blend of stability, portability, and the all-important height adjustment.
Build Your Own: A Simple Plan for a DIY Adjustable Target Stand
If you’re handy with a few tools, building your own target stand is a rewarding project. It allows you to create something perfectly tailored to your needs. Here is a basic concept for an adjustable wooden stand.
Materials You’ll Need:
- Three 8-foot long 2×4 boards
- One 4-inch carriage bolt with a nut and washers
- Two 3-inch bolts with wing nuts and washers
- Two 2-foot long pieces of chain or sturdy rope
- Wood screws
Basic Steps:
- Build the A-Frame Legs: Cut two of the 2x4s to a 6-foot length. Cross them at the top to form an ‘A’ shape. Drill a hole through both boards where they overlap and secure them with the 4-inch carriage bolt. This creates your front A-frame.
- Attach the Third Leg: Cut the third 2×4 to a 6-foot length. Attach it to the back of the A-frame’s pivot point using the same carriage bolt. This will act as a kickstand.
- Create the Target Holders: Cut two 18-inch pieces from your leftover 2×4. These will be the arms that hold your target. Drill a series of holes (every 3 inches) down the front two legs of the A-frame.
- Make it Adjustable: Drill a hole at one end of each 18-inch target holder arm. You can now bolt these arms to the A-frame legs using the 3-inch bolts and wing nuts. By choosing different holes on the A-frame legs, you can easily raise or lower the target.
- Add Stability: Attach the chains or ropes from the front A-frame legs to the back leg. This prevents the stand from spreading too far apart and collapsing. For more detailed plans and safety considerations, resources like the Home Depot’s DIY guide offer excellent visual instructions.
This simple design allows for a wide range of height adjustments, making it perfect for archers of all sizes.
Common Mistakes to Avoid When Setting Up Your Target
Getting the height right is a great start, but a few other common setup mistakes can spoil your practice. Here’s what to watch out for:
- Placing the Stand on Unstable Ground: Never set up your target on a slope where it could tip over. Ensure all legs of the stand are firmly planted on level ground. A wobbly target is a dangerous target.
- Ignoring Your Backstop: Your backstop is the most important piece of safety equipment. Always know what is behind your target. A hill, a thick forest, or a purpose-built backstop is essential. Never shoot towards a place where people, pets, or property could be.
- Setting the Target Too Low: This is a very common mistake. Archers think a low target is safer, but it actually increases the risk of an arrow ricocheting off the ground at an unpredictable angle.
- Forgetting to Level the Target Face: Make sure the face of the target is perpendicular to the ground. A target that leans forward or backward can cause arrows to enter at an angle, making them harder to pull out and potentially damaging them.
Safety First: Final Checks Before You Nock an Arrow
Before you take your first shot, let’s run through a final safety checklist. Getting into this habit will ensure every archery session is a safe and enjoyable one.
The Holy Trinity of Archery Safety
- A Clear Shooting Lane: Look between you and the target. Is the path completely clear? There should be no branches, rocks, or anything else that could deflect an arrow.
- A Safe Backstop: Look behind your target. Do you have a large, reliable backstop? This could be a large hill or a professionally made archery curtain. According to park and recreation safety guidelines, you must be absolutely sure of what lies beyond your target.
- Awareness of Your Surroundings: Are there any paths, roads, or houses nearby? Make sure no person or pet can wander into your shooting lane or behind the target while you are practicing.
By following these rules and setting your target stand to the correct shoulder height, you are creating the perfect environment for improving your skills safely.
Frequently Asked Questions (FAQ)
What happens if my archery target is too high?
If your target is too high, you will have to raise your bow arm, which causes tension in your shoulder and neck. This leads to inconsistent form, fatigue, and can cause a missed arrow to fly much farther than intended, creating a significant safety hazard.
What happens if my target is too low?
A target that is too low forces you to drop your bow arm and collapse your posture. This breaks your alignment and leads to inconsistent shots. It also increases the risk of a missed arrow hitting the ground and ricocheting in an unsafe direction.
Does target height change for different types of bows?
No, the shoulder-height rule applies to all types of bows, including recurve, compound, and longbow. The goal is to promote proper, universal archery form, and that starts with a neutral body position, which is achieved with a shoulder-height target.
How high should a target be for a child?
The target should be set so the bullseye is level with the child’s shoulder. Do not make them shoot at an adult-sized setup. Adjusting the target down to their level is critical for their safety, learning, and enjoyment of the sport.
Is it okay for the target to be slightly off shoulder height?
For practicing good form, it’s best to be as close to shoulder height as possible. However, if your stand only allows for a position an inch or two higher or lower, that is generally acceptable. The goal is to avoid major adjustments that force you into bad posture.
How do I measure shoulder height accurately by myself?
Stand next to a wall with a pencil in your hand. Keep your body straight and simply raise your hand to your shoulder and make a small mark on the wall. Then, use a tape measure to get the height from the floor to the mark.
Should my target stand be perfectly level?
Yes, absolutely. The target face should be perfectly vertical (not leaning forward or backward) and the stand should be on stable, level ground. A tilted target can affect how your arrow enters and can cause damage over time.
Conclusion: The Simple Path to Better Practice
As you can see, the question of “how tall should a target stand be?” has a very simple and effective answer: set the bullseye to your shoulder height. This single adjustment is one of the easiest things you can do to improve your consistency, build good habits, and ensure every practice session is a safe one.
By using this golden rule as your starting point and making small adjustments for slopes or different archers, you are taking control of your training. You are setting yourself up for success. Remember to always prioritize safety with a clear lane and a solid backstop, and you’ll be well on your way to hitting your goals.
Now, go set up your target, take a deep breath, and enjoy the satisfying thud of your arrows hitting the mark. Happy shooting!