If you’re an archer or a bow enthusiast, knowing how to cut foam for bow case is an essential skill that can protect your valuable equipment during transport and storage. Properly cut foam provides a snug, cushioned fit that prevents the bow from shifting, thereby reducing the risk of damage. Whether you’re customizing a new case or upgrading an old one, this guide will walk you through the easy and must-have tips to get the perfect fit every time.
Why Cutting Foam for Your Bow Case Matters
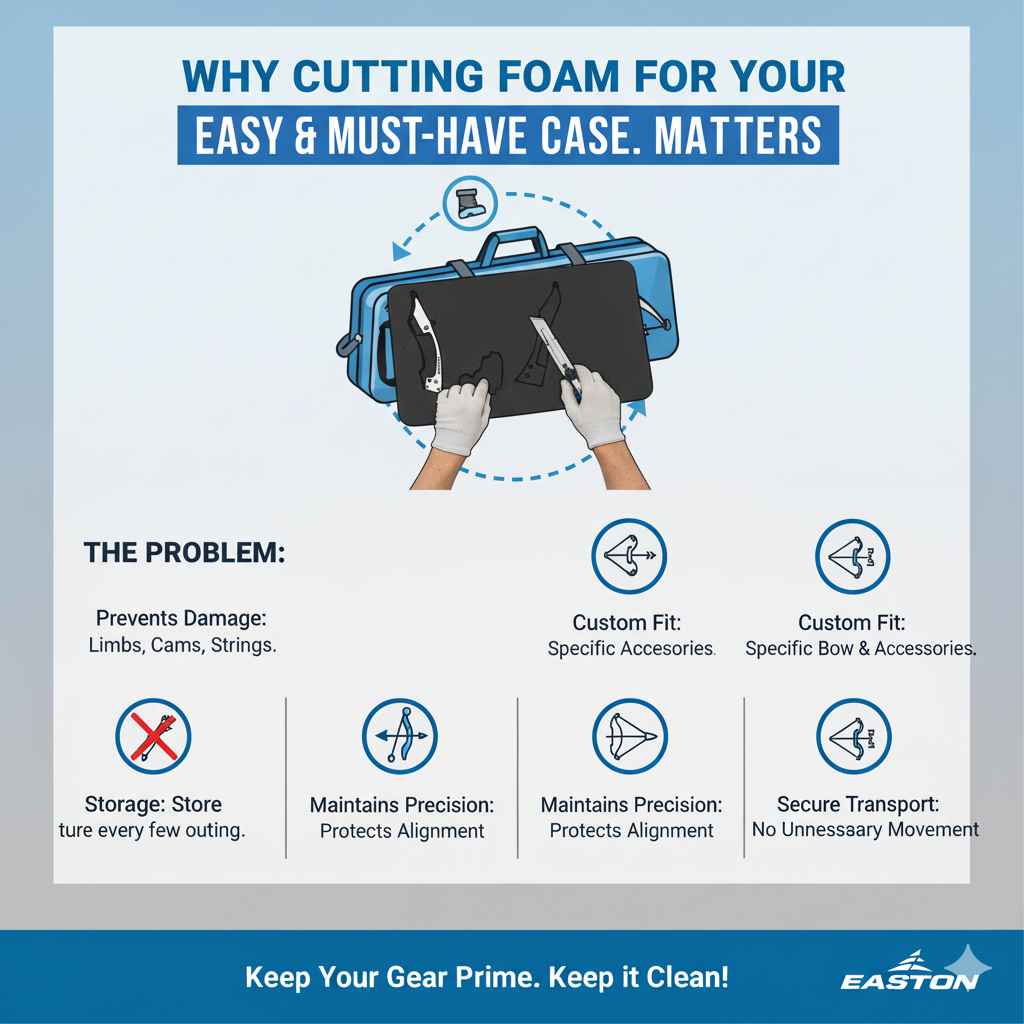
A bow is a precision instrument, sensitive to impact and pressure. Without adequate protection, components such as limbs, cams, and strings can become misaligned or even broken. Pre-made foam inserts may not always accommodate your specific bow model or accessories, leading to unnecessary movement within the case. That’s why cutting foam to fit your bow precisely is a game-changer for secure and stress-free transport.
Essential Supplies for How to Cut Foam for Bow Case
Before you begin cutting, gather these essential supplies:
– High-density foam: Choose foam dense enough to absorb shocks but flexible enough for cutting.
– Sharp utility knife or electric carving knife: A sharp blade ensures clean, precise cuts.
– Marker or pen: To outline the bow’s shape on the foam.
– Measuring tape or ruler: For accurate dimensions.
– Adhesive spray (optional): To secure layers together if your foam is multi-layered.
– Protective gloves and goggles: Safety first!
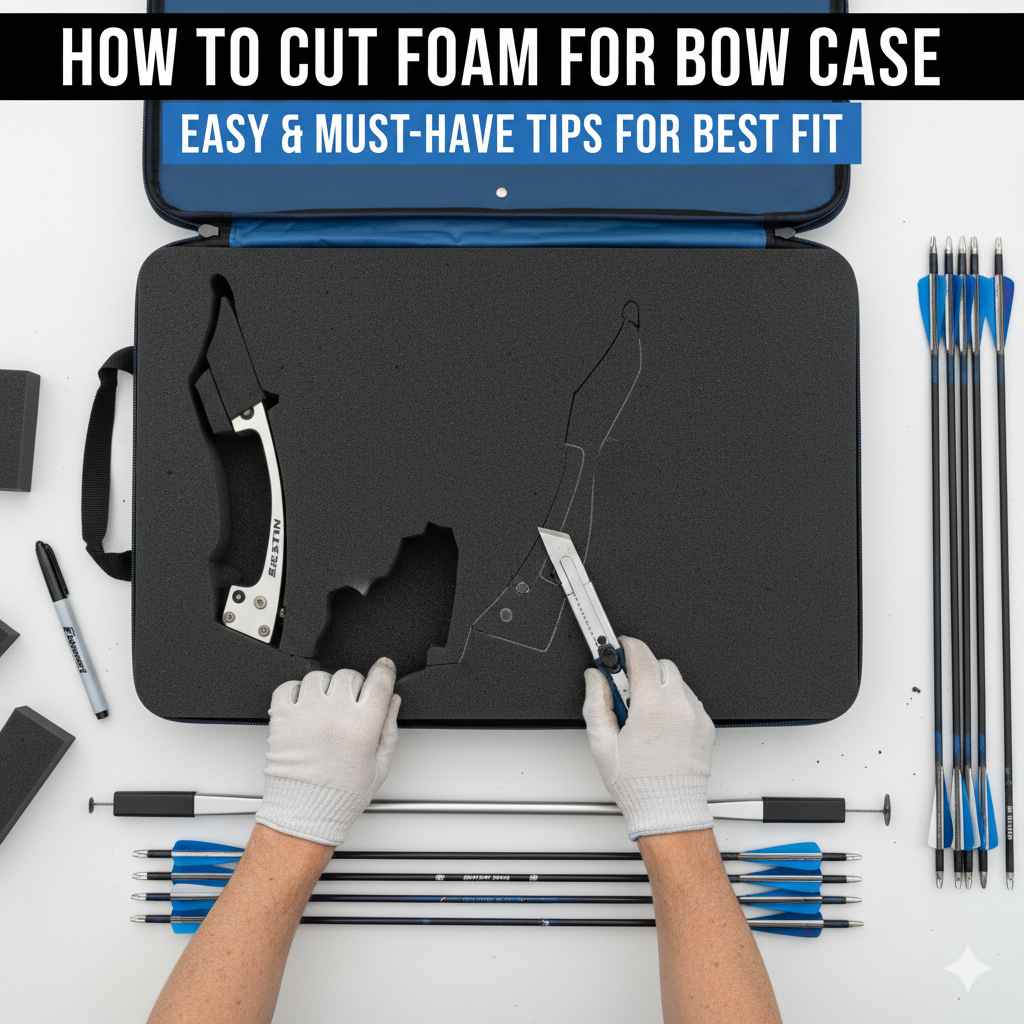
Step-by-Step Guide: How to Cut Foam for Bow Case
Step 1: Prepare Your Workspace
Set up a clean, flat, and well-lit workspace. Lay down a cutting mat or protective surface to avoid damaging tables or floors.
Step 2: Measure Your Bow and Accessories
Measure the length, width, and height of your bow including any accessories like stabilizers or sights. Note the critical contours—curves, riser width, and limb projections.
Step 3: Select and Cut Foam Layers
Choose foam layers that will cushion your bow effectively. Often, a two-layer approach works well: a denser bottom layer with a softer top layer that contours nicely.
Cut a piece of foam slightly larger than your bow case interior, leaving extra margin to carve out the bow’s shape.
Step 4: Trace the Bow’s Outline on Foam
Place your bow carefully on the foam and use a marker to trace its outline. If possible, also mark the internal features like limb curves or stabilizers to be accommodated.
Step 5: Begin the Foam Removal
Using your utility knife, cut along the outline carefully. For deeper cavities, make multiple passes—cutting shallow layers rather than trying to gouge too deeply.
Be patient and precise here; remember, you can always cut more foam away but cannot add back what’s removed.
Step 6: Add Relief Cuts for Accessories
Create additional cutouts for accessories such as sights, quivers, or arrows. Consider depth variation and ensure the foam protects these parts by snugly hugging their shape.
Step 7: Test Fit and Adjust
Place your bow and accessories into the foam to check the fit. If the foam feels too tight, gently trim edges. If it’s too loose, you may need to add foam padding or use adhesive to layer additional cushioning.
Step 8: Finalize the Insert
Once satisfied with the fit, clean the foam surface from loose debris and, if necessary, spray adhesive can be used to glue foam layers together securely. Let the glue dry completely before placing the bow in the case.
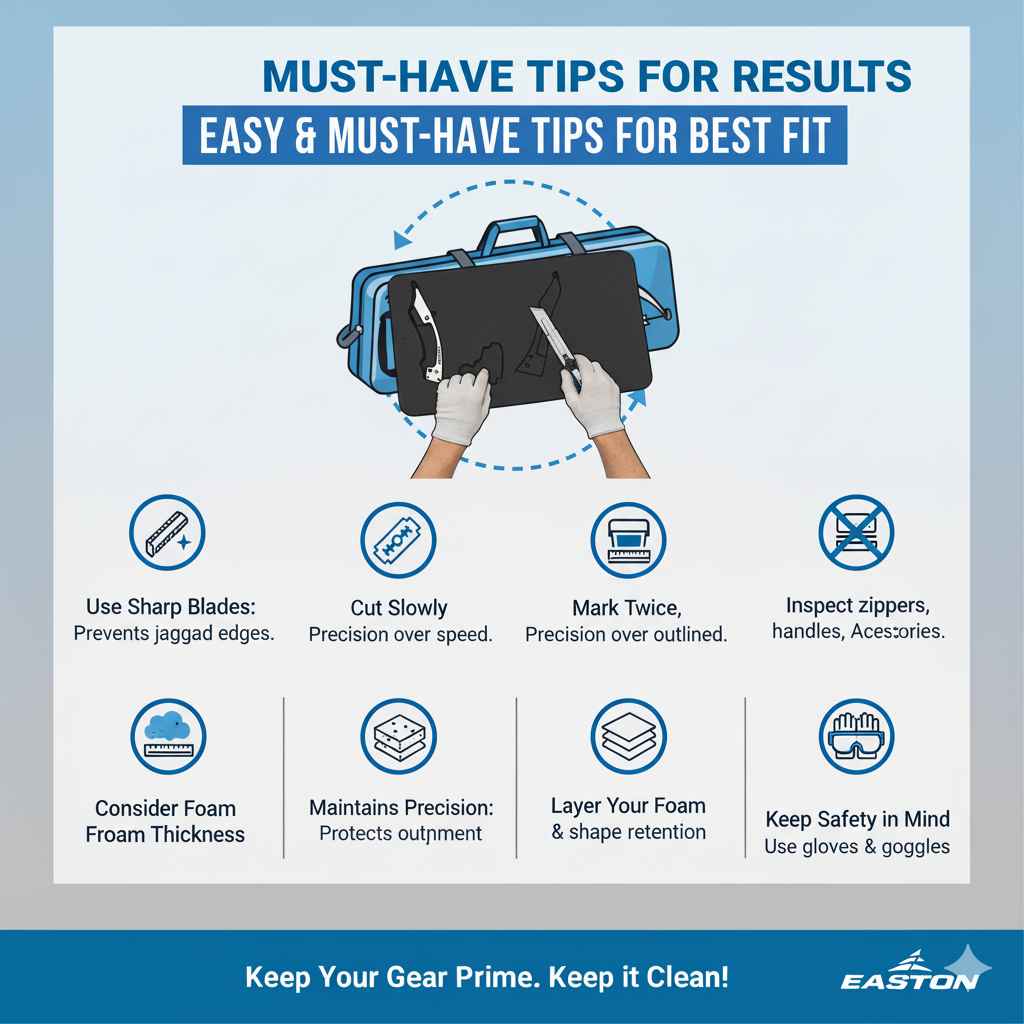
Must-Have Tips for Best Results
– Use sharp blades: Dull blades create jagged edges and increase the risk of uneven cuts.
– Cut slowly and carefully: Precision over speed guarantees a better fit.
– Mark twice, cut once: Double-check your outlines before cutting.
– Consider foam thickness: Thicker foam offers better protection but require more effort to cut.
– Layer your foam: Combining soft and firm foam allows for cushioning and shape retention.
– Keep safety in mind: Use gloves and goggles to avoid injuries.
Additional Ideas to Enhance Your Bow Case Foam
– Add a bow string slot: Design a shallow slot for the bowstring to avoid extra pressure.
– Use foam sheets with peel-and-stick adhesive: These can help create layered inserts without glue mess.
– Custom compartments: Create separate foam slots for your arrows and other small gear.
Conclusion
Understanding how to cut foam for bow case properly transforms your case from generic storage into a personalized protective haven for your gear. With the right materials, tools, and a bit of patience, you can create custom foam inserts that provide superior shock absorption and secure fit. Whether you are an avid hunter or tournament archer, investing time in crafting the perfect foam fit safeguards your bow and extends its lifespan. Follow these easy and must-have tips to ensure your bow always travels safely, ready for action whenever you are.