Glue your carbon arrow inserts correctly by thoroughly cleaning the shaft and insert, briefly dry-fitting, mixing the recommended two-part epoxy or specialized arrow glue, and following the manufacturer’s exact curing time for a rock-solid, safe fit that ensures accuracy.
Welcome to the workbench! If you’ve upgraded to modern carbon arrows, you know they fly incredibly well. But that precision relies on every piece staying exactly where it should be. Nothing derails a good shooting session faster than a loose insert—that small piece that holds your broadhead or field point in place.
This can feel frustrating when you just want to practice. Don’t worry; learning how to glue inserts in carbon arrows correctly is a straightforward skill. It requires patience and the right materials, but once you master this, your arrows will perform reliably. We will walk through every single step, ensuring your inserts bond perfectly for safer, more accurate shooting. Let’s get those arrows ready for the range!
Why Proper Insert Gluing Is Crucial for Archery Success
Inserts are tiny but mighty components. They are either glued into the rear end of the carbon shaft (the nock end) if you are using ‘pin’ nocks, or more commonly, glued into the front end where the point screws in. This connection point is critical for two main reasons: safety and accuracy.
Safety First: Preventing Shattering
Carbon arrows are tough, but strong impact (like hitting a hard target edge or a rock) can cause stress. If an aluminum insert is only loosely seated inside the carbon tube, that loose component can act as a stress riser or leverage point during a high-speed impact.
A loose insert can lead to the carbon shaft cracking or shattering upon impact. Shooting a damaged arrow is extremely dangerous. A solid, full-surface bond between the insert and the carbon shaft distributes impact forces evenly, greatly reducing the risk of catastrophic failure.
Accuracy Dependability
Think about it: your arrow point is the very front of your flight system. Any wiggle, vibration, or slight movement in that connection point translates directly into inconsistent flight. A properly glued insert ensures that when the tip hits the target, it does so exactly straight, giving you the tightest groups possible.
For those moving into hunting, this is non-negotiable. A loose insert can cause a fixed broadhead to vibrate just enough to fly poorly, leading to missed opportunities. Mastering how to glue inserts in carbon arrows professionally ensures consistency shot after shot.
Gathering Your Essential Tools and Materials
Before you start, gather everything you need in one place. Rushing or searching for supplies mid-process is a recipe for mistakes, especially when dealing with fast-setting adhesives. Remember, we aim for a clean, methodical approach.
Required Materials List
- Carbon Arrow Shafts: The arrows needing service.
- New Inserts: Make sure they exactly match the diameter of your shafts (usually standard, half-out, or full-diameter).
- High-Quality Arrow Adhesives: This is the most critical element. Options are discussed below.
- Acetone or Rubbing Alcohol (90%+ concentration): For thorough cleaning.
- Fine Grit Sandpaper or Abrasive Scouring Pad: To roughen the insert/shaft surface.
- Clean, Lint-Free Cloths or Q-Tips: For cleaning residue.
- Rags or Shop Towels: For general cleanup.
- Arrow Spinner or Simple Flat Surface: To allow the glue to cure evenly without drips or runs.
- Safety Gear: Gloves are highly recommended when handling solvents and epoxy.
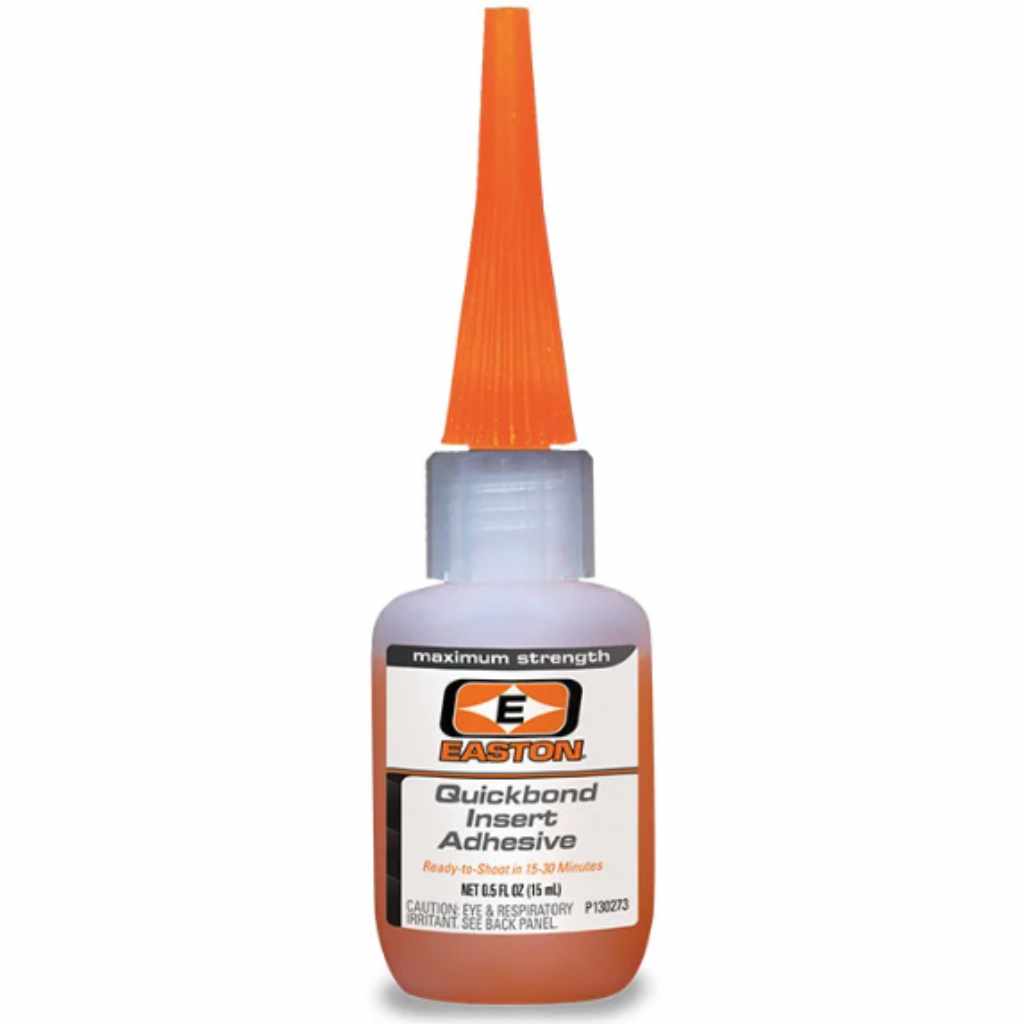
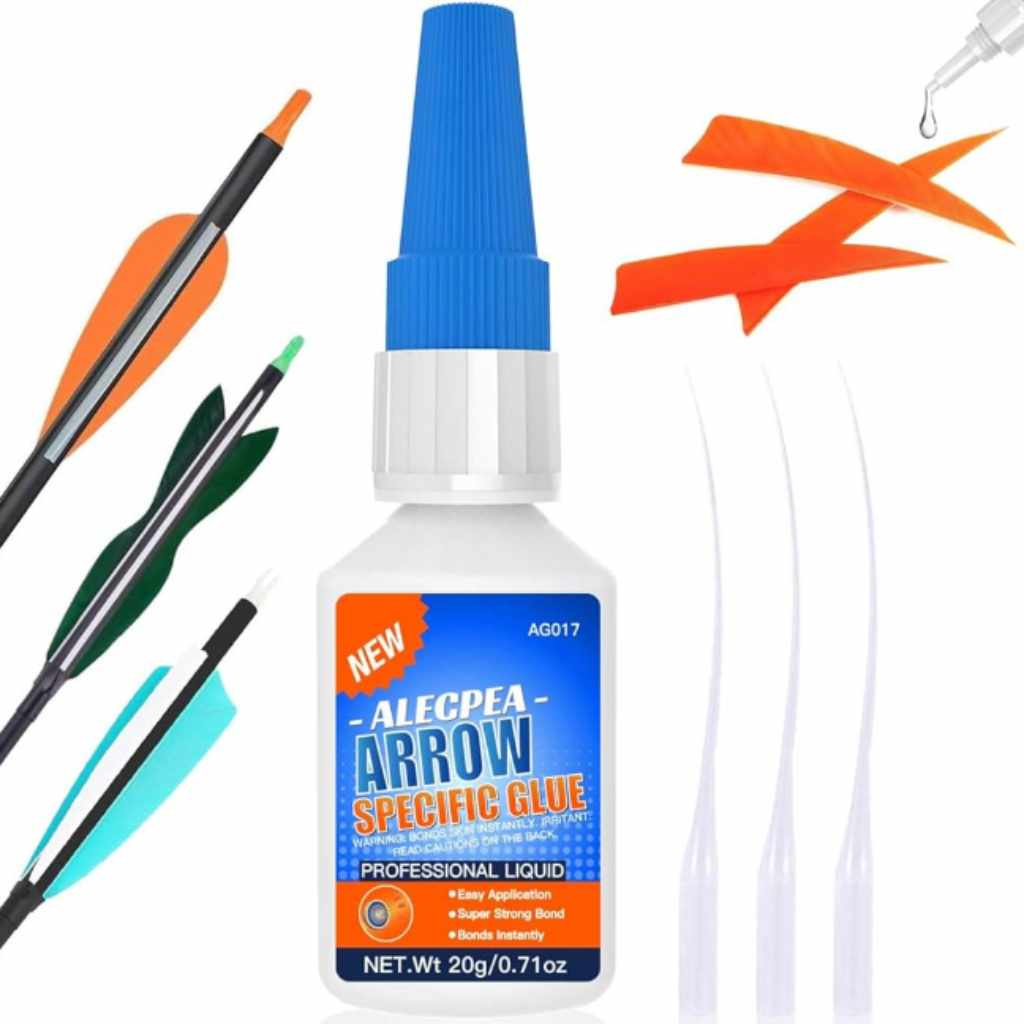
Choosing the Right Arrow Adhesive
The glue is what does the heavy lifting. For carbon arrows, you should almost always use a specific, dedicated arrow adhesive. Wood glue (like Elmer’s) or standard super glue (cyanoacrylate) will fail under the stress and vibration of shooting.
Here are the two most common, reliable types of glue used:
| Adhesive Type | Curing Time (General) | Pros | Cons |
|---|---|---|---|
| Two-Part Epoxy (e.g., Jocko Glue, Devcon 30-Minute) | 30 minutes to 24 hours (varies) | Extremely strong bond; very durable; allows repositioning time. | Needs careful mixing; longer cure time needed for full strength. |
| One-Part UV or Heat-Cure Glue (Specialized Arrow Glue) | Seconds (UV) or specialized cure | Very fast setting; often requires less clamping pressure once set. | Requires specific equipment (UV light) or heat source; less forgiving on setup time. |
Instructor Salman’s Tip: For beginners, stick to trusted two-part, slow-cure epoxy. It gives you more working time to ensure the insert is seated perfectly straight before it sets hard. If you only have 5-minute epoxy, work quickly!
Step-by-Step: How To Glue Inserts In Carbon Arrows
This process is about preparation. If you skip or rush the cleaning and sanding steps, even the best glue will fail. Measure twice, glue once!
Step 1: Prepare the Insert and Shaft Interior
This is the cleaning stage. We need to remove any factory residue, dust, oil, or grease from the surfaces that will touch the glue. Think of this like preparing walls before painting!
- Clean the Shaft Interior: Dip a Q-Tip into your high-concentration rubbing alcohol or pure acetone. Carefully insert the Q-Tip into the carbon shaft opening where the insert will go. Spin it around thoroughly to clean the inside wall surface.
- Inspect and Repeat: Pull the Q-Tip out. It should come out completely clean, without any black residue or dirt. Repeat this process until the swab comes out clean.
- Clean the Insert: Wipe down the outside surface of the insert (the part that fits inside the shaft) using the same solvent and a lint-free cloth.
Safety Note: Always work in a well-ventilated area when using acetone or strong solvents.
Step 2: Roughen the Bonding Surfaces
Glue sticks best to surfaces that are slightly rough, allowing the adhesive physical “teeth” to grip onto. We are looking for a surface texture, not material removal.
- Sanding/Scuffing the Insert: Take your fine-grit sandpaper (around 220 grit is usually ideal) or a scoring pad. Gently scuff the outside surface of the aluminum or carbon insert. You are not trying to remove a lot of material, just making the surface dull and slightly textured.
- Sanding the Shaft (Optional but Recommended): If your arrows came with inserts already installed or if you are reusing an open-ended shaft, you might carefully scuff the inside edge of the carbon shaft openings too. Be very gentle here to avoid compromising the carbon fibers.
- Final Clean: Wipe down both the insert and the shaft opening one final time with a clean, dry cloth to remove any sanding dust. Do not touch the cleaned areas with your bare fingers from this point forward.
Step 3: Dry Fit and Inspect
A dry fit confirms that the components fit together easily and deeply enough before the clock starts ticking with the adhesive.
- Test Fit: Gently push the insert into the arrow shaft opening. It should slide in smoothly, perhaps requiring a slight twist near the end, but it should never be forced.
- Depth Check: Ensure the insert seats to the correct depth, leaving enough of the insert exposed for the point to thread in securely, generally leaving 1/8 to 1/4 inch of threads clear inside the outer shaft if you have a recessed insert component.
- If it’s too tight: Do not try to glue it in if it forces its way in. You might have the wrong size insert or debris deeper inside the shaft.
Step 4: Mixing and Applying the Adhesive
If you are using a two-part epoxy, measure the components precisely according to the manufacturer’s ratio (usually equal parts). Uneven mixing results in weak or gummy bonds.
- Mixing: Mix the two components thoroughly on a small piece of cardboard or plastic until the color is uniform.
- Applying Glue to the Insert: Using a clean Q-Tip or a very small stick, apply a thin, even coat of the mixed adhesive entirely around the circumference of the insert. Crucially, use less than you think you need. Too much glue squeezes out, creating a difficult mess and potentially not allowing the insert to seat fully.
- Applying Glue to the Shaft (Alternative): Some archers prefer to lightly coat the inside walls of the shaft opening instead, but coating the insert generally allows for a more consistent layer when inserting.
Step 5: Insertion and Alignment
This step requires speed and precision, especially if using fast-setting glue.
- Insert Quickly: Immediately slide the glued insert into the shaft opening.
- Twist and Push: As you push it in, give the insert a slow, steady twist. This action helps spread the glue evenly inside the shaft wall, ensuring a 100% contact patch rather than air gaps.
- Set to Depth: Push the insert until it reaches its precise final seating depth. Wipe away any glue that squeezes out instantly with a clean cloth dampened very lightly with solvent (if safe for your specific glue).
Step 6: Curing and Final Inspection
This crucial stage requires patience. Do not rush this, no matter how eager you are to shoot.
- Curing Setup: Place the arrows horizontally on a dowel rod or dedicated arrow spinner—or simply lay them somewhere safe where they won’t roll or have the insert touch anything. This prevents the heavy glue or the heavy tip from dragging the insert out of alignment as it cures.
- Wait: Check your adhesive packaging. While 30-minute epoxies feel solid in 30 minutes, they often require 12 to 24 hours to achieve maximum structural strength. Wait the full recommended time indicated by the adhesive maker before shooting. Improper curing leads to failure under high stresses.
- Final Check: Once fully cured, test the insert. Try gently wiggling the insert using your fingers through the nock end. There should be zero movement, wobble, or give. It should feel like one solid piece of carbon.
Troubleshooting Common Beginner Insert Gluing Issues
Even with the best instructions, things can sometimes go slightly sideways. Here are common issues and how to fix them, or better yet, avoid them!
Problem 1: Too Much Glue Squeezed Out
If excess glue floods the opening or drips down the outside:
- Quick Fix: Immediately wipe the excess cleanly away with a dry cloth or a cloth slightly dampened with the recommended solvent (check your glue MSDS if unsure). If the glue is already curing and gummy, scraping it off gently now is better than letting it fully harden, which can interfere with nock seating or point threading.
- Prevention: Always apply glue sparingly, focusing only on coating the surface, not puddling it.
Problem 2: Insert Sticks Halfway In
The insert stops moving before it reaches the proper depth:
- The Fix: If the glue hasn’t started to set (usually in the first 5 minutes of a 30-minute epoxy), try gently pulling it out, cleaning the surfaces, re-applying a fresh, lighter coat, and re-inserting.
- If the glue is setting: Do not force it. You risk fracturing the carbon shaft trying to pull it out or push it further. Let it cure, and you will likely have to cut the carbon shaft just past the stuck insert and start over, or—if possible—carefully drill out the failed insert later. This emphasizes the need for smooth prep work.
Problem 3: Loose Insert After Curing
You waited 24 hours, but the insert still wiggles:
- The Fix: This almost certainly means the preparation steps failed—either the parts were greasy, or the glue was mixed incorrectly. You must remove the loose insert. This usually involves heating the arrow shaft gently with a hairdryer or carefully applying heat to the area to soften the epoxy, allowing you to gently twist and pull the insert out.
- Prep is Key: Once removed, clean all the old epoxy residue off the insert and shaft wall using sanding and solvents, then repeat the entire gluing process meticulously.
Maintenance and Longevity: Keeping Your Inserts Secure
Gluing inserts is not just a one-time fix; it’s part of good arrow longevity. Because carbon shafts are somewhat flexible, they absorb vibration differently than aluminum. Regular checks are smart.
Visual Inspection Routine
Before every major shooting session (especially if you are practicing field shooting or hunting):
- Unscrew every tip (field points or broadheads).
- Check the threads of the point itself for damage.
- Shine a light into the shaft opening to ensure the insert looks perfectly seated and flush with the carbon edge.
- Re-attach the point and tighten it snugly.
What About Field Points vs. Broadheads?
Broadheads—especially large mechanical or fixed-blade broadheads—place far greater stress on the insert area than simple field points do.
Reputable organizations emphasize that any screw-in component must be secured because failure under hunting conditions is unacceptable. While field points can sometimes handle a slightly looser bond, broadheads demand perfection. If you are gluing inserts for hunting arrows, ensure you use the strongest recommended epoxy and let it cure for the full 24 hours.
FAQ: Beginner Questions on Carbon Arrow Inserts
Here are some common questions I hear from archers just learning how to maintain their gear:
Q1: Can I use standard super glue (cyanoacrylate) to glue my carbon inserts?
A: While super glue works instantly, it is generally not recommended for structural archery components. It becomes very brittle under stress and temperature changes, leading to a high risk of failure upon impact. Always use a dedicated epoxy or arrow adhesive.
Q2: How long do I really need to wait before shooting arrows after gluing the inserts?
A: For most two-part epoxies, the arrow will feel cured in 30 minutes to an hour, but it will not reach its maximum structural strength. To ensure safety and accuracy, wait at least 12 hours, and ideally 24 hours, before shooting them under full draw weight.
Q3: Do I need to sand an insert if it’s a carbon-on-carbon insert instead of aluminum?
A: Yes, absolutely. Even carbon-on-carbon joints require light scuffing. Glue adheres poorly to smooth surfaces regardless of material. Always rough up the sides of the insert intended to go into the shaft.
Q4: What if I only glue the point, not the insert? Why bother gluing the insert?
A: Gluing the insert secures the point receptacle permanently. If you only use a drop of glue on the field point threads, it only stops the point from backing out. Gluing the insert ensures the structural connection between the point holder and the shaft is rock-solid, preventing shaft failure or point shifting during hard impacts.
Q5: Is it okay to use a solvent like acetone inside the carbon shaft? Won’t it damage the carbon?
A: High-quality carbon arrow shafts are cured resins and are generally unaffected by brief exposure to solvents like acetone or high-concentration alcohol used purely for cleaning. The key is using a clean swab and wiping quickly, not soaking the interior for long periods.
Q6: My arrows are spine-tested. Will gluing affect the spine rating or arrow straightness?
A: If you follow the process correctly—using thin, even coats of glue and ensuring the insert seats straight—the glue will not meaningfully affect the spine or straightness. Spine measurement relies on the tube’s integrity, and a proper, centered bond actually reinforces the end structure.
Advanced Tips for Repeatable Success
As you move beyond the absolute beginner stage, adopting these practices will help you achieve perfect results every time you service your arrows. This is about building repeatable confidence in your gear.