Changing inserts in carbon arrows is a straightforward process you can master with a few basic tools and a bit of patience. This guide provides an easy, step-by-step method to ensure your arrow inserts are securely fitted, helping you maintain accuracy and confidence in your archery.
How to Change Inserts in Carbon Arrows: Proven Effortless
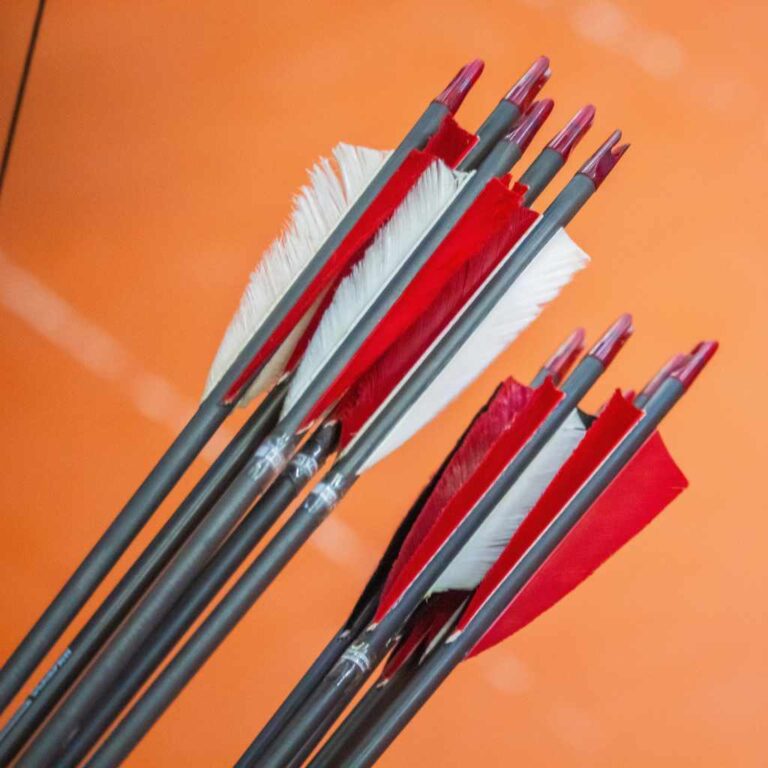
Ever had an arrow nock, fly a bit off, or just feel… not quite right? Sometimes, the culprit isn’t your aim or your bow, but a loose or damaged arrow insert. Inserts are the small pieces that screw into the front of your carbon arrow shaft, holding your broadheads or field points. When they’re not seated properly, it can throw off your arrow’s flight and even be a safety concern. But don’t worry! If you’ve ever wondered, “How do you change inserts in carbon arrows?” you’re in the right place. This guide will walk you through it, step-by-step, making it simple, safe, and surprisingly easy.
We’ll cover everything from identifying the problem to the best way to secure a new insert. By the end of this article, you’ll have the confidence and knowledge to handle this common archery task, keeping your arrows shooting true and your confidence high.
Why Are Arrow Inserts Important?
Before we dive into how to change them, let’s understand why these little components matter so much. The insert is the critical connection point between your arrow shaft and your point (whether it’s a field point for practice or a broadhead for hunting). It’s designed to provide a strong, stable platform for your point to screw into.
- Accuracy: A loose or improperly seated insert can cause your point to sit at an angle, leading to inconsistent arrow flight and reduced accuracy.
- Durability: A well-fitted insert helps distribute the force when your arrow hits a target, preventing damage to the front of the arrow shaft.
- Safety: In hunting situations, a misaligned point due to a faulty insert can lead to unethical shots and potentially lost game, or worse, a dangerous situation if the arrow doesn’t fly as expected.

Signs Your Arrow Insert Needs Attention
Sometimes, it’s not immediately obvious that an insert is the issue. Here are a few tell-tale signs to look out for:
- Loose Point: If your field point or broadhead wobbles or isn’t screwing in tightly, the insert might be the problem.
- Arrow Spins Unevenly: Roll your arrow on a flat surface. If it wobbles noticeably, the insert might be crooked or damaged.
- Visible Damage: Inspect the front of your arrow shaft. Cracks, chips, or delamination around the insert area are clear indicators something is wrong.
- Inconsistent Flight: If your arrows are not grouping as well as they used to, and you’ve ruled out other common issues like fletching damage or bow tuning, an insert problem could be the cause.
- Difficulty Screwing Nock/Point: If you have trouble screwing in your nocks or points, it could mean the insert is damaged or deformed.
Tools You’ll Need
Gathering the right tools beforehand makes the whole process smoother. You don’t need a specialized archery shop; most of these are common household or easily obtainable items.
- New Arrow Inserts: Make sure they are the correct size and type for your specific carbon arrow shafts. Check your arrow manufacturer’s recommendations. Using the wrong size can damage your arrows.
- Arrow Insert Glue: Specialized Fletching Glue or CA (Cyanoacrylate) glue designed for carbon arrow shafts and inserts. Some people use hot melt style glues as well, but ensure it’s suitable for your arrow material. A quick-drying formula is often preferred. For instance, Bohning’s Fletching Glue is a popular and reliable choice for many archers.
- Arrow Prep Cleaner: Isopropyl alcohol (90% or higher) or a specialized carbon arrow cleaner to ensure a clean surface for bonding.
- Small Drill Bit (Optional): A bit slightly smaller than the inside diameter of your arrow shaft, used to clear out old glue if needed.
- Heat Gun or Hair Dryer: To soften old glue if an insert needs to be removed. You can also use a lighter very carefully.
- Pliers (Needle-Nose): To grip and twist the insert when removing it.
- Safety Glasses: Always protect your eyes, especially when working with glues or dealing with potentially brittle carbon fragments.
- Gloves (Optional): To keep your hands clean from glue.
- Paper Towels or Clean Rags: For cleaning up excess glue and material.
Step-by-Step Guide: Changing Your Carbon Arrow Inserts
Let’s get down to business! This process is broken down into manageable steps. Remember to work in a well-ventilated area, especially when using glues.
Step 1: Assess the Situation & Remove the Old Insert (If Necessary)
First, determine if the insert is truly loose or damaged, or if the point is just not screwing in properly. If the insert is loose, it needs to be removed. If it’s damaged in place, you’ll likely need to remove it anyway.
If the old glue is strong:
- Apply Heat: Gently heat the front end of the arrow shaft (where the insert is located) using a heat gun or hair dryer on a medium setting. Keep the heat moving to avoid overheating any single spot, which can damage the carbon. The goal is to soften the glue, not melt the shaft! A minute or two of gentle heating should suffice. For a very stubborn insert, a lighter can be used with extreme caution, keeping the flame moving and never direct contact with the carbon. Understanding material properties like carbon fiber composites can help appreciate why gentle heating is key to avoiding damage.
- Twist and Pull: Once the glue is softened, carefully grip the insert’s edge with pliers. Gently twist and pull the insert out of the shaft. If it resists, apply a little more heat and try again. Don’t force it, as this can damage the carbon shaft.
If the old glue is weak or the insert is missing:
- Clean the Interior: If the old insert came out easily but left glue residue, or if you’re replacing a lost insert, you need a clean cavity. Use a small drill bit (slightly smaller than the shaft’s inner diameter) in a hand drill or a Dremel tool to gently scrape out any remaining glue and debris from inside the shaft opening. Be very careful not to enlarge the hole or damage the carbon fibers. A wooden dowel with some sandpaper wrapped around it can also work for scraping.
- Clean the Shaft End: Wipe the outside of the shaft opening with your arrow prep cleaner (isopropyl alcohol) to remove any oils or dirt.
Step 2: Prepare the New Insert
Now it’s time to get the new insert ready. Cleanliness is key for a good bond.
- Clean New Insert: Wipe down the new insert with your prep cleaner to remove any manufacturing oils or fingerprints.
- Dry Fit (Optional but Recommended): Gently insert the new, clean insert into the shaft without glue. It should slide in smoothly and sit flush with the end of the shaft. If it’s too tight, you might have the wrong size insert. If it’s loose, you might have a damaged shaft or the wrong insert.
Step 3: Apply the Adhesive
This is where the magic happens. Precision matters here.
- Apply Glue: Put a few small drops of your chosen arrow insert glue around the outside edge of the insert that will go into the shaft. Don’t overdo it; you don’t want excess glue oozing out excessively. Some archers prefer to apply a thin, even layer around the entire shaft of the insert.
- Insert into Shaft: Carefully insert the glued insert into the front of the carbon arrow shaft.
Step 4: Seat the Insert Properly
Getting it in is one thing; making sure it’s perfectly seated is another!
- Push Firmly: Push the insert in until it is flush with the end of the carbon shaft. You should not see any gap between the insert and the shaft, nor should the insert stick out.
- Clean Up Excess Glue: While the glue is still wet, carefully wipe away any excess that squeezed out with a paper towel. It’s much harder to clean up once it dries.
- Align Correctly: Ensure the insert is straight and not at an angle. This is crucial for arrow flight. You can often visibly check this by looking down the shaft and the insert.
Step 5: Allow to Cure
Patience here pays off for long-term results.
- Let it Dry: Allow the glue to cure completely according to the manufacturer’s instructions. This usually takes at least 12-24 hours for full strength, although it might be dry to the touch much sooner. Avoid shooting the arrow until the glue has fully cured.
- Check Fit: Once cured, screw in your field point or broadhead to ensure it threads in smoothly and tightly.
Common Mistakes to Avoid
Even with a clear guide, it’s easy to make a slip. Here are some common pitfalls to watch out for:
- Using the Wrong Glue: Standard super glue or wood glue might not hold up to the stresses of archery. Always use a glue specifically designed for carbon arrows and inserts.
- Overheating the Shaft: Excessive heat can delaminate or damage the carbon fibers, weakening the arrow.
- Forcing the Insert: If an insert doesn’t go in easily, don’t force it. This can crack the shaft or jam the insert. Re-evaluate and troubleshoot.
- Not Cleaning Surfaces: Oil, dirt, or old glue residue will prevent the new glue from bonding properly.
- Not Waiting for Cure Time: Shooting an arrow before the glue is fully cured can lead to the insert coming loose, ruining your shot and potentially damaging the arrow.
- Incorrect Insert Size: Always double-check that you have the correct diameter and straightness (or offset) of insert for your specific arrow model.
When to Consider Professional Help
While changing inserts is a manageable DIY task, there are times when it’s best to seek expert advice:
- Damaged Shafts: If you notice any significant cracks, splits, or signs of delamination on your carbon shaft, especially around the insert area, the arrow may be compromised and unsafe to shoot. It’s best to replace it.
- Uncertainty: If you’re uncomfortable with any part of the process, or if you’re having persistent trouble with inserts not fitting or holding, a local archery shop can often help. They have the experience and specialized tools to diagnose and fix issues.
- New to Carbon Arrows: If you’ve primarily used aluminum arrows and are new to carbon shafts, understanding their unique properties and the proper care they require is important. An experienced shop can guide you on best practices.
Table: Insert Types and Their Characteristics
When selecting new inserts, you might encounter different types. While the installation process is similar, understanding the differences can be helpful.
| Insert Type | Description | Typical Use Case | Pros | Cons |
|---|---|---|---|---|
| Standard (Straight) | The most common type, designed to align perfectly with a straight arrow shaft. | General archery, practice, target shooting, youth bows. | Easy to install, widely available, affordable. | May not offer slight adjustments for spine alignment in some advanced setups. |
| Offset | Features a slight angle (e.g., 7/128″ or 20/1000″) to fine-tune the arrow’s spine. For example, a 200 spine arrow might use a 100 spine insert if the point is 100 grains. | Performance tuning for higher-end setups, indoor leagues, competitive archery where precise tuning is critical. | Allows for fine-tuning arrow flex (spine), can improve arrow flight with specific setups. | Slightly more complex to select the correct offset value, can be harder to find. |
| Heavy Metal / Weighted | These inserts come with added weight pre-installed or are made from denser materials. | Archers who want to increase the front-of-center (FOC) weight of their arrows without using heavier points, or to fine-tune arrow dynamics. | Concentrates weight forward for FOC, can help stabilize arrow flight. | More expensive, adds overall arrow weight, requires careful calculations for optimal FOC. |
| Aluminum vs. Stainless Steel | Inserts can be made from different materials; aluminum is lighter, while stainless steel is denser and more durable. | Aluminum for weight savings in lighter setups; stainless steel for durability and front weight in heavier or hunting setups. | Aluminum is lighter. Stainless steel is more robust and adds more weight. | Aluminum can be less durable. Stainless steel adds more weight, which might be undesirable for some setups. |

Maintaining Your Arrows for Longevity
Proper care can extend the life of your arrows and ensure they perform reliably:
- Regular Inspections: Make it a habit to check your arrows for damage before and after each shooting session. Look for cracks, frayed fibers, or loose fletching.
- Clean Storage: Store your arrows in a durable arrow case to protect them from impacts and environmental damage.
- Avoid Extreme Temperatures: Don’t leave your arrows in a hot car or exposed to extreme cold for extended periods, as this can potentially affect the shaft material or glue bonds.
- Use the Right Tools: Always use arrow pullers designed for carbon arrows to remove them from targets, rather than yanking them out by hand, which can exert undue stress.
For more information on arrow care and maintenance based on manufacturer recommendations, the Archery Trade Association (ATA) often provides resources and best practices through its member companies and publications.
Frequently Asked Questions
Here’s a quick look at some common questions beginners have about changing carbon arrow inserts.
Q1: How often should I check my arrow inserts?
A: It’s a good practice to check your arrow inserts before every shooting session. Look for any signs of looseness, damage to the insert or shaft, or if your field points/broadheads are screwing in unevenly. A quick check can prevent issues downrange.
Q2: Can I use a regular hot glue gun for arrow inserts?
A: While some people have had success with specialized hot melt glues, standard craft hot glue is generally not recommended. It may not provide a strong enough bond or withstand the impact forces and temperature changes encountered in archery. Always use adhesives designed for arrows.
Q3: My insert feels a little loose, but the glue seems okay. What should I do?
A: If an insert feels loose, it’s best to address it. You might need to remove it, clean out any old adhesive, and re-glue it. If the shaft itself seems compromised or the insert won’t sit snugly, the arrow might be damaged and should be retired.
Q4: How do I know if I have the right size insert for my carbon arrow?
A: Arrow manufacturers specify the exact insert diameter and type (e.g., standard, offset) for each of their arrow models. Check your arrow packaging, the manufacturer’s website, or consult with your local pro shop to ensure you purchase the correct size. Using the wrong size can damage your arrows.
Q5: What’s the difference between a straight insert and an offset insert?
A: A standard or straight insert aligns perfectly with the arrow shaft. An offset insert has a slight angle built into it. Archers use offset inserts for fine-tuning their arrow’s spine – essentially making a stiffer arrow shaft behave a bit more like a weaker one, or vice-versa, to achieve optimal flight with a particular bow setup.