Building your own archery target stand might seem a little tricky at first, especially if you’re new to DIY projects. You might worry about needing special tools or skills. But don’t worry! It’s actually quite simple. We’ll show you exactly how to make a sturdy and practical stand using just a few common things. This easy step-by-step guide will help you get ready to shoot in no time.
Build Your Own PVC Archery Target Stand
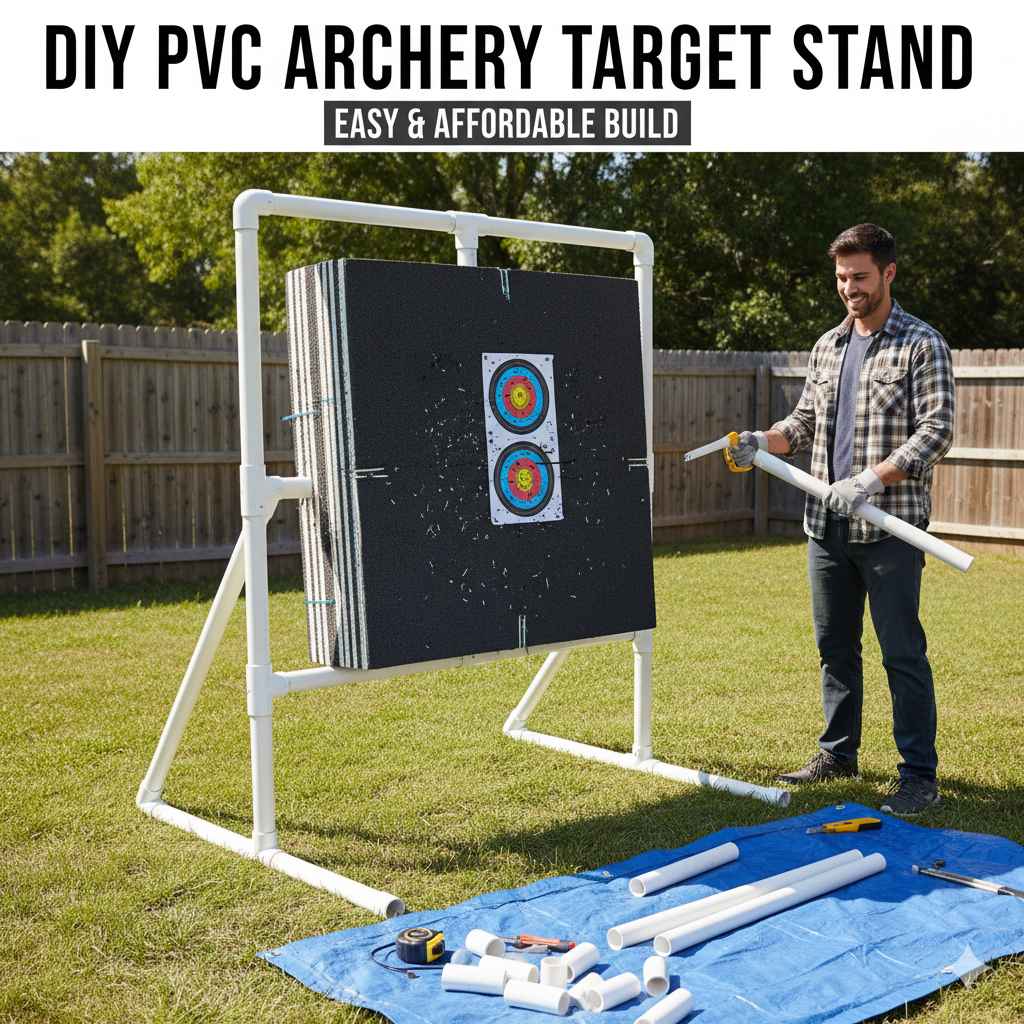
Creating a functional target stand for your archery practice doesn’t need to be complicated or expensive. This guide focuses on building a durable and easy-to-assemble PVC stand. It’s a popular choice for beginners because PVC is lightweight, affordable, and easy to cut and join. You can have a stable target setup ready for your backyard range without a lot of hassle. This section will cover the basic design and materials you’ll need to get started on this rewarding project.
Choosing the Right PVC Materials
Selecting the correct PVC pipes and fittings is key to a strong and stable target stand. You’ll want to pick pipes that are sturdy enough to hold your target securely. Schedule 40 PVC pipe is a good choice because it’s strong and widely available.
Types of PVC Pipe
Schedule 40 PVC pipe is rated for water pressure but is also excellent for structural applications like our target stand. It’s thicker than other types, offering better rigidity and durability. You’ll typically find it in white.
Essential PVC Fittings
You will need various fittings to connect the pipes and form the stand. The most common ones include:
- Elbows (90-degree): These are used to create corners and change the direction of your pipe runs.
- Tees (3-way): Tees allow you to branch off a pipe into two directions, useful for creating stable legs or support structures.
- Couplings: These are simple connectors used to join two pieces of pipe together, extending their length.
- Crosses (4-way): Less common for a basic stand, but can be used for more complex designs needing four pipe connections at one point.
For a simple, effective stand, 90-degree elbows and tees will be your primary connectors. The size of your PVC pipe will determine the size of your fittings. Common sizes for a target stand are 1.5-inch or 2-inch diameter pipe.
PVC Cement and Primer
To permanently join your PVC pipes and fittings, you’ll need PVC primer and cement. The primer cleans the pipe and fitting surfaces, preparing them for the cement. The cement acts as a solvent that slightly melts the PVC, allowing it to fuse together when joined. Always use these in a well-ventilated area.
Designing Your PVC Archery Target Stand
A good design ensures your target is stable and at a comfortable shooting height. We’ll look at a common, effective design that’s easy for beginners to build. This structure provides a solid base that won’t tip over easily.
Basic Stand Structure
A common design uses a rectangular base for stability, with vertical supports to hold the target. Think of it as a simple frame. A U-shape is often used to hold the target itself, allowing it to be easily placed and removed.
Dimensions for Stability
The width and depth of your base are crucial for preventing the stand from wobbling. A base that is at least as wide as your target, and a bit deeper, will offer good stability. The height should be comfortable for you to shoot at.
Here’s a sample plan for a stand that can hold a standard archery target:
- Base: Two 3-foot long pipes connected by two 2-foot long pipes to form a rectangle.
- Legs: Four vertical pipes, each about 3 feet long, attached to the corners of the base using tee fittings.
- Uprights: Two vertical pipes, around 4 feet long, attached to the middle of the longer base pipes using tee fittings. These will support the horizontal target holder.
- Target Holder: One horizontal pipe, about 3 feet long, connected to the top of the two uprights using 90-degree elbows or tee fittings. This is where your target will hang or lean.
This design provides a wide footprint and sturdy uprights. It’s simple to assemble and can be customized.
Example Scenario for Design
Imagine you have a 24-inch wide archery target. You might want your stand’s base to be about 30 inches wide and 24 inches deep. This gives it a stable platform. The uprights should be tall enough so that when your target is on the stand, the center of the target is at a comfortable height for you, maybe around chest level.

Steps for Building Your Target Stand
Now let’s get to the actual building process. It’s straightforward and doesn’t require advanced tools. You’ll be cutting pipes and gluing fittings together.
Step 1 Measuring and Cutting PVC Pipes
Before you cut, measure twice! Accuracy here means a tight-fitting, sturdy stand. You’ll need a PVC pipe cutter or a fine-tooth saw.
- Measure and mark your PVC pipes according to the dimensions you chose for your design.
- Use a PVC pipe cutter for clean, straight cuts. If using a saw, make sure the cut is as square as possible.
- Clean any rough edges left from cutting with a deburring tool or sandpaper. This ensures a good fit for the fittings.
Step 2 Preparing for Assembly
Dry-fitting is crucial. This means putting the pipes and fittings together without glue to make sure everything fits correctly and you have the right shape.
- Assemble all the pieces loosely to check the final shape and dimensions.
- Make sure all connections are snug and the stand sits level on the ground.
- If any pipes are too long or short, now is the time to adjust them.
Step 3 Gluing the PVC Components
This is where your stand becomes permanent. Work in a well-ventilated area.
- Apply PVC primer to the outside end of the pipe and the inside of the fitting.
- Immediately apply a thin, even coat of PVC cement to both primed surfaces.
- Push the pipe firmly into the fitting with a slight twist to ensure even distribution of the cement.
- Hold the connection for about 30 seconds to prevent the pipe from pushing back out of the fitting as the cement sets.
- Wipe away any excess cement.
You’ll want to do this section by section to avoid the cement setting before you can join parts. Let’s say you build the base first, then attach the legs to it.
Step 4 Allowing the Stand to Cure
Once everything is glued, it needs time to harden properly. This is called curing.
- Let the assembled stand cure for at least 24 hours before putting any weight on it or using it.
- The curing time can vary slightly depending on the temperature and humidity, so check the cement manufacturer’s instructions.
- Proper curing ensures maximum strength and durability for your stand.
How to Use Your PVC Archery Target Stand
Using your new stand is the fun part! It’s designed to be simple and effective for holding your target securely.
Placing Your Target
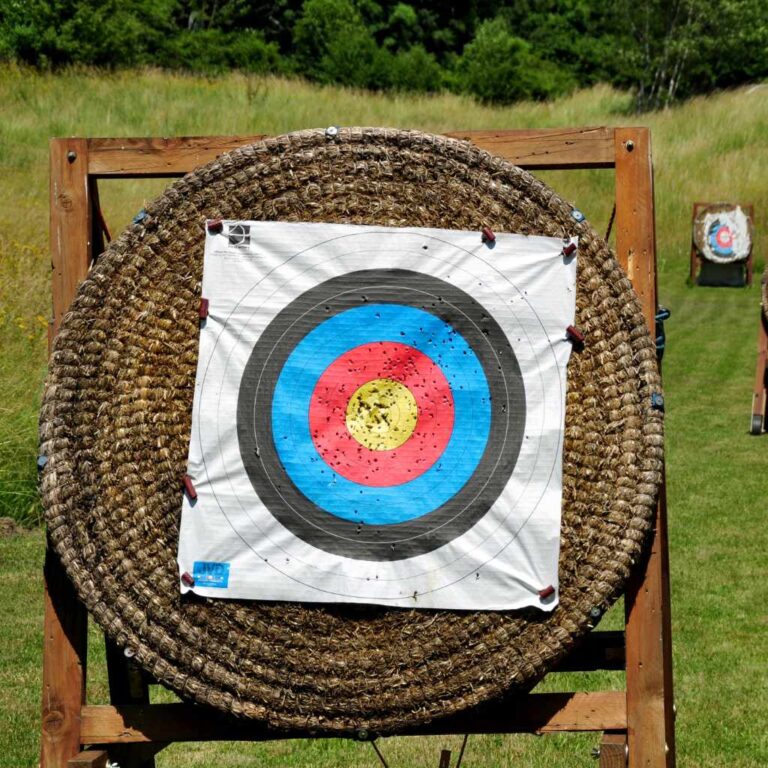
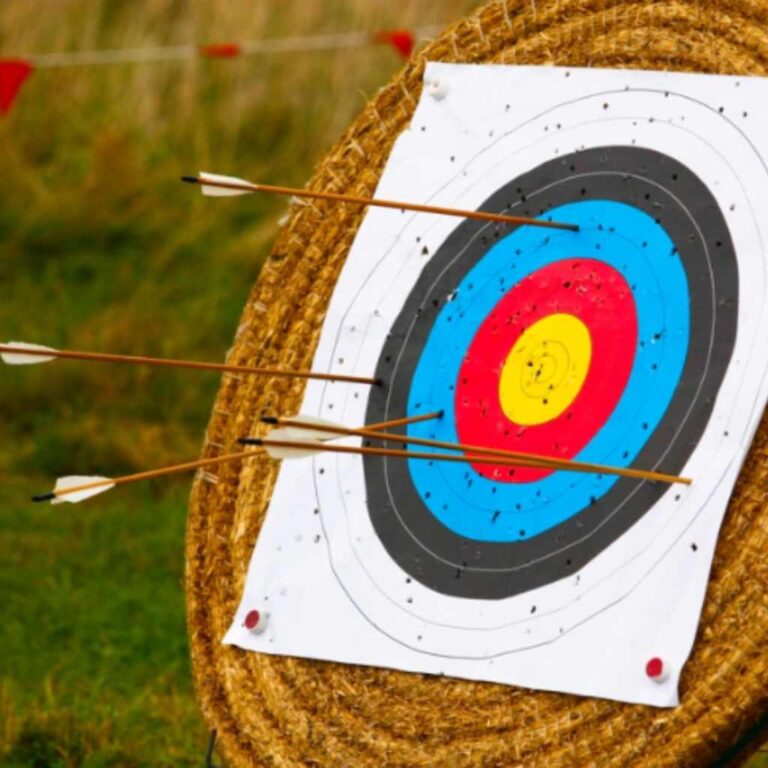
Most archery targets can be placed in a few ways. You can lean them against the horizontal bar, or if your target has grommets, you might be able to hang it.
- Lean your target against the horizontal support pipe. Make sure it’s stable and won’t fall forward or backward.
- If your target has loops or grommets, you could use bungee cords or rope to attach it to the stand for extra security, especially in windy conditions.
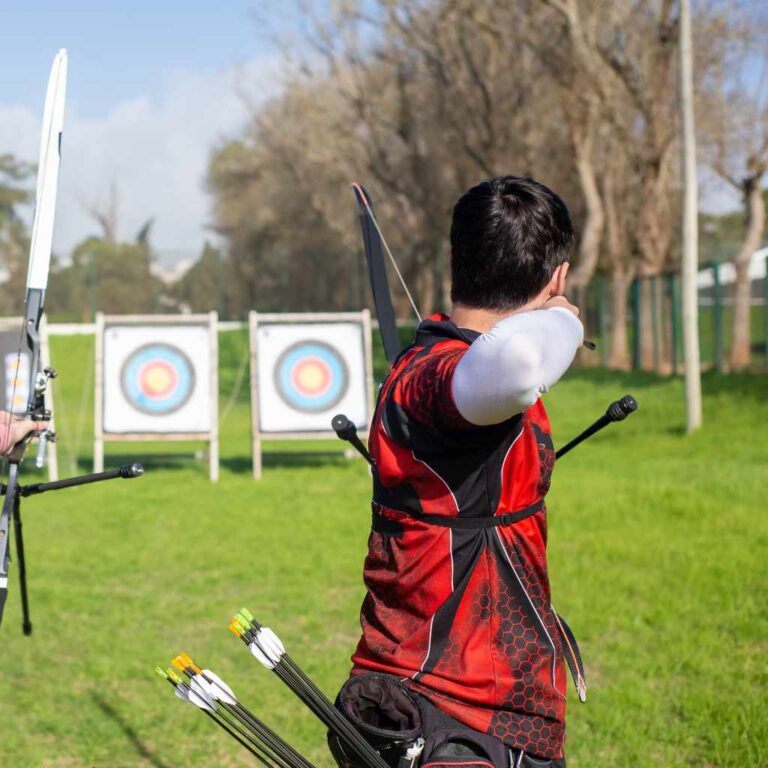
Target Placement for Practice
Consider your shooting distance and the environment when placing your target.
- Ensure there is a safe backdrop behind your target. Never shoot towards anything that could be hit if an arrow misses the target.
- Place your target stand on a level surface to prevent it from tipping.
- If shooting in a backyard, make sure the area is clear of people, pets, and property that could be accidentally hit.
Tips for Longevity and Maintenance
Your PVC stand is durable, but a little care goes a long way.
- Keep the stand out of direct, prolonged sunlight when not in use, as UV rays can degrade PVC over time.
- If the stand gets dirty, a simple wipe-down with a damp cloth is usually sufficient.
- Periodically check the glued joints to ensure they are still secure, especially after periods of heavy use or extreme weather.
The Benefits of How to Build a PVC Archery Target Stand (Easy DIY)
Building your own archery target stand offers several advantages over buying one. It’s a project that saves money and gives you a custom solution. Understanding these benefits can help you appreciate the value of this DIY approach.
Cost-Effectiveness
One of the biggest draws of a DIY PVC stand is its affordability. Compared to pre-made target stands, which can be quite expensive, the materials for a PVC stand are relatively cheap. You’re paying for raw materials like pipes and fittings, not brand names or retail markups.
Material Costs Compared to Retail
A typical store-bought archery target stand can cost anywhere from $50 to $150 or more, depending on its size and features. The materials for a DIY PVC stand can often be purchased for $20 to $40. This significant cost saving allows you to spend more on your archery equipment.
Example Cost Breakdown
For a stand similar to the one described earlier, you might spend around:
- PVC Pipe (1.5-inch or 2-inch diameter, about 20-25 feet total): $10 – $15
- PVC Fittings (elbows, tees): $15 – $20
- PVC Primer and Cement: $5 – $10
Total Estimated Cost: $30 – $45. This is a fraction of the cost of many commercial options.
Customization and Adaptability
With a DIY approach, you’re not limited to standard sizes or designs. You can tailor the stand to your exact needs.
- Target Size: If you use an unusually large or small target, you can adjust the stand’s dimensions to fit it perfectly.
- Height and Width: You can set the height for your preferred shooting stance or make the base wider for extra stability if you shoot in windy conditions.
- Portability: While PVC stands are lightweight, you can even design them to be easily disassembled for transport if needed, though most build them permanently assembled.
This ability to customize means you get a stand that functions exactly how you want it to for your specific practice setup.
Simplicity and Accessibility
The methods used for building a PVC stand are very basic. You don’t need specialized tools or complex skills.
- Tool Requirements: The main tools needed are a PVC pipe cutter or saw, a measuring tape, and a marker.
- Skill Level: If you can measure and cut, and follow simple gluing instructions, you can build this stand. It’s an excellent project for beginners in DIY.
- Availability of Materials: PVC pipes and fittings are available at any hardware store, making them easy to find.
The whole process is designed to be straightforward, allowing anyone to create a functional piece of archery equipment.
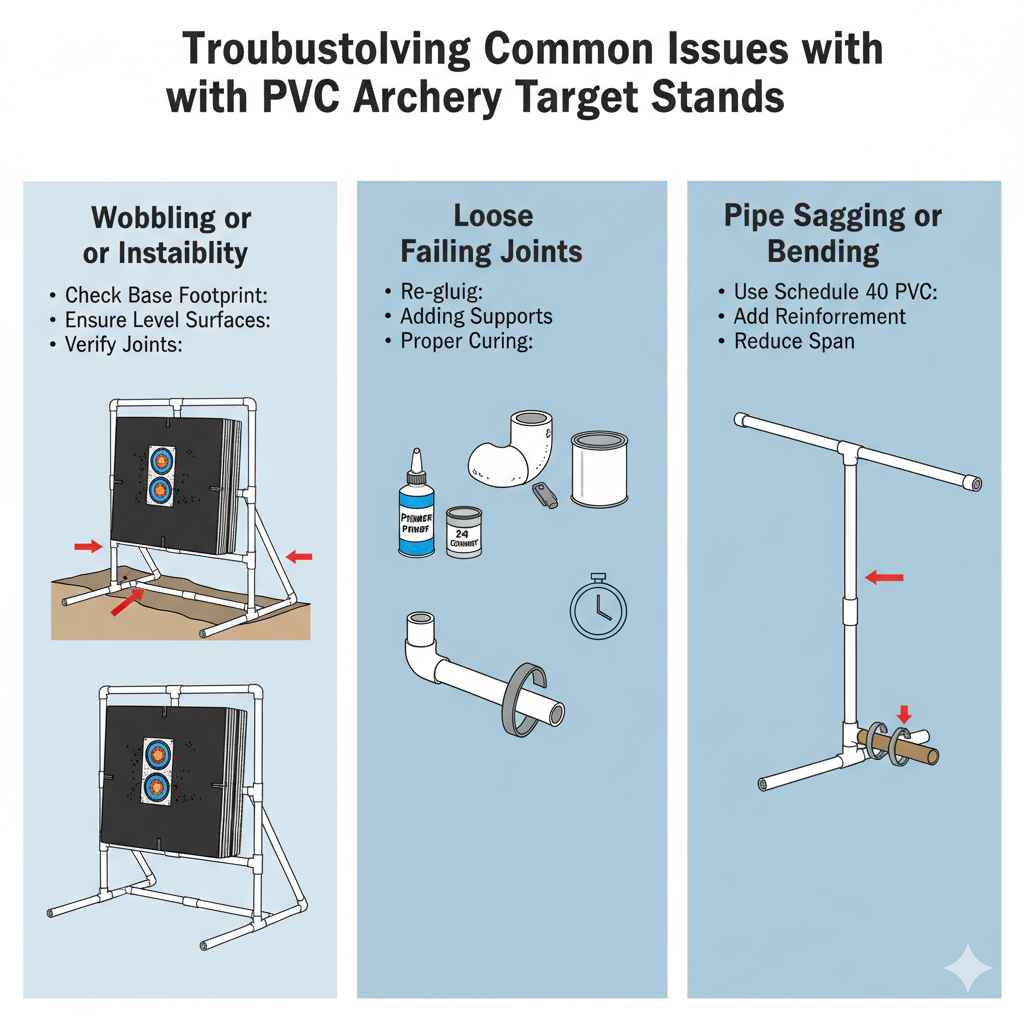
Troubleshooting Common Issues with PVC Archery Target Stands
Even with a simple project, you might run into a few snags. Knowing how to fix them ensures your stand is always ready for action. Most problems are easy to solve with a little patience.
Wobbling or Instability
If your stand feels wobbly, it’s usually due to the base design or how it’s assembled.
- Check the Base Footprint: A wider and deeper base provides more stability. If your stand wobbles, you might need to extend the base pipes or add cross-bracing.
- Ensure Level Surfaces: The ground where you set up your stand must be flat. Uneven ground will make any stand feel unstable.
- Verify Joints: Make sure all the pipes are fully seated in their fittings. If a joint isn’t all the way in, it can create play.
If a joint seems loose after gluing, it might be necessary to cut it apart and re-glue it, or add extra bracing at that point.
Example of Wobble Fix
Imagine your stand rocks side-to-side. This often means the base isn’t wide enough or the legs aren’t at a good angle. You could add an extra 1-foot pipe to the middle of each long side of the base, connecting them with tee fittings, to widen the stance.
Loose or Failing Joints
Sometimes, glued joints don’t hold as well as expected. This can happen if the surfaces weren’t prepared correctly or if the stand was used before the cement fully cured.
- Re-gluing: If a joint comes apart, clean off any old glue, re-prime, and re-cement. Ensure a firm hold while it sets.
- Adding Supports: For a joint that won’t hold despite re-gluing, you can reinforce it by adding a larger coupling or a pipe strap around the joint.
- Proper Curing: Always allow 24 hours for cement to fully cure. Using the stand too soon is a common reason for joint failure.
Proper preparation of the pipe and fitting surfaces is the most important step for strong joints.
Pipe Sagging or Bending
If you’re using lighter weight PVC or have a very heavy target, the pipes might start to sag over time.
- Use Schedule 40 PVC: This type of pipe is generally strong enough for most targets. Avoid thinner-walled pipe.
- Add Reinforcement: For critical support points, like the horizontal piece holding the target, you can insert a wooden dowel or another smaller PVC pipe inside the main support pipe.
- Reduce Span: If a pipe is sagging, you might need to add an extra vertical support pipe directly underneath the longest unsupported section.
The length of unsupported pipe is a major factor in sagging. Shorter spans are always more stable.
Frequently Asked Questions
Question: What is the best size PVC pipe for an archery target stand?
Answer: For most standard archery targets, 1.5-inch or 2-inch diameter Schedule 40 PVC pipe is recommended. This provides a good balance of strength, durability, and cost.
Question: Do I need special tools to build a PVC target stand?
Answer: No, you don’t need special tools. A PVC pipe cutter or a fine-tooth handsaw for cutting, a measuring tape, and a marker are usually all you need. A deburring tool or sandpaper is helpful for smoothing edges.
Question: How long will a PVC archery target stand last?
Answer: A well-built PVC stand can last for many years, especially if kept out of direct sunlight. UV rays can degrade PVC over extended periods, so storing it indoors or covering it can extend its life.
Question: Can I make a PVC target stand for heavy bag targets?
Answer: Yes, but you’ll need to use thicker Schedule 80 PVC pipe or reinforce the stand significantly with more pipes and possibly metal bracing, especially for the main support for the target.
Question: How do I attach a target that doesn’t have holes?
Answer: You can often lean targets without holes against the stand’s support bar. For added stability, you could use bungee cords or straps to secure it to the frame, or even create a simple cradle with additional PVC pieces.
Summary
Building your own PVC archery target stand is a straightforward and budget-friendly project. By following simple steps for design, cutting, and assembly, you can create a sturdy and functional stand. This DIY approach saves money and lets you customize the stand to fit your needs perfectly, ensuring you have a reliable setup for all your archery practice sessions.