Archery Target size vs distance depends on your skill level and the specific discipline. Beginners should start with larger targets (e.g., 40cm or greater) at short ranges (10–15 yards). As you improve, progressively decrease the target size or increase the distance to challenge accuracy and simulate real-world shooting scenarios effectively.
Welcome, fellow archer! Picking the right target size for the distance you are shooting can feel confusing at first. Should that bullseye be huge or tiny when you are just starting out? Getting this wrong can lead to frustration, wasted arrows, and slow progress. Don’t worry! As your guide, I promise to clear up the mystery behind archery target size vs distance. We will keep things simple, safe, and fun. By the end of this guide, you will know exactly how to choose the perfect target setup to build your confidence quickly and accurately.
Why Target Size and Distance Really Matter for Archers
Archery combines focus, consistent form, and aiming skill. The target you use is your canvas for practice. If the canvas is too small for your current skill level, every miss feels like a failure, even if your form is mostly right. If it’s too big, you might mask small mistakes in your technique.
The relationship between how big your aiming spot is and how far away it sits is crucial for skill progression. Think of it like this:
- Too Hard (Target too small): You get discouraged quickly because you rarely group arrows well.
- Too Easy (Target too big, distance too short): You never learn to focus intensely on the small details of the bullseye.
We want the sweet spot—a challenge that encourages growth without crushing your spirit. This guide breaks down the physics and practical advice so you can set up your range perfectly every time.
Understanding Standard Target Sizes and Distances
Before we match them, let’s quickly look at what most targets are made of. Most recreational and competition targets feature the standard 10-ring system. For beginners, we often use simplified, layered foam targets.
Common Target Sizes (The Yellow Center Diameter)
Targets are usually measured by their overall diameter, but professional scoring relies on the size of the inner scoring rings. For backyard practice, the yellow center (the 10 ring) is the most important factor to consider when matching distance:
- Field Archery Targets: Standard competition setups use targets with a 122 cm diameter face. The yellow 10-ring is 12.2 cm across.
- Smaller Practice Targets: Many foam blocks used in backyards or beginner ranges are smaller, often having a 10-ring center of 8 cm or even 6 cm.
- Beginner Bags/Bales: These often use a much larger, easily visible aiming spot, sometimes 15 cm or more, to build initial confidence.
Common Shooting Distances
Distances are usually measured in yards in the United States (often following guidelines from organizations like the USA Archery Federation) or meters internationally.
- Very Close (Introduction): 5 to 10 yards (4.5 to 9 meters). Perfect for learning stance and release mechanics.
- Beginner Focus: 15 to 20 yards (13.7 to 18 meters). This is the standard starting distance for most new recurve or compound shooters.
- Intermediate Field: 30 to 40 yards (27 to 36 meters). Where accuracy starts demanding true consistency.
- Advanced/Hunting Simulation: 50 yards and beyond.
The Golden Rule: Matching Size to Skill and Distance
The fundamental principle behind archery target size vs distance is maintaining an appropriate visual challenge relative to your shooting consistency. We use an intuitive concept called “blank bale” to “full-face” practice.
Phase 1: Building the Foundation (Stance and Release)
When you first pick up a bow, you are learning how to stand, draw, anchor, and release the string smoothly. At this stage, you should not worry about hitting a tiny spot!
Recommended Setup for Absolute Beginners:
- Distance: 5 to 10 yards (The closer, the better).
- Target Size: The largest surface possible. Use a large foam block, or even shoot at a large, clearly marked circle drawn on a large target bale.
- Goal: Grouping arrows tightly together somewhere on the target face, not necessarily hitting the center. If your arrows are all over the place at 5 yards, you need to slow down and focus solely on your mechanics.
A good resource for understanding the foundational elements of archery form can be found by reviewing established safety and technique guidelines, such as those promoted by national sporting bodies, which often emphasize starting close to ensure safety and proper habit formation.
Phase 2: Developing Basic Accuracy (The First Target Face)
Once your arrows consistently land within a few inches of each other at 10 yards, it is time to introduce the standard target face structure. Now we start introducing the archery target size vs distance challenge.
At this stage, you are developing the muscle memory required to aim consistently.
Recommended Setup for Skill Progression (The 15-Yard Standard):
Most beginner archery classes use 15 or 20 yards as their baseline measure of accuracy. If you can hit the yellow center (10 ring) consistently at this range, you have established a good base.
| Archer Skill Level | Recommended Distance | Recommended Target Face (Dia.) | Target Yellow (10 Ring) Approx. |
|---|---|---|---|
| Brand New (Form Focus) | 5 – 10 Yards | Large Practice Bag/Face (40cm+) | 15 cm + |
| Beginner (Learning Aim) | 15 – 20 Yards | Standard Field Face (122 cm) | 12.2 cm |
| Developing Consistency | 25 – 30 Yards | 122 cm or Smaller “Spot Target” | 8 cm – 12.2 cm |
Phase 3: Refining Precision (Reducing Target Size)
Once you are hitting the 10-ring (the yellow center) reliably at 20 yards, it is time to challenge yourself without increasing distance yet. This is where you start practicing “spot size” shooting.
To make the shot harder while maintaining a safe, manageable distance, you reduce the aiming area. You are essentially simulating shooting at a much smaller target farther away.
How to Shrink Your Target Face
You don’t need to buy new targets every time. You can simply cover the outer rings:
- Use Target Reducers: These are small plastic or cardboard rings that fit over the yellow center, effectively shrinking the scoring area to just the center dot.
- Paper Inserts: Purchase paper target faces with smaller inner rings (often called “doubles” or “spots”) and place them over your existing foam boss.
- Black Tape: For quick practice, place a piece of black electrical tape exactly where you want your arrow to land. This forces intense focus on that single point.
If you are shooting a 122 cm FITA target face at 20 yards, and you are hitting the yellow most of the time, try covering the yellow with an 8 cm insert. If you can still hit that 8 cm spot consistently, you are ready to move further back.
The Physics of Distance: How Parallax and Drop Affect You
As distance increases, the target appears smaller, of course, but two other major factors come into play that dictate why a smaller target at a longer distance is so much harder:
1. Visual Size (The Apparent Shrink)
The farther away a 40 cm target is, the smaller it appears compared to a 40 cm target right next to you. When you move from 20 yards to 40 yards, the target does not just look twice as far away; its apparent size shrinks dramatically relative to your sight picture.
2. Arrow Trajectory (Sagging)
Gravity is always working. The farther your arrow travels, the more it drops. At short ranges (10–15 yards), this drop is negligible and easy to compensate for. At 50 yards, the drop can be several inches. Dealing with this drop requires precise sight adjustment or reliable instinctual holdover.
If you try to jump from 20 yards on a large target to 60 yards on a small target, you are layering two massive difficulties: increased visual precision and major ballistic compensation.
Practical Application: The Progression Ladder
This ladder is my recommended way to ensure steady, confidence-building progress. Follow this structure, and you will see improvement without getting discouraged. This structure simplifies the complex debate around archery target size vs distance.
Step 1: Master Form at Close Range (10 Yards)
- Target: Large, high-visibility foam target face.
- Focus: Keeping every arrow within about 6 inches of the center area. Ignore the bullseye; focus on form repeatability.
Step 2: Introduce Aiming at the Standard (20 Yards)
- Target: Standard 122 cm competition face.
- Focus: Hitting the Yellow/Red zones consistently. If you place 5 out of 6 arrows in the yellow or red rings, you are ready for the next level.
Step 3: Introduce Distance Challenge (30 Yards)
- Target: Keep the same 122 cm face.
- Focus: Compensating for arrow drop and maintaining aim stability over the increased distance. You might notice your groups shift slightly because slight mistakes in form look much larger at 30 yards than at 20 yards.
Step 4: Introduce Target Shrinking Challenge (20 Yards Spot Shooting)
- Target: Use the 122 cm face but cover the outer rings, leaving only an 8 cm or 6 cm yellow center visible.
- Focus: Extreme precision at a comfortable distance. This is mentally tuning you into that “small dot” mentality you will need later.
Step 5: Combining Both (The Final Test)
- Target: Use the smallest target you can handle (e.g., 40 cm field boss) at 40 or 50 yards.
- Requirements: By this stage, you should have the consistency from Step 2 and the visual focus from Step 4. This combination is where true real-world accuracy shines.
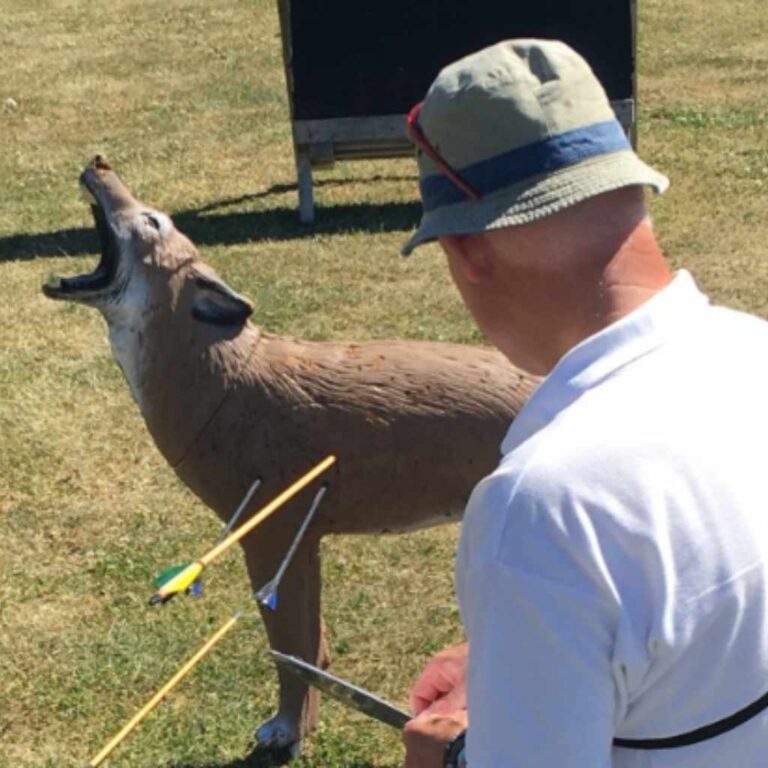
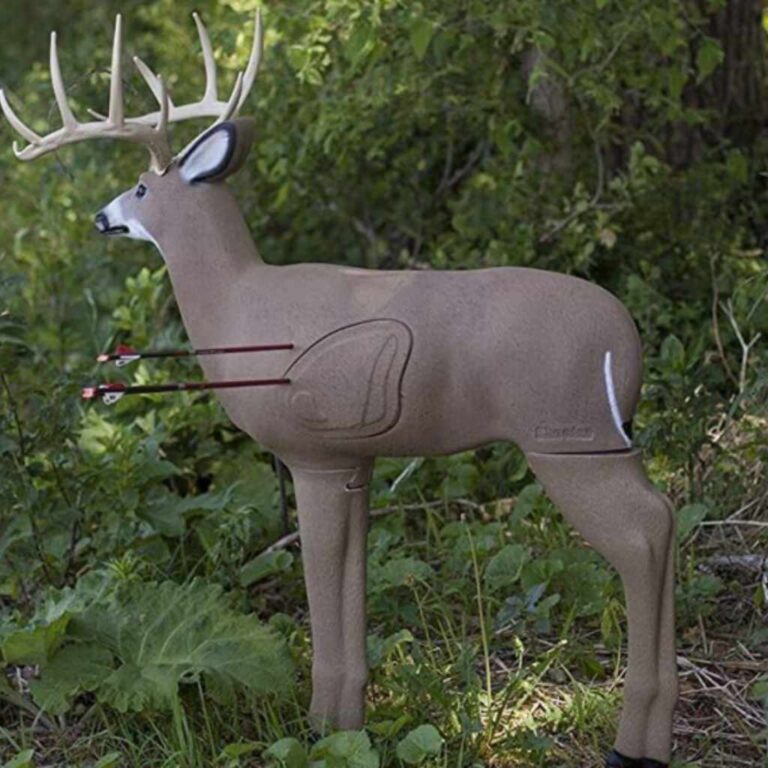
Safety First: Target Bales and Backstops
Never forget that safety comes before skill. The target setup must be capable of stopping your maximum draw weight safely, regardless of size or distance. A target that is too small or poorly constructed poses a major risk.
Essential Target Safety Checklist:
- Check the Backstop: Always use a safe backstop material behind your target block capable of stopping a full-powered arrow (e.g., sandbags, specialized archery netting, or a solid earthen berm). Never shoot toward roads, houses, or neighbors.
- Target Condition: Regularly inspect foam targets. If the density seems too low (arrows are passing through easily) or if the face is heavily weathered, it’s time to replace it.
- Clear Range: Ensure no people, pets, or obstacles are ever behind or beside your intended line of fire.
For detailed safety guidelines specific to home ranges, consulting resources provided by reputable shooting organizations can be very helpful, ensuring your practice environment meets established safety standards. For instance, guidelines often stress the importance of clear range commands and designated shooting lanes.
Factors Affecting Your Choice Beyond Size and Distance
Target size vs. distance isn’t the only equation. Your equipment and style play a big role too!
1. Bow Type (Recurve vs. Compound)
- Recurve (Olympic Style or Traditional): These bows require more active holding and fine-tuning of the release. Beginners often benefit from slightly larger targets for longer at shorter distances because managing the continuous draw weight is challenging.
- Compound Bows: With their let-off at full draw, compound archers often achieve tighter groups sooner. They can usually advance to smaller spot sizes or greater distances slightly faster than their recurve counterparts, provided their form is sound.
2. Sight Usage
If you are shooting barebow (no sights), you rely entirely on instinctive aiming. You will likely need a larger target face for a longer period because holding a consistent “gap” (where you aim relative to the center) is much harder than using defined pins.
If you use a sight, an archer should try to match their sight’s precise pin settings to the distance and target size. If you have pins set for 20, 30, 40, and 50 yards, you must use a target at that specific distance to calibrate those pins correctly.
3. The Fun Factor (Avoiding Burnout)
This is perhaps the most important, non-technical factor! If you are practicing for fun and hobby, don’t be a slave to the progression ladder. If you are having a great time hitting the 10-ring at 25 yards, enjoy it! Pushing too fast into smaller targets or longer distances just because you “should” can lead to discouragement. Enjoying the process is key to long-term success in archery.
Troubleshooting Common Target Selection Issues
Here are common sticking points beginners face when thinking about their targets:
Issue 1: “I can’t believe how badly I’m grouping at 30 yards!”
The Fix: Go back to 15 yards, but switch to a smaller spot (Step 4 mechanics). Your problem is likely not distance; it is small form inconsistencies magnified by distance. Fix the consistency close up, then try the distance again.
Issue 2: “I keep missing the target entirely at 40 yards.”
The Fix: This is usually a backstop or distance judgment issue, not a size issue. Ensure your sight markings are correct for that distance (if applicable). If you don’t use a sight, return to 30 yards and focus exclusively on holding your aim steady for 5 full seconds before releasing.
Issue 3: “My arrows are ripping the expensive target apart too fast.”
The Fix: If you are shooting heavier bows (over 45 lbs) at foam, they destroy targets quickly. Use a wider variety of practice surfaces. Consider a low-cost bag target for high-volume shooting (where you don’t care about perfect grouping) and save your expensive layered foam boss for precision work at set distances.
Frequently Asked Questions (FAQ) for New Archers
Q1: What target size should I use if I shoot 20 yards?
A: For starting out at 20 yards, a standard 122 cm field target face works perfectly. If you are very experienced, you can use a smaller target (like a 60 cm or 40 cm boss) to simulate a longer shot’s precision requirement.
Q2: Should I use a smaller target or move farther away to improve?
A: Generally, increasing distance provides more realistic practice for trajectory and long-term aiming stability. However, reducing the visual size of the scoring area (using a spot reducer) is excellent for forcing immediate, tight grouping when your form is already decent.
Q3: Can I use a cardboard box as a target if I tape circles on it?
A: For very low-poundage youth bows (under 20 lbs), a heavily reinforced and layered cardboard target might stop arrows at 5 yards. However, for any standard adult bow (25 lbs+), you must use professional foam or bag targets designed to stop the kinetic energy safely. Safety first!
Q4: How often should I change my target distance?
A: Change your distance only when you can consistently group your arrows toward the center of the current target face at that distance (e.g., hitting the red/yellow 70–80% of the time). If you are struggling badly, move closer or shrink the target hole size—don’t just keep shooting at different ranges randomly.