If you’re an archer or simply someone who appreciates elegant and practical storage solutions, knowing how to make a bow case can be incredibly rewarding. Not only does creating your own bow case provide a tailored fit for your equipment, but it also offers an opportunity to showcase your craftsmanship in a functional, stylish way. Whether you need protection for your hunting bow, recurve, or longbow, this comprehensive DIY guide is packed with simple steps and creative tips to help you build a bow case that stands out.
Why Make Your Own Bow Case?
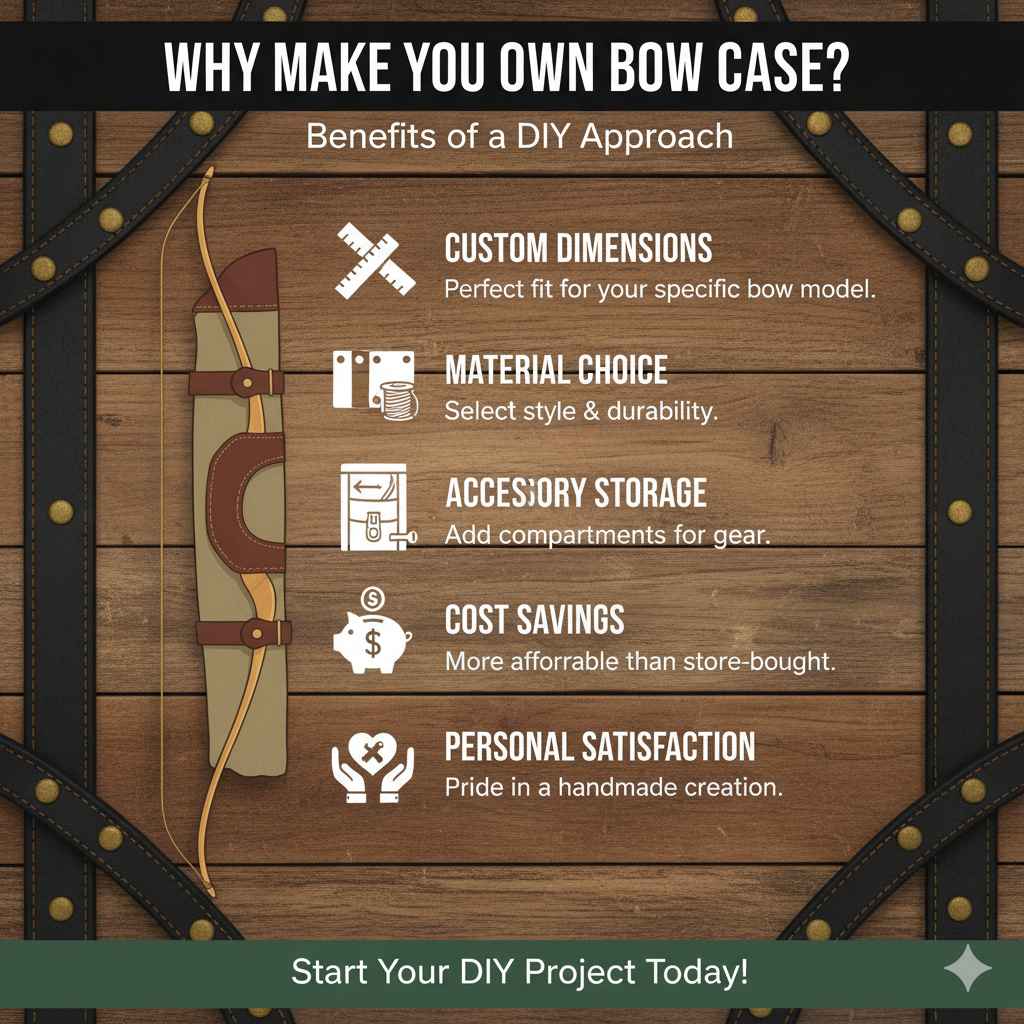
Before diving into the process, let’s take a moment to consider the benefits of making a bow case yourself. Commercial bow cases can be expensive and often don’t fit perfectly, potentially leaving your bow vulnerable during travel or storage. By building your own, you can:
– Customize dimensions to match your specific bow model
– Choose materials that suit your style and durability needs
– Incorporate additional compartments for accessories (arrows, sights, release aids)
– Save money compared to premium store-bought options
– Enjoy the satisfaction of a personalized, handmade creation
Materials and Tools Needed
Knowing how to make a bow case begins with gathering the right materials and tools. Here’s a checklist for this project:
– Plywood or hardwood boards (for the case frame)
– Foam padding or high-density foam sheet (to cushion your bow)
– Fabric or leather (for lining the interior or exterior)
– Strong fabric strap or nylon webbing (for handles and closures)
– Screws, hinges, and latches (to assemble and secure the case)
– Wood glue
– Measuring tape and pencil
– Saw (a hand saw or power saw)
– Drill
– Staple gun
– Sandpaper
– Scissors
By selecting high-quality materials, you ensure that your bow case is both protective and durable.
Step-by-Step Guide: How to Make a Bow Case
Step 1: Measure Your Bow
Begin by measuring your bow’s length, width, and depth with the tape measure. Add an extra 1-2 inches to each dimension for padding and ease of access. These measurements will determine the size of your case frame.
Step 2: Cut the Wood Panels
Using your measurements, cut the plywood or hardwood into six pieces to form the box: front, back, two sides, top, and bottom. For example, if your bow requires a case 48 inches long, 6 inches wide, and 10 inches deep, ensure each panel matches accordingly.
Step 3: Sand the Edges
Smooth all cut edges with sandpaper to prevent splinters or rough surfaces that could damage your bow.
Step 4: Assemble the Frame
Apply wood glue along the edges and secure the panels together with screws, forming a rectangular box. Attach the hinges at one side of the top panel to create a lid, and fix latches on the opposite side for secure closing.
Step 5: Add Foam Padding
Cut foam sheets to fit the interior dimensions precisely. Glue or staple the foam inside the box, paying special attention to the bottom and sides where your bow will rest.
Step 6: Line the Case Interior
For added protection and style, cover the foam with fabric or leather liners. Use a staple gun to attach the lining smoothly along the interior edges. This not only safeguards your bow’s finish but also gives a luxurious look.
Step 7: Attach Handles and Straps
Fix strong fabric straps or nylon webbing to the exterior sides of the case for easy carrying. One or two straps are generally sufficient depending on your preference.
Step 8: Finishing Touches
Optionally, you can paint or varnish the exterior wood panels to enhance water resistance and cosmetic appeal. Personalizing the case with stencils or decals also offers a way to express your style.
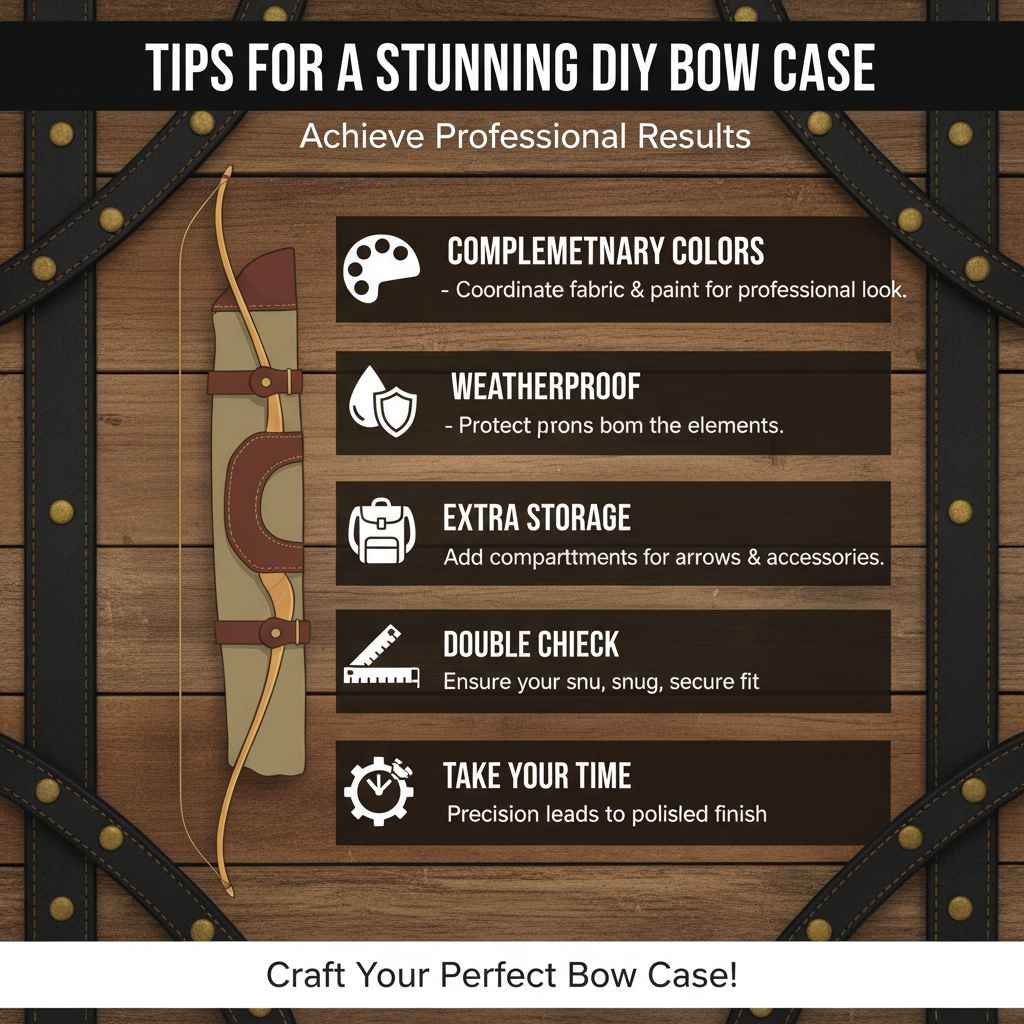
Tips for a Stunning DIY Bow Case
– Choose complementary colors: Select fabric and paint colors that coordinate well, lending a professional finish.
– Use weatherproof materials: Opt for water-resistant foam and exterior finishes to protect your bow in varying conditions.
– Incorporate extra storage: Adding small internal compartments for arrows or accessories can make your case more functional.
– Double-check your measurements: Ensuring your bow fits snugly will prevent unnecessary movement and damage.
– Take your time: Precision in cutting and assembling pays off in a polished final product.
Conclusion
Learning how to make a bow case unlocks a fantastic opportunity to combine creativity with practicality. By carefully selecting materials and following this straightforward guide, you can craft a beautiful and durable case that protects your bow for years to come. Whether you’re a seasoned woodworker or just starting with DIY projects, the satisfaction of personalizing your equipment storage is unparalleled. So gather your tools, measure your bow, and embark on this enjoyable journey to build a bow case designed just for you.