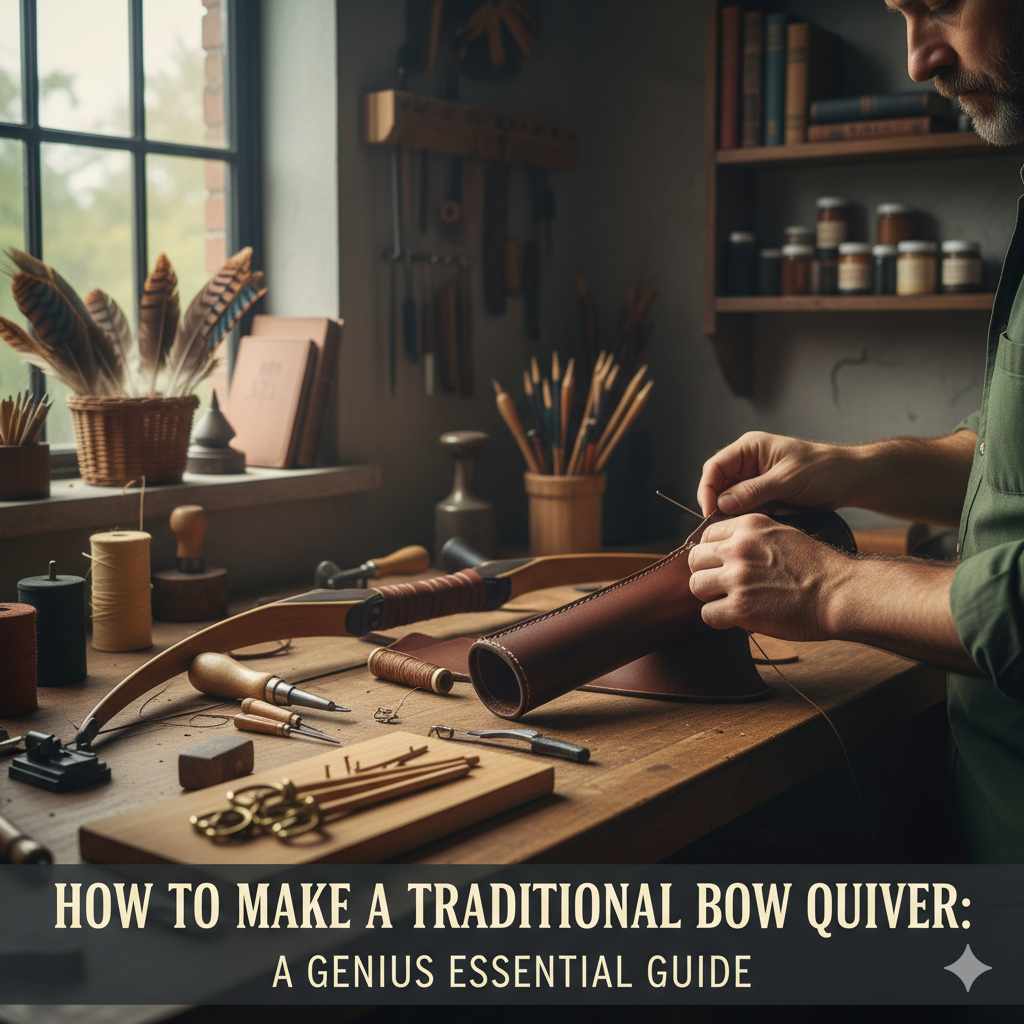
To make a traditional bow quiver, design a tapered tube pattern on paper, then trace and cut it from vegetable-tanned leather. Punch stitching holes along the seam and base. Use a strong saddle stitch to sew the main body together and attach a circular bottom piece. Finally, create and securely attach an adjustable shoulder strap.
Hello, fellow archers! Salman Arfeen here. There’s a special kind of magic in traditional archery. It’s the whisper of the string, the gentle arc of the arrow, and the satisfying thud as it hits the target. This connection to the past is what draws so many of us in. But what if you could deepen that connection even more?
Making your own gear is one of the most rewarding parts of this journey. A quiver isn’t just a bucket for your arrows; it’s a personal piece of equipment that reflects your style. Buying one is easy, but crafting your own is an experience. It might seem like a daunting task, but I promise it’s simpler than you think. Today, I’ll walk you through every step of making your very own traditional bow quiver.
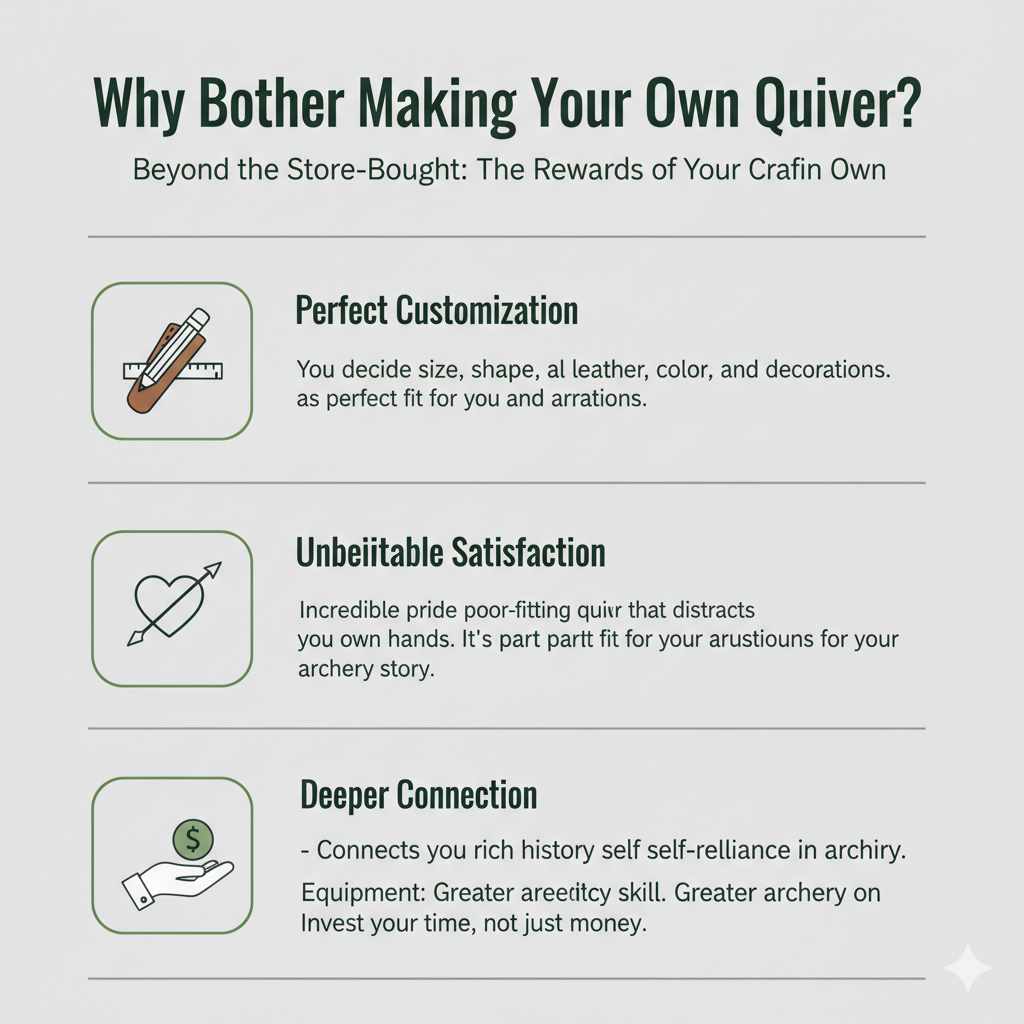
Why Bother Making Your Own Quiver?
You might be wondering, “Why should I spend time making a quiver when I can just buy one?” That’s a fair question! While store-bought quivers are convenient, crafting your own offers some amazing benefits that you just can’t get off the shelf.
- Perfect Customization: You get to decide everything. The size, the shape, the type of leather, the color, and any decorative touches. You can make it fit your body and your arrows perfectly.
- Unbeatable Satisfaction: The pride you feel when you carry arrows in a quiver you made with your own two hands is incredible. It becomes more than just gear; it’s a part of your archery story.
- A Deeper Connection to the Craft: Archery has a rich history of self-reliance. Making your own equipment connects you to that tradition and gives you a greater appreciation for the skill involved.
- Cost-Effective: High-quality leather quivers can be expensive. By making your own, you can create a premium quiver for a fraction of the cost, investing your time instead of just your money.
Choosing Your Traditional Quiver Style
Before you start cutting and stitching, you need to decide what kind of quiver you want to make. Traditional quivers generally come in three main styles, each with its own pros and cons. Think about how you shoot and what feels most comfortable for you.
Back Quiver
This is the classic “Robin Hood” style. It’s worn over the shoulder and rests on your back. Arrows are drawn over the shoulder, which looks and feels very traditional. They can hold a lot of arrows and stay out of your way when walking through brush.
Hip or Side Quiver
This style hangs from your belt at your hip. It’s very popular in target archery and hunting because it makes grabbing arrows quick and easy. You don’t have to reach behind you, and you can always see your arrows. They are generally smaller and hold fewer arrows than back quivers.
Bow Quiver
A bow quiver attaches directly to the limbs of your bow. It’s the most compact option and is favored by many bowhunters because the arrows are always ready. However, it adds weight to the bow, which can affect your balance and shot.
For this guide, we will focus on making a classic leather back quiver. It’s a fantastic first project that teaches you all the fundamental skills you’ll need for any leatherworking project.
| Quiver Style | Pros | Cons |
|---|---|---|
| Back Quiver | High arrow capacity; keeps arrows out of the way while walking; classic, traditional look. | Drawing an arrow can be slower; can be noisy if arrows rattle. |
| Hip/Side Quiver | Fast and easy arrow access; great for target shooting and competitions; lightweight. | Can snag on branches; lower arrow capacity; can get in the way when sitting. |
| Bow Quiver | Arrows are always ready; silent and compact; ideal for hunting situations. | Adds weight and unbalances the bow; limited arrow capacity; must be removed for some bow cases. |
Gathering Your Tools and Materials
Having the right supplies makes all the difference. You don’t need a full-blown leather workshop, but a few key items will make this project smooth and enjoyable. We’ll be working with leather, a durable and traditional material that will last for years.
Essential Tools
- Utility Knife or Rotary Cutter: A sharp blade is crucial for clean cuts. A rotary cutter and self-healing mat are fantastic if you have them.
- Steel Ruler or Straight Edge: For making straight lines and guiding your cuts.
- Stitching Awl or Chisel Set: This is used to punch the stitching holes in the leather. A multi-pronged chisel makes this much faster.
- Harness Needles (2): These have blunt tips and are designed for leatherwork. You’ll need two for the saddle stitch.
- Mallet: A rubber or rawhide mallet is best for striking your tools without damaging them.
- Cutting Mat: A self-healing mat protects your work surface and your blade.
- Pencil or Scratch Awl: For marking your pattern on the leather.
Required Materials
- Leather: A piece of 5-7 oz vegetable-tanned leather is perfect. You’ll need a piece roughly 24 inches by 24 inches for the body and base, plus a long strip for the strap. You can find quality leather from suppliers like Weaver Leather Supply.
- Waxed Thread: This is strong, durable, and won’t rot. It’s essential for a long-lasting quiver.
- Contact Cement or Leather Glue: To temporarily hold pieces together before stitching.
- Leather Finish (Optional): A product like beeswax or neatsfoot oil will protect your quiver and give it a beautiful finish.
- Buckle (Optional): If you want to make your strap adjustable, you’ll need a simple buckle.
Step-by-Step: How to Make Your Traditional Back Quiver
Alright, let’s get to the fun part! Take your time with each step. Remember, this is about the process, not just the final product. Put on some music, clear your workspace, and let’s build something amazing.
Step 1: Create Your Quiver Pattern
Before you touch your leather, you need a solid pattern. This ensures your quiver is the right size and shape.
- Measure Your Arrows: Take one of your arrows and measure its length from the nock to the back of the point. Your quiver body should be about 3-4 inches shorter than this measurement. This keeps the fletchings protected while allowing you to grab the nock easily. A good starting length is around 20 inches.
- Draw the Body: On a large piece of paper (or taped-together printer paper), draw a trapezoid. This is a four-sided shape with a wider top and a narrower bottom. A good dimension is 10 inches wide at the top and 6 inches wide at the bottom. The height should be the length you decided on (e.g., 20 inches). This taper prevents arrows from rattling around too much.
- Draw the Base: The bottom of your quiver will be a circle. The circumference of this circle needs to match the width of the bottom of your trapezoid (6 inches in our example). To find the diameter, use the formula: Diameter = Circumference / π (3.14). So, 6 / 3.14 = ~1.91 inches. Let’s round that up to a 2-inch diameter circle for simplicity. Draw this circle on your pattern paper.
- Cut Out Your Paper Pattern: Carefully cut out the trapezoid and the circle. This is your template.
Step 2: Cut the Leather
Now we move from paper to leather. This is where your project starts to feel real!
- Trace the Pattern: Lay your leather on a flat surface, grain side (the smooth side) up. Place your paper patterns on top and trace around them using a pencil or a scratch awl. Be precise.
- Cut It Out: Using your sharp utility knife and a steel ruler, carefully cut along the lines you traced. Take multiple, shallow passes instead of trying to cut through in one go. This gives you more control and a cleaner edge. Remember to work on a cutting mat to protect your table.
Step 3: Prepare for Stitching
You can’t just force a needle through thick leather. You need to create the holes first. This is arguably the most important step for a professional-looking result.
- Mark Your Stitching Line: Use a ruler to draw a faint line about 1/4 inch in from the edge on all the pieces that will be stitched. This includes the two long sides of the trapezoid and the circumference of the circular base.
- Punch the Holes: This is where your stitching chisel comes in. Align the chisel with your marked line and give it a firm tap with your mallet. Move the chisel down the line, placing the first prong in the last hole you made to keep the spacing even. Do this for the main body seam and around the edge of the circular base.
Step 4: Stitch the Main Body
We’ll use a saddle stitch, which is incredibly strong. It uses two needles on one piece of thread, creating a locking stitch that won’t unravel even if one thread breaks. You can find many great visual guides on how to do a saddle stitch from craft and design schools like the Pratt Community College Leather Technology program, which highlights the importance of traditional techniques.
- Measure Your Thread: A good rule of thumb is to measure a length of thread that is about three times the length of the seam you’re sewing.
- Thread Your Needles: Thread a needle on each end of your waxed thread.
- Start Stitching: Bring the two long sides of your trapezoid together to form a tube. Start at the top. Push one needle through the first hole and pull the thread until you have an equal length on both sides.
- Create the Saddle Stitch: For every hole after, you will pass both needles through from opposite sides. Push the left needle through the next hole, then push the right needle through the same hole before pulling the stitch tight. Keep your stitch order consistent (e.g., always pass the left needle through first). Pull each stitch tight for a strong seam.
- Finish the Seam: Once you reach the end, backstitch three or four holes to lock it in place. Then, snip the thread close to the leather.
Step 5: Attach the Base
Now your quiver has a body, but it needs a bottom to hold your arrows.
- Glue the Base: Apply a thin layer of contact cement to the bottom edge of the quiver tube and the edge of your circular base piece. Let it get tacky (follow the directions on the glue), then carefully press the two pieces together. This holds it in place for stitching.
- Stitch the Base: Using the same saddle stitch method, stitch the base to the body. This can be a bit tricky due to the curve, so take your time. A stitching pony can be very helpful here to hold the quiver for you.
Step 6: Make and Attach the Strap
Your quiver is almost done! It just needs a way to be carried.
- Cut the Strap: Cut a long strip of leather for your strap, about 1.5 inches wide. The length will depend on your body size. Drape a tape measure over your shoulder in the position you’d wear the quiver to get a good estimate. Add a few extra inches.
- Attach the Strap: You can attach the strap by stitching it directly to the quiver body. Stitch one end near the top of the quiver and the other end about two-thirds of the way down on the opposite side. Using rivets in addition to stitching will make it extra strong.
- Add a Buckle (Optional): For an adjustable strap, cut the strap in two pieces. Attach a buckle to one end and punch a series of holes in the other end to create an adjustable belt-style strap.
Step 7: Finishing Touches
This is where you can add your personal flair.
- Dye and Finish: If you used undyed vegetable-tanned leather, you can now apply leather dye in any color you like. After the dye has dried, apply a conditioner like neatsfoot oil or a beeswax finish. This protects the leather from moisture and gives it a beautiful, rich look.
- Burnish the Edges: For a truly professional look, you can burnish (smooth) the raw edges of your quiver and strap. You can do this by rubbing them vigorously with a piece of canvas or a wooden slicker.
- Decorate: Feel free to add tooling, stamps, or other decorations to make your quiver uniquely yours!
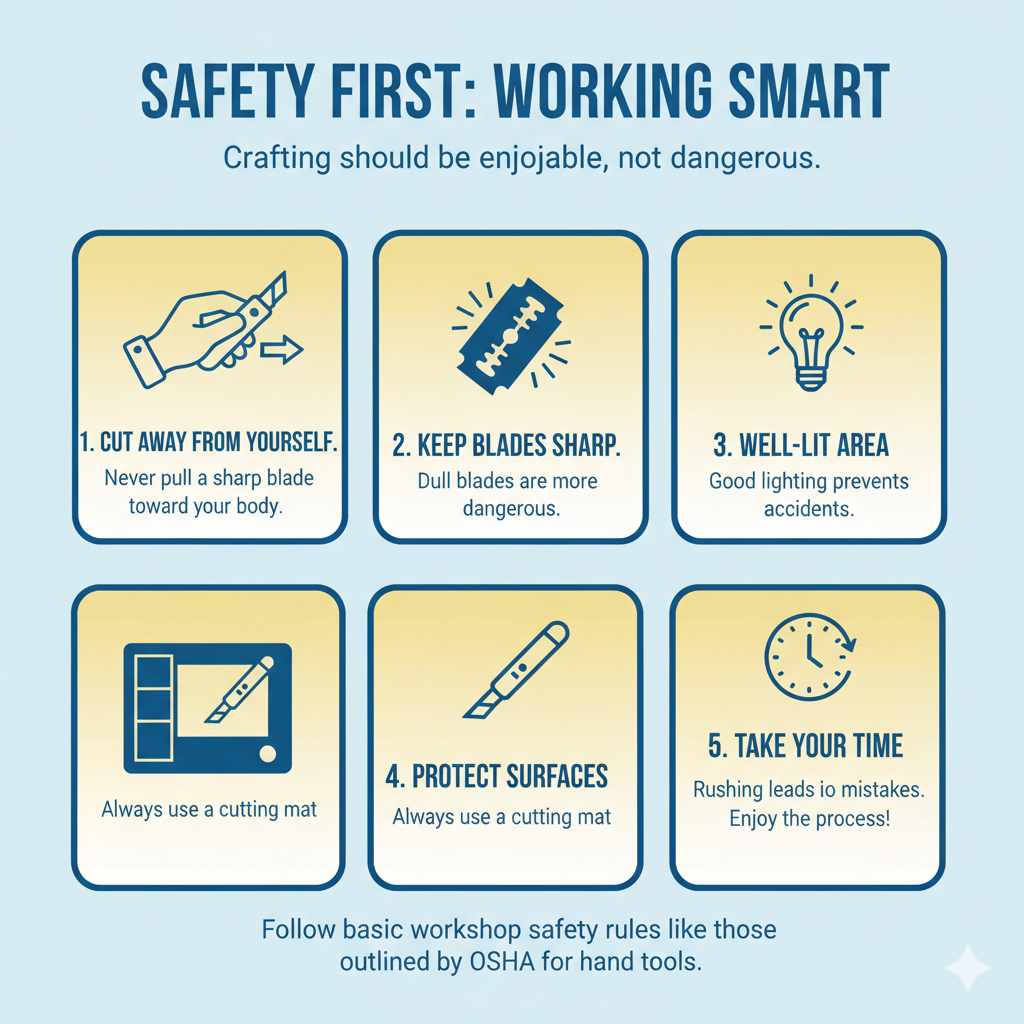
Safety First: Working Smart
Crafting should be fun, not dangerous. Always keep safety in mind, especially when working with sharp tools. As a guiding principle, always follow basic workshop safety rules like those outlined by safety organizations like the Occupational Safety and Health Administration (OSHA) for hand tools.
- Always Cut Away From Yourself: Never pull a sharp blade toward your body or hands.
- Keep Blades Sharp: A dull blade is more dangerous than a sharp one because it requires more force and is more likely to slip.
- Work in a Well-Lit Area: Good lighting helps you see what you’re doing and reduces the chance of accidents.
- Protect Your Surfaces: Always use a cutting mat. It saves your blades and your furniture.
- Take Your Time: Rushing leads to mistakes and injuries. Enjoy the process and work at a comfortable pace.
Frequently Asked Questions (FAQ)
What is the best leather to use for a beginner’s quiver?
For a first project, a 5-7 oz vegetable-tanned leather is ideal. It’s sturdy enough to hold its shape but not so thick that it’s difficult to cut and stitch by hand. It also takes dye and finishes beautifully if you want to customize it.
How long will it take to make a quiver?
For a first-timer, plan for a full weekend. This gives you plenty of time to work carefully without rushing. An experienced leatherworker might complete it in 4-6 hours. The key is to enjoy the process, not race to the finish line.
Can I make a quiver without special leather tools?
You can, but it will be more challenging. At a minimum, you’ll need a very sharp utility knife. You can use a drill with a small bit to make stitching holes instead of an awl, and a simple fork can be used to mark even stitch spacing. It won’t be as clean, but it’s a way to start with a minimal budget.
How do I make my leather quiver waterproof?
While no leather is truly waterproof, you can make it highly water-resistant. After you’ve finished stitching (and dyeing, if you choose), apply a generous coat of a beeswax-based leather conditioner or a product like Sno-Seal. This will help repel water and keep your arrows dry.
What is the easiest type of quiver to make for a beginner?
A simple hip quiver made from a single folded piece of leather is often the easiest. It requires less complex cutting and stitching than a back quiver with a separate base. However, the back quiver in this guide is a very manageable project that teaches more fundamental skills.
How do I know how long to make the quiver strap?
The best way is to use a flexible measuring tape. Drape it over your shoulder and across your back, from where the top of the quiver will sit to where the bottom will be secured. This gives you a custom measurement. Always add an extra 6-8 inches to be safe—you can always trim it down later.
Your Journey Starts Now
There you have it—a complete guide to crafting your very own traditional bow quiver. You’ve learned how to choose a style, gather your materials, and follow the step-by-step process from pattern to finished product. The quiver you hold in your hands at the end of this project will be more than just an accessory; it will be a testament to your patience, your skill, and your passion for archery.
Every time you slide an arrow from it, you’ll feel a sense of pride that no store-bought item can ever provide. So go ahead, embrace the tradition, and make something that is truly yours. Happy crafting, and I’ll see you on the range!