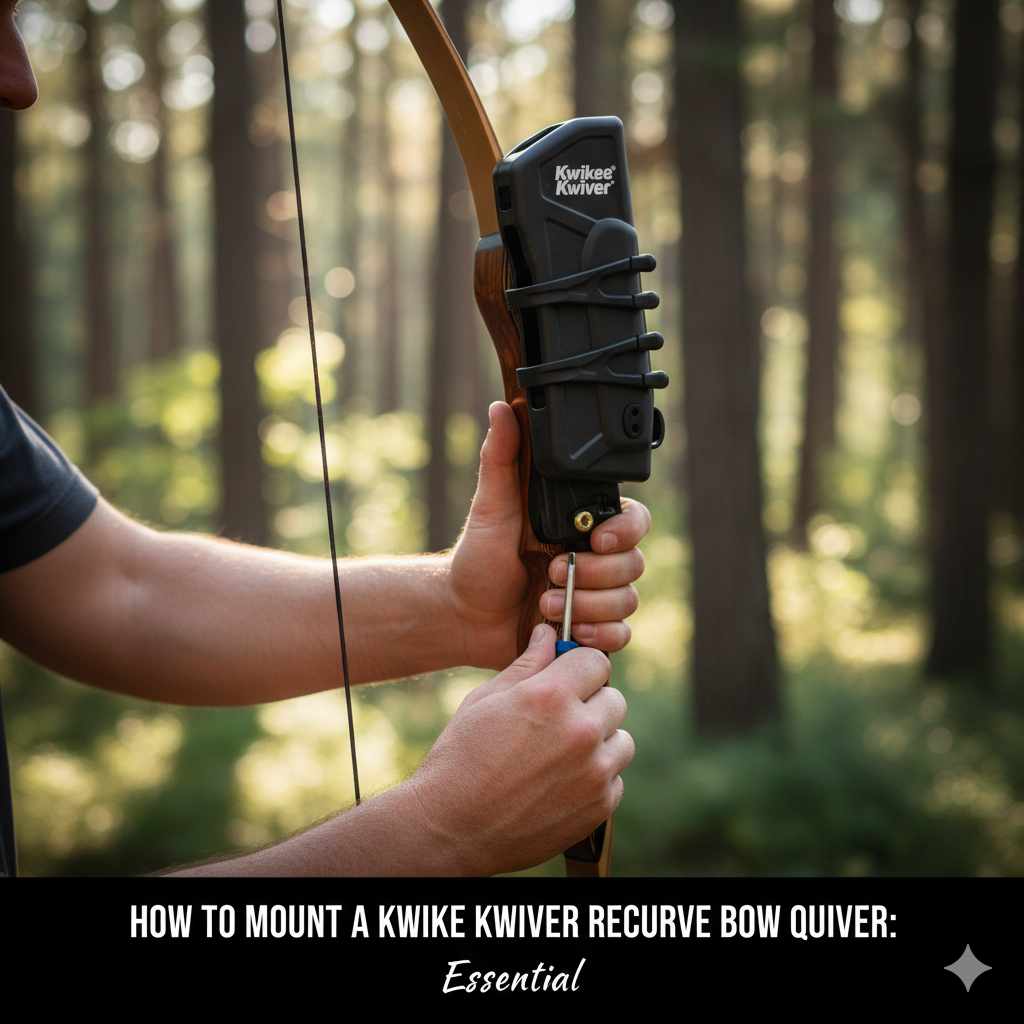
To mount a Kwikee Kwiver on a recurve bow, first ensure your bow has AMO/ATA standard accessory bushings. Attach the Kwikee mounting bracket to these bushings using the provided screws. Align the bracket properly, tighten it securely without over-torquing, and then slide the quiver onto the bracket until it clicks firmly into place.
Hello, fellow archers! Salman Arfeen here. If you’ve just picked up a new Kwikee Kwiver for your recurve bow, you’ve made a great choice. But sometimes, looking at the parts can feel a bit like a puzzle. Where does everything go? It’s a common question, and you’re not alone in asking it. Don’t worry, it’s much simpler than it looks.
Putting a quiver on your bow keeps your arrows handy and your hands free. It makes your time at the range or in the field smoother and more enjoyable. In this guide, I’ll walk you through every simple step. We’ll get your new quiver mounted securely, so you can focus on what matters most: hitting your target. Let’s get started!
A bow-mounted quiver is one of the most practical accessories for any recurve archer. It eliminates the need for a separate hip or back quiver, keeping your arrows within easy reach for a quick and seamless follow-up shot. Kwikee Kwivers are popular for a reason: they are durable, reliable, and designed with the archer in mind. Let’s break down why they are a great fit and how to get one on your bow today.
Why a Kwikee Kwiver is a Great Choice for Your Recurve Bow
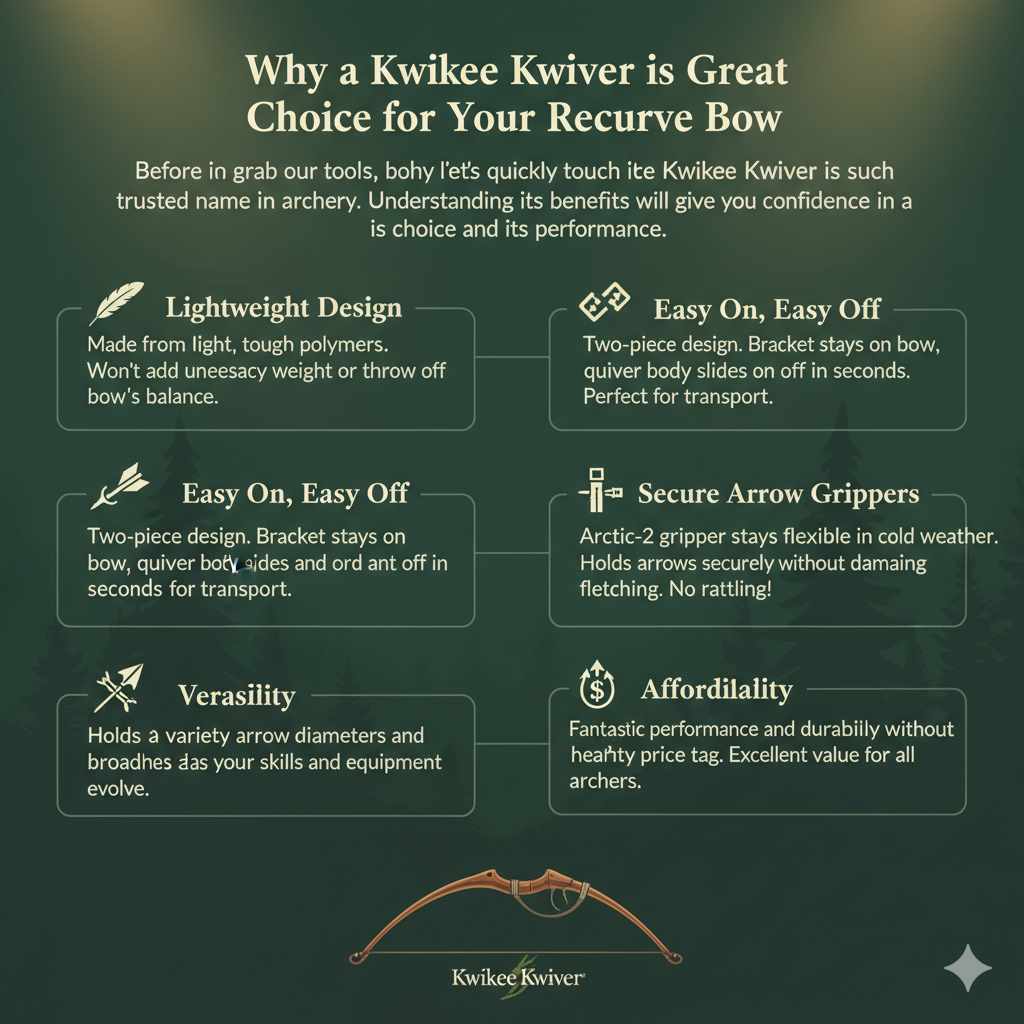
Before we grab our tools, let’s quickly touch on why the Kwikee Kwiver is such a trusted name in archery. Understanding its benefits will give you confidence in your choice and its performance.
- Lightweight Design: Recurve bows are all about balance and feel. Kwikee Kwivers are made from light yet tough polymers that won’t add unnecessary weight or throw off your bow’s balance.
- Easy On, Easy Off: The two-piece design is brilliant. A small bracket stays on your bow, and the main quiver body slides on and off in seconds. This is perfect for transport and storage.
- Secure Arrow Grippers: The Arctic-2 arrow gripper stays flexible even in cold weather, ensuring your arrows are held securely without damaging the fletching. No more rattling arrows!
- Versatility: Kwikee Kwivers are designed to hold a variety of arrow diameters and broadhead styles, making them adaptable as your archery skills and equipment evolve.
- Affordability: They offer fantastic performance and durability without a hefty price tag, making them an excellent value for both beginners and seasoned archers.
Gathering Your Tools and Supplies
A good job starts with good preparation. The great news is you don’t need a full workshop to mount your quiver. Gather these simple items before you begin:
- Your Recurve Bow
- Your Kwikee Kwiver Kit (includes quiver, mounting bracket, and screws)
- A set of Allen wrenches (hex keys) or a screwdriver, depending on the screws included with your quiver. Most kits use standard sizes.
- A soft cloth or towel to place your bow on to prevent scratches.
That’s it! With these items laid out, you’re ready to start the mounting process. It should only take a few minutes.
Understanding the Parts of Your Kwikee Kwiver
Let’s get familiar with the components in your kit. Knowing what each part is called and what it does will make the instructions crystal clear.
| Part Name | Description | Primary Function |
|---|---|---|
| Quiver Body | The main part of the quiver that holds the arrows. It includes the hood and the arrow gripper. | To safely and securely contain your arrows. |
| Mounting Bracket | A small, often black, polymer bracket with two screw holes. | This piece attaches directly to your bow’s riser and serves as the docking station for the quiver. |
| Mounting Screws | Two screws, typically with hex or Phillips heads. | Used to fasten the mounting bracket to the bow riser. |
| Broadhead Hood | The covered cup at the top of the quiver body. | Protects you from sharp broadheads and protects the broadheads from damage. |
| Arrow Gripper | The slotted rubber or polymer piece at the bottom of the quiver body. | Holds the arrow shafts firmly in place to prevent them from falling out or rattling. |
Step-by-Step: Mounting Your Kwikee Kwiver
Ready to go? Follow these simple steps carefully. I’ll guide you through each one to ensure a perfect, secure fit. We’ll take our time and do it right.
Step 1: Locate the Accessory Bushings on Your Bow
First things first, let’s find where the quiver will attach. Lay your recurve bow on a soft surface. Look on the side of the riser (the handle section). You should see two small, threaded holes. These are called accessory bushings, or AMO/ATA standard sight bushings.
Nearly all modern recurve bows designed for accessories like sights, stabilizers, and quivers will have these. They are standardized across the industry, which is why a Kwikee Kwiver fits so many different bows. If your bow is a very traditional or older model without these bushings, you may need an adapter kit, but for most bows, they will be right there waiting for you.
Step 2: Prepare the Mounting Bracket
Take the small mounting bracket from your kit. Notice it has two holes that will line up perfectly with the bushings on your bow’s riser. Take the two mounting screws and make sure they fit through the holes in the bracket. It’s a simple check, but it’s good to confirm you have the right parts before you start attaching them to your bow.
Step 3: Attach the Bracket to Your Bow Riser
Now, it’s time to connect the bracket to the bow. This is the most important step, so let’s do it carefully.
- Position the mounting bracket over the accessory bushings on your riser. Ensure it sits flat and flush against the side of the bow.
- Take one of the mounting screws and insert it through the top hole of the bracket into the top bushing. Hand-tighten it just a few turns to hold it in place. Don’t tighten it all the way yet.
- Insert the second screw through the bottom hole and into the bottom bushing. Hand-tighten this one as well.
Having both screws partially threaded allows you to make small adjustments to ensure the bracket is perfectly aligned before you tighten it down.
Step 4: Align and Securely Tighten the Bracket
With both screws started, it’s time to fully secure the bracket. You want it to be tight, but not so tight that you risk damaging the threads in your bow’s riser.
- Use your Allen wrench or screwdriver to tighten the top screw until it is snug.
- Next, tighten the bottom screw until it is snug.
- Go back and forth between the two screws, giving each a final quarter-turn. This ensures even pressure and a secure fit. The goal is “snug and firm,” not “cranked down as hard as possible.”
Once tightened, give the bracket a gentle wiggle with your fingers. It should not move at all. If it does, slightly tighten the screws a little more until it is completely solid. A solid bracket is the foundation for a quiet and reliable quiver.
Step 5: Attach the Quiver Body to the Bracket
This is the easy and satisfying part! Take the main quiver body. On its side, you will see a dovetail-style slot that is designed to match the mounting bracket perfectly.
Simply slide the quiver body down onto the mounting bracket from the top. You will feel it glide into place. Push it down firmly until you hear or feel a “click.” This click is the locking mechanism engaging, securing the quiver to the bracket. Once it clicks, your quiver is locked in and ready for action.
To remove it, you’ll typically find a small lever or tab on the side of the bracket. Simply press this tab and slide the quiver upward to release it. This quick-detach feature is what makes the Kwikee system so convenient.
Step 6: Final Checks and Arrow Placement
Your quiver is now mounted! Let’s do a final check to make sure everything is perfect.
- Check for Clearance: Make sure the quiver and arrows do not interfere with your sight picture, your hand placement on the grip, or the path of the bowstring.
- Load Your Arrows: Gently press your arrow shafts into the arrow gripper. The gripper should hold them firmly. Make sure the nock end of the arrow is secure. Place the point of the arrow (field point or broadhead) safely inside the hood.
- Give it a Shake: Hold your bow and give it a gentle shake. Listen for any rattles or noise. A properly mounted quiver should be silent. If you hear noise, check that the mounting bracket screws are snug and that the arrows are seated properly in the gripper.
Tips for a Perfect, Rattle-Free Fit
A noisy quiver can be distracting and can even spook game if you’re hunting. Here are a few extra pro tips to ensure your setup is rock-solid and whisper-quiet.
- Check Screws Periodically: The vibration from shooting can, over time, loosen screws. Before each shooting session, just give the mounting screws a quick check to make sure they are still snug.
- Use Rubber Washers: Some archers like to place a small rubber washer between the mounting bracket and the riser. This can help dampen vibration and prevent the screws from backing out. Your kit may or may not include these. If not, they are easily found at any local hardware store.
- Proper Arrow Spacing: When loading your arrows, try to space them out evenly in the gripper. This helps with balance and ensures the fletchings don’t interfere with each other.
Safety First: Important Considerations
As with every aspect of archery, safety is our number one priority. Installing and using a bow quiver requires attention to detail to keep you and those around you safe.
- Be Mindful of Broadheads: If you are using broadheads, always handle them with extreme care. The hood on your Kwikee Kwiver is designed to contain them safely, but always be cautious when inserting or removing arrows with broadheads.
- Unstring Your Bow: While not strictly necessary for this installation, it’s a good habit to unstring your recurve bow when working on it. This prevents any chance of a dry fire or accidental release.
- Practice Safe Handling: With a quiver attached, your bow now has sharp points on it. Be aware of your surroundings when carrying your bow. Avoid pointing the arrows at anyone, and be careful when moving through brush or tight spaces. Safety guidelines provided by organizations like the Archery Trade Association are always a great resource to review.
Troubleshooting Common Issues
Even with a simple installation, you might run into a small snag. Here’s a quick guide to solving the most common problems beginners face.
| Problem | Possible Cause | Solution |
|---|---|---|
| The quiver feels loose or wiggles. | The mounting bracket screws are not tight enough, or the quiver is not fully seated on the bracket. | First, check the two mounting screws and tighten them until snug. Then, ensure the quiver body is pushed all the way down onto the bracket until it clicks into place. |
| My arrows are rattling. | The arrows are not fully seated in the gripper, or the gripper has lost some of its hold. | Push the arrows firmly into the gripper slots. Make sure the arrow shaft “snaps” in. If the gripper is old, you can order a replacement gripper from Kwikee to restore its holding power. |
| The mounting screws won’t fit my bow. | Your bow might not have standard AMO/ATA bushings, or you might have the wrong screw size. | Double-check that the bushings on your riser are threaded. The standard size is 10-24. If your bow has a different size, you may need to find the correct screws at a hardware or archery pro shop. |
| The quiver interferes with my sight. | The quiver is mounted in a position that blocks your view. | Most Kwikee Kwivers can be adjusted slightly. See if you can shift the quiver forward or backward on the bracket. Some models offer different mounting holes for more adjustability. |
Maintaining Your Kwikee Kwiver
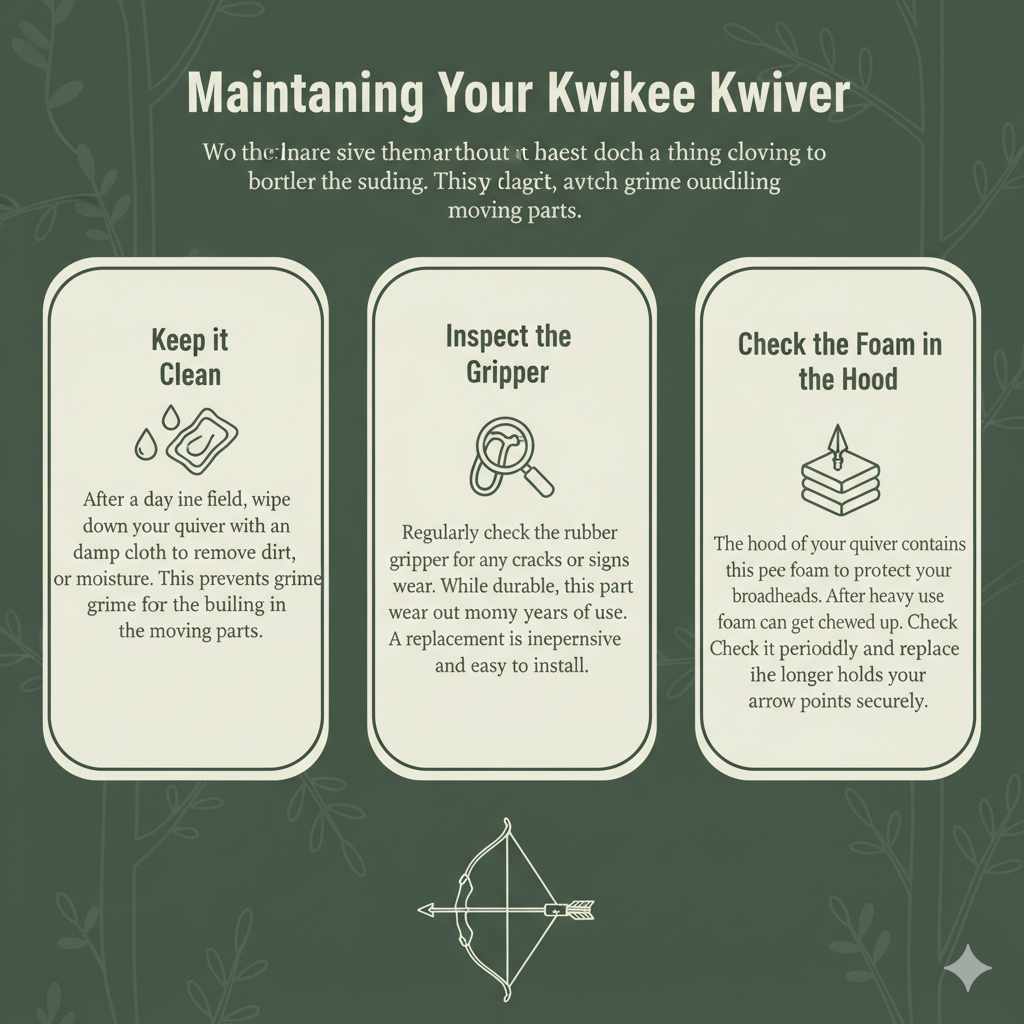
Your Kwikee Kwiver is built to last, but a little care goes a long way. To keep it in top shape, follow these simple maintenance tips:
- Keep it Clean: After a day in the field, wipe down your quiver with a damp cloth to remove dirt, mud, or moisture. This prevents grime from building up in the moving parts.
- Inspect the Gripper: Regularly check the rubber arrow gripper for any cracks or signs of wear. While durable, this part can wear out over many years of use. A replacement is inexpensive and easy to install.
- Check the Foam in the Hood: The hood of your quiver contains a piece of foam to protect your broadheads. After heavy use, this foam can get chewed up. Check it periodically and replace it if it no longer holds your arrow points securely.
Frequently Asked Questions (FAQ)
Can I mount a Kwikee Kwiver on any recurve bow?
You can mount a Kwikee Kwiver on most modern recurve bows that have the standard AMO/ATA accessory bushings (two threaded holes) on the side of the riser. If your bow is a traditional one-piece or does not have these bushings, you will likely need a special adapter.
Will adding a quiver to my bow affect my accuracy?
Adding any accessory can slightly change the balance and weight of your bow. However, Kwikee Kwivers are very lightweight. The effect is minimal and most archers adjust to it very quickly. A bow quiver can even help stabilize your shot by adding a little mass weight, much like a stabilizer.
How many arrows can a Kwikee Kwiver hold?
Most standard Kwikee Kwiver models come in 3-arrow, 4-arrow, or 6-arrow configurations. The most common choice for recurve archers is the 4-arrow model, as it provides a good balance between capacity and low weight.
Is it difficult to remove the quiver for transport?
Not at all! This is one of the best features of the Kwikee system. You simply press the release lever on the mounting bracket and slide the quiver off. It takes only a second, making it incredibly easy to store your bow in a case.
Can I use the Kwikee Kwiver with broadheads?
Yes, absolutely. The quiver’s hood is specifically designed with a durable foam insert to safely house both fixed-blade and mechanical broadheads. It protects the sharp blades and keeps them from rattling.
What if my screws come loose while I’m shooting?
This is uncommon if they are tightened properly, but vibration can loosen anything over time. Some archers apply a small drop of blue, non-permanent threadlocker (like Loctite) to the screw threads before installation. This prevents them from backing out but still allows you to remove them later with a tool.
Does the quiver need to be mounted on a specific side of the bow?
The mounting bracket is designed to be attached to the side of the riser with the accessory bushings. For a right-handed archer, this is typically the left side of the riser, placing the quiver on the same side as the sight window.
Conclusion: Enjoy Your Newly Equipped Bow!
There you have it! Your Kwikee Kwiver is now securely mounted and ready for action. By following these simple steps, you’ve added a valuable and convenient accessory to your recurve bow. You no longer have to worry about where to put your arrows, allowing you to stay focused on your form, your aim, and the pure enjoyment of sending an arrow downrange.
Remember that every piece of gear you add to your setup is a step toward making archery more personal and more efficient for you. Take pride in the work you just did. Now, load up your new quiver, head to the range, and enjoy the convenience and confidence that comes with having your arrows right where you need them, every single time.
Happy shooting!