Are you looking to enhance your AutoCAD drawings with arrows for clearer communication? Whether you’re designing architectural plans or engineering diagrams, arrows can significantly improve the clarity and impact of your work.
Imagine trying to navigate a map without any directional signs—confusing, right? The same applies to your AutoCAD projects. By learning how to add arrows, you can guide the viewer’s eye, highlight crucial elements, and ensure that your message is understood at a glance.
Dive into this guide to discover how easily you can incorporate arrows into your designs, making your work not just seen, but truly understood.
Getting Started With Autocad
First, arrange your tools neatly. Keep your screen clean and tidy. Organize your toolbars. This helps in quick access. Use the Options menu for more settings. Adjust your workspace to your comfort. Make sure your mouse works well. Set up your grid and snap settings. These help in drawing straight lines. Choose a color scheme easy on your eyes. Save your workspace layout. You can return to it anytime.
AutoCAD has many basic tools. The Line tool draws straight lines. The Circle tool makes circles. Use the Rectangle tool for squares. Zoom helps in seeing details. Pan moves your view around. The Erase tool removes mistakes. Undo helps you fix errors quickly. Redo restores actions. The Move tool shifts objects. The Rotate tool spins them. Use Copy to duplicate items. These tools form the base of AutoCAD.
Credit: www.cad-notes.com
Selecting Arrow Styles
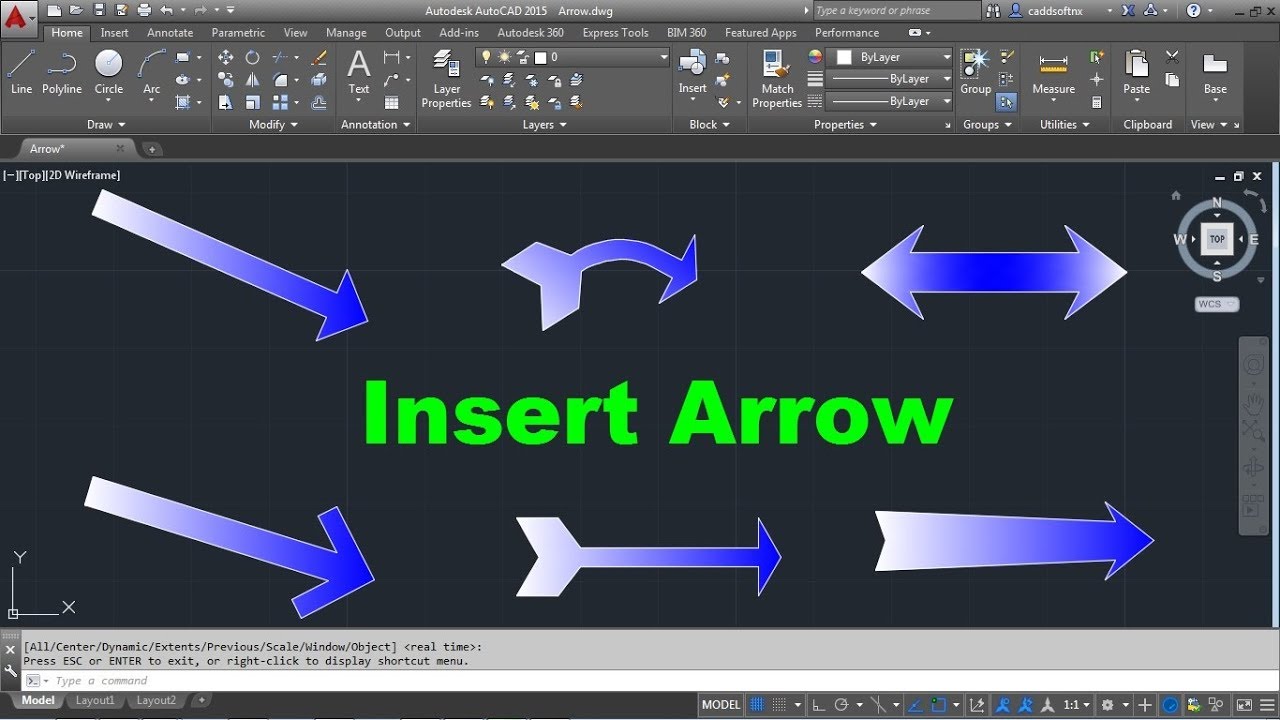
AutoCAD offers different arrow stylesto use. There are basic arrows like open arrowsand closed arrows. Open arrows have no fill inside. Closed arrows have a colored fill. Choose the right style for your design needs.
Customize arrows to fit your project. Change the sizeor angleof arrows. Adjust the colorto match your drawing. This helps make your work clear and easy to understand. You can also add textnext to arrows for extra details.
Drawing Arrows Using The Line Tool
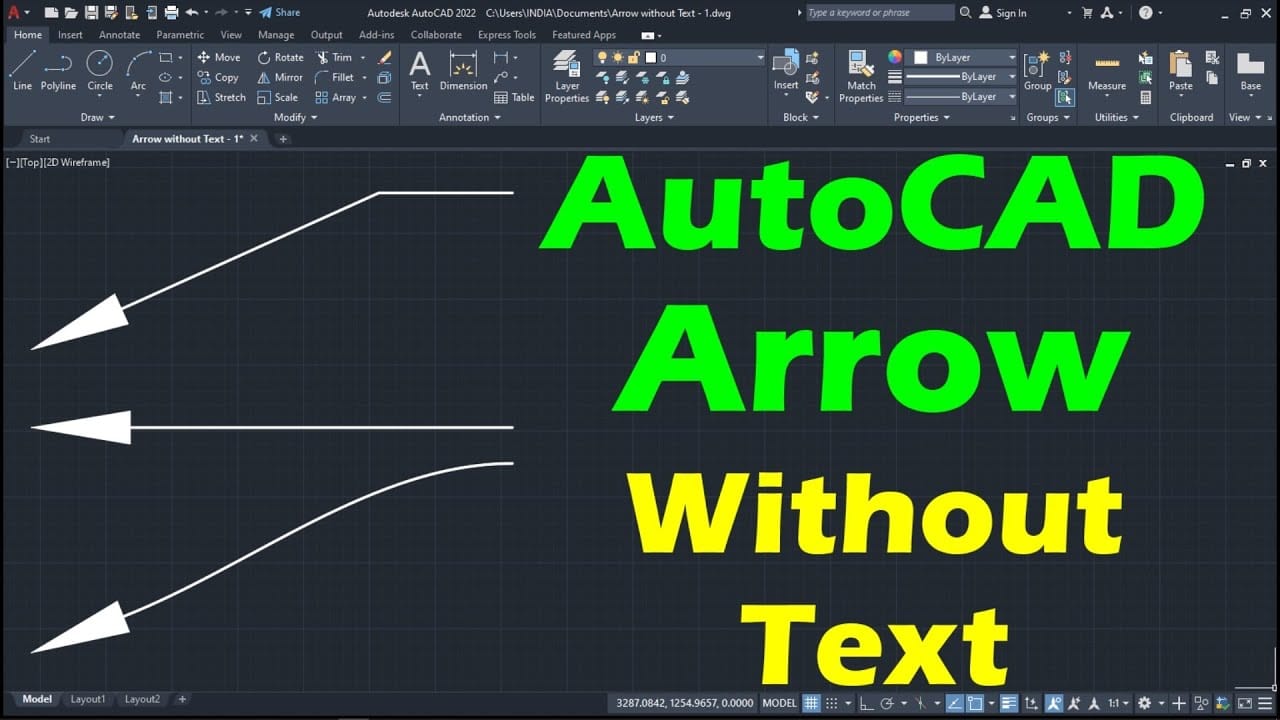
Start by selecting the Line tool. Draw a straight line. This is the arrow’s body. Keep it straight and neat. Next, draw two short lines at one end. These lines form the arrowhead. They should meet at the line’s tip. Make sure they are angled. This creates a clear arrow shape. Be careful with the angles. They should be symmetrical.
For manual arrowheads, use the Polyline tool. Draw a small triangle at the line’s end. This triangle is your arrowhead. Adjust its size as needed. Ensure it is proportional to the line. The triangle should touch the line’s end. Check for proper alignment. It should point in the line’s direction. Make sure it looks neat and clear.
Using The Dimension Tool For Arrows
Arrows can be added using the dimension toolin Autocad. First, select the line where you want the arrows. Next, click on the dimension tool in the toolbar. Choose the style of arrowyou like. Then, adjust the size and angle. Make sure the arrow fits well with the dimension line. You can also change the color. This makes the arrows clear and visible. Always check if the arrows look good. If not, edit them until they match the design. Small changes can make a big difference.
Sometimes, arrows need editing. Use the properties panelto tweak them. Look for the arrow settings. Here, you can change the arrow type. Also, adjust the length and width. This helps in making the arrow neat. Don’t forget to save changes. Also, view the design to ensure everything looks right. Mistakes can happen. Fix them right away for a better look. Editing arrows is simple yet important.
Incorporating Arrows In Leaders
Leader lines help in connecting text to objects. First, use the “Leader” command in AutoCAD. Select the starting point where you want the line. Drag the line to your desired location. Click to finish the line. This creates a basic leader line. Repeat the steps to add more lines if needed.
Arrowheads make leader lines clear. Select the leader line you created. Open the properties panel. Find the arrowhead option. Choose the style you prefer from the list. Options include closed, open, or dot. Change the size to make arrows bigger or smaller. Apply changes by clicking OK.
Advanced Arrow Customization
Arrows in AutoCAD can be changed to suit your needs. First, click on the arrow. Then, open the properties palette. You can change the size, color, and style of the arrow. Want a different look? Choose from solid, dashed, or dotted lines. Each option makes your drawing unique. Keep experimenting to see what you like best.
Save your custom arrow styles for later use. This makes future work faster. First, create the arrow style you want. Then, go to the Save option. Give your style a name. Next time, just load your saved style. This way, you don’t need to edit again. It saves time and keeps your work consistent.
Troubleshooting Common Issues
Adding arrows in AutoCAD can sometimes be tricky. Check the dimension or leader settings to ensure arrows are visible. Use the “Modify” tool to adjust size and style for clarity.
Arrow Visibility Problems
Arrows may not be visible due to layer settings. Check if the layer is turned off or frozen. Visibility can be affected by scale. Make sure the scale is appropriate for your drawing. Zooming in can help see small arrows. Sometimes, arrow color blends with the background. Change the color for better visibility.
Alignment And Placement Errors
Arrows might not align correctly. Use the snap function to help with alignment. Check the placement settings to ensure arrows are in the correct spot. Grid settings can also affect placement. Make sure the grid is set properly. Adjust the arrow settings if they seem off. Use properties to modify size and direction for better alignment.
Frequently Asked Questions
How Do I Add Arrows In Autocad?
To add arrows in AutoCAD, use the “LEADER” command. This command allows you to draw lines with arrowheads. Select the starting point, then the endpoint, and an arrow will automatically be created. Customize the arrow style by adjusting the leader settings in the properties panel.
Can I Customize Arrow Styles In Autocad?
Yes, you can customize arrow styles in AutoCAD. Access the “Dimension Style Manager” and modify the arrowhead type under the “Symbols and Arrows” tab. Choose from various styles, such as closed filled, open, or architectural tick. Save your changes to apply the new arrow style to your drawings.
What Is The Quickest Way To Draw Arrows?
The quickest way to draw arrows in AutoCAD is by using the “Quick Leader” command. This command streamlines the process by allowing you to click and drag to create arrows efficiently. Customize the appearance of the arrows in the properties panel to fit your design requirements.
How Do I Change Arrowhead Size In Autocad?
To change the arrowhead size, access the “Dimension Style Manager. ” Navigate to “Modify” and then “Symbols and Arrows. ” Here, you can adjust the arrowhead size to your preference. This change will apply to all new arrows drawn using the current dimension style.
Conclusion
Creating arrows in AutoCAD is simple with the right tools. Start by choosing the correct command and settings. Practice helps you draw arrows smoothly. Use layers for organized designs. Remember to save your work often. Customize arrows to fit your project’s needs.
This improves clarity and presentation. These steps make your drawings more professional. Keep experimenting with different styles and techniques. Enhance your AutoCAD skills over time. Explore additional resources for tips and tricks. With patience, you can master arrow creation.