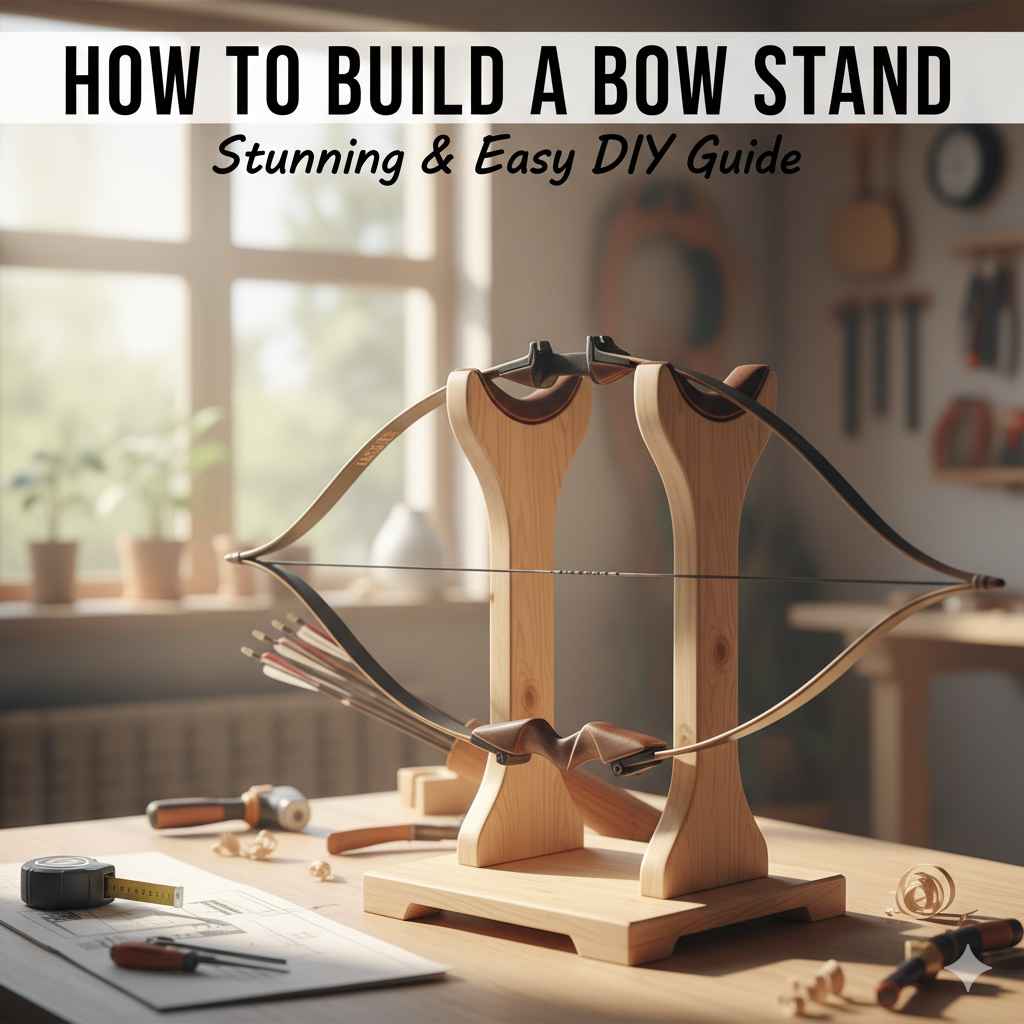
If you’re wondering how to build a bow stand that’s both functional and visually appealing, you’ve come to the right place. Whether you’re an archery enthusiast looking to organize your equipment or a decorative lover wanting to display a vintage bow, creating your own bow stand can be a rewarding project. This guide will walk you through the process step-by-step, making it easy to follow and customize according to your style and needs.
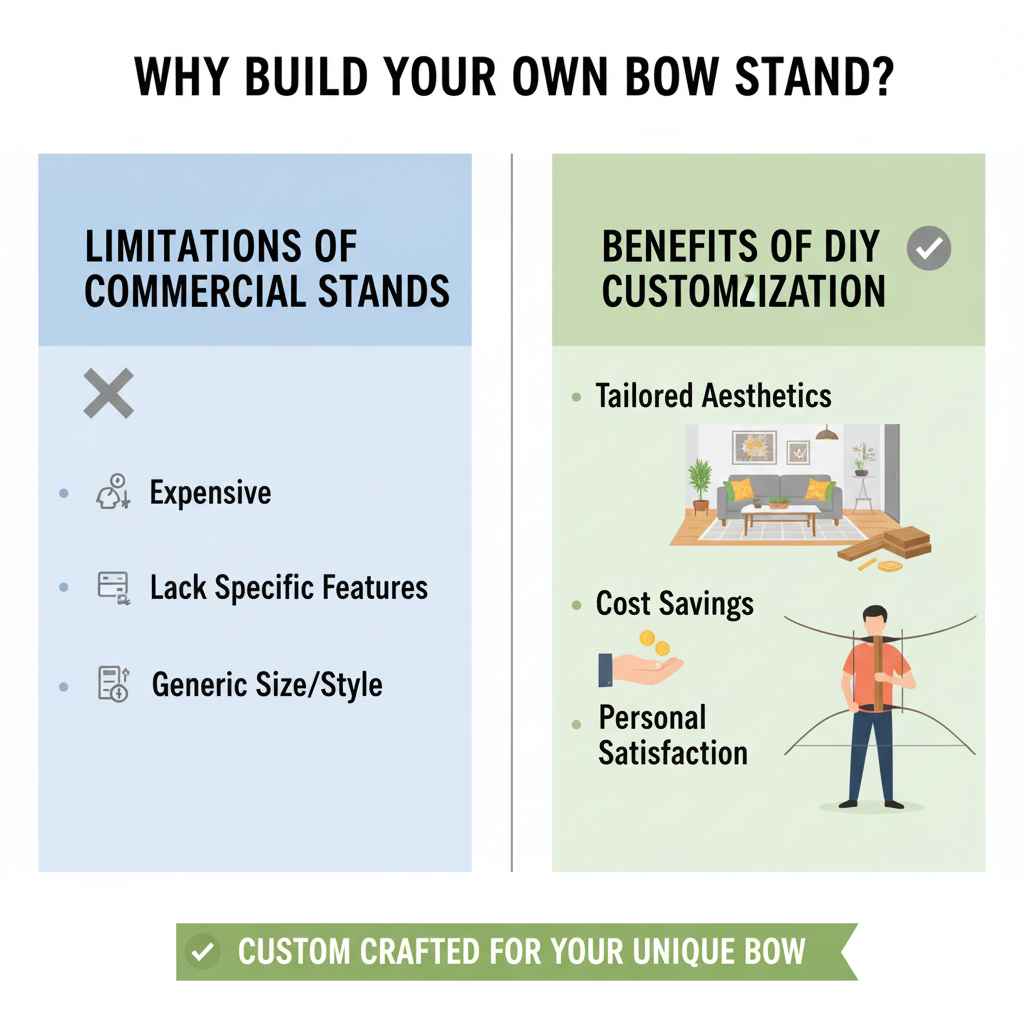
Why Build Your Own Bow Stand?
Before diving into the practical steps, it’s worth understanding why making your own bow stand is an excellent idea. Commercial bow stands can be expensive or lack the specific features you want, such as size, style, or storage options. By building your own:
– You customize the aesthetics to match your home or workshop.
– You save money by using readily available materials.
– You get the satisfaction of crafting something tailored specifically to your bow or collection.
Now, let’s explore the materials and instructions needed to embark on this fun DIY project.
Materials Needed for Your DIY Bow Stand
One of the best aspects of this project is its simplicity—both in materials and construction. Here’s what you’ll generally need:
– Wooden boards or planks: Choose hardwood like oak, maple, or pine for durability and a classy look.
– Screws and nails: For assembling the pieces.
– Wood glue: To reinforce joints and enhance stability.
– Sandpaper: To smooth edges and surfaces.
– Wood finish or paint (optional): To protect the wood and add character.
– Measuring tape and pencil: For precise measurements and markings.
– Saw, screwdriver, and drill: Your essential building tools.
Depending on the design, you might also want rubber pads or felt lining to prevent the bow from scratching against wood.
Step-by-Step Guide on How to Build a Bow Stand
Step 1: Design and Plan Your Stand
Start by sketching a rough design. A common style is a simple A-frame or a rectangular base with vertical supports where the bow rests. Ensure the dimensions fit the length and size of your bow comfortably.
For standard longbows or recurve bows, a height of around 3 feet and a base width of 1 to 2 feet usually provides good stability.
Step 2: Cut the Wood to Size
Based on your measurements, cut the wooden planks accordingly:
– Two vertical supports for holding the bow.
– A base plank wide enough to keep everything balanced.
– Additional crossbars or braces for added strength (optional but recommended).
Make sure all edges are straight to align the pieces properly during assembly.
Step 3: Sand and Prepare the Pieces
Use sandpaper to smooth all surfaces, especially edges and corners that will come in contact with your bow. This helps prevent scratches and splinters. If you want to paint or stain the wood, do so at this stage and allow it to dry completely.
Step 4: Assemble the Bow Stand
Begin by attaching the vertical supports to the base plank using screws and wood glue for a strong hold. If your design includes crossbars, fix them between the verticals to improve sturdiness.
Keep the screws countersunk (slightly below the wood surface) to avoid catching the bow or damaging it.
Step 5: Add Protective Features
To ensure your bow rests safely without damage, attach felt pads or strips of rubber where the bow’s limbs will contact the stand. This added cushion preserves the bow’s finish.
Step 6: Final Touches and Testing
Once assembled, give the stand a gentle shake to check stability. Place your bow carefully on it, ensuring it sits securely and evenly. Adjust padding or the support positions as needed.
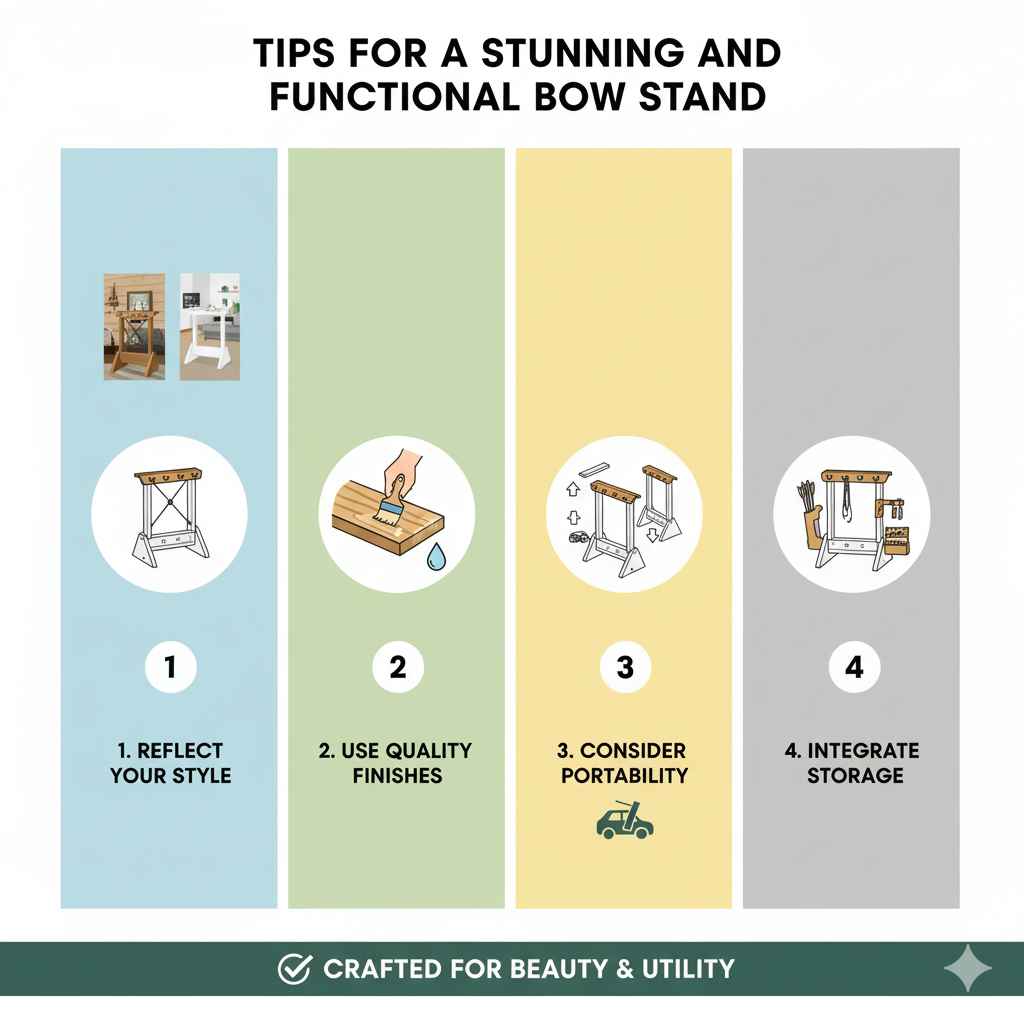
Tips for a Stunning and Functional Bow Stand
– Choose a design that reflects your style: Rustic wood for a traditional look, or painted and decorated for modern aesthetics.
– Use quality finishes: A good wood sealant protects against moisture and wear, keeping your stand looking great over time.
– Consider portability: If you plan to transport the stand to tournaments or events, design it to disassemble easily.
– Think about storage: Integrate small hooks or compartments to hold accessories like arrows, bowstrings, or maintenance tools.
Conclusion
Knowing how to build a bow stand opens up an enjoyable and practical DIY opportunity for every bow owner. This project doesn’t just organize your archery equipment; it creates a beautiful showcase that reflects your craftsmanship and passion for the sport. With simple materials, basic tools, and a little creativity, you can build a bow stand that is both stunning and functional. Give it a try, and enjoy the blend of form and function in your archery setup!