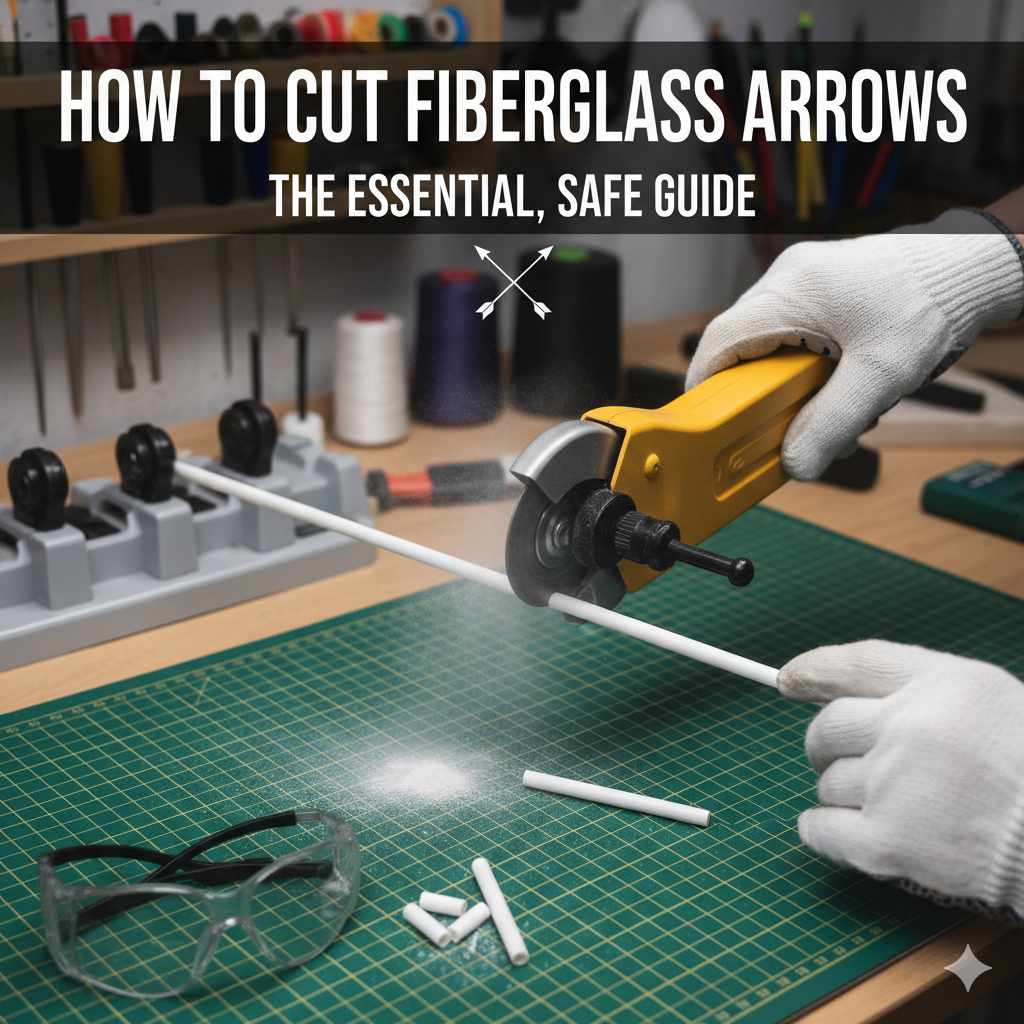
To cut fiberglass arrows, you need a high-speed abrasive wheel saw for a clean, safe cut. First, measure your correct arrow length and mark the shaft. Wearing an N95 mask, eye protection, and gloves, use the saw to slowly rotate and cut the arrow. Finally, square the end and clean any dust before installing inserts.
Hello, archer! Welcome. If you’ve ever felt your arrows were just a bit too long, you’re not alone. Getting the right arrow length is a game-changer for your accuracy and consistency. But the idea of cutting them yourself can feel a little daunting. Don’t worry! It’s a skill that’s easier to learn than you think.
Cutting your own fiberglass arrows gives you total control over your gear. It’s a satisfying step that connects you more deeply with your sport. I’m here to walk you through every step, from measuring to making the final cut. We’ll do it safely and simply. Let’s get you set up for success and tighter groups on the target!
Why You Should Learn to Cut Your Own Fiberglass Arrows
Taking the leap from buying pre-cut arrows to customizing your own is a huge step in any archer’s journey. It might seem like a small detail, but arrow length is one of the most critical factors in achieving consistent accuracy. When you learn how to cut fiberglass arrows yourself, you unlock a new level of precision tailored specifically to you and your bow.
The Benefits of Custom-Cut Arrows
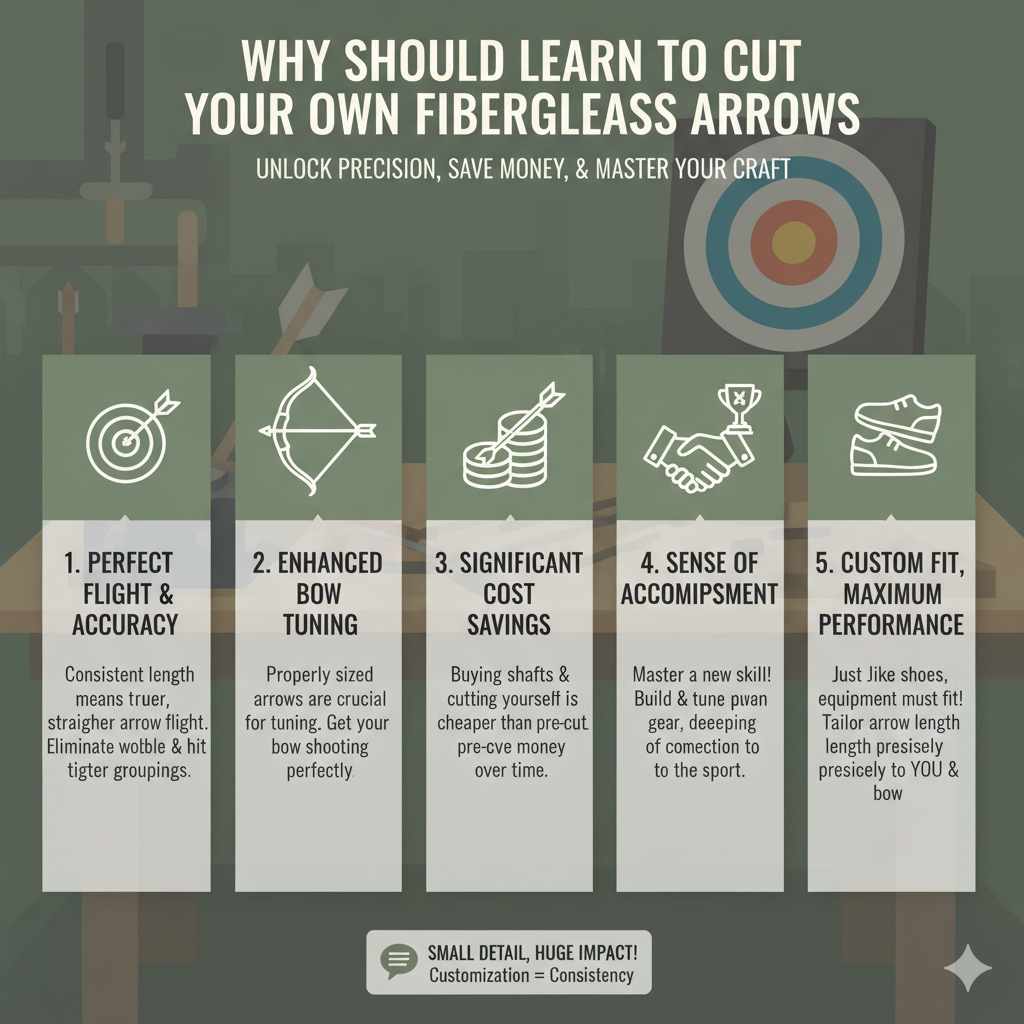
- Perfect Spine and Flight: An arrow that is too long can behave as if it has a weaker spine, causing it to wobble and fly erratically. A correctly sized arrow flies truer and straighter, hitting your target with more predictability.
- Improved Accuracy: When every arrow is the exact same length, you remove a major variable from your shot. This consistency translates directly into tighter groupings on the target.
- Better Bow Tuning: Properly spined and sized arrows are essential for tuning your bow. If your arrows are the wrong length, you might struggle to get your bow shooting perfectly, no matter how much you adjust your rest or sights.
- Cost Savings: Buying full-length arrow shafts and cutting them yourself is often cheaper than purchasing pre-fletched, pre-cut arrows. Over time, this can save you a good amount of money, especially if you shoot frequently.
- A Sense of Accomplishment: There’s a special pride that comes from building and tuning your own equipment. Mastering this skill makes you a more knowledgeable and self-reliant archer. It’s a rewarding process that deepens your connection to the sport.
Think of it this way: you wouldn’t wear shoes that are two sizes too big, right? The same logic applies to your arrows. By customizing their length, you’re ensuring your equipment fits you perfectly, allowing you to perform at your best.
Safety First: The Non-Negotiable Rules for Cutting Fiberglass
Before we even think about turning on a saw, we need to talk about safety. This is the most important part of the entire process. Cutting fiberglass creates fine, microscopic dust that is harmful if inhaled or if it gets into your eyes. It’s not something to take lightly, but with the right precautions, it’s completely safe.
Fiberglass dust can irritate your skin, eyes, and respiratory system. The tiny glass fibers can become embedded in your lungs, causing long-term health issues. That’s why we always use Personal Protective Equipment (PPE). No exceptions.
Your Essential Safety Gear Checklist
- A High-Quality Dust Mask: A simple paper mask won’t do. You need a respirator mask rated N95 or higher. This will filter out the fine particles created during cutting. An N95 rating means it blocks at least 95% of airborne particles.
- Safety Glasses or Goggles: Your eyes are irreplaceable. Always wear wrap-around safety glasses or goggles to protect them from both dust and any larger fragments that could fly off during the cut.
- Gloves: Wear a pair of sturdy work gloves to protect your hands from tiny fiberglass splinters and skin irritation. Nitrile or leather gloves work well.
- Long Sleeves: A long-sleeved shirt helps prevent the dust from settling on your arms and causing skin irritation or itchiness.
- Well-Ventilated Workspace: Never cut fiberglass arrows in a small, enclosed room. Work in a garage with the door open, a workshop with good airflow, or even outdoors on a calm day. A fan blowing dust away from you is also a great idea.
For more detailed information on the hazards of fiberglass dust, you can refer to safety guidelines from government bodies like the National Institute for Occupational Safety and Health (NIOSH). Their resources emphasize the importance of proper ventilation and protective equipment, which is exactly what we are focusing on here. Your health is priority number one.
Gathering Your Tools: What You’ll Need for the Job
Having the right tools makes any job easier, safer, and more precise. For cutting arrows, you don’t need a professional workshop, but a few key items are essential for a clean, square cut.
The Right Tool for Cutting
There is one ideal tool for this job: a high-speed arrow saw. These saws are specifically designed to cut carbon and fiberglass shafts cleanly without splintering them. They spin at a very high RPM and use an abrasive cutting wheel, not a toothed blade.
However, many hobbyists get great results with a Dremel or a similar rotary tool equipped with a reinforced cut-off wheel. If you go this route, it’s crucial to build a simple jig to hold the arrow and the tool steady. A freehand cut will never be straight enough.
What NOT to use: Never use a hacksaw, pipe cutter, or any tool with teeth. These will shred the fiberglass, causing dangerous splinters and ruining the arrow shaft. A pipe cutter will crush the shaft wall, making it unsafe to shoot.
Tool and Supply Checklist Table
Here is a breakdown of everything you’ll need to get started. I’ve included notes on why each item is important.
| Tool / Supply | Purpose | Beginner-Friendly Tip |
|---|---|---|
| Arrow Saw or Rotary Tool | To make a clean, precise cut through the fiberglass shaft. | An arrow saw is best, but a Dremel in a sturdy jig is a great budget-friendly option. Look for cut-off wheels designed for metal or plastic. |
| Tape Measure | To accurately measure your desired arrow length. | Use a quality metal tape measure for the most accurate readings. Double-check your measurements! |
| Fine-Tip Permanent Marker | To mark your cut line clearly on the arrow shaft. | A silver or white marker works best on dark-colored shafts so you can see your line easily. |
| Arrow Squaring Device (ASD) | To ensure the cut end of the arrow is perfectly flat (90 degrees). | This is a MUST-HAVE tool. A non-square end will cause poor insert alignment and affect arrow flight. They are inexpensive and worth every penny. |
| Deburring Tool or Fine-Grit Sandpaper | To smooth the inside and outside edges of the cut. | A simple drill bit turned by hand can deburr the inside, and a small piece of sandpaper can smooth the outside. |
| Rubbing Alcohol & Paper Towels | To clean the inside of the shaft before installing inserts. | A clean surface is essential for good glue adhesion. Make sure the inside is completely dry before gluing. |
Step 1: Determining Your Perfect Arrow Length
Before you can cut, you need to know exactly where to cut. This is the most crucial measurement you will make. An arrow that’s too short is dangerous, and one that’s too long hurts performance. Let’s find your ideal length.
The Standard Method: Using Draw Length
The most common way to determine arrow length is based on your personal draw length. Your draw length is the distance from the nock point on the string to the throat of the bow’s grip when you are at full draw.
- Measure Your Draw Length: If you don’t know your draw length, the easiest way to get a close estimate is the wingspan method. Stand with your arms stretched out to the sides (like a “T”). Have a friend measure the distance from the tip of one middle finger to the other. Divide that number by 2.5. This is your approximate draw length. For example, a 70-inch wingspan gives you a 28-inch draw length.
- Add for Safety and Tuning: Once you have your draw length, the standard rule is to add 1 to 2 inches to that measurement. This ensures the arrow tip (broadhead or field point) rests safely beyond your bow hand and the arrow riser when you are at full draw.
So, if your draw length is 28 inches, your ideal arrow length would be between 29 and 30 inches. This measurement is taken from the bottom of the nock’s groove to the end of the carbon shaft (not including the insert or point).
Visual Confirmation Method (Requires a Helper)
This is a more hands-on way to confirm your measurement.
- Take a full-length, uncut arrow and nock it on your bowstring.
- Come to a full, comfortable draw, anchoring as you normally would. Use good, safe form.
- Have a friend stand to the side and make a mark on the arrow shaft about 1.5 inches in front of where the arrow contacts the arrow rest.
This mark is your cut line. It provides that essential margin of safety and gives you a perfectly customized arrow length.
Arrow Length Recommendation Table
This table provides a general starting point for archers. Always confirm with a visual check if possible.
| Your Draw Length | Recommended Arrow Cut Length |
|---|---|
| 26 inches | 27 – 27.5 inches |
| 27 inches | 28 – 28.5 inches |
| 28 inches | 29 – 29.5 inches |
| 29 inches | 30 – 30.5 inches |
| 30 inches | 31 – 31.5 inches |
Step 2: The Step-by-Step Guide to Cutting Your Arrows
Alright, you’ve done your homework. You have your safety gear on, your tools are ready, and you know your exact measurement. It’s time to make the cut. Follow these steps carefully for a perfect result every time.
1. Measure and Mark Twice, Cut Once
This old saying is famous for a reason. Grab your tape measure and your uncut arrow shaft. Measure from the bottom of the nock groove down the shaft to your desired length. Use your fine-tip marker to make a clear, thin line all the way around the shaft. Double-check the measurement one more time before you proceed.
2. Set Up Your Cutting Station
Clamp your arrow saw or Dremel jig securely to a workbench. Make sure it’s stable and won’t wobble. Put on all your PPE: mask, safety glasses, and gloves. If you’re using a fan for ventilation, position it to blow the dust away from your face and body.
3. Make the Cut
Turn on your saw or rotary tool. Bring the arrow shaft up to the cutting wheel gently. Don’t push hard. Let the speed of the blade do the work. The key to a clean cut is to rotate the arrow slowly and continuously as you cut. This ensures an even, splinter-free cut all the way through.
- If using an arrow saw: Most saws have built-in rollers that make rotating the arrow smooth and easy.
- If using a Dremel jig: Rotate the arrow shaft with your fingers, keeping a light, steady pressure against the cutting wheel.
The cut should only take a few seconds. A slow, steady rotation is far more important than forward pressure.
4. Square the End
This step is critical and should never be skipped. Even the best saw can leave an end that is not perfectly 90 degrees to the shaft. An arrow squaring device (ASD) will fix this. An ASD looks like a small block with sandpaper on it and a guide to hold your arrow straight.
Place the cut end of the arrow into the ASD and gently twist it against the abrasive surface a few times. You’ll see it remove a small ring of fiberglass dust. When the entire cut end looks clean and even, it’s perfectly square. This ensures your insert will sit flush, which is vital for proper arrow flight.
5. Deburr the Edges
The cutting process can leave tiny, sharp burrs on the inside and outside edge of the shaft. We need to smooth these out.
- For the inside: Take a slightly larger drill bit and gently twist it with your fingers inside the shaft opening. A few turns is all it takes to remove the inner burr. You can also use a dedicated deburring tool.
- For the outside: Lightly sand the outer edge with a small piece of fine-grit sandpaper or an emery board. Just a few gentle swipes will do.
6. Clean the Shaft
The final step is to clean out all the cutting dust from inside the shaft. Dip a Q-tip or a small piece of paper towel in rubbing alcohol and run it inside the shaft for an inch or two. This removes any dust and oils, preparing the surface for a strong bond when you glue in your inserts.
Congratulations! You’ve just successfully and safely cut your first fiberglass arrow. Repeat the process for the rest of your arrows, ensuring each one is measured and cut to the exact same length for perfect consistency.
Common Mistakes to Avoid
Even with the best instructions, it’s easy to make a small mistake. Here are a few common pitfalls to watch out for on your journey to becoming a pro at cutting arrows.
- Forgetting Safety Gear: This is the biggest mistake you can make. Always, always, always wear your mask and eye protection. Fiberglass dust is not something you want in your body.
- Measuring from the Wrong Point: Remember to measure from the bottom of the nock groove, not the very end of the nock. This is the industry standard and ensures consistency.
- Using the Wrong Tool: A hacksaw or pipe cutter will destroy your arrow. Stick to a high-speed abrasive wheel for a clean, safe cut. Many hardware stores, like The Home Depot, have guides on using rotary tools safely for cutting various materials.
- Cutting Too Fast: Pushing the arrow too hard into the blade can cause chipping and an uneven cut. Let the tool’s speed work for you and focus on a slow, steady rotation.
- Skipping the Squaring Step: An unsquared arrow will lead to wobbly inserts and poor broadhead alignment. This directly impacts accuracy. Always use an arrow squaring device.
- Not Cleaning the Shaft: Glue will not bond properly to a dusty or oily surface. A quick wipe with rubbing alcohol is essential for a secure insert.
By keeping these points in mind, you’ll avoid frustration and ensure every arrow you build is a high-quality, accurate piece of equipment.

Frequently Asked Questions (FAQ)
1. Is fiberglass arrow dust really that dangerous?
Yes, it should be treated with respect. Inhaling the fine glass particles can cause serious respiratory irritation and potential long-term damage. It can also cause significant eye and skin irritation. This is why wearing an N95-rated mask, sealed safety glasses, and gloves is not optional—it’s essential for your health.
2. Can I use a regular pipe cutter to cut my fiberglass arrows?
No, you should never use a pipe cutter. A pipe cutter works by compressing and squeezing the material, which will crush and weaken the walls of the fiberglass shaft. This creates a weak point that could cause the arrow to break upon being shot, which is extremely dangerous.
3. Do I really need an expensive arrow saw?
While a dedicated arrow saw is the best tool for the job, you don’t need one to get started. A Dremel or other high-speed rotary tool with a reinforced abrasive cut-off wheel works very well, provided you build a simple jig to hold both the tool and the arrow steady for a perfectly straight cut.
4. What is an arrow squaring device and why is it important?
An arrow squaring device (ASD) is a small, simple tool that sands the cut end of the arrow shaft to ensure it is perfectly flat and at a 90-degree angle to the shaft’s length. This is crucial for proper insert and broadhead alignment. A crooked insert will make your arrow fly erratically, ruining your accuracy.
5. How much longer than my draw length should my arrow be?
A good rule of thumb is to cut your arrows 1 to 2 inches longer than your measured draw length. This provides a critical safety margin, ensuring the broadhead is always in front of your bow hand and the riser at full draw. For beginners, sticking closer to the 2-inch mark is a safe and reliable choice.
6. What do I do after I cut the arrow?
After cutting, squaring, and cleaning the arrow, the next step is to install the insert. This is the small metal piece that your field point or broadhead screws into. You’ll apply a specialized arrow insert glue to the insert, slide it into the shaft, and let it cure completely before use.
7. Can I re-cut an arrow that is too long?
Absolutely! That’s one of the great benefits of learning this skill. If you find your arrows are a bit too long after testing them, you can easily take them back to your saw and trim off a bit more. Just remember the “measure twice, cut once” rule, as you can always make an arrow shorter, but you can’t make it longer.
Your Next Step to Becoming a Better Archer
You did it! You’ve learned the why, the what, and the how of cutting your own fiberglass arrows. It’s a fundamental skill that puts you in the driver’s seat of your archery setup. By taking the time to create arrows that are perfectly matched to you and your bow, you’re not just building equipment—you’re building confidence.
Remember, the core principles are simple: prioritize safety above all else, measure with care, and use the right tools for a clean, precise job. Every arrow you cut will make you more comfortable with the process, and soon it will be second nature.
This is a huge step forward in your archery journey. You’re moving beyond being just a shooter and becoming a true archer—one who understands their gear inside and out. Now go enjoy the satisfaction of seeing those perfectly customized arrows fly straight and true, right into the center of the target. Happy shooting!