
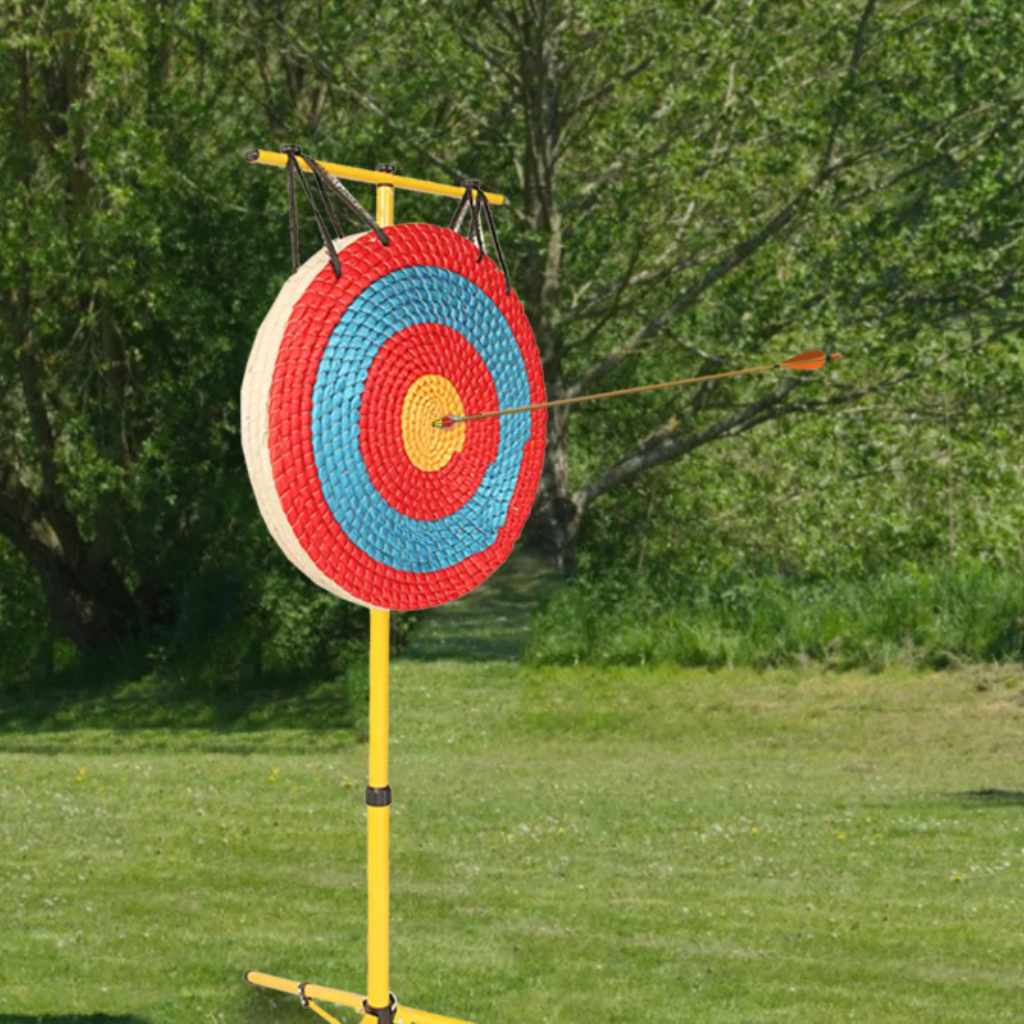
Sensors in modern archery targets use simple, reliable technology—like basic electrical circuits or magnetic switches—to detect when an arrow crosses a specific point or breaks a beam of light. They complete a circuit when hit, instantly signaling a hit notification on an attached scoring system or app.
Hello, and welcome! I’m Salman Arfeen, and I know that seeing a high-tech archery target light up after a perfect shot is exciting. But if you’re new to the sport, wondering exactly how those clever electronic targets know you hit the bullseye can feel like a mystery. Fumbling with complex tech when you just want to enjoy shooting or tracking your progress is frustrating.
Don’t worry! These systems are much simpler and more reliable than they look. We are going to break down exactly how the sensors work in these electronic archery targets, using clear language. By the end of this guide, you will understand the tech powering your practice sessions, helping you focus on your aim, not the machinery.
Understanding the Need for Electronic Archery Targets
Traditional targets are great for practice, but they don’t offer instant feedback on where you hit, especially when shooting at distances you can’t easily see from the shooting line. Modern electronic targets solve this problem by adding a layer of technology.
Why Go Electronic? The Beginner’s Advantage
Electronic scoring systems offer immediate benefits, especially when you are first building consistent form.
- Instant Feedback: You know right away if you hit the target area you aimed for. This speeds up learning.
- Accurate Scoring: No more guessing or walking downrange to tally points. The target does the math instantly.
- Fun and Engagement: Many systems include games or layered challenges that make practice feel less like a chore and more like play.
- Data Tracking: For those tracking improvement, these systems log every shot, showing trends over time.
The Two Main Types of Electronic Archery Sensors
While there are dozens of brand-specific models, most electronic archery targets rely on one of two core detection methods to register an arrow strike. We will look at how these simple principles are applied to capture your shot.
1. Contact-Based Sensor Systems (The Circuit Breakers)
This is perhaps the most common and straightforward method used in many affordable and robust electronic targets. These systems operate on the basic principle of completing an electrical circuit. Think of it like flipping a light switch, but the arrow flips it for you.
How the Electrical Circuit Works
These targets usually have thin, conductive layers embedded within the target material or mounted just behind the faceplate.
- The Setup: An electrical current is constantly flowing through a specific path, or circuit, on the target face.
- The Interruption: When an arrow strikes the target, the hard point of the arrow—the tip or the sharp edges around it—touches or penetrates two different conductive spots.
- The Signal: By touching these two points, the arrow physically completes the circuit. This sudden completion of the circuit sends a signal (like a tiny pulse of electricity) back to the target’s main processing unit.
- The Result: The processor registers this signal as a “hit” and immediately calculates where the strike occurred based on which contact points were bridged.
Pros and Cons of Contact Sensors
For beginners, knowing the trade-offs helps in choosing the right gear.
| Advantage (Pro) | Limitation (Con) |
|---|---|
| Highly reliable in various weather conditions. | Can be sensitive to heavy rain or moisture if not perfectly sealed. |
| Generally simpler and less expensive electronics. | May require specific arrow types (e.g., metal tips working better than soft rubber tips for maximum conductivity). |
| Durability is often high as the electronics are well-protected inside. | Scoring is based on pre-defined zones, not always the exact physical center (unless multiple layers are used). |
2. Non-Contact Sensor Systems (The Optical/Magnetic Detectors)
These systems try to detect the arrow without necessarily touching it to complete a predefined circuit. They are often used in more advanced range setups where speed and precise location tracking are paramount.
A. Optical Beam Systems
Imagine setting up invisible laser tripwires across the target face. This is generally how optical systems work, though the execution varies.
- Beam Emitters: Small LEDs or light emitters are placed around the perimeter of the target zone.
- Beam Receivers: Corresponding sensors or photocells are placed directly across from the emitters.
- Arrow Detection: When an arrow passes through the plane of the target face, the shaft or tip momentarily breaks the light beam traveling between the emitter and the receiver.
- Scoring: By using an array of these beams (often crisscrossing in a grid pattern), the system can triangulate or pinpoint the location where the beam was broken.
B. Magnetic Sensing Systems
Some premium systems use magnetic fields, often relying on components embedded in specialized, non-metallic target butts or using specialized arrowheads containing magnets.
These systems often use coils of wire (inductors) embedded in the target. When a magnetized object (the arrow) passes near these coils, it causes a detectable change in the magnetic field, which the sensor reads as a strike.
While impressive, non-contact systems are less common in standard backyard practice targets and more often found in commercial shooting centers or very high-end home setups. For beginners, understanding the contact sensor is usually more relevant.
The Brains of the Operation: The Scoring Module
The sensor itself is just the trigger. What turns that trigger signal into a score—like displaying “Gold—10 Points!”—is the target’s central nervous system, the scoring module.
How the Sensor Signal Becomes a Score
Whether the sensor breaks a circuit or interrupts a light beam, the resulting electrical pulse needs to be processed.
1. Signal Interpretation
The module receives the incoming signal and must quickly determine which sensor triggered it. Modern systems divide the target face into many zones (e.g., 10-ring, 9-ring, outers, etc.).
If you are using a contact system with multiple target patches, each patch might have its own electrical input, informing the module exactly which zone was hit. Sophisticated software maps these inputs onto virtual scoring rings.
2. Calibration and Mapping
This is crucial for accuracy. The system needs to know that Input A corresponds to the center bullseye and Input D corresponds to the outermost ring. This mapping is programmed into the target’s firmware.
When learning, make sure you check the manufacturer’s guidelines regarding calibration. Some targets require you to “teach” them where the center is by firing a few calibration shots.
3. Data Output and Display
Once the location is confirmed, the module does two things:
- It displays the score instantly, usually on an attached screen or via Bluetooth to a smartphone app.
- It records the data for historical tracking (e.g., group size, average score).

Practical Guide: Setting Up and Troubleshooting Your Sensor Target
Understanding the mechanics is great, but what does this mean for your practice session? Here is what you need to know to get your sensor target working reliably.
Step-by-Step: Initial Setup Checklist
Always follow your specific target’s manual, but these general steps cover most sensor-based systems:
- Power Check: Ensure the system has fresh batteries or is properly connected to the main power source. Sensors require constant power to monitor the circuits.
- Target Face Alignment: Make sure the scoring element—whether it’s the sensor mat or the optical grid—is seated perfectly flush within the target housing. Any warping can cause false readings or missed shots.
- Physical Connections: Double-check that all cables connecting the target field to the scoring module (if separate) are securely fastened. Loose spade connectors are a common culprit for missed hits.
- Calibration Shoot (If Required): Many systems need an initial “zeroing” shot. Follow the instructions to fire an arrow into the absolute center. This tells the software, “This impact point is 10 points.”
- Test Fire: Shoot a few arrows into different scoring zones (center, middle, outer ring) to confirm the system is registering hits and assigning the correct scores.
Troubleshooting Common Sensor Issues
If your target isn’t reacting as expected, don’t panic. It’s usually a simple fix.
Issue 1: Missed Shots
If an arrow clearly hits a scoring zone but nothing registers:
- Check Connectivity: For contact sensors, ensure your arrow tip is making solid contact between the conductive zones. Are you using soft practice tips that might not conduct electricity well enough?
- Power Output: Is the battery low? Sometimes, a low battery prevents the sensor from sending a strong enough signal pulse.
- Debris: Look closely at the target face. Is there dirt, mud, or stuck foam residue bridging (shorting) the circuits prematurely, leading to confusing readings?
Issue 2: False Hits (Phantom Scores)
The screen shows a score when you haven’t shot yet:
This means the electrical circuit is completing itself even without an arrow impacting the center.
- Moisture/Condensation: Water is an electrical conductor. If the target is wet, moisture can bridge the conductive paths, causing false signals. Allow the unit to dry fully.
- Housing Pressure: Ensure the target face or sensor mat isn’t physically pressed too tightly against the housing, causing a slight, constant connection.
For optical systems, false hits usually mean that something is constantly blocking the light beam, such as debris caught in the sensor housing.
The Science of Arrow Material and Sensors
As a beginner, you might wonder if the type of arrow makes a difference in how the target sensors pick up your shot. For most modern electronic targets, the answer is often yes, particularly with contact systems.
Why Arrow Tips Matter
If your target uses magnetic or conductivity sensors, the material of your arrow tip is key to closing the circuit reliably every time.
For example, many electronic targets perform best with standard metal field points (steel or aluminum) because metal is an excellent electrical conductor. If you are using specialized carbon tips or soft rubber tips for safety, they might interfere with the necessary electrical contact.
Tip for Beginners: If you move from paper targets to an electronic system, ensure your practice tips are clean and fit snugly onto your shaft. A loose tip can result in a weak connection, leading to a phantom “miss” on the board.
Safety First: Integrating New Tech Responsibly
Archery technology is exciting, but it never replaces fundamental safety habits. Always look to established safety guidelines, like those promoted by organizations such as the National Archery in the Schools Program (NASP), which emphasizes constant awareness of the shooting lane.
Sensor Targets and Bow Limits
It is crucial to know that while these targets are high-tech, they are still subject to physical limitations based on the energy they are designed to absorb.
Always check the manufacturer’s specifications regarding draw weight (e.g., maximum 50 lbs) and arrow speed (FPS). Exceeding these limits can:
- Damage the internal sensor mats, leading to expensive repairs.
- Cause the arrow to pass completely through the target, creating a severe safety hazard.
If you are shooting a compound bow exceeding 300 FPS, verify that the target is rated for that speed; otherwise, you risk penetration beyond the scoring area.
Advanced Topics: Zone Specificity and Layered Sensing
As you become more serious, you might encounter targets that can tell the difference between a 10-ring hit and a 9-ring hit, even if the arrows are close together. This is achieved through more complex sensor layering.
How Targets Differentiate Close Shots
Imagine the target face isn’t just one conductive sheet, but several thin ones stacked on top of each other, slightly offset.
| Layer | Purpose | Detection Behavior |
|---|---|---|
| Top Layer (Zone 10) | Highest value scoring ring. | Circuit completes only when the arrow tip makes contact with this top layer and the layer immediately beneath it. |
| Middle Layer (Zone 9/8) | Next scoring tier. | Circuit completes if the arrow penetrates the top layer but also touches a specific sensor point between the top and middle layers. |
| Base Layer | Out of the money/outer ring detection. | Circuit completes only when the arrow hits the deepest sensor pad. |
By precisely measuring how many conductive layers the arrow bridges, the system can assign a more granular score, simulating the precision of a paper target score, but instantly.
Frequently Asked Questions (FAQ) for Beginner Archery Target Users
We have covered the main detection methods. Here are some quick answers to common questions beginners have about electronic targets.
Q1: Do I need special arrows for electronic targets?
A: Generally, no, but yes. If your target uses basic circuit detection, standard metal field points work best because they conduct electricity reliably. If the target uses optical detection, the arrow type matters less, but ensure tips are securely fastened.
Q2: Can electronic targets handle high draw weight bows?
A: Only if the manufacturer explicitly states they can. Most electronic targets are designed for recreational or intermediate draw weights. Powerful bows (over 50-60 lbs) might punch through the sensing material completely, damaging the system or posing a safety risk.
Q3: Why does my electronic target sometimes score a hit when I miss?
A: This is usually due to moisture (water bridging the circuits), debris stuck on the face shorting the connection, or the battery being too low to process the signal cleanly. Check the power and clean the surface thoroughly.
Q4: How often do I need to replace the sensor mat?
A: This depends entirely on how much you shoot. High-end mats can last tens of thousands of shots. Casual shooters might never need to replace them. If scores become erratic or hits stop registering in a certain zone, the mat usually needs replacement.
Q5: Are optical beam targets more accurate than contact sensors?
A: Optical beam systems can offer better spatial accuracy because they calculate the position based on intersecting beams. However, for standard practice, well-designed contact sensors provide sufficient accuracy and are usually tougher against physical damage.
Q6: Is setting up an optical target harder than a contact target?
A: Often, yes. Optical systems require careful alignment of emitters and receivers, typically needing a clean line of sight. Contact systems are usually simpler: you just place the mat down and power it on.
Conclusion: Confidence Through Understanding
Learning how do the sensors work in an Archery Target is really about understanding simple physics: making or breaking a connection. Whether it’s an electrical circuit closing when metal touches metal or a light beam being interrupted by a passing shaft, the core idea is to instantly translate a physical impact into digital data. This technology is designed to remove guesswork and keep you focused on your form, allowing for faster, more objective skill improvement.
As you continue your archery journey—whether you are aiming for the tightest group or just enjoying a relaxing afternoon at the range—remember that your electronic target is your silent, instant coach, giving you the feedback you need to keep building that confidence, one perfectly registered shot at a time. Keep practicing safely, and enjoy the modern edge these clever devices provide!