Arrow spine is the measure of an arrow’s stiffness, which must match your bow’s power for safe, accurate flight. Arrow weight is the total mass of the arrow, measured in grains, which affects its speed and penetration. For beginners, getting the correct spine is the most critical first step for safety and consistency.
Hi there, I’m Salman Arfeen. Welcome to the world of archery! If you’re feeling a bit lost trying to figure out arrow spine and weight, you’re not alone. It’s one of the most common points of confusion for new archers. It feels like a complicated puzzle, but I promise it’s much simpler than it looks. Getting it right is the secret to hitting your target consistently and, most importantly, staying safe.
Think of me as your guide. In this article, we’ll break down exactly what arrow spine and weight are, why they matter, and how to choose the right arrow for your bow. We’ll skip the confusing jargon and stick to simple, practical steps. By the end, you’ll feel confident and ready to pick the perfect arrows for your setup. Let’s get you shooting straight and true!
First Things First: What Exactly is Arrow Spine?
Imagine you have a long, thin wooden ruler. If you hold it by the ends and push in the middle, it bends. How much it bends is a measure of its stiffness. Arrow spine is exactly that: a measurement of an arrow shaft’s stiffness.
In archery, spine is represented by a number, like 340, 400, or 500. It might seem backward at first, but here’s the key takeaway: a lower spine number means a stiffer arrow, and a higher spine number means a more flexible arrow.
- Low Spine Number (e.g., 300): Very stiff. Designed for powerful bows with high draw weights.
- High Spine Number (e.g., 500): More flexible. Designed for bows with lower draw weights.
Getting this right is crucial because your arrow needs to flex a specific amount when you release the string. This controlled flex, known as the “archer’s paradox,” allows the arrow to bend around the bow’s handle (the riser) and straighten out as it flies toward the target. If the stiffness is wrong, the arrow won’t fly straight.
Static Spine vs. Dynamic Spine: A Simple Look
You might hear archers talk about two types of spine. Let’s keep it simple:
- Static Spine: This is the number printed on the arrow shaft by the manufacturer. It’s a measurement of the arrow’s stiffness when it’s just sitting there. This is the number you’ll use when looking at a spine chart.
- Dynamic Spine: This is how the arrow actually behaves—how much it bends—when it’s shot from the bow. It’s influenced by things like your bow’s draw weight, the weight of your arrow point, and your arrow’s length. For now, just know that changing your setup can change how your arrow flies.
As a beginner, you only need to focus on matching the static spine (the number on the arrow) to your bow’s setup. The rest comes with practice and experience.
Why Arrow Spine is Your Most Important Choice for Safety and Accuracy
Choosing the right arrow spine isn’t just about hitting the bullseye; it’s fundamentally about safety. An arrow that is too flexible (a spine number that is too high) for a powerful bow can buckle and shatter upon release. This can send dangerous carbon fiber fragments into your arm, hand, or even your face. It’s the single most important equipment match you need to make.
Once safety is covered, spine becomes all about accuracy. An arrow with the correct spine will fly straight and predictably. An arrow with the wrong spine will wiggle and veer off course, making your shots inconsistent and frustrating.
Common Problems Caused by Incorrect Spine:
- Arrow is too stiff (spine number too low): The arrow may fly to the left for a right-handed archer. It doesn’t flex enough to clear the riser properly.
- Arrow is too weak/flexible (spine number too high): The arrow may fly to the right for a right-handed archer. It over-flexes and loses energy and stability. This is also the more dangerous of the two mismatches.
A Step-by-Step Guide to Choosing the Right Arrow Spine
Ready to find your perfect match? It’s as simple as gathering a few pieces of information and looking at a chart. Don’t worry, I’ll walk you through it.
Step 1: Know Your Bow’s Draw WeightYour bow’s draw weight is the amount of force required to pull the string back to its full draw length. This is usually printed on a sticker on the lower limb of the bow. It might be a single number (e.g., 60#) or a range (e.g., 50-60#). If you’ve adjusted your bow, use its current, measured draw weight.
Step 2: Measure Your Draw LengthYour draw length is the distance from the nocking point on the string to the throat of the grip when you are at full draw. The easiest way to get an approximate measurement is to stand up straight, make a fist, and extend your arm out to the side. Have a friend measure from the center of your chest to the tip of your middle finger. Then, divide that number by 2.5. For an exact measurement, it’s best to visit a local archery pro shop.
Step 3: Choose Your Arrow Point WeightThe weight of the tip of your arrow (whether a field point for practice or a broadhead for hunting) affects how the arrow flexes. The most common weight for beginners is 100 grains. If you plan to use a different weight, like 125 grains, you’ll need to account for that. Heavier points make the arrow act weaker (more flexible).
Step 4: Consult an Arrow Spine ChartNow, you’ll use an arrow manufacturer’s spine chart. These charts are your best friend. You can find them on the websites of major arrow makers like Easton Archery or Gold Tip. You’ll cross-reference your draw weight and arrow length on the chart to find the recommended spine number.
Example Spine Chart (Simplified)
To give you an idea of how these charts work, here is a simplified version. Always refer to the specific manufacturer’s chart for the arrows you are buying!
| Draw Weight (lbs) | Arrow Length 26″-27″ | Arrow Length 28″-29″ | Arrow Length 30″-31″ |
|---|---|---|---|
| 30-35 lbs | 600 | 500 | 500 |
| 40-45 lbs | 500 | 400 | 400 |
| 50-55 lbs | 400 | 400 | 340 |
| 60-65 lbs | 340 | 340 | 300 |
| 70-75 lbs | 300 | 300 | 250 |
*Note: This table is for demonstration purposes only. Your arrow length and point weight will affect the final recommendation.
Okay, So What is Arrow Weight?
If spine is about stiffness, arrow weight is much simpler: it’s about mass. It’s the total weight of your finished arrow, including the shaft, nock, inserts, fletchings (the “feathers”), and the point.
Arrow weight is measured in a tiny unit called a “grain.” There are 7,000 grains in a pound. When you buy arrow shafts, you’ll see a number listed as “GPI,” which stands for Grains Per Inch.
Understanding Grains Per Inch (GPI)
GPI tells you how much one inch of the arrow shaft weighs. This allows you to calculate the total weight of your shaft easily.
Example:
- Your arrow shaft has a GPI of 8.4.
- You cut your arrow to be 29 inches long.
- Shaft Weight = 8.4 GPI x 29 inches = 243.6 grains.
To get your total arrow weight, you would then add the weight of your point (e.g., 100 grains), fletchings (approx. 15-20 grains), insert (approx. 10-20 grains), and nock (approx. 5-10 grains).
How Arrow Weight Affects Your Shot
Arrow weight directly impacts two key things: speed and kinetic energy (the power behind the arrow).
Lighter Arrows
- Pro: Faster and Flatter. A lighter arrow will fly faster and have a flatter trajectory, meaning it won’t drop as much over distance. This can make aiming at unknown distances a bit easier.
- Con: Less Penetration. A lighter arrow carries less momentum and kinetic energy, which means it won’t penetrate as deeply into a target. It can also be louder when shot and may cause more wear and tear on your bow.
Heavier Arrows
- Pro: More Penetration and Quieter Shot. A heavier arrow flies slower but carries much more momentum. This gives it greater kinetic energy, leading to deeper penetration—which is critical for hunting. Heavier arrows also make the bow quieter and reduce hand shock.
- Con: Slower and More Arc. Because it’s slower, a heavy arrow will have a more arched trajectory. You’ll have to aim higher to compensate for the drop at longer distances.
For most beginners, a mid-weight arrow is a perfect starting point. The general rule of thumb is to aim for a total arrow weight between 6 to 8 grains per pound of draw weight. For a 60-pound bow, that would be an arrow between 360 and 480 grains.
Arrow Spine vs Weight: The Direct Comparison
Let’s put everything side-by-side to make it perfectly clear. Think of them as two different tools that do two different jobs to achieve the same goal: perfect arrow flight.
| Feature | Arrow Spine | Arrow Weight |
|---|---|---|
| What it is | The arrow’s stiffness or resistance to bending. | The arrow’s total mass. |
| What it’s for | Ensuring the arrow flexes correctly to fly straight and safely. | Balancing speed, trajectory, and penetration power. |
| How it’s measured | A number (e.g., 340, 400, 500). Lower is stiffer. | Grains (e.g., GPI for the shaft, total grains for the arrow). |
| Why it matters first | It is a primary safety and accuracy requirement. An incorrect spine is dangerous. | It is a performance tuning choice. An incorrect weight is not dangerous, just less effective. |
| Key Relationship | Must be matched to your bow’s draw weight and your draw length. | Can be adjusted to suit your shooting style (target vs. hunting). |
How Spine and Weight Work Together to Perfect Your Shot
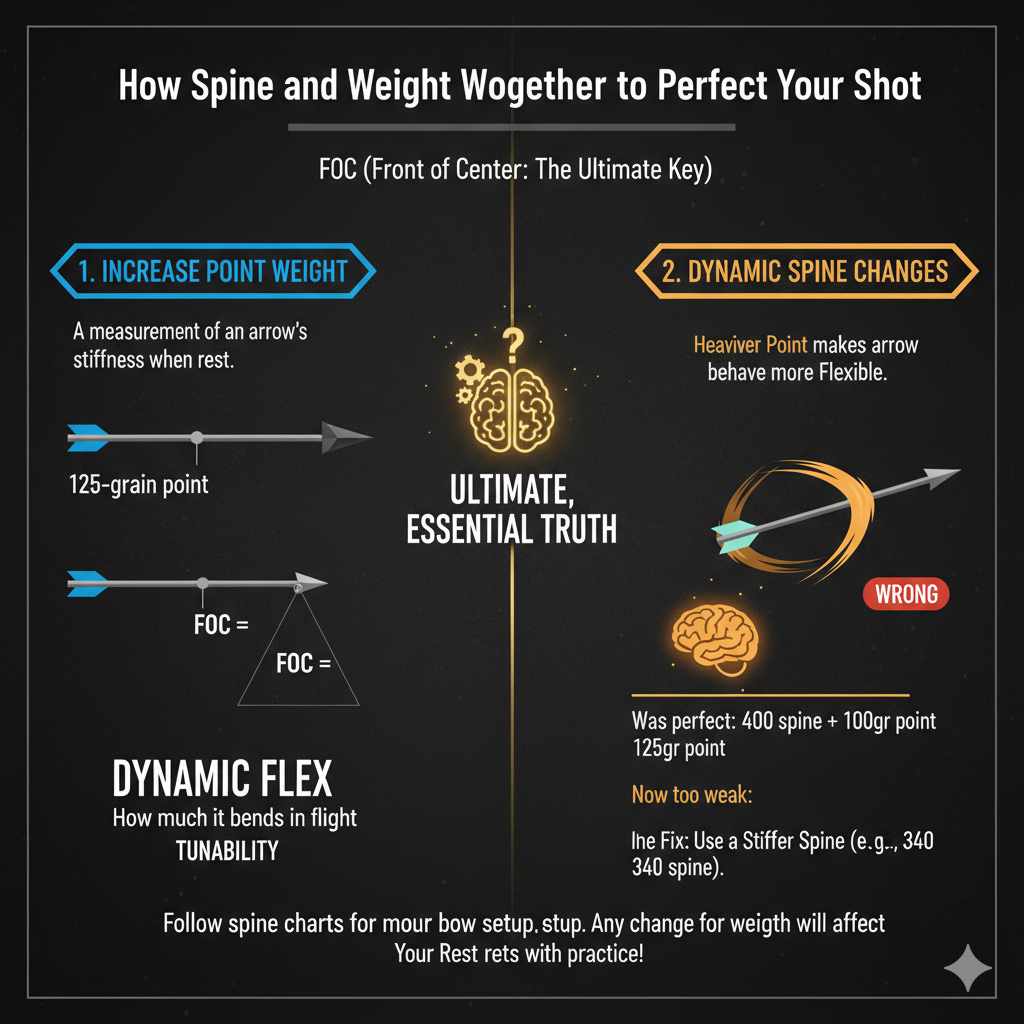
This is where the magic happens. Spine and weight are not totally independent; they influence each other. The most significant way they interact is through the arrow’s FOC, or “Front of Center” balance.
Simply put, FOC describes how front-heavy your arrow is. You can increase FOC by adding more weight to the front of your arrow, typically by using a heavier point (e.g., switching from a 100-grain point to a 125-grain point).
Here’s the crucial part: Adding weight to the front of your arrow makes it behave as if it’s more flexible. It increases the arrow’s dynamic spine.
Why does this matter? Let’s say your 400-spine arrow flies perfectly with a 100-grain point. If you decide to switch to a heavier 125-grain point for more penetration, that same 400-spine arrow might now be too weak for your bow. It will over-flex, leading to poor flight. In this case, you might need to move to a stiffer arrow (a 340 spine) to compensate for the added point weight.
This is why it’s so important to follow the spine charts, as they account for common point weights. If you plan on making adjustments later, remember that changes in weight will impact how your chosen spine performs.
Frequently Asked Questions (FAQ)
1. What happens if my arrow spine is too stiff?
If your arrow is too stiff (spine number is too low for your bow), it won’t flex enough to clear the bow’s riser cleanly. For a right-handed archer, this typically causes the arrow to hit the target to the left of where you were aiming. It’s less dangerous than a weak spine but will ruin your accuracy.
2. What happens if my arrow spine is too weak?
If your arrow is too weak (spine number is too high), it will over-flex when shot. This is very dangerous, as the arrow can buckle and shatter, potentially causing serious injury. If it doesn’t break, it will fly erratically, usually hitting to the right for a right-handed shooter.
3. Can I use the same arrows for target practice and hunting?
Yes, you absolutely can. The key is to practice with field points that have the exact same weight as the broadheads you plan to hunt with. For example, if you hunt with 100-grain broadheads, you must practice with 100-grain field points. This ensures your arrows fly the same way in practice as they do in the field.
4. Does a heavier arrow drop more?
Yes. Due to gravity, a slower, heavier arrow will drop more over a given distance than a faster, lighter arrow. You will need to adjust your aim (using your sight pins) to compensate for this drop, especially at longer ranges.
5. As a beginner, should I worry more about spine or weight?
Focus 100% on getting the correct spine first. Spine is a matter of safety and fundamental accuracy. Use a spine chart and get it right. You can experiment with different arrow weights later on as you become a more experienced archer. For now, a standard, mid-weight arrow with the correct spine is perfect.
6. How do I know if my arrow is flying correctly?
A great way to check is through “paper tuning.” This involves shooting an arrow through a sheet of paper from a few feet away to see what kind of tear it makes. A perfect tear (a clean hole with three fletching marks) indicates good arrow flight. A left or right tear often indicates a spine issue or a tuning problem. Visiting an archery pro shop can be a huge help with this process.
Your Next Steps to Perfect Arrow Flight
You did it! You’ve just untangled one of the most technical parts of archery. You now understand that arrow spine is about stiffness for safety and accuracy, while arrow weight is about mass for speed and power. You know that spine is your number one priority, and you have a clear, step-by-step process for choosing the right one.
Your archery journey is all about building confidence one shot at a time, and making smart equipment choices is a huge part of that. Never be afraid to visit a local archery pro shop. The experts there are an incredible resource and can help you measure your draw length precisely and confirm your arrow selection.
Now, you can walk into that shop or browse online with the knowledge you need to pick the right arrows. You’re no longer guessing; you’re making an informed decision that will lead to safer, more accurate, and more enjoyable shooting. Grab your bow, choose your arrows with confidence, and go have some fun. Welcome to the amazing sport of archery!