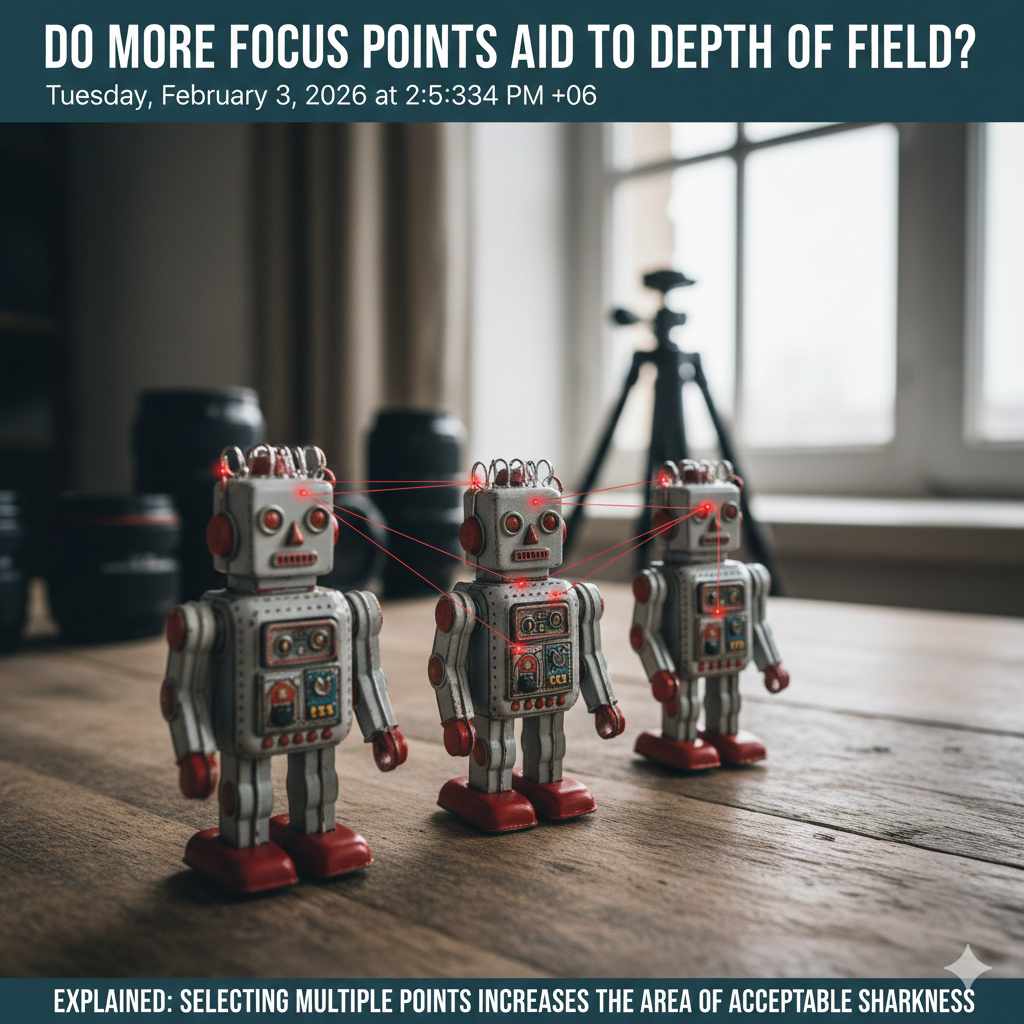
No, more focus points do not aid, change, or control your depth of field. Focus points simply tell your camera where to focus in the frame. Depth of field—the amount of your photo that is sharp—is controlled by your camera’s aperture, your distance from the subject, and your lens’s focal length.
Have you ever wondered about all those little squares that light up in your camera’s viewfinder? Those are your focus points. It’s easy to think that having more of them might magically make your photos sharper or give you that beautiful blurry background everyone loves. This is a very common point of confusion for new photographers, and it can be frustrating when your photos don’t turn out how you imagined.
Don’t worry, you are not alone! We are going to clear this up for you today. In this guide, I’ll walk you through what focus points and depth of field really are, using simple, easy-to-understand language. We’ll break down what each one does and show you how to use them together to get the exact look you want in your photos. Let’s get you in full control of your camera.
What Are Focus Points Anyway? A Simple Explanation
Imagine you’re pointing something out to a friend in a crowded room. You wouldn’t just say, “Look over there!” You’d be more specific: “Look at the person in the red hat sitting by the window.”
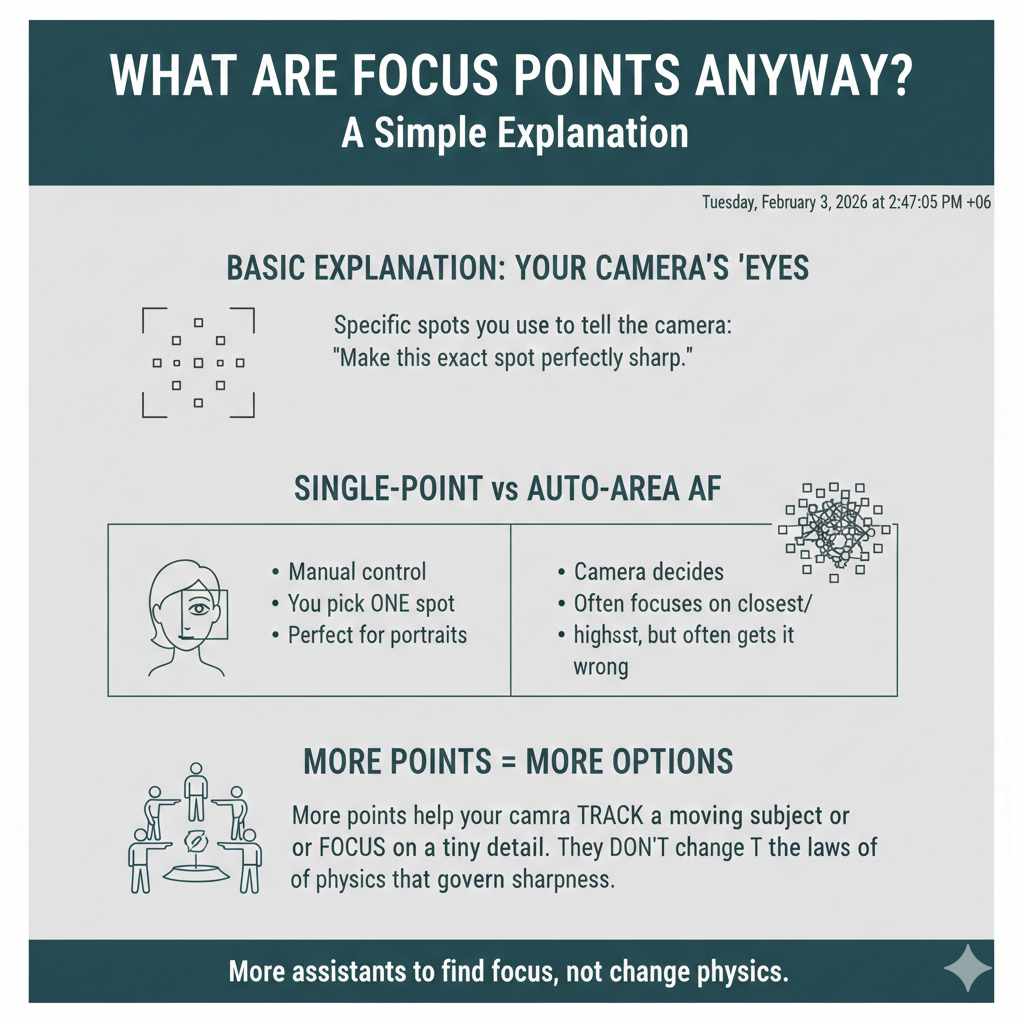
Your camera’s focus points work exactly like that. They are the specific spots inside your frame that you can use to tell the camera, “Hey, I want you to make this exact spot perfectly sharp.”
When you look through your viewfinder or at your camera’s screen, you’ll see these points, often as small squares or brackets. Cameras can have anywhere from a handful of points to hundreds, or even thousands, spread across the frame. The job of every single one of those points is the same: to find contrast and lock focus on it.
Single-Point vs Auto-Area AF
You generally have two main ways to use these points:
- Single-Point AF: You manually select one single focus point. This gives you total control. You are telling the camera, “Ignore everything else; focus only where this one square is.” This is perfect for portraits, where you want to nail the focus on the subject’s eye.
- Auto-Area AF: You let the camera decide which focus points to use. The camera will look at the whole scene and try to guess what the most important subject is, often picking whatever is closest or has the most contrast. This can be handy for easy snapshots, but it often gets it wrong.
Think of it this way: more focus points are like having more assistants who can help you find a specific object. They don’t change the object itself, they just give you more options for finding it. More points can help your camera track a moving subject or let you place your focus on a tiny detail without moving your camera, but they don’t change the laws of physics that govern sharpness.
What is Depth of Field (DoF)? Let’s Make It Easy
Now, let’s talk about depth of field, or “DoF” for short. This concept sounds technical, but it’s actually very simple. Depth of field is the zone of acceptable sharpness in your photograph.
Let’s use another simple analogy. Imagine your photo is a loaf of sliced bread. When you focus on one specific slice, that slice is perfectly sharp. Depth of field is how many slices in front of and behind that main slice are also sharp enough to look good.
You can have two main types of depth of field:
- Shallow Depth of Field: This is when only your main “slice” (your subject) is sharp, and the background (and foreground) melts away into a beautiful blur. This is a popular look for portraits because it makes your subject pop. Only a small zone is in focus.
- Deep Depth of Field: This is when almost everything in the photo, from the flowers at your feet to the mountains in the distance, is sharp and clear. This is what you want for landscape photography, where the goal is to capture the entire scene in detail. A large zone is in focus.
The key takeaway is that depth of field is about the amount of your photo that is sharp, not where the sharpness starts. The focus point sets the starting line for sharpness, and the depth of field determines how far that sharpness extends.
The Core Question: Do More Focus Points Affect Depth of Field?
We’ve arrived at the big question, and now that we understand the two concepts, the answer is clear and simple:
No, the number of focus points in your camera has absolutely zero direct effect on the depth of field in your images.
This is the most important thing to remember. They are two completely separate tools in your photography toolkit. One is not a substitute for the other, and changing one does not automatically change the other.
- Focus Points = WHERE to focus. (The specific spot)
- Depth of Field = HOW MUCH is in focus. (The zone of sharpness)
Having 1,000 focus points instead of 10 doesn’t make your background any blurrier or your landscapes any sharper. It just gives you more precise control over where you place your point of focus. It’s like having a map with more cities labeled on it. The extra labels don’t change the distance between the cities; they just give you more specific destinations to choose from.
So, What Does Control Depth of Field?
If focus points don’t control depth of field, what does? Three key factors work together to determine how much of your photo is in focus. Mastering these three elements will give you complete creative control over your images. Let’s look at each one.
1. Aperture (The Big One)
Aperture is the single most important factor for controlling depth of field. Think of the aperture as the pupil of your camera’s lens. It’s an opening that can get wider or narrower to let in more or less light.
We measure aperture in “f-stops,” which look like f/1.8, f/4, f/8, f/16, etc.
Here’s the simple rule that you need to memorize:
- A low f-stop number (like f/1.8) means a wide-open aperture. This lets in a lot of light and creates a shallow depth of field (blurry background).
- A high f-stop number (like f/16) means a narrow aperture. This lets in less light and creates a deep depth of field (sharp background).
It seems backward, but you’ll get used to it quickly! Low number = low amount of sharpness. High number = high amount of sharpness.
| Aperture (f-stop) | Opening Size | Depth of Field | Best For |
|---|---|---|---|
| f/1.4, f/1.8, f/2.8 | Very Wide | Very Shallow (Blurry Background) | Portraits, low-light photography, artistic shots |
| f/4, f/5.6 | Medium | Moderately Shallow | Group photos, street photography |
| f/8, f/11 | Narrow | Deep (Most things in focus) | Landscapes, architectural photography |
| f/16, f/22 | Very Narrow | Very Deep (Everything in focus) | Vast landscapes where everything must be sharp |
To practice, put your camera in Aperture Priority mode (“A” or “Av” on the dial). In this mode, you choose the f-stop, and the camera chooses the shutter speed for you. It’s the best way to learn how aperture affects your photos.
2. Distance to Your Subject
The second factor is how close you are to the thing you are focusing on. This one is very intuitive.
The rule is simple:
- The closer you are to your subject, the shallower the depth of field will be.
- The farther away you are from your subject, the deeper the depth of field will be.
Have you ever taken a close-up photo of a flower and noticed the background is completely blurred out, even without a special lens? That’s this principle in action. When you get very close to something, the depth of field naturally shrinks.
Conversely, when you are taking a photo of a mountain from miles away, it’s much easier to get everything in focus because your distance to the subject (the mountain) is so great.
3. Focal Length of Your Lens
The third factor is the focal length of your lens, which is measured in millimeters (mm). You can think of focal length as how “zoomed in” your lens is.
- Wide-angle lenses (like 16mm, 24mm) capture a wide view and appear to have a deep depth of field.
- Telephoto lenses (like 85mm, 200mm) are “zoomed in” and appear to have a very shallow depth of field.
This is why portrait photographers love lenses in the 85mm to 135mm range. These telephoto focal lengths naturally compress the background and make it easier to create that soft, blurry look. Landscape photographers, on the other hand, often use wide-angle lenses to capture the entire scene with deep focus.
For a deeper technical dive into these three factors, the photography tutorials from B&H Photo Video provide excellent, reliable explanations that build on what we’ve discussed here.
When Are More Focus Points Actually Useful?
So if more focus points don’t help with depth of field, why do high-end cameras boast about having so many of them? Because they are incredibly useful for other things, particularly when it comes to speed, accuracy, and composition.
1. Tracking Moving Subjects
This is the biggest advantage. If you are photographing a bird in flight, a child running in a field, or an athlete on the move, having a dense spread of focus points across the frame is a game-changer. The camera can use all those points to “hand off” the subject from one point to the next as it moves, keeping it in sharp focus. This is called continuous autofocus (AF-C) or Servo AF, and more points make it work much better.
2. Precise Composition
Imagine you’re taking a portrait and you want to place your subject on the far right side of the frame, following the rule of thirds. With only a few focus points clustered in the center, you would have to point your camera at the subject’s eye, lock focus, and then move your camera to recompose the shot. This “focus and recompose” technique can sometimes lead to missed focus.
With a large number of focus points, you can simply move a single point directly over the subject’s eye, no matter where it is in the frame. This allows for faster, more accurate composition without the need to move the camera after focusing.
3. Focusing in Low Light
In general, more advanced cameras with more focus points also have better quality points. Many of these are “cross-type” sensors, which are more sensitive because they can detect contrast on both horizontal and vertical lines. This makes them much more reliable at locking focus in dim or low-contrast situations where simpler focus systems might struggle or “hunt” for focus.
| Scenario | Are More Focus Points Helpful? | Why? |
|---|---|---|
| Portrait Photography | Yes, for composition. | Allows you to place a focus point directly on the eye without recomposing. |
| Sports/Wildlife Photography | Absolutely essential. | Enables superior tracking of fast-moving subjects across the frame. |
| Landscape Photography | Not as critical. | Subjects are static, so a single, well-placed focus point is usually sufficient. |
| Low-Light Photography | Yes, usually. | More points often means better quality points (cross-type) that work better in the dark. |
Practical Steps: Using Your Focus Points and DoF Together
Now, let’s put it all together. Here is a simple, step-by-step workflow to take control of both focus and depth of field to create the photo you envision.
- Step 1: Visualize Your Shot. Before you touch any dials, decide what you want. Do you want a blurry background for a portrait, or do you want a super-sharp landscape? This decision will guide all your other settings.
- Step 2: Set Your Camera Mode. Switch your camera to Aperture Priority mode (‘A’ or ‘Av’). This is the easiest way to control depth of field. You set the aperture, and the camera handles the rest.
- Step 3: Choose Your Aperture. Based on your vision from Step 1, select your f-stop.
- For a blurry background, choose a low number like f/1.8 or f/2.8.
- For a sharp background, choose a high number like f/8 or f/11.
- Step 4: Select Your Focus Mode and Point. Change your autofocus mode to Single-Point AF (often called AF-S). Then, use your camera’s joystick or directional pad to move that single focus point around the frame.
- Step 5: Place Your Focus Point. Position that little square directly over the most critical part of your subject. For a person or animal, this is almost always the eye closest to the camera. For a landscape, it might be a rock in the foreground or a tree in the middle ground.
- Step 6: Focus and Shoot! Press your shutter button halfway down. You should see the focus point light up (often green) and hear a beep to confirm focus is locked. Now, press the shutter button all the way down to take the picture.
By following these steps, you are using both tools for their intended purpose. You are using aperture to control the amount of sharpness (DoF) and the focus point to control the location of sharpness. This is the foundation of intentional, creative photography.

Frequently Asked Questions (FAQ)
What is the difference between focus and depth of field?
Focus is the single plane in your image that is at its absolute sharpest. Depth of field is the entire range or zone, both in front of and behind that focus plane, that still appears acceptably sharp to the human eye. Think of focus as a line and depth of field as a thick slab around that line.
Is it better to use a single focus point or let the camera choose?
For beginners, it is almost always better to select a single focus point. This gives you complete creative control and ensures the camera focuses on what you think is important, not what the camera’s algorithm guesses is important. Auto modes are convenient but can easily be fooled, especially in busy scenes.
Why is my background not blurry even when I use a low f-stop like f/1.8?
This is a common issue! Remember that aperture is only one of three factors. If your background is still not blurry, check the other two:
1. Get closer to your subject. The closer you are, the blurrier the background will be.
2. Make sure your subject is far from the background. If your subject is standing right in front of a wall, the wall won’t have room to blur. Create distance between them.
Do professional photographers use all their camera’s focus points?
It depends on the situation. For portraits or product photography, a pro will almost always use a single, carefully placed focus point for maximum precision. For sports or wildlife, they will use the camera’s advanced tracking modes, which do utilize many or all of the focus points to follow action.
Can I control depth of field on my smartphone?
Yes, but differently. Most modern smartphones have a “Portrait Mode.” This feature uses software, not optics, to achieve a shallow depth of field effect. It uses multiple cameras and AI to identify the subject, keep it sharp, and artificially blur the background. While it’s not true optical depth of field, it can produce very impressive results.
Do mirrorless cameras have better focus points than DSLRs?
Generally, yes. Mirrorless cameras have focus points that are built directly onto the image sensor. This allows them to have hundreds or thousands of points that cover nearly the entire frame. They also offer advanced features like Eye-AF, which can automatically find and lock onto a human or animal eye with incredible accuracy. DSLRs have a separate autofocus module, and their points are typically more clustered in the center of the frame.
Conclusion
Understanding the difference between focus points and depth of field is a huge step forward in your photography journey. It’s the moment you move from just taking snapshots to creating intentional, thoughtful images.
Let’s recap the most important lesson: More focus points are a wonderful tool for getting your subject sharp, especially if it’s moving or positioned off-center. They give you precision and speed. But they do not, and cannot, change your depth of field. That creative power lies firmly in your control of aperture, your distance to the subject, and your choice of lens.
Don’t be overwhelmed by all the settings. Start simple. Go out today and practice with just one thing. Spend an hour shooting in Aperture Priority mode, changing only the f-stop to see how it transforms your background. Next time, practice moving a single focus point around your frame. By mastering these skills separately, you’ll soon find they become second nature, working together to help you capture the world exactly as you see it.