To make a horse bow quiver, you will need leather or heavy fabric, a sharp utility knife, and basic stitching tools. Start by creating a simple pattern, cut your material, punch holes for stitching, and then sew the main body together. Finish by attaching a sturdy belt loop or strap for a custom-fit, functional quiver.
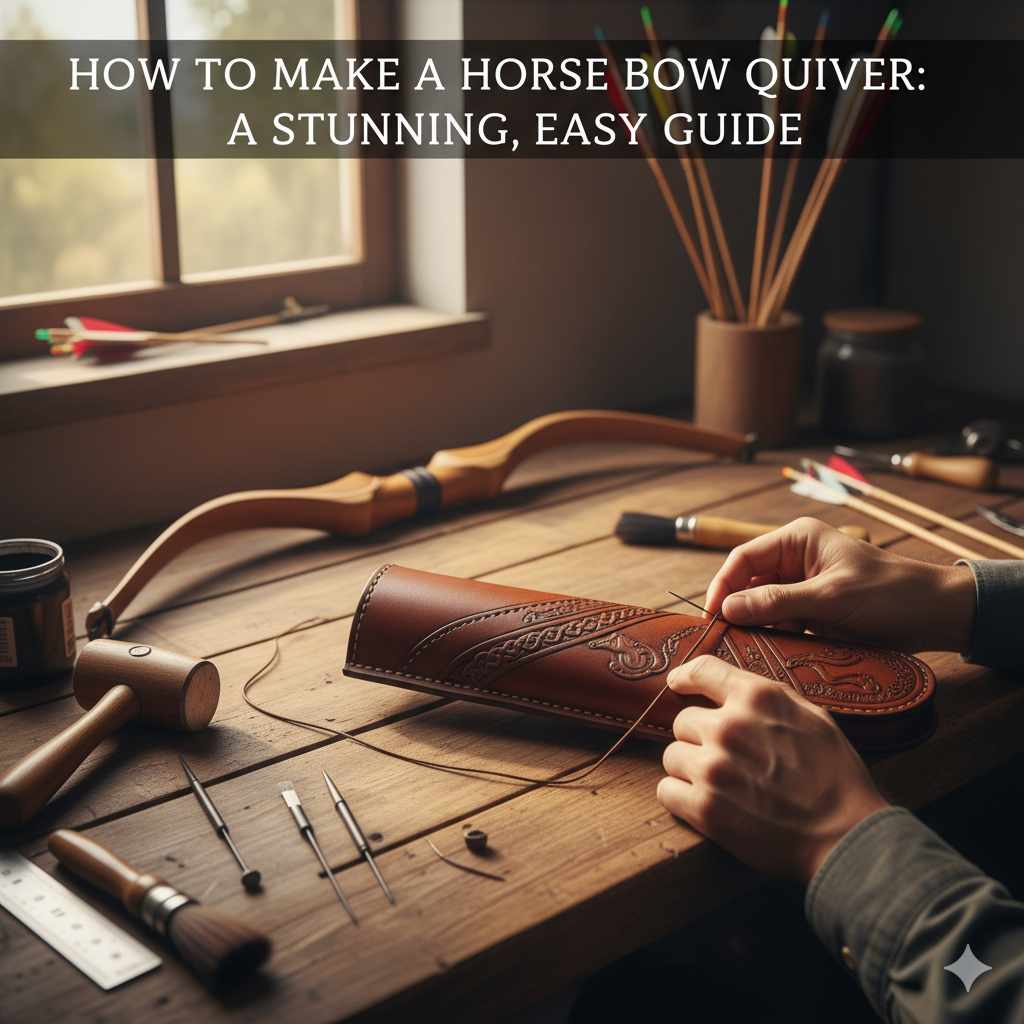
Hello, fellow archers! Salman here. There’s something special about shooting a horse bow. It connects us to a long line of history and tradition. But finding the right gear, especially a quiver that feels just right, can be a challenge. Many store-bought quivers are designed for modern bows and can feel bulky or out of place.
That’s why making your own quiver is such a rewarding project. It’s not as hard as you might think! You get to create something that perfectly fits your style, your arrows, and your budget. Plus, there’s immense pride in using gear you made with your own hands.
In this guide, I’ll walk you through every step of how to make a horse bow quiver. We’ll keep it simple, clear, and fun. Let’s get started!
Why Bother Making Your Own Horse Bow Quiver?
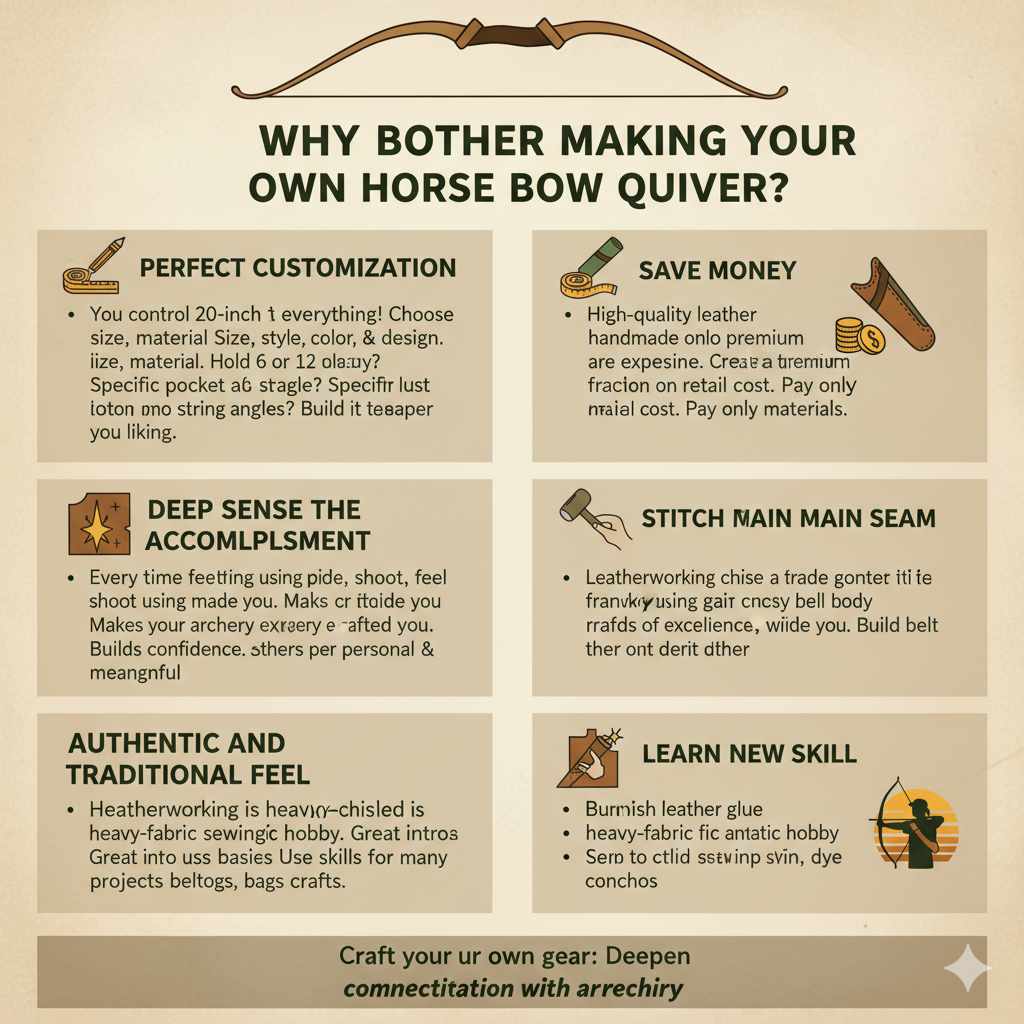
You might be wondering if it’s worth the effort. Absolutely! Crafting your own quiver is more than just a DIY project; it’s about deepening your connection to archery. Here are a few great reasons to give it a try:
- Perfect Customization: You control everything. Choose the material, the size, the color, and the design. Want it to hold six arrows or twelve? Need the belt loop to sit at a specific angle? You can build it exactly to your liking.
- Save Money: High-quality, handmade leather quivers can be expensive. By making your own, you can create a premium quiver for a fraction of the cost. You only pay for the materials you use.
- A Deep Sense of Accomplishment: Every time you head out to shoot, you’ll feel a sense of pride using equipment you crafted yourself. It makes your archery experience more personal and meaningful.
- Learn a New Skill: Leatherworking or heavy-fabric sewing is a fantastic hobby. This project is a great introduction to the basics, and the skills you learn can be used for many other crafts.
- Authentic and Traditional Feel: A handmade quiver adds an element of authenticity that mass-produced gear often lacks. It complements the traditional nature of a horse bow perfectly.
Understanding the Horse Bow Quiver: Hip vs. Back
When you think of an archery quiver, you might picture a back quiver like the one Robin Hood used. While back quivers are iconic, they aren’t always practical for the dynamic movements associated with horse bow archery. Most traditional horse archers preferred a hip quiver, and for good reason.
A horse bow quiver, often called a hip quiver or side quiver, is worn on a belt at your waist. This design keeps your arrows accessible and out of the way, whether you’re walking, shooting from different stances, or historically, riding a horse. The arrows are easy to draw quickly without reaching over your shoulder.
Let’s compare the two styles to see why a hip quiver is the ideal choice for your horse bow.
| Feature | Hip Quiver | Back Quiver |
|---|---|---|
| Accessibility | Excellent. Arrows are right at your fingertips for a quick draw. | Good, but requires reaching over the shoulder, which can be slower. |
| Mobility | Superior. It moves with your hips and doesn’t snag on branches or get in the way when moving. | Can be clumsy. Arrows can spill out when bending over or moving quickly. |
| Comfort | Very comfortable for long periods. The weight is distributed on your belt. | Can cause shoulder strain over time, especially when full. |
| Stealth | Quiet. Arrows are held securely and don’t rattle as much. | Arrows can rattle against each other, creating noise. |
| Historical Accuracy | Highly accurate for many historical horse archery cultures (e.g., Scythian, Magyar, Mongol). | More common in European longbow traditions and popular culture. |
Gathering Your Materials and Tools
Before we start cutting and stitching, let’s get everything we need in one place. You don’t need a full workshop for this project. A clean table and a few key items will do the trick. We’ll focus on making a leather quiver, as it’s durable and traditional, but I’ll offer fabric alternatives too.
Essential Materials
- Leather or Fabric: The heart of your quiver. For beginners, a 5-6 oz (2-2.4 mm) vegetable-tanned leather is perfect. It’s firm enough to hold its shape but not too difficult to cut and stitch. If you prefer fabric, a heavy-duty canvas or denim is a great alternative. You’ll need a piece roughly 24 x 24 inches (60 x 60 cm).
- Waxed Thread: This is crucial for durability. Waxed thread slides through leather easily and locks your stitches in place. Linen or polyester thread works well.
- Contact Cement or Leather Glue: Helps hold pieces together before you start stitching, ensuring a clean and professional look.
- Paper for Your Pattern: A large piece of craft paper, a paper grocery bag, or poster board will work perfectly for drawing your design.
- Optional: Leather dye, oil, and finish if you want to color and protect your veg-tan leather. You can also add rivets for extra strength or decoration.
Essential Tools
Good tools make any job easier, but you can start with a very basic kit. Below is a list of what you’ll need, separated into “must-haves” and “nice-to-haves.”
| Tool | Purpose | Beginner Tip |
|---|---|---|
| Must-Have: Sharp Utility Knife or Craft Knife | For cutting your leather or fabric cleanly. | Always use a fresh, sharp blade. A dull blade can tear the leather and is more dangerous to use. |
| Must-Have: Cutting Mat | Protects your work surface and keeps your blade sharp. | A self-healing cutting mat is a great investment for any craft projects. |
| Must-Have: Metal Ruler | For measuring and guiding your knife to make straight cuts. | A ruler with a cork back will help prevent it from slipping. |
| Must-Have: Stitching Awl or Diamond Chisel | For creating the holes for your thread. | A diamond chisel set with a mallet creates perfectly spaced, angled holes for a beautiful saddle stitch. An awl works too, but requires more practice. |
| Must-Have: Harness Needles (x2) | These have blunt tips, which are designed to follow the holes you make rather than piercing new ones. | You need two needles to perform the classic “saddle stitch.” |
| Nice-to-Have: Edge Beveler | Rounds the sharp edges of your cut leather for a comfortable, professional finish. | You can achieve a similar effect by carefully sanding the edges with fine-grit sandpaper. |
| Nice-to-Have: Stitching Groover | Cuts a small channel in the leather for your stitches to sit in. This protects the thread from wear. | You can skip this on your first project, but it adds a lot of durability. |
You can find many of these tools at local craft stores or online leather supply shops. For a great selection of beginner tools and materials, check out a reputable supplier like Tandy Leather.
How to Make a Horse Bow Quiver: Your Step-by-Step Guide
Ready to create something amazing? Let’s break down the process into simple, manageable steps. Take your time, enjoy the process, and remember that even small imperfections give your quiver character.
Step 1: Design and Create Your Pattern
The first step is to design your quiver on paper. The simplest design for a hip quiver is a long, tapered pocket. Here’s a basic plan to get you started:
- Draw the Main Body: On your paper, draw a trapezoid shape. A good starting size is 20 inches (50 cm) tall. Make the top opening about 6 inches (15 cm) wide and the bottom about 4 inches (10 cm) wide. This taper will help keep your arrows from rattling around too much.
- Add the Belt Loop: Draw a separate rectangle for the belt loop. A good size is 6 inches (15 cm) long by 3 inches (7.5 cm) wide. This will be folded in half to create a loop that can fit most belts.
- Cut Out Your Paper Pattern: Carefully cut out your paper shapes. Now you can test the fit. Roll the main body into a tube and hold it at your hip. Does it feel like a good size? Adjust the pattern now before you cut your leather.
Step 2: Cut Your Leather or Fabric
This is where your project starts to take shape! Accuracy here will make everything else easier.
- Trace the Pattern: Lay your leather or fabric flat on your cutting mat. Place your paper pattern pieces on top and trace around them with a pencil or a scratch awl.
- Make Your Cuts: Using your sharp utility knife and metal ruler, carefully cut along the lines you traced. For straight lines, press the ruler down firmly and make several shallow passes with your knife instead of trying to cut through in one go. This technique gives you more control and a cleaner edge. Remember to always cut away from your body. The University of Pittsburgh offers excellent guidance on utility knife safety that is worth reviewing.
Step 3: Prepare the Edges and Mark Your Stitching Line
A little prep work now will result in a much more professional-looking final product.
- Bevel the Edges (Optional): If you have an edge beveler, now is the time to use it. Lightly run it along the top edge of the quiver opening and the sides that will be stitched together. This smooths the sharp corners.
- Mark Your Stitching Line: Using a ruler, draw a faint line about 1/4 inch (6 mm) in from the edge where you will be stitching. A stitching groover can create a channel along this line, which is ideal, but a simple pencil line works too.
- Glue the Seam: Apply a thin layer of contact cement to the edges that will be stitched together. Let it dry for a few minutes until it’s tacky, then carefully press the edges together. This will hold your quiver in place while you punch the holes and stitch.
Step 4: Punch the Stitching Holes
This step is critical for a strong and even stitch line. Do not try to push a needle through unprepared leather—it won’t work!
- Set Up Your Chisel: Place your stitching chisel (or prong punch) on the line you marked. Start at the top of the quiver.
- Punch the Holes: Give the chisel a firm tap with a mallet. You want to go all the way through both layers of leather.
- Continue Down the Line: Move the chisel down, placing the first prong into the last hole you just made. This ensures perfect spacing. Continue this process all the way down the seam.
Step 5: Stitch Your Quiver Together
This is the most meditative and satisfying part of the process. We’ll be using the saddle stitch, which is incredibly strong because it uses two needles and creates a locking stitch.
- Measure Your Thread: A good rule of thumb is to measure a piece of thread that is about three to four times the length of the seam you need to sew.
- Thread Your Needles: Thread a needle onto each end of your thread.
- Start Stitching: Push one needle through the first hole at the top of your quiver. Pull the thread through until you have an equal length on both sides.
- Make the First Stitch: Take the needle on the right side and push it through the second hole. Then, take the needle on the left side and push it through the same hole, making sure not to pierce the thread that is already there. Pull both ends tight. That’s one saddle stitch!
- Continue to the End: Repeat this process for every hole. Push the right needle through, then the left needle through the same hole. Keep your tension consistent for a neat look.
- Backstitch to Finish: When you reach the last hole, stitch backward three or four holes to lock your seam in place. Cut the thread close to the leather, and you’re done with the main seam!
Step 6: Attach the Belt Loop
Your quiver is almost complete! The final step is to attach the belt loop so you can wear it.
- Position the Loop: Decide where you want the quiver to hang from your belt. A comfortable spot is usually near the top of the quiver body.
- Glue and Punch: Apply glue to the ends of the belt loop piece and press them onto the back of the quiver. Once the glue is tacky, punch your stitching holes through all three layers (loop ends and quiver body). You can also use rivets here for a faster, no-sew attachment.
- Stitch or Rivet: Stitch the loop in place using the same saddle stitch method. If using rivets, set them with a rivet setter and mallet for a secure hold.
Adding Your Personal Touch: Customization and Decoration
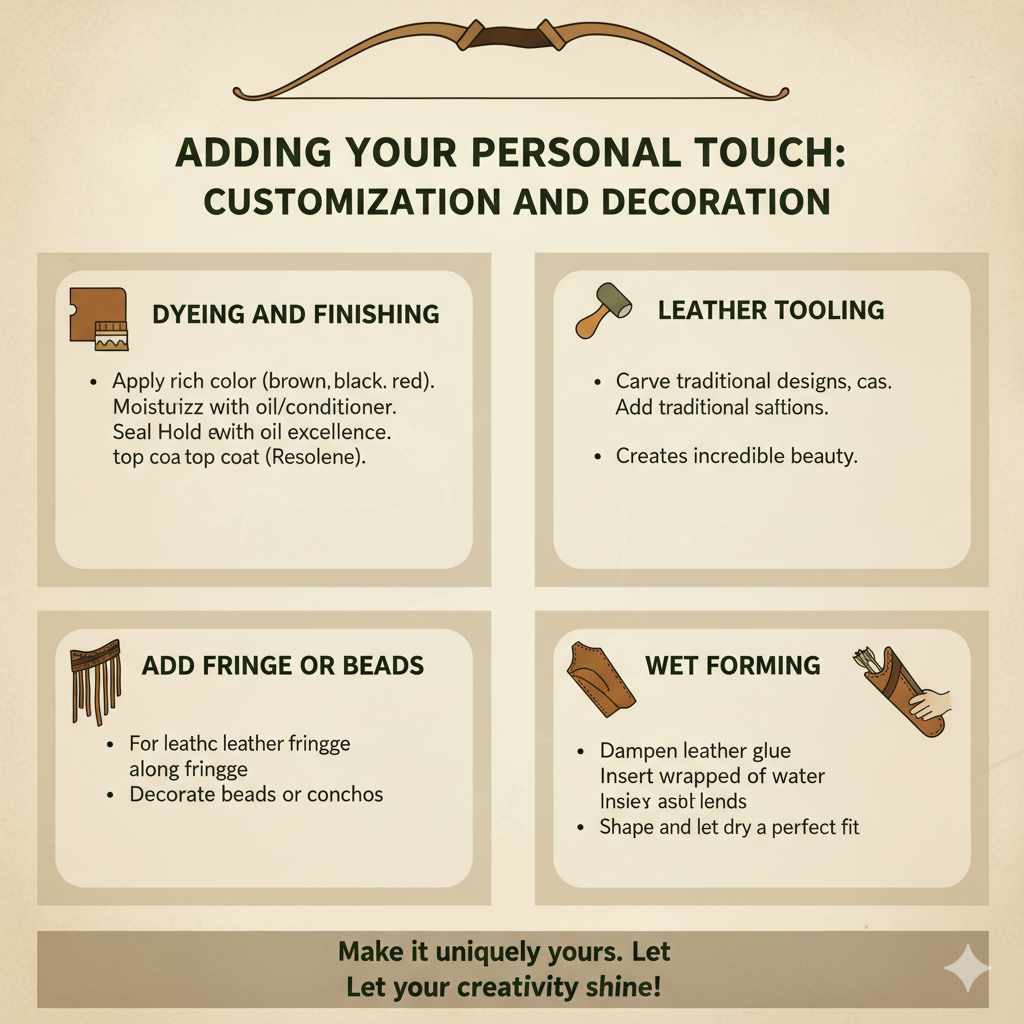
Congratulations, you have a fully functional horse bow quiver! Now for the fun part: making it uniquely yours. Here are a few ideas to get you started:
- Dyeing and Finishing: If you used vegetable-tanned leather, you can apply leather dye to give it a rich color. Popular choices are shades of brown, black, or red. After dyeing, apply a leather oil or conditioner to moisturize the leather and a top coat like Resolene to seal it from the elements.
- Leather Tooling: Carve or stamp designs into the leather. You can add traditional patterns, animal motifs, or your initials. This is a skill in itself but can add incredible beauty to your quiver.
- Add Fringe or Beads: For a more rustic or tribal look, you can add a leather fringe along the seam or decorate the top with beads or conchos.
- Wet Forming: For a perfect fit, you can wet form your quiver. Simply dampen the leather with water, insert your arrows (wrapped in plastic to protect them), and shape the leather with your hands. Let it dry completely, and it will hold that shape.
Frequently Asked Questions (FAQ)
What is the best material for a beginner to make a quiver?
For a first project, 5-6 oz vegetable-tanned leather is ideal. It’s sturdy, easy to work with, and takes dye and tooling well. If you’re on a tight budget or prefer not to use leather, heavy canvas is an excellent, durable alternative.
Do I need expensive tools to start?
Not at all! You can get started with a basic kit: a good knife, a ruler, a cutting mat, a stitching awl or chisel, and two needles. You can always add more specialized tools like groovers and bevelers as you continue with the hobby.
How long will it take to make my first horse bow quiver?
For a complete beginner, this is a perfect weekend project. Set aside a few hours for cutting and preparation on one day, and a few more for stitching and finishing on the next day. Rushing is the enemy of good craftsmanship, so enjoy the process!
Can I make a “no-sew” quiver?
Yes, you can! Instead of stitching, you can assemble your quiver using rivets or leather lacing. A riveted quiver can be very strong and has a cool, rustic look. Just be sure to space your rivets closely enough to prevent gaps in the seam.
How many arrows should a horse bow quiver hold?
A typical horse bow quiver is designed for mobility and speed, so it usually holds fewer arrows than a large field quiver. A capacity of 6 to 12 arrows is standard and provides plenty of shots without being too heavy or bulky.
Where should the quiver sit on my hip?
Your quiver should hang comfortably on your dominant hand’s side. Adjust the belt loop so the top of the quiver is just below your waist. Many archers prefer it to be angled slightly backward, which makes for a smooth and natural draw.
How do I take care of my new leather quiver?
To keep your leather quiver in great shape, avoid letting it get soaked with water. If it does get wet, let it air dry naturally (away from direct heat). Every six months or so, wipe it down with a damp cloth and apply a quality leather conditioner to keep it from drying out and cracking.
Your Archery Journey, Your Custom Gear
There you have it! You’ve walked through every step of how to make a horse bow quiver, from a simple paper pattern to a beautiful, functional piece of archery gear. You’ve learned about the right materials, the essential tools, and the timeless techniques of leathercraft.
Building your own quiver does more than just hold your arrows. It connects you to your hobby on a deeper level. It’s a testament to your patience, your creativity, and your passion for archery. The next time you’re at the range or walking through the woods, you’ll have a quiver that’s not just a tool, but a story—your story.
Don’t be afraid to make mistakes. Every project is a learning experience. Embrace the process, take pride in your work, and most importantly, have fun with it. Happy crafting, and may your arrows always fly true!