Attaching an arrowhead to a wooden arrow securely is easy and safe with the right glue and steps. Use hot melt glue or ferrule cement for a strong hold that lasts—perfect for beginners building confidence in traditional archery.
Getting started with wooden arrows is exciting, but attaching the arrowhead can feel tricky at first. Many new archers worry about the point coming loose during shooting, which could be unsafe or ruin your fun. Don’t worry—it’s a common concern, and with simple tools and clear steps, you’ll do it right the first time.
I’ll walk you through everything safely and step by step. By the end, your arrows will be ready to fly straight and true. We’ll cover tools, glue choices, preparation, attachment, and tips to make it fun and frustration-free. Let’s get your arrows tipped perfectly!
Why Secure Arrowhead Attachment Matters for Beginners
Attaching the arrowhead properly keeps your shots accurate and safe. A loose point can fly off or cause the arrow to wobble, leading to misses or even danger.
For hobbyists using recurve or longbow, wooden arrows add that classic feel. But wood needs the right fit to hold strong. Good attachment builds your skills without worries, so you focus on form and enjoyment.
Plus, doing it yourself saves money and boosts confidence. You’ll feel proud shooting arrows you built!
Understanding Arrowheads for Wooden Arrows
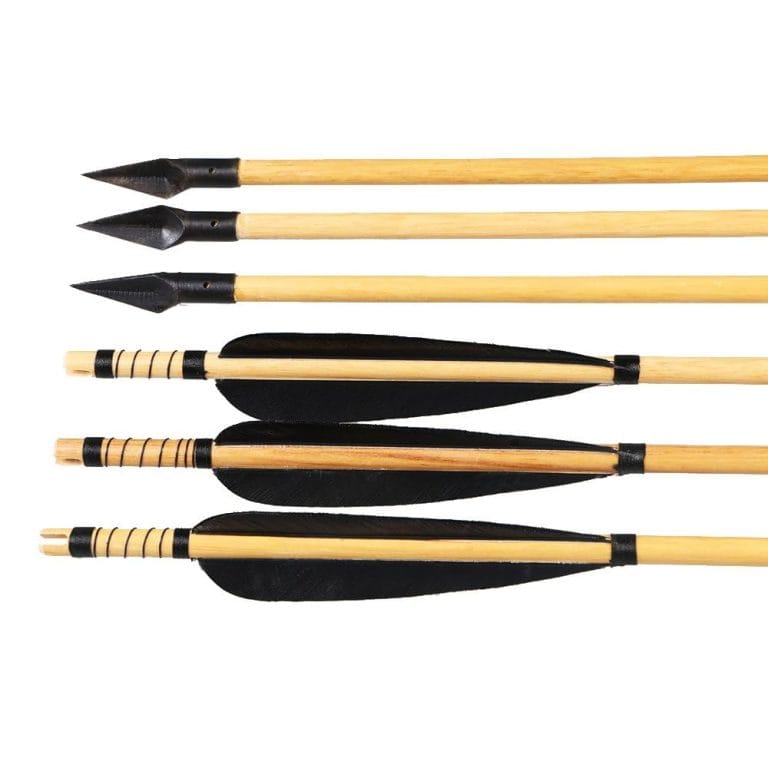
Wooden arrows use glue-on points because the shafts are solid wood, not hollow like carbon or aluminum.
Common types include:
- Field points: Bullet-shaped for target practice—great for beginners.
- Broadheads: Sharp for hunting (check local laws).
- Blunts: Rounded for small game or stumps.
Weights like 100-125 grains work best for most adult setups. Match the point to your shaft diameter (like 11/32″ or 5/16″).
Always choose reputable brands for safety and fit.
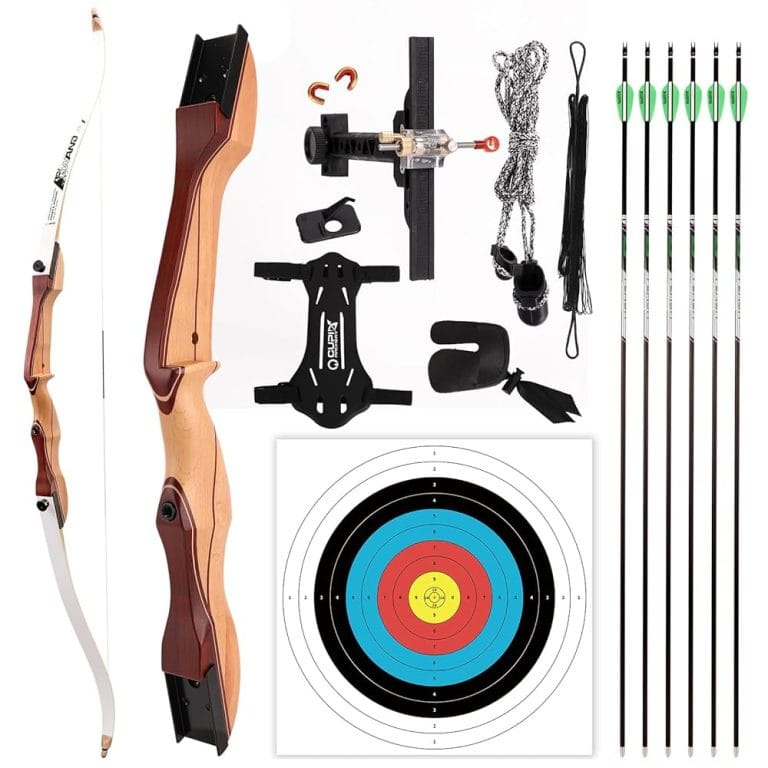
Essential Tools and Materials You’ll Need
Gather these simple items before starting. Most are affordable and last for dozens of arrows.
- Wooden shafts (spined for your bow)
- Glue-on arrowheads (field points or broadheads)
- Hot melt glue sticks or ferrule cement (like Bohning Ferr-L-Tite)
- Taper tool (for 5-degree taper)
- Heat source (glue gun or candle)
- Acetone or alcohol for cleaning
- Sandpaper (fine grit)
- Q-tips and rags
- Wood block for seating
Work in a well-ventilated area and wear gloves when heating glue.
Choosing the Best Glue for Secure Attachment
The right glue makes all the difference. Here’s a quick comparison:
| Glue Type | Pros | Cons | Best For |
|---|---|---|---|
| Hot Melt (e.g., Ferr-L-Tite) | Easy to apply/remove, flexible in cold, strong hold | Needs heat | Beginners, practice points |
| Ferrule Cement | Super strong, permanent | Harder to remove | Broadheads, long-term |
| Epoxy | Very durable | Permanent, messy | Advanced users |
Hot melt is beginner-friendly and forgiving. Sources like 3Rivers Archery recommend it for wood arrows.
Step-by-Step: Preparing Your Wooden Shaft
Preparation ensures a snug, straight fit.
- Clean the shaft end with acetone to remove oils.
- Use a taper tool to create a smooth 5-degree taper (about 1/2-3/4 inch long).
- Sand lightly for better glue grip.
- Dry-fit the arrowhead— it should slide on snug without force.
- Clean inside the arrowhead socket with a Q-tip and acetone.
Take your time here. A good taper prevents wobbles!
How to Attach the Arrowhead Securely
Follow these steps for a perfect bond.
- Heat your glue stick or apply hot melt to the tapered shaft (or inside the point).
- Heat the arrowhead socket gently over a flame until warm (not red-hot).
- Twist the point onto the taper with light pressure.
- Align straight—spin the arrow to check.
- Push the tip into a wood block to seat fully.
- Let cool completely (5-10 minutes).
- Test by twisting gently— it shouldn’t move.
For extra security on broadheads, add a bit more glue and reheat if needed.
Common Mistakes to Avoid (And How to Fix Them)
- Wrong taper: Too steep/loose—always use a proper tool.
- Overheating: Burns wood—keep heat low.
- Poor cleaning: Glue fails—wipe everything clean.
- Misalignment: Arrow flies off—reheat hot melt to adjust.
- Using wrong glue: Points pop off—stick to archery-specific.
If a point loosens, heat and remove, clean, and reattach.
Safety Tips Every Beginner Should Know
Safety first—always!
- Wear eye protection when heating or testing.
- Work away from kids/pets.
- Inspect arrows before each shot for cracks or loose points.
- Never point a tipped arrow at anyone.
- Store arrows point-down in a quiver.
As USA Archery emphasizes, safe handling builds good habits from day one.
Testing and Troubleshooting Your Arrows
Once attached:
- Spin the arrow on your fingers— no wobble means good alignment.
- Shoot into a safe target at close range.
- Check for looseness after a few shots.
- Tune with bare-shaft testing if needed (advanced, but fun later).
Wood arrows fly beautifully when done right!
Advanced Options: Adapters and Alternatives
For versatility:
| Method | Pros | Cons |
|---|---|---|
| Glue-on adapters | Allows screw-in points | Adds weight |
| Parallel points | Easy fit | Less traditional |
| Traditional sinew/pitch (primitive) | Fun historical | Not as secure |
Stick to glue-on for pure traditional feel.
Resources for Further Learning
Check these authoritative sites:
- USA Archery for safety guidelines: usarchery.org
- 3Rivers Archery tutorials: 3riversarchery.com
- World Archery beginner tips: worldarchery.sport
Practice makes perfect—start simple and enjoy the process!
Frequently Asked Questions
1. What glue is best for beginners attaching arrowheads to wood?
Hot melt glue like Ferr-L-Tite is easiest—strong yet removable with heat.
2. Can I use super glue instead of archery glue?
No, it can be brittle and unsafe. Stick to flexible archery hot melt.
3. How do I remove a glued-on arrowhead?
Heat the point gently and twist off. Clean and reattach.
4. Is it safe to attach broadheads at home?
Yes, with care—wear gloves, work slowly, and inspect thoroughly.
5. What if my arrowhead doesn’t fit snugly?
Retaper the shaft carefully or choose a better-matched point.
6. How long does glue need to set?
Hot melt cools in minutes; wait 30 for full strength.
7. Can kids help attach arrowheads?
Supervise closely—let them watch heating, but adults handle hot parts.
Conclusion: Enjoy Your Custom Wooden Arrows!
Attaching an arrowhead securely to a wooden arrow is a rewarding skill that makes archery even more fun. With the right preparation, glue, and steps, you’ll create reliable arrows that fly true and build your confidence.
Remember, every expert was once a beginner. Take it slow, prioritize safety, and practice often. Soon, you’ll be tipping arrows like a pro and hitting the bullseye with pride.
Grab your tools, try it today, and feel the joy of traditional archery. You’ve got this—happy shooting!