Making a recurve bow quiver is simple with the right materials. For a basic quiver, you’ll need PVC pipe or durable fabric like leather, along with cutting tools and adhesive. This guide provides easy, step-by-step instructions to help you create a functional and personalized quiver in just a few hours.
Hello, fellow archers! Salman Arfeen here. If you’ve just started your journey with a recurve bow, you’ve probably realized how important a quiver is. It holds your arrows safely and keeps them ready for your next shot. But store-bought quivers can be expensive or might not feel quite right. What if I told you that you could make your own?
Building your own quiver is a fun and rewarding project. It saves you money and lets you create something that perfectly fits your style. Don’t worry if you’re not a master crafter. I’m going to walk you through everything, step by step. We’ll explore two simple projects that are perfect for beginners. Let’s get started!
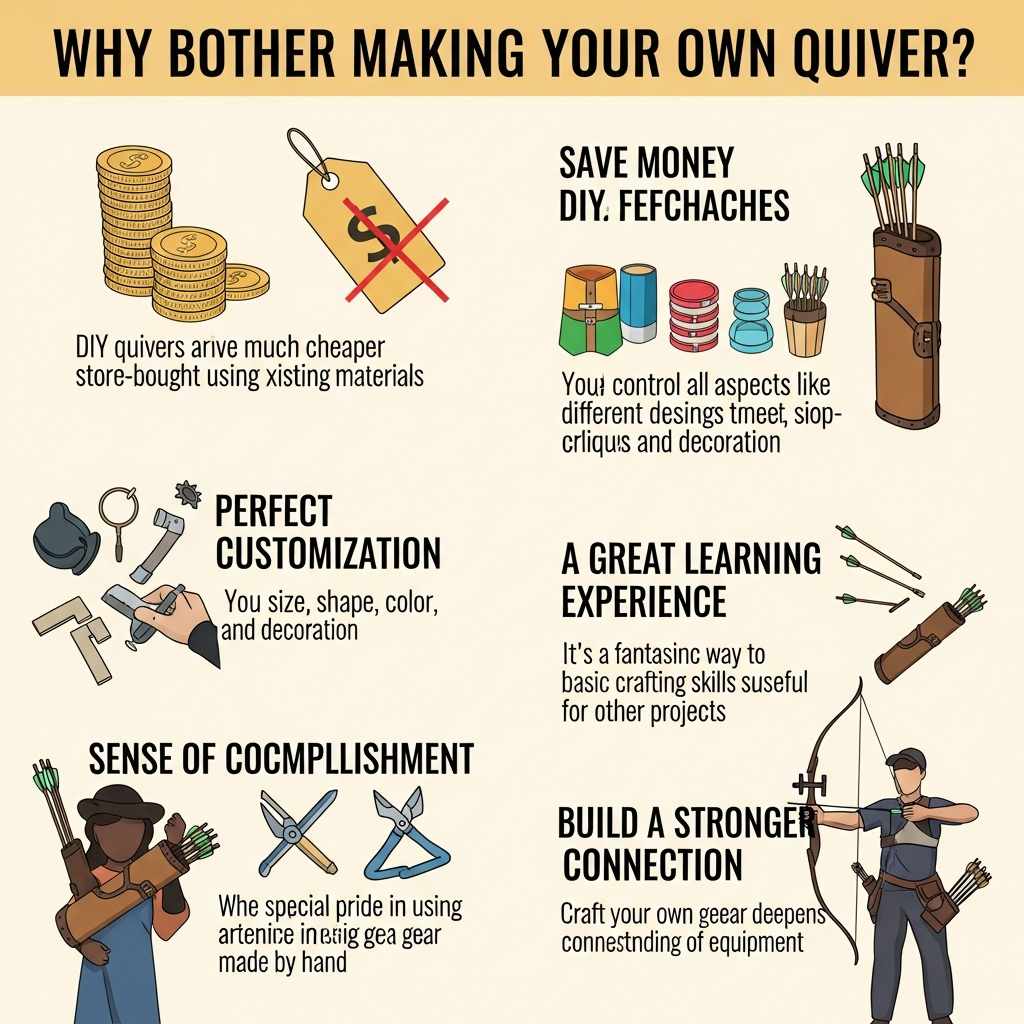
Why Bother Making Your Own Quiver?
You might be wondering if it’s worth the effort to make a quiver when you can just buy one. For many archers, especially those who love the hands-on nature of the sport, the answer is a big “yes!” Creating your own gear is part of the tradition and fun of archery. Here are a few great reasons to give it a try:
- Save Money: High-quality quivers can be pricey. A DIY quiver can be made for a fraction of the cost, especially if you use materials you already have around the house.
- Perfect Customization: Do you want a quiver that holds exactly six arrows? Or one that matches the color of your bow? When you make it yourself, you control every detail, from size and shape to color and decoration.
- A Great Learning Experience: This project is a fantastic way to learn basic crafting skills. You’ll work with different materials and tools, which can be useful for other projects in the future.
- Sense of Accomplishment: There’s a special pride that comes from using gear you made with your own two hands. Every time you head to the range, you’ll feel that connection to your equipment.
- Build a Stronger Connection: Crafting your own gear deepens your connection to the sport of archery. It’s not just about shooting; it’s about understanding every piece of your equipment.
Choosing Your Quiver Style: Back, Hip, or Bow?
Before you start cutting and gluing, you need to decide what kind of quiver you want to make. For recurve archers, the most common styles are the back quiver and the hip quiver (also called a side quiver). Each has its own benefits.
Back Quivers
This is the classic “Robin Hood” style. A back quiver is worn over the shoulder with a strap across the chest, letting you draw arrows from behind your shoulder. They look great and can hold a lot of arrows.
Hip (or Side) Quivers
A hip quiver hangs from your belt at your side. This is the style you’ll see most often in modern target archery competitions. They are very practical, making it easy to see and grab your arrows without much movement.
Let’s compare them to help you decide which one is right for your first project.
| Feature | Back Quiver | Hip Quiver |
|---|---|---|
| Arrow Access | Requires reaching over the shoulder. Can be tricky at first. | Very easy. Arrows are right at your side, in your line of sight. |
| Comfort | Comfortable for walking, but arrows can rattle or shift. | Stays in one place. Less movement when walking or shooting. |
| Capacity | Can typically hold more arrows. | Usually holds fewer arrows, which is fine for target practice. |
| Best For | Traditional archery, bowhunting, and roving through the woods. | Target archery, competitions, and beginner practice sessions. |
| Beginner-Friendliness | Moderate. Drawing arrows smoothly takes practice. | Excellent. It’s the easiest style for a new archer to use. |
For your first DIY project, I recommend starting with a hip quiver. It’s simpler to make and easier to use while you’re focusing on your shooting form.
Project 1: The Super Simple PVC Hip Quiver
This is the perfect first project. It’s affordable, durable, and requires no sewing. You can build this in an afternoon with a quick trip to the hardware store. It’s a fantastic way to get a functional quiver without a lot of fuss.
Materials and Tools You’ll Need:
- PVC Pipe: A piece about 20-24 inches long. A 3-inch diameter pipe works well for holding 6-8 arrows with field points.
- PVC End Cap: One cap that fits the diameter of your pipe. This will be the bottom of your quiver.
- PVC Cement or Strong Adhesive: To secure the end cap. Make sure it’s rated for plastics.
- Hacksaw or PVC Cutter: For cutting the pipe to the right length.
- Sandpaper: A medium grit to smooth the cut edges.
- Drill with a small bit: To make holes for the strap.
- Nylon Webbing or an Old Belt: About 1-2 feet for the belt loop.
- Nuts, Bolts, and Washers (or Rivets): To attach the strap to the pipe.
- Optional: Spray paint, fabric, or leather scraps for decoration.
Step-by-Step Instructions
- Measure and Cut Your PipeFirst, figure out how long your quiver needs to be. A good rule of thumb is to have it be a few inches shorter than your arrows. This protects the arrow tips (fletching) while still making them easy to grab. Measure your arrow from the nock to just below the fletching. For most arrows, a pipe length of 20-22 inches is perfect. Use your hacksaw or PVC cutter to make a straight, clean cut. For safety tips on cutting materials, you can review guides from sources like the Canadian Centre for Occupational Health and Safety.
- Smooth the EdgesThe cut edge of the PVC pipe will be rough. Take your sandpaper and carefully smooth the inside and outside of the opening. This prevents the sharp edge from scratching you or damaging your arrow fletchings.
- Attach the Bottom CapThis step is crucial for keeping your arrows from falling out! Apply a generous amount of PVC cement or strong adhesive to the inside of the end cap and the outside of one end of the pipe. Push the cap on firmly, giving it a slight twist to spread the glue. Let it dry completely according to the instructions on the adhesive. It’s a good idea to do this in a well-ventilated area.
- Create the Belt Loop : Decide where you want the quiver to hang on your hip. Hold the pipe against your side to find a comfortable position. Mark two spots near the top of the pipe where you will attach the belt loop. Drill a hole at each mark. Cut a piece of your nylon webbing or old belt long enough to form a loop that your own belt can slide through. Secure the loop to the PVC pipe using your bolts, washers, and nuts. Make sure the bolt heads are on the inside and the nuts are on the outside to avoid scratching your arrows.
- Decorate Your Quiver!Now for the fun part! The plain white PVC is functional, but you can make it your own. You can spray paint it, wrap it in fabric or faux leather, or even add some cool stickers. If you paint it, make sure to use a paint that is designed for plastic. Let it dry completely before using it.
That’s it! You’ve just made a tough, practical hip quiver that will last for years. Now, let’s look at a more traditional option.
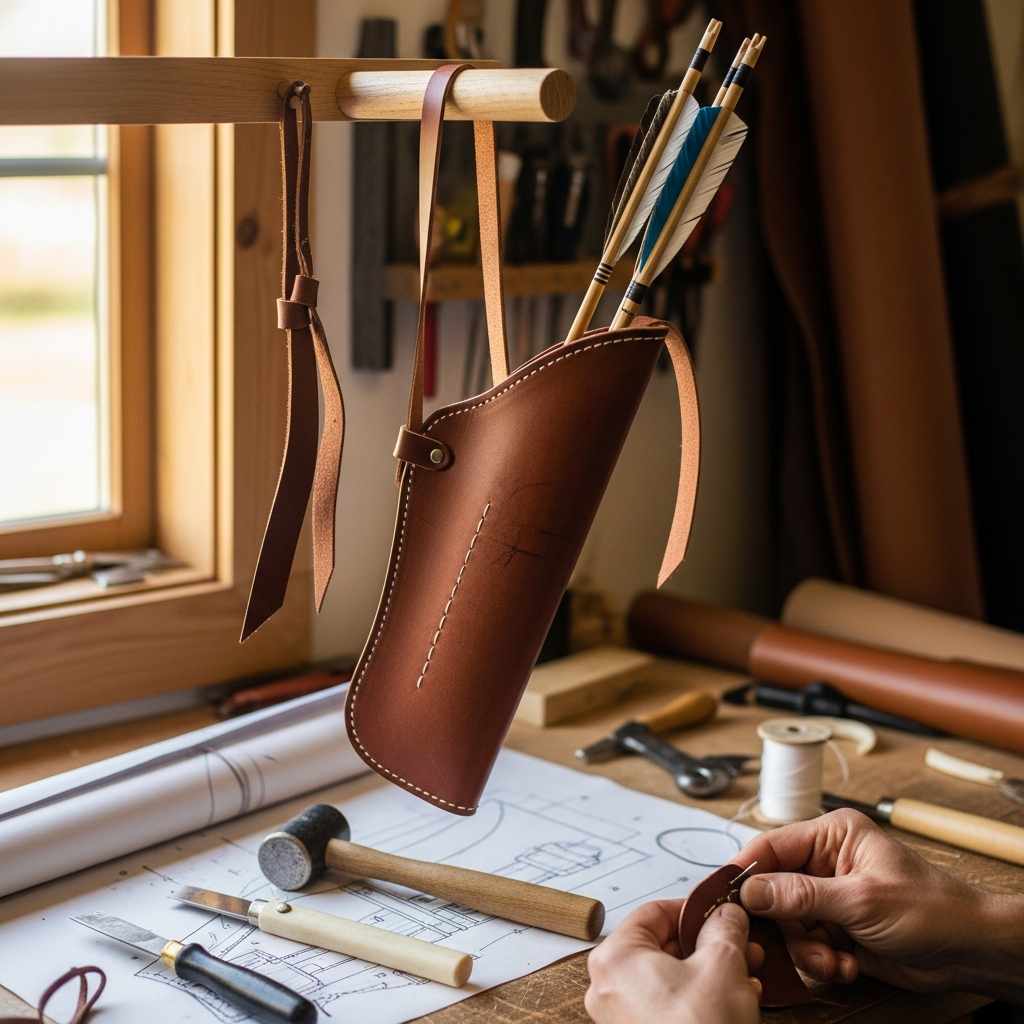
Project 2: The Classic No-Sew Leather (or Fabric) Quiver
If you want something with a more traditional feel, a leather or heavy canvas quiver is a great choice. This “no-sew” version uses rivets, which are easier and faster than stitching by hand. It’s a bit more involved than the PVC project but still very beginner-friendly.
Materials and Tools You’ll Need:
- Material: A piece of stiff leather, faux leather, or heavy canvas (like duck cloth). A piece about 18×24 inches should be enough.
- Paper or Cardboard: To create a pattern.
- Ruler and Pencil: For drawing your pattern.
- Sharp Utility Knife or Fabric Scissors: For cutting your material.
- Leather Punch or Drill: To make holes for the rivets.
- Rivets and a Rivet Setter: You can find these at any craft or hardware store. About 15-20 rivets should be plenty.
- A small wooden or leather disc: For the bottom of the quiver.
- Leather Cord or Nylon Webbing: For the strap or belt loop.
Step-by-Step Instructions
- Design and Cut Your PatternYour pattern will be a long, slightly tapered rectangle. On your paper or cardboard, draw a rectangle that is about 20 inches tall. Make the top edge about 7-8 inches wide and the bottom edge about 5-6 inches wide. This taper will give your quiver a nice shape. Cut out this paper pattern. Trace the pattern onto your leather or fabric and carefully cut it out.
- Create the Bottom PieceThe bottom of the quiver will be a circle. Use a compass or trace a circular object (like a small bowl) that is about 5-6 inches in diameter. This should match the width of the bottom of your main piece. Cut this circle out of your material.
- Punch the HolesIt’s time to prepare for the rivets. Along both long sides of your main quiver piece, use your leather punch to make holes about half an inch from the edge. Space the holes about 1.5 inches apart. Make sure the holes on one side line up perfectly with the holes on the other. Next, punch holes around the edge of your circular bottom piece, also spaced about 1.5 inches apart.
- Attach the Bottom to the Main BodyThis can be the trickiest part, so take your time. You will be riveting the edge of the circular bottom piece to the bottom edge of the main body piece. Start by setting one rivet. Then, work your way around the circle, lining up the main piece with the bottom piece and setting rivets as you go. You may need to gently bend and shape the material to get it to fit perfectly.
- Rivet the Main SeamOnce the bottom is attached, it’s time to close up the side. Fold the main piece over so the two long edges with the holes meet. Starting from the bottom and working your way up, insert and set a rivet in each pair of holes. When you’re done, you’ll have a sturdy, tube-shaped quiver. Reputable suppliers like Tandy Leather offer great tools and guides for setting rivets.
- Add the Strap or Belt LoopJust like with the PVC quiver, you need a way to carry it. For a hip quiver, create a belt loop from a scrap of leather and rivet it to the top of the quiver. For a back quiver, you’ll need a longer strap. Attach one end of the strap to the top of the quiver and the other end about two-thirds of the way down. This will help it hang at a comfortable angle on your back.
You’ve now created a beautiful, traditional-style quiver! With use, the leather will soften and develop a unique character.
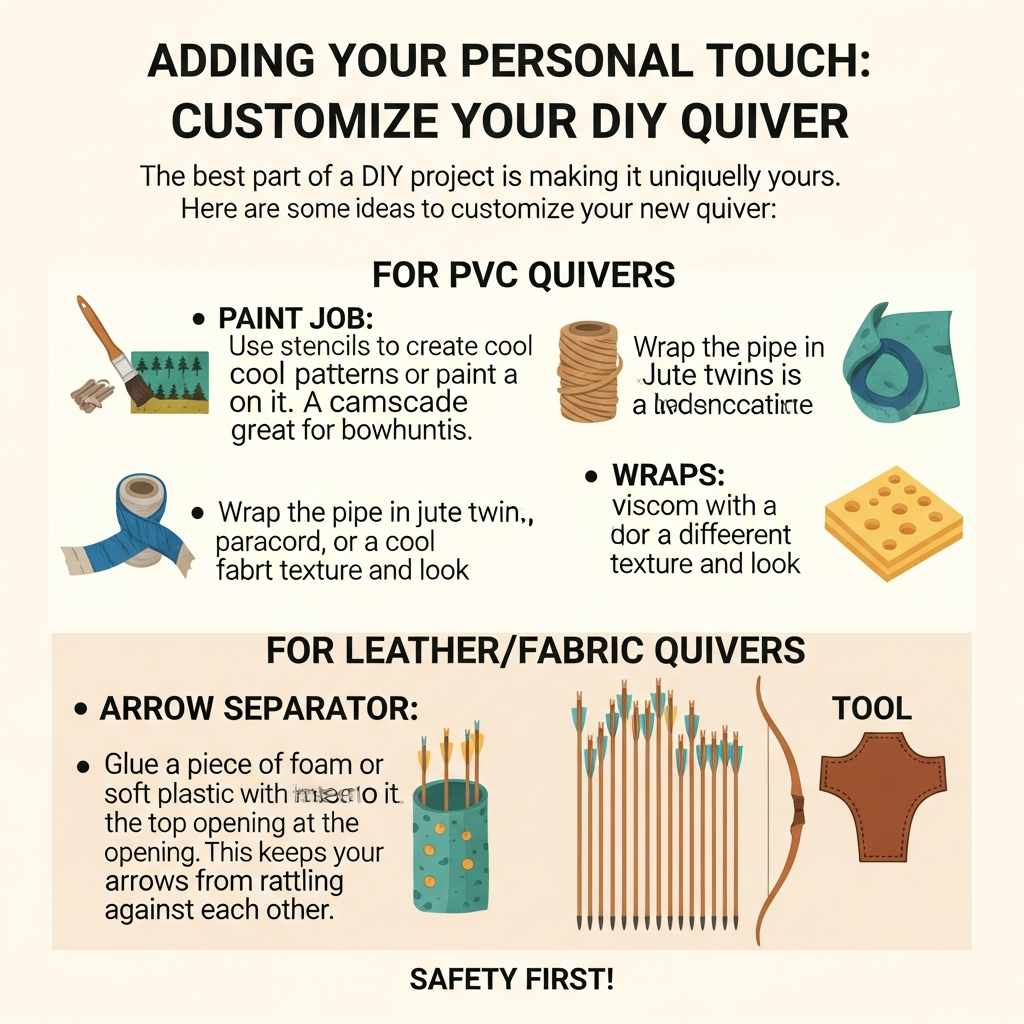
Adding Your Personal Touch
The best part of a DIY project is making it uniquely yours. Here are some ideas to customize your new quiver:
For PVC Quivers:
- Paint Job: Use stencils to create cool patterns or paint a landscape on it. A camouflage pattern is great for bowhunting.
- Wraps: Wrap the pipe in jute twine, paracord, or a cool fabric for a different texture and look.
- Arrow Separator: Glue a piece of foam or soft plastic with holes cut into it at the top opening. This keeps your arrows from rattling against each other.
For Leather/Fabric Quivers:
- Tooling: If you used real leather, you can try leather tooling to carve designs into the surface.
- Patches and Pins: Sew on patches from your favorite places or add enamel pins to show off your personality.
- Fringe: Add a leather fringe to the top or bottom for a classic, rustic look.
- Wood Burning: A wood-burning tool can be used on leather to create permanent, intricate designs.
Remember to always practice safety when working with tools. According to Princeton University’s Environmental Health and Safety department, wearing protective eyewear is essential when cutting, drilling, or hammering.
Frequently Asked Questions (FAQ)
1. What’s the best material for a beginner’s first quiver?
PVC pipe is the easiest and most forgiving material for a first-time project. It’s cheap, easy to find, and requires very few specialized tools. It’s a great way to build your confidence before moving on to materials like leather.
2. How long should my quiver be?
Your quiver should be long enough to cover the sharp broadheads or field points of your arrows but short enough to leave the fletchings (the “feathers” at the end) exposed. A good general rule is to measure your arrow and make the quiver about 3-4 inches shorter.
3. Can I make a quiver without sewing or riveting?
Yes! The PVC quiver project is completely free of sewing or riveting. For a fabric quiver, you could use a very strong fabric glue or epoxy instead of rivets, but it may not be as durable over the long term, especially if it gets wet.
4. How do I attach the quiver to my belt or back?
For a hip quiver, the easiest way is to create a loop with nylon webbing or a piece of leather that is large enough for your belt to slide through. For a back quiver, you’ll need a long strap that goes over your shoulder and across your chest.
5. Is a PVC quiver durable enough for regular use?
Absolutely. PVC is incredibly tough and weather-resistant. It can handle being knocked around at the range or out in the woods. It’s a very practical and long-lasting choice.
6. How many arrows should a quiver hold?
For target practice, a quiver that holds 5-8 arrows is usually plenty. This gives you enough arrows for a single round (or “end”) without being too heavy or bulky. For hunting, you might want a smaller quiver that holds 3-5 arrows to keep things light and quiet.
7. What kind of glue is best for a PVC quiver?
The best adhesive is PVC cement, which is specifically designed to chemically weld PVC pieces together, creating a permanent, waterproof bond. If you don’t have that, a strong two-part epoxy will also work very well.
Ready to Hit the Range With Your New Quiver?
There you have it! Two simple, affordable, and fun ways to make your own recurve bow quiver. Building your own gear is a special part of the archery journey. It connects you more deeply to the sport and gives you a huge sense of pride every time you step up to the shooting line.
Don’t be afraid to experiment and make mistakes. That’s how we learn and improve. Whether you chose the rugged PVC design or the classic leather style, you’ve built something that is both useful and a reflection of you. Now, load it up with arrows, grab your bow, and get out there. Happy shooting!