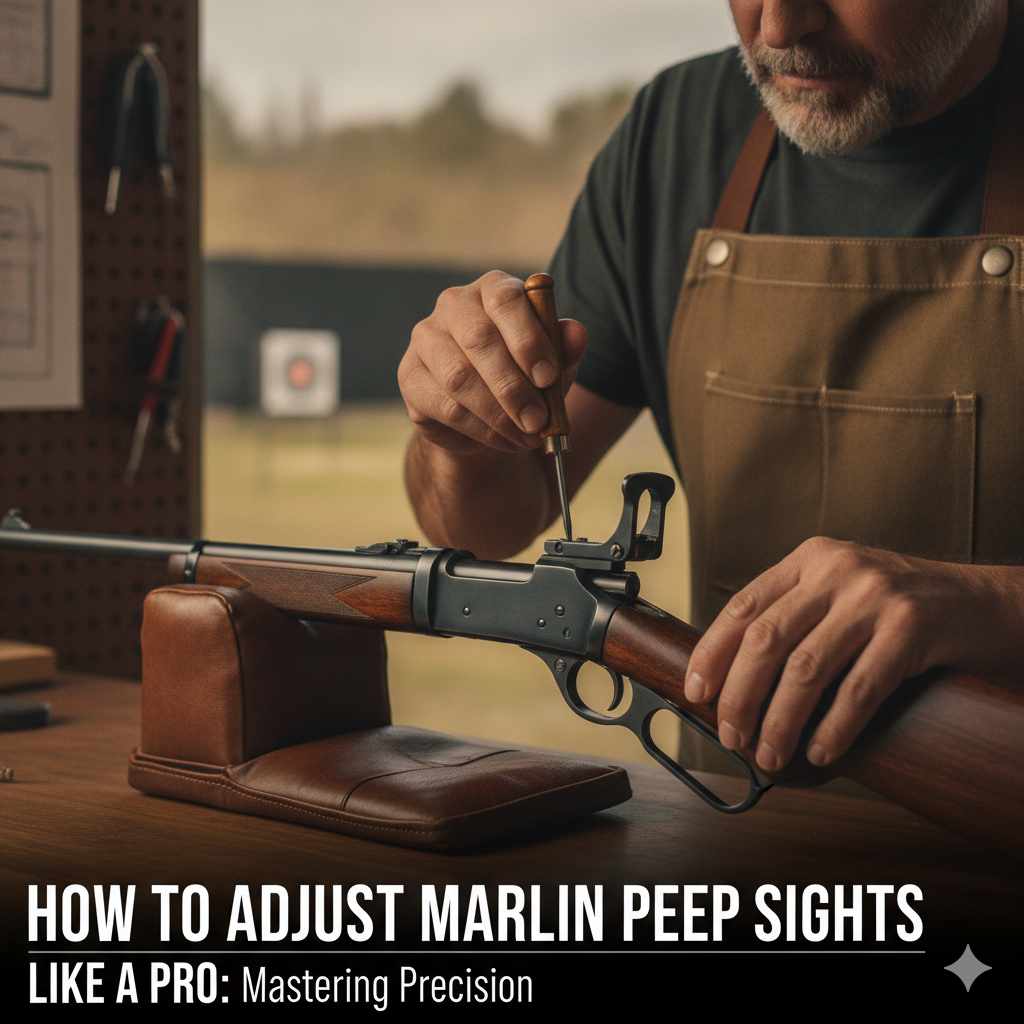
How To Adjust Marlin Peep Sights Like A Pro
This guide helps you understand and adjust your Marlin peep sights. You’ll learn about windage and elevation. We cover how to make precise changes. You’ll also find tips for common sighting problems. This makes your shooting much more enjoyable and accurate.
Understanding Marlin Peep Sights
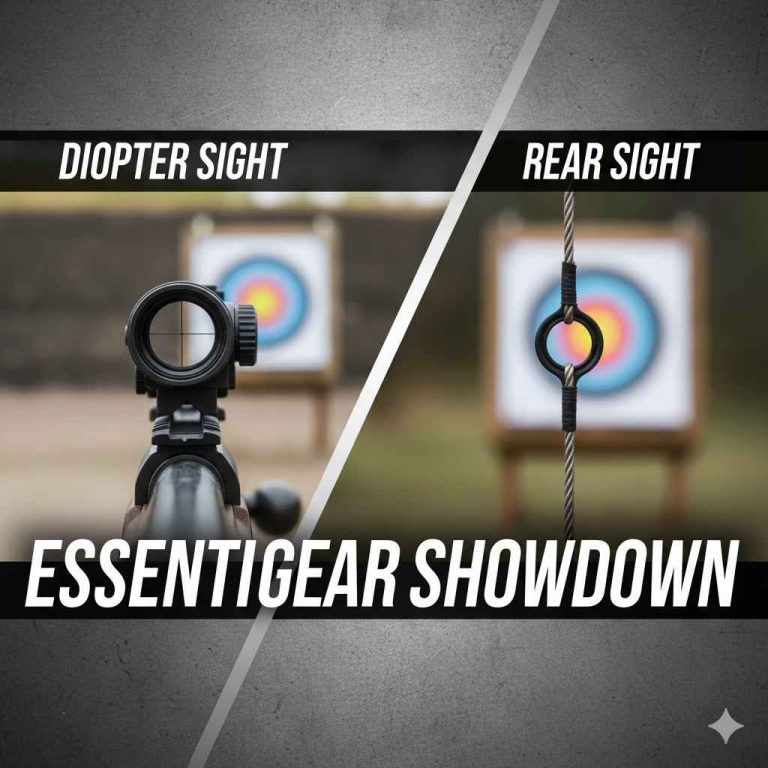
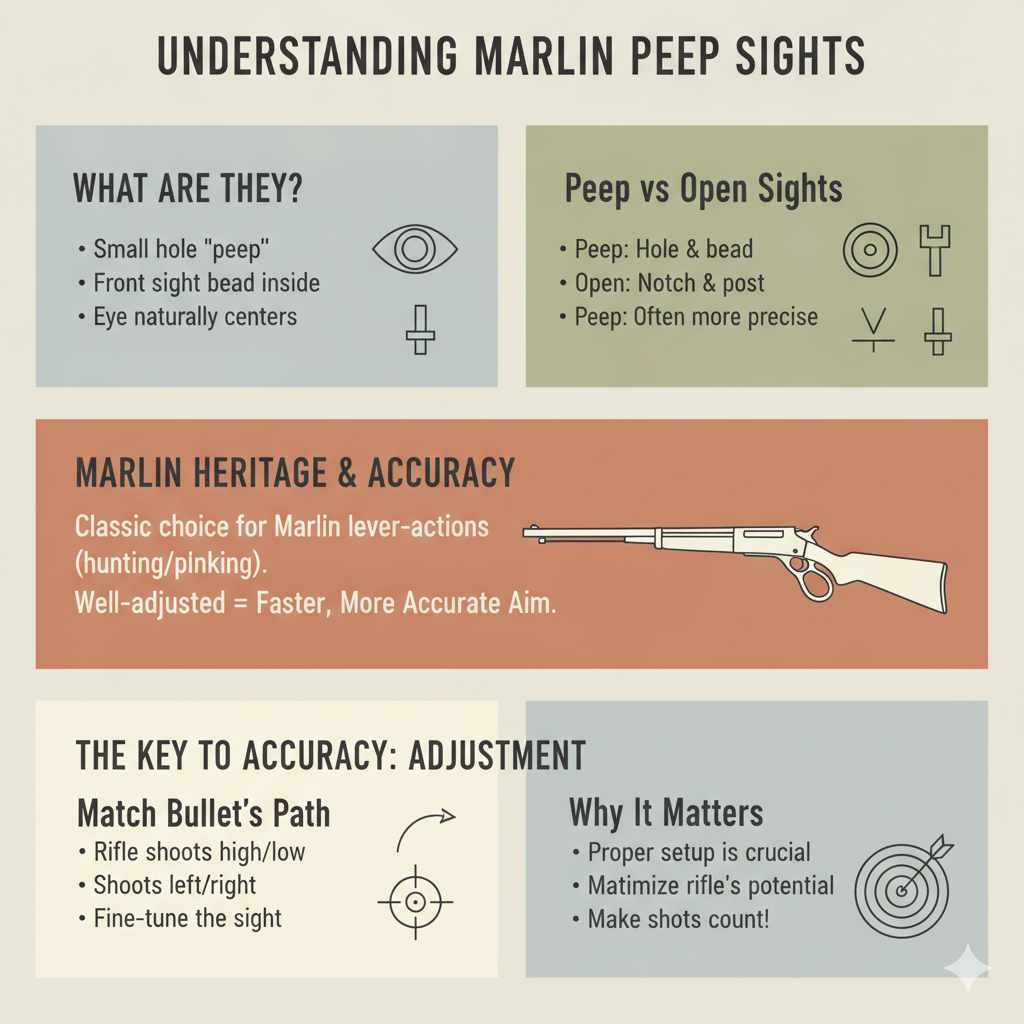
Peep sights, also called aperture sights, are simple but clever. They have a small hole (the “peep”) you look through. Your front sight bead sits inside this hole.
The idea is that your eye naturally centers the bead in the peep. This helps you focus on the target. It’s different from open sights.
Open sights have a notch and a post. Peep sights often offer more precise aiming.
Marlin rifles have used peep sights for a long time. They were popular on lever-action rifles. These guns are often used for hunting or plinking.
A well-adjusted peep sight can make a big difference. It helps you aim faster and more accurately. But this accuracy depends on proper setup.
You need to know how to move the sight to match your bullet’s path.
The Two Key Adjustments: Windage and Elevation
Every peep sight has two main ways you can move it. These are for windage and elevation. Windage adjusts for side-to-side movement.
Elevation adjusts for up-and-down movement. Most Marlin peep sights use small screws for these changes.
Think of it like this: the target is straight ahead. Your bullet might go a little left or right (windage). It might also hit a bit high or low (elevation).
You use the sight adjustments to guide the bullet back to where you want it. The sights move the point of aim. The bullet’s path is what we’re trying to match with the aim.
Windage: Left and Right Aim
Windage is about moving your point of aim left or right. If your shots are hitting to the left of your target, you need to move your point of aim to the left. On most Marlin peep sights, this means turning a specific screw.
This screw moves the entire sight body sideways.
Let’s say you’re shooting and all your shots land about 2 inches to the left. To fix this, you need to adjust the sight so it points 2 inches to the right. The screw you turn for windage is usually on the side of the sight.
It might have a small arrow showing which way to turn. Always make small adjustments. Try a few shots after each change.
This prevents overcorrection.
Elevation: Up and Down Aim
Elevation deals with how high or low your shots are hitting. If your shots are too low, you need to move your point of aim higher. If they are too high, you need to move your point of aim lower.
The elevation screw is typically on the top or bottom of the sight.
Imagine your shots are consistently hitting 3 inches below the bullseye. To fix this, you need to raise your point of aim. Turning the elevation screw will do this.
Again, small turns are best. It’s easy to make big changes too quickly. Keep track of how much you’re turning the screws.
This helps you learn how much each turn affects your shot placement.
Understanding Your Marlin Sight Model
Marlin 1894/336 Sights: Many lever-action Marlins use sights like the Marbles or Lyman style. These often have a sliding elevator and a screw for windage. The elevator piece has markings for sight height.
Newer Models: Some newer Marlin models might come with different sights. Always check your rifle’s manual. It should show diagrams of the specific sight adjustments.
Identifying Screws: Look closely at your sight. You’ll usually see a small screw on the side. That’s for windage.
Another screw, often on the rear or top, controls elevation.
Step-by-Step Guide to Adjusting Your Peep Sight
Getting your Marlin peep sight set up takes patience. It’s best done at a shooting range. You need a stable surface to shoot from.
A bench rest or sandbags work well. This helps eliminate shooter error.
Start with the target at the range you plan to shoot most often. For hunting rifles, this might be 50 or 100 yards. For plinking, maybe 25 yards.
1. Initial Setup and Safety Check
Before you even touch a screw, ensure your firearm is unloaded. Double-check. Remove the magazine if it has one.
Cycle the action. Make sure there is no ammunition in the chamber or anywhere nearby.
Mount your rifle securely. Use a steady rest. Your goal is to shoot as consistently as possible.
This way, any change you see on the target is due to your sight adjustments, not your hold.
2. Firing the First Shots
Load a few rounds into your rifle. Aim at your target. Take careful, slow shots.
Aim for the center of the target each time. Try to shoot three to five shots in a small group. This group shows you where your rifle is currently hitting.
Don’t worry if the group is not where you want it. This is normal. The first shots just give you a starting point.
Observe the center of your shot group. Is it high, low, left, or right of your intended aim point?
3. Making Windage Adjustments
Look at your shot group. If the group is to the left of your aim point, you need to move the point of aim to the right. Find the windage screw on your peep sight.
It’s usually on the side of the sight assembly.
On many Marlin sights, turning the screw clockwise moves the sight to the right. This moves your aim to the right. Conversely, turning it counter-clockwise moves the sight to the left, making your aim move to the left.
Important Rule: Always remember that you are moving the sight to change your aim. If your shots are hitting LEFT, you need to move the SIGHT to the RIGHT. If your shots are hitting RIGHT, you need to move the SIGHT to the LEFT.
This is a common point of confusion.
Make a small turn. A quarter turn is often enough to start. Fire another 3-5 shots.
See how the group moves. If it’s closer, good. If it moved too far, you can turn it back.
If it’s still not centered, make another small adjustment. Repeat until your group is centered left-to-right on your target.
4. Making Elevation Adjustments
Now, look at the vertical position of your shot group. If the group is hitting low, you need to raise your point of aim. Find the elevation screw.
This is often on the rear of the sight, sometimes under a small cap, or it might be part of a sliding elevator.
On most sights, turning the elevation screw clockwise will move the point of aim UP. Turning it counter-clockwise moves the point of aim DOWN. This is usually more intuitive than windage.
If your shots are too low, turn the screw to raise the point of aim. If your shots are too high, turn the screw to lower the point of aim. Like windage, make small adjustments.
Fire a few shots after each change. Watch your group move. Continue until the group is centered vertically on your target.
Quick Tip: Understand Your Sight’s Click Value
Many modern peep sights have “clicks.” Each click represents a specific amount of movement at a certain distance. For example, a click might move your point of impact 1/4 minute of angle (MOA) at 100 yards. This means at 100 yards, 4 clicks would move your impact about 1 inch.
If your sight doesn’t click, you’ll need to estimate your turns.
Why it matters: Knowing the click value helps you make precise adjustments. You can plan your moves more effectively. If you’re 2 inches off at 100 yards, and your sight is 1/4 MOA per click, you know you need about 8 clicks.
5. Fine-Tuning and Testing
Once you have your shots centered both left-to-right and up-and-down, you’re almost done. Fire a full magazine or a good number of rounds. Ensure your group stays tight and on the bullseye.
If it wanders, there might be another issue with your rifle.
It’s a good idea to re-check your adjustments after firing several rounds. Sometimes, heat from the barrel can affect accuracy. Also, ensure your adjustment screws are snug but not overtightened.
Loose screws can cause your sight to shift.
Consider your intended shooting distance. If you hunt or shoot at varying ranges, you might need to re-adjust elevation for different distances. Some peep sights allow for quick elevation changes, which is very useful in the field.
Personal Experience: The Day My Marlin Went Wild
I remember it clearly. I had just bought a beautiful Marlin 336 in .30-30. It came with a nice-looking Marbles peep sight already installed.
I was so excited to try it out. I went to my favorite local range, set up my rifle on a bench, and loaded a few rounds. I was aiming for a small paper target about 50 yards away.
I took my first shot, and it was… nowhere near the bullseye. It hit way off to the left.
Okay, no big deal, I thought. My first shot with a new rifle. I made a slight adjustment to the windage screw, remembering the “move the sight opposite of the shot” rule.
I fired again. This time, it was even further left! My heart sank a little.
What was going on? Was the rifle broken? Was the sight defective?
I spent the next hour making larger and larger adjustments, firing more shots. My group was spreading out, and I was getting frustrated. The sun was beating down, and I was getting annoyed.
I was about to give up when I looked at the windage screw. I realized I had been turning it the wrong way the whole time. I had been moving the sight to the left when my shots were hitting left.
Once I corrected my mistake, the very next shot landed right where I wanted it. It was such a relief. That day taught me the importance of small, deliberate adjustments and double-checking your understanding of how the screws work.
Real-World Context: Why Sight Adjustment Matters
Peep sights are popular because they offer a great balance. They are more precise than open sights but simpler and often more robust than scope sights. This makes them ideal for hunting in brush country or for general-purpose shooting.
In the Field: Hunting Scenarios
When you’re out hunting, conditions can change quickly. You might be stalking a deer in the morning mist. Then, by afternoon, the sun is bright.
Your rifle needs to be sighted in for the most common distances you’ll encounter. If you’re hunting whitetails in the woods, 50-100 yards might be typical. If you’re hunting open plains, you might need to sight for 200 yards or more.
Having your Marlin peep sight adjusted correctly means you can take that shot when it counts. A slight miss due to improper sight adjustment can mean a lost animal or a wounded one, which is something every hunter wants to avoid. It’s about ethical hunting and making sure your equipment is as reliable as possible.
Home and Backyard: Plinking and Practice
Even if you’re just shooting at paper targets in your backyard (where legal and safe, of course!), proper sight adjustment makes practice more rewarding. When you can consistently hit your aim point, you build confidence. You also learn more about your rifle and ammunition.
If your shots are all over the place, it’s hard to tell if it’s the rifle, the ammo, or you. Getting the sights dialed in means you can start to diagnose other shooting issues. Are you flinching?
Is your trigger control okay? The peep sight helps you isolate variables.
Common Marlin Peep Sight Issues and Quick Checks
Screws Won’t Turn
Cause: Rust, dirt, or thread damage.
Fix: Try a small drop of gun oil. Gently work the screw back and forth. If it’s still stuck, seek professional help.
Sight Seems Loose
Cause: Mounting screws are loose, or the sight base is worn.
Fix: Check the screws holding the sight to the rifle. Tighten them carefully. If the base is worn, you might need a new sight or a shim.
Shots Keep Moving
Cause: Barrel heating, inconsistent ammunition, or shooter error.
Fix: Let the rifle cool between shots. Try different ammo. Focus on your shooting technique.
What This Means for You: When is Normal, When to Worry?
Most of the time, the adjustments you make to your Marlin peep sight are straightforward. You’ll be moving it a bit left or right, and up or down, to get your shots centered. This is completely normal.
However, there are times when things might not be so simple. This is when you should pause and check a few things.
When It’s Normal Sight Adjustment
It’s normal if you need to move the sight a few clicks or a quarter turn to center your group. It’s also normal if you need to adjust it for different distances. For example, moving the elevation down slightly for targets farther away.
You might also notice that your sight’s adjustment range is limited. This means you can only move it so far. If your shots are still far off even at the extreme end of the adjustment, there might be a bigger issue.
When to Worry (and What to Check First)
If you find yourself turning the adjustment screws all the way to their limits and your shots are still not on target, that’s a red flag. This usually means something else is wrong.
1. Loose Mounts: Check the screws that hold the peep sight to your rifle. Are they tight?
If the sight is rocking or moving at all, your adjustments won’t mean anything. They’ll just be chasing a moving target.
2. Barrel Issues: Is the barrel bent? You can sometimes spot this by looking down the barrel from the breech.
If it looks crooked, that’s a major problem. A bent barrel will cause consistent inaccuracy.
3. Ammunition Problems: While less common, sometimes ammo can be inconsistent. If you’ve tried several brands and types of ammo, and your shots are still scattered, it’s less likely to be the ammo.
4. Rifle Damage: Is there any obvious damage to the rifle? Cracks, dents, or loose parts?
These can all affect accuracy.
5. Front Sight Alignment: Ensure your front sight bead is centered in the barrel’s sight base. Sometimes, the front sight can be slightly off-center, which limits how much the rear sight can compensate.
If you’re experiencing these issues, it’s best to consult a qualified gunsmith. They can diagnose the problem and make the necessary repairs.
Quick Tips for Better Sighting
Here are a few things I’ve learned over the years that make sighting in much smoother.
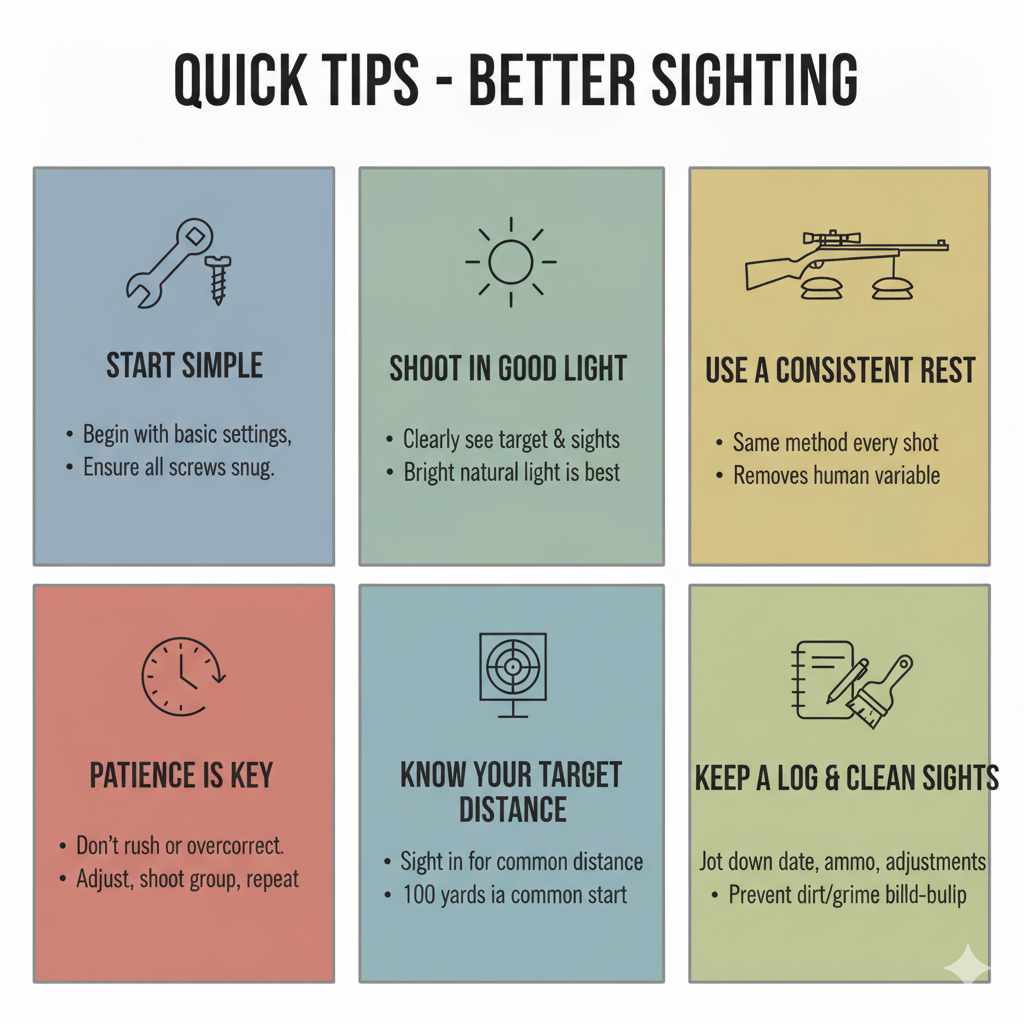
- Start Simple: Always begin with the rifle at its most basic setting. Ensure all screws are snug but not cranked down.
- Shoot in Good Light: Adjusting your sights is easier when you can clearly see your target and your sights. Bright, natural light is best.
- Use a Consistent Rest: Whether it’s a bench, bags, or a bipod, use the same method for every shot. This removes you as a variable.
- Patience is Key: Rushing the process leads to frustration and overcorrection. Make one adjustment, shoot a group, then decide your next step.
- Know Your Target Distance: Sight in for the distance you’ll be shooting most often. For general use, 100 yards is a common starting point for many rifle cartridges.
- Keep a Log: For serious shooters, a small notebook can be invaluable. Jot down the date, distance, ammo used, and the adjustments you made. This helps you recall settings later.
- Clean Your Sights: Dirt and grime can build up in the peep hole or on the screws. Keep them clean for smooth operation.
When to Consider Aftermarket Sights
Better Adjustability: Some older Marlin peep sights have limited adjustment ranges or aren’t as precise. Aftermarket sights often offer finer click adjustments.
Durability: High-quality aftermarket sights can be more robust and handle rougher use. This is great for hunting or competition.
Ergonomics: Some sights have larger apertures or different shapes that some shooters find easier to use.
Cost Factor: While good aftermarket sights can cost $50-$150 or more, they can be a worthwhile investment for improving accuracy and usability.
Frequently Asked Questions About Marlin Peep Sight Adjustment
How far apart should my shots be when I start sighting in?
Ideally, you want your first few shots to group together within a 3-4 inch circle at 50 yards or a 5-6 inch circle at 100 yards. This indicates your rifle is shooting consistently. If your shots are scattered widely, try to focus on your technique and the rifle’s stability first.
What does “minute of angle” (MOA) mean for sight adjustments?
Minute of angle is a measure of angular deviation. At 100 yards, 1 MOA is roughly 1 inch. So, if your sight has a 1/4 MOA adjustment, each click moves your bullet impact 1/4 inch at 100 yards.
At 50 yards, that same click would move it about 1/8 inch.
Can I adjust my Marlin peep sight for hunting different game?
Yes, you can adjust your elevation for different distances. Many hunters sight their rifle in for a specific range, like 200 yards. This often means the bullet will be very close to point-of-aim from 0 to 250 yards for many common hunting cartridges.
Always confirm this with your specific rifle and ammo.
My Marlin peep sight has a sliding elevator. How do I use that for elevation?
The sliding elevator on some sights has markings (like lines or numbers) to indicate different sight heights. You loosen a screw, slide the elevator up or down to the desired mark, and then tighten the screw. Higher elevator settings mean a higher point of aim.
What if my Marlin peep sight is really stiff to adjust?
A stiff adjustment screw can be due to dirt, lack of lubrication, or burrs on the threads. Try applying a small amount of quality gun oil to the screw. Gently work it back and forth.
If it remains very stiff, do not force it, as you could damage the sight or rifle. A gunsmith can help.
Is it normal for my peep sight to make a clicking sound?
Yes, many peep sights are designed to “click” with each adjustment. These clicks correspond to specific increments of movement, often referred to as “minutes of angle” (MOA). This click system helps you make precise, repeatable adjustments.
Some older or simpler sights may not have clicks.
Conclusion: Hitting the Mark with Confidence
Adjusting your Marlin peep sight might seem a bit daunting at first. But by taking it step-by-step, making small changes, and understanding the basic mechanics, you can achieve great accuracy. It’s about patience and practice.
Don’t get discouraged if your first few attempts aren’t perfect. You’re learning a skill. With a properly sighted-in Marlin, your shooting will become more enjoyable and effective, whether you’re in the field or at the range.