How To Adjust A Lyman Peep Sight For Better Accuracy
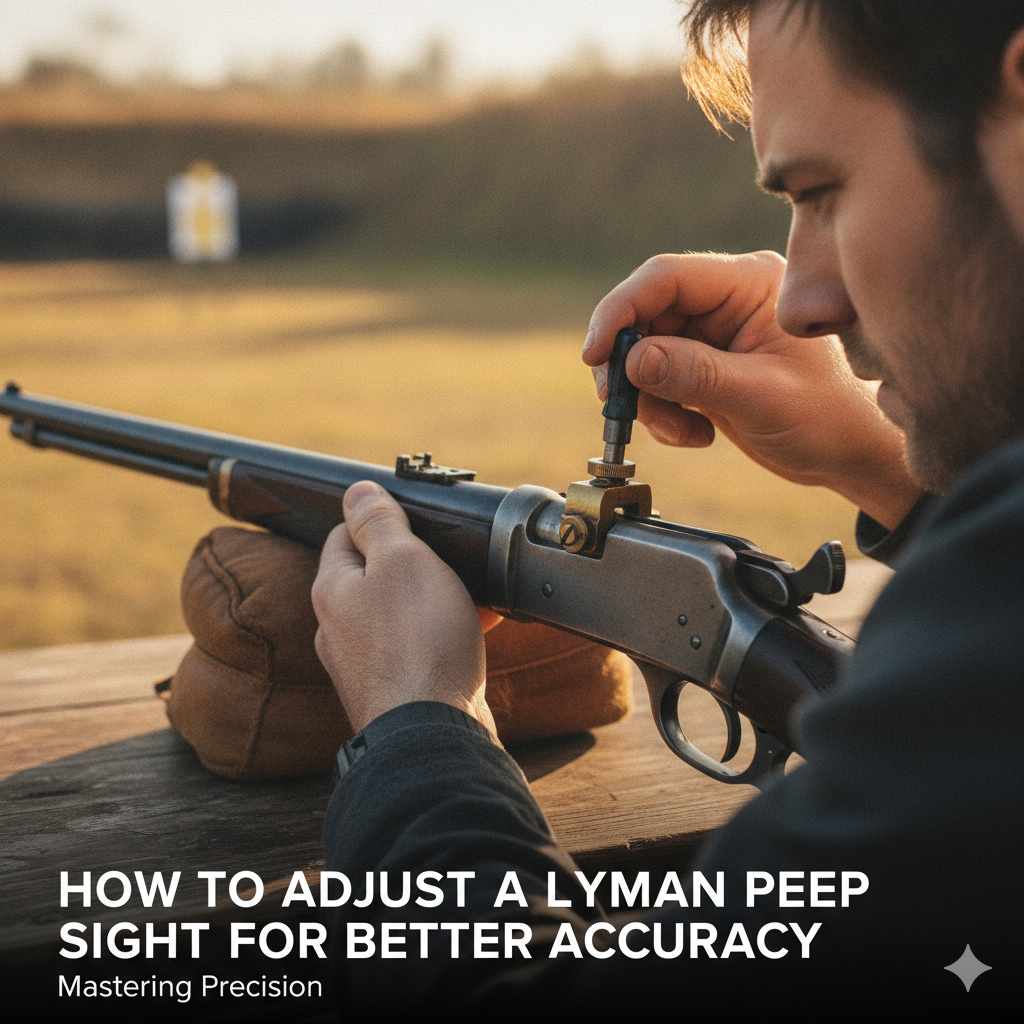
Adjusting a Lyman peep sight involves making small turns to the sight’s adjustment screws. Typically, one screw moves the sight’s point of impact up or down. The other screw moves it left or right. Always make tiny adjustments and test fire after each change. Patience is key to achieving better accuracy.
For a related aiming question, How To Adjust Skinner Peep Sights For Maximum Accuracy helps readers compare the next accuracy detail.
Understanding Your Lyman Peep Sight
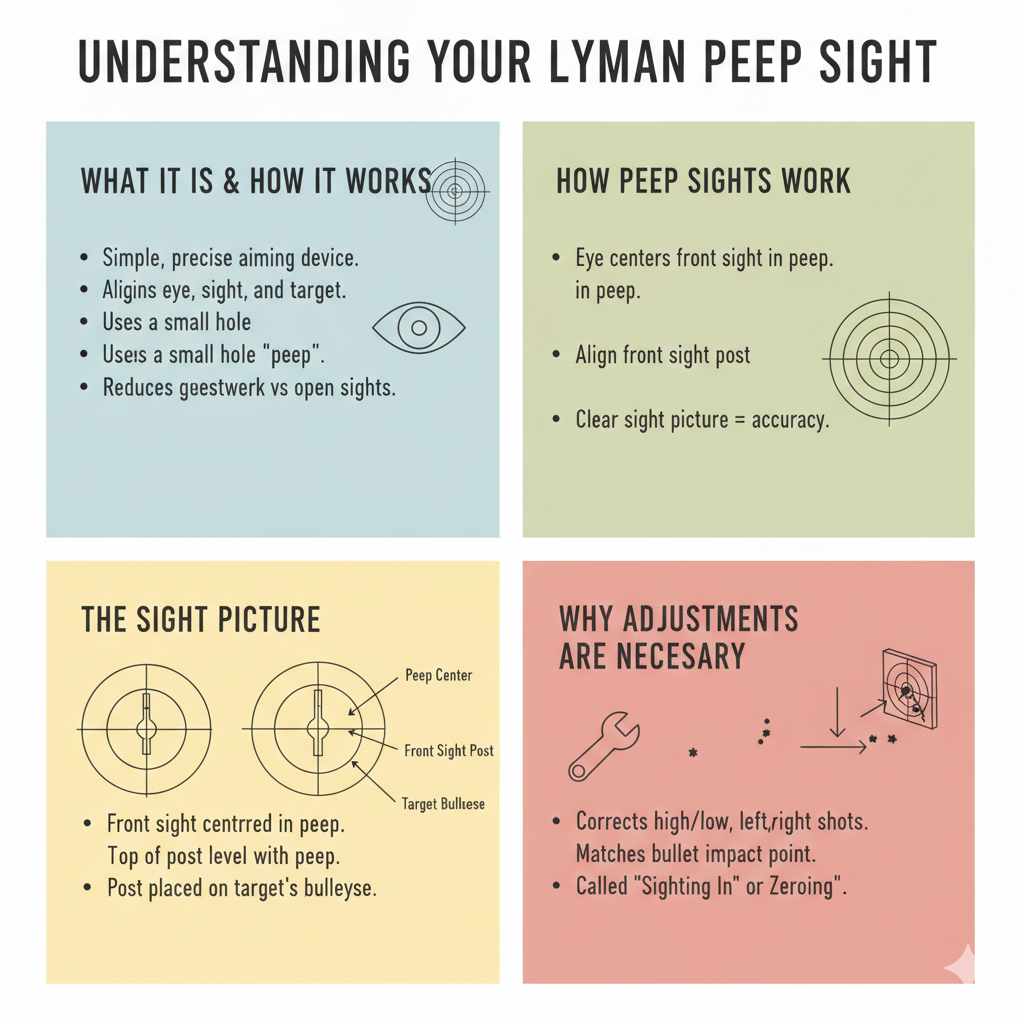
A Lyman peep sight is a simple but effective aiming device. It uses a small hole, or “peep,” to help you align your eye, the sight, and the target. This makes it easier to get a consistent sight picture. Your rifle’s front sight post is what you actually aim with. The peep sight’s job is to help you center that front sight post on your target.
The beauty of a peep sight is its precision. Because the hole is small, your eye naturally centers the front sight post within it. This reduces the guesswork involved with open sights. However, for it to work its magic, the peep sight itself needs to be properly aligned with your rifle’s barrel. This is where adjustments come in.
How Peep Sights Work
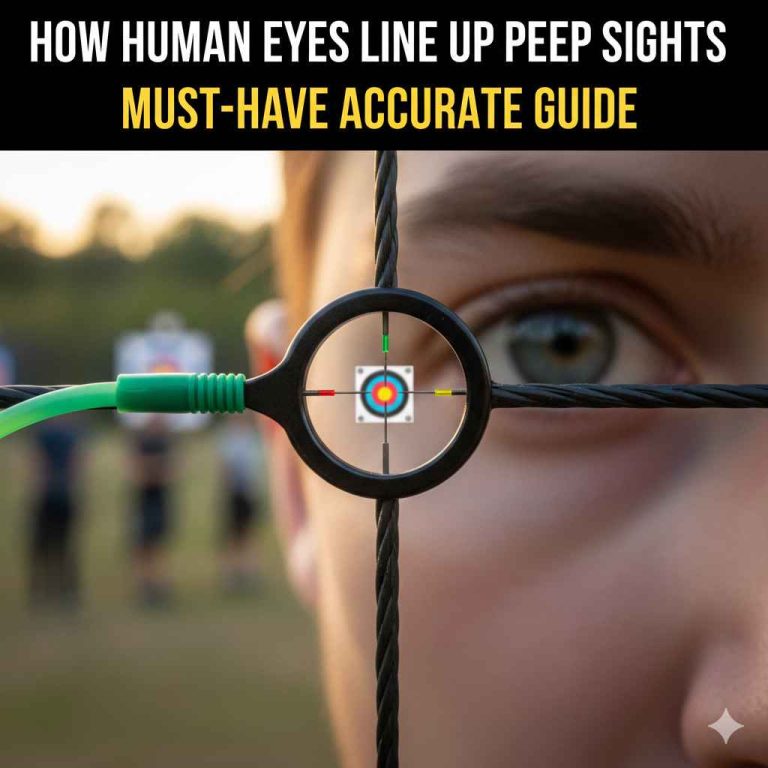
Think of it like looking through a tiny window. When you look through the peep, your eye automatically finds the center. You then place the front sight post in the middle of that peep. Finally, you align the top of the front sight post with the point you want to hit on your target. The clearer your sight picture, the more accurate your shot.
The sight picture is what you see when you look through the peep sight. A good sight picture has the front sight post perfectly centered in the peep. The top of the front sight post should be level with the top edge of the peep. Then, you place that leveled front sight post on your target’s bullseye.
Why Adjustments Are Necessary
No two rifles are exactly alike. Even with the same model, small variations can occur. Factory settings are usually close, but not perfect for every single rifle. Your rifle might shoot slightly high or low, or a bit to the left or right, right out of the box. That’s where making adjustments helps. You’re fine-tuning the peep sight to match the exact point your bullet is actually hitting.
It’s like calibrating a tool. You want the tool to tell you exactly where the work will be done. Your peep sight tells you where your bullet will go. By adjusting it, you make sure its “telling” is accurate. This process is often called “sighting in” or “zeroing” your rifle.
The Anatomy of a Lyman Peep Sight Adjustment
Most Lyman peep sights have two main adjustment screws. These screws control the position of the sight’s aperture, which is the part with the hole. You’ll find them on the side or back of the sight. Each screw usually has a small knob or turret that you can turn. Often, these knobs have markings or clicks to help you make precise changes.
Understanding the Adjustment Screws
One screw typically controls vertical adjustment. Turning this screw will move the point of impact up or down. The other screw handles horizontal adjustment. Turning this one moves the point of impact left or right. It’s crucial to know which screw does what on your specific Lyman model. Check your sight’s manual if you’re unsure.
Many adjustment knobs click as you turn them. Each click represents a small, measurable change in the sight’s position. This is helpful because it means you can track your adjustments. For example, you might say, “I turned the vertical screw three clicks up.” This makes the process repeatable.
Directional Movements (Windage and Elevation)
Let’s talk about the terms. “Elevation” refers to your up-and-down adjustment. “Windage” refers to your left-and-right adjustment. Some sights label their knobs clearly. Others use symbols or simply rely on the shooter to understand.
The key thing to remember is how the movement relates to your target. Generally, if your shots are hitting too low, you need to move the point of impact up. This means you usually need to turn the elevation screw in a specific direction. Most sights are designed so that an upward adjustment of the sight also moves the point of impact upwards.
Similarly, if your shots are hitting to the left, you need to move the point of impact to the right. This involves adjusting the windage screw. Again, the general rule is that moving the sight in a certain direction moves the bullet’s impact the same way.
Understanding Click Values
Many Lyman peep sights use a click system. Each click on the adjustment knob represents a specific change in the bullet’s impact point at a set distance. For example, a common click value might be 1/4 minute of angle (MOA).
At 100 yards, 1 MOA is about 1 inch. So, a 1/4 MOA click would move your impact by about 1/4 inch at 100 yards. Always know your sight’s click value.
Your Lyman manual will tell you this.
Getting Ready to Adjust: Pre-Adjustment Checks
Before you even touch an adjustment screw, a few things need to be right. This saves you time and frustration. It ensures you’re adjusting the sight, not fixing a different problem.
Your Rifle and Ammunition
First, make sure your rifle is in good working order. Is it clean? Is the barrel free of obstructions? Are the mounting screws for the peep sight tight? A loose sight will make adjustments impossible. Make sure your ammunition is consistent. Using different types or brands of ammo can cause your shots to spread out, making it hard to see if your sight adjustments are working.
A Stable Shooting Platform
You need to shoot from a stable position. This is non-negotiable for accurate sighting in. Resting your rifle on a sandbag, a shooting rest, or a bipod is essential. Your own body should be as still as possible. Any movement from your body or the rifle will blur your results. The goal is to see how the rifle and ammo shoot, not how steady your hands are.
The Sighting-In Process: Step-by-Step
Now, let’s get to the actual adjustment. This is a methodical process. Take your time. Don’t rush it.
Step 1: Initial Setup and Paper Targets
You’ll need a safe shooting range with a sufficient distance. 100 yards is a common distance for sighting in rifles. Start with a large paper target. A bulls-eye target is good, but one with a large square or circle can be helpful at first. You want to see where your first shots land without any adjustments.
Mount your rifle securely on your stable shooting platform. Take a few breaths. Aim at the center of your target. Fire a group of three to five shots. Do this without touching the peep sight. This first group tells you where your rifle is currently shooting relative to your aiming point.
Step 2: Analyze Your First Shots
Look at your target. Are the shots clustered together? That’s a good sign. It means your rifle and ammo are consistent. Now, look at where that cluster is located on the target. Is it high? Low? Left? Right?
Let’s say your first group is centered about 4 inches low and 2 inches to the left of your aiming point. This is the information you need. You know you need to move your point of impact up and to the right.
Step 3: Making the First Adjustments
Now, use your adjustment screws. Remember, you want to move your point of impact. If your shots are low, you need to move the impact higher. For most Lyman sights, this means turning the elevation screw to raise the sight. If your shots are left, you need to move the impact right. This means turning the windage screw to move the sight right.
Let’s use our example. Shots are 4 inches low at 100 yards. If your Lyman sight has 1/4 MOA clicks, then 1 MOA is 1 inch at 100 yards. So, 4 MOA would move your impact 4 inches. You would need to make 4 MOA of elevation adjustment upwards. That’s 16 clicks (4 inches x 4 clicks/inch). Make these clicks on your elevation knob.
Your shots are also 2 inches left at 100 yards. You need to move your impact 2 inches to the right. That’s 2 MOA of windage adjustment. This would be 8 clicks (2 inches x 4 clicks/inch) to the right on your windage knob.
Step 4: Test Fire Again
After making your adjustments, fire another group of three to five shots. Make sure to use the same stable shooting position and aim at the same point on the target.
Step 5: Evaluate and Repeat
Look at your new group. Has it moved closer to your aiming point? Hopefully, yes. If it’s now right on target, you’re done! If it’s closer but still off, analyze the new group. Are your shots now 1 inch high and 0.5 inches right?
Make further adjustments based on this new data. You’ll likely make smaller adjustments now. For example, if you’re 1 inch high, you might need 4 clicks down. If you’re 0.5 inches right, you might need 2 clicks left.
Continue this process of firing, analyzing, adjusting, and firing again. Each time, your goal is to get your shot group closer to the center of your aiming point.
Important: Always Adjust in Small Increments
It’s easy to get impatient. But making huge adjustments all at once can overshoot your mark. Tiny changes are the way to go.
Think of it like steering a boat. Small rudder movements make gentle turns. Big rudder movements can cause the boat to swerve wildly.
Your peep sight adjustments are the same. Small, deliberate turns lead to precise results.
Common Issues and How to Solve Them
Sometimes, even with careful adjustments, things don’t go as planned. Here are some common hiccups and how to handle them.
Shot Group is Too Wide (Not Centered)
If your shots are scattered all over the target, the problem might not be the sight adjustment. It could be your shooting technique. Ensure your rifle is firmly supported. Is your trigger pull smooth? Are you flinching? Try to isolate the problem. If you can’t get a tight group, even with minimal adjustments, it’s time to look at your rifle and your shooting form.
Sometimes, ammo quality can cause wide groups. If you suspect this, try a different brand or type of ammunition known for accuracy.
Over-Adjusting or Under-Adjusting
Did you make a big adjustment and now you’re way off in the other direction? Don’t panic. Just go back to analyzing your shots. You might need to make adjustments in the opposite direction. Keep track of your clicks so you can undo them if needed.
If you’re consistently having trouble getting on paper, double-check that your adjustments are actually moving the sight. Sometimes, a screw might be stripped or the sight itself might have a mechanical issue.
Shooting in Different Conditions
Remember that wind can affect where your bullet hits, especially at longer distances. When you’re sighting in, try to do it on a day with little to no wind. Once your rifle is sighted in under calm conditions, you can then learn how to compensate for wind during actual shooting.
Temperature and humidity can also slightly affect ammunition performance. However, for most hunting and recreational shooting, these effects are minimal compared to wind or proper sight adjustment.
Real-World Scenarios and Experience
I remember one time, I was helping a friend sight in a rifle with a new Lyman peep sight. He was getting pretty frustrated because his shots were all over the place. We had a good shooting bench, good ammo, and we thought we were doing everything right. After about an hour, we still weren’t close to the bullseye.
Then, I noticed something. Every time he fired, he was holding the rifle slightly differently. He was leaning into it too much, trying to “guide” the shot. We took a break. I explained again about the importance of letting the rifle do the work and just focusing on a steady trigger pull.
We went back out. This time, I made sure he was relaxed and the rifle was resting well. We made very small adjustments. Within 20 minutes, his shots were grouping tightly right where we wanted them. It wasn’t the sight that was the primary problem; it was the shooter’s consistency. That experience taught me that even the best sight is only as good as the shooter’s ability to use it consistently.
Contrast Matrix: Normal vs. Concerning Sight Pictures
| Feature | Normal Sight Picture | Concerning Sight Picture |
|---|---|---|
| Front Sight Centering | Front sight post is centered in the peep. | Front sight is noticeably off-center in the peep. |
| Front Sight Level | Top of the front sight post is level with the top of the peep. | Top of the front sight is significantly higher or lower than the peep’s top edge. |
| Target Alignment | Top of the front sight post is placed on the desired impact point. | The front sight is used to aim, but the group is far from the aim point after adjustments. |
| Group Consistency | Shots are tightly clustered together. | Shots are widely scattered or erratic. |
What This Means for Your Shooting
Getting your Lyman peep sight adjusted correctly is more than just hitting the bullseye. It builds confidence. When you know your rifle is dialed in, you can focus on your technique and enjoy your time at the range or in the field.
When is it “Good Enough”?
For hunting, a “minute of deer” group is often sufficient. This means your shots can consistently land within a 4-inch circle at typical hunting distances. For target shooting, you might aim for tighter groups, maybe 1-2 inches at 100 yards. Your personal goals will determine what “good enough” means for you.
Remember that even with a perfectly adjusted peep sight, external factors like wind, shooter error, and ammunition variations will always play a role. Your goal is to eliminate the sight as a variable.
When to Seek Expert Help
If you’ve followed all the steps and are still struggling to get your rifle to shoot accurately or if the peep sight itself seems damaged or not functional, it might be time to consult a gunsmith. They can check your rifle’s bore, barrel, and the peep sight’s mounting for any underlying issues you might have missed.
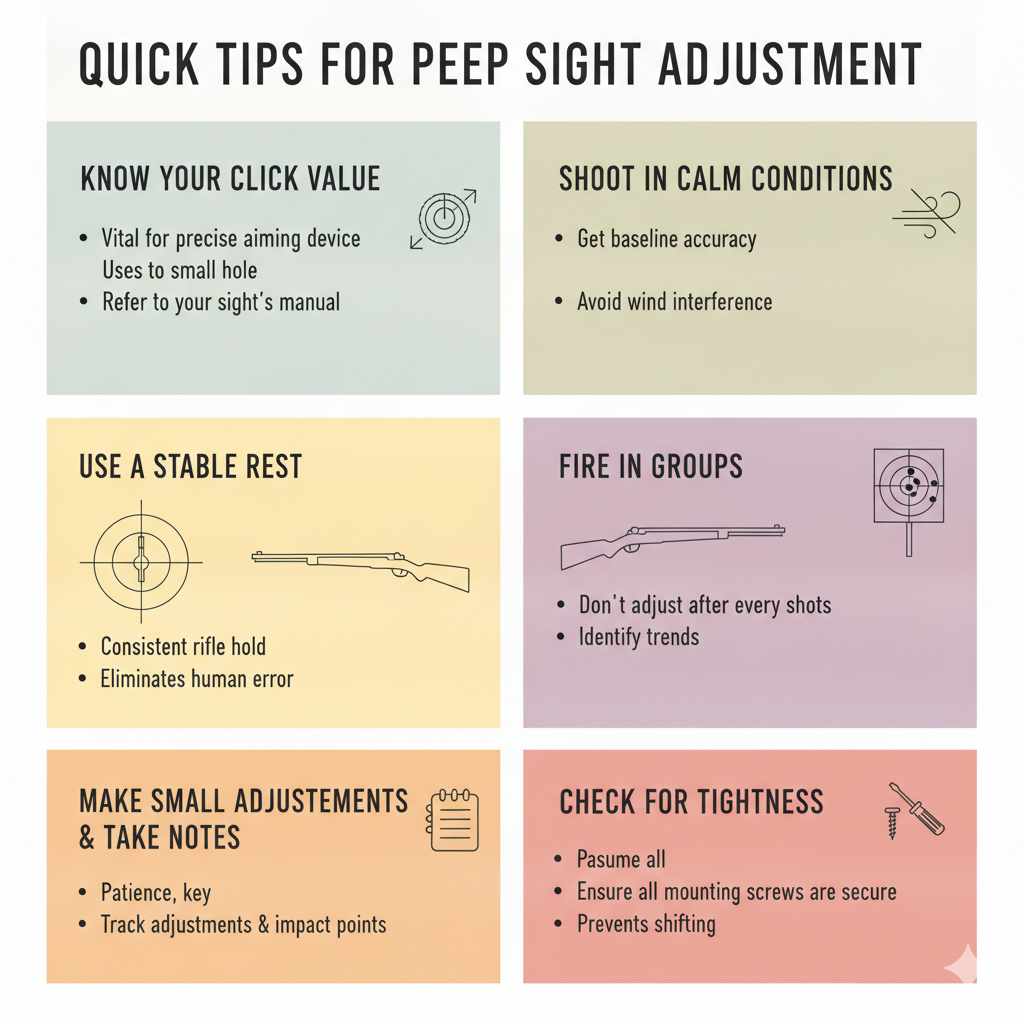
Quick Tips for Peep Sight Adjustment
Here are some handy reminders for when you’re out at the range:
- Know your click value. This is vital for precise adjustments.
- Shoot in calm conditions first. Get your baseline accuracy before dealing with wind.
- Use a stable rest. Your rifle needs to be held consistently.
- Fire in groups. Don’t adjust after every single shot.
- Make small adjustments. Patience is your best tool.
- Keep notes. Track your adjustments and where your shots landed.
- Check for tightness. Ensure all mounting screws are secure.
Quick-Scan Table: Your Adjustment Checklist
| Action | Notes |
|---|---|
| Confirm Rifle Condition | Clean barrel, secure sight mount. |
| Select Stable Platform | Sandbags, rest, or bipod. |
| Fire Initial Group (3-5 shots) | Aim at the same spot. |
| Analyze Group Location | Where are shots relative to aim point? |
| Calculate Adjustments | Using click value and distance. |
| Make Small Turns | Adjust elevation and windage screws. |
| Fire Second Group | Confirm adjustment effect. |
| Repeat Until Zeroed | Continue fine-tuning. |
Frequently Asked Questions
What distance should I use to sight in my Lyman peep sight?
Click to expand
A common and effective distance for sighting in rifles with peep sights is 100 yards. This distance provides enough space to see how small adjustments affect your bullet’s impact. For some applications, like hunting in thick woods where shots are typically closer, you might sight in at 25 or 50 yards.
However, 100 yards is a good standard that allows for easier calculation of adjustments needed for longer distances.
How many clicks on a Lyman peep sight equal one inch at 100 yards?
Click to expand
This depends on the specific model of your Lyman peep sight. Most modern sights have click values specified in Minute of Angle (MOA). A common value is 1/4 MOA per click.
At 100 yards, 1 MOA is approximately 1 inch. Therefore, for a 1/4 MOA sight, you would need 4 clicks to move your point of impact by 1 inch at 100 yards (1 inch x 4 clicks/inch = 4 clicks). Always check your sight’s manual for the exact click value.
Is it normal for my shots to be all over the place when I first start?
Click to expand
Yes, it is very common for your first shots with a new sight or a newly mounted sight to be off the mark. This is precisely why the sighting-in process is necessary. The goal is to take those initial shots, see where they land, and then use the adjustments to bring them to your desired aiming point.
Don’t get discouraged by initial stray shots; view them as valuable data.
Do I need to re-sight my rifle if I change ammunition?
Click to expand
It’s a very good idea to re-sight your rifle if you change ammunition, especially if you switch to a different brand, bullet weight, or type (e.g., from a round nose to a pointed bullet). Different ammunition can perform differently, meaning your point of impact can change. Even small changes in bullet weight or velocity can require minor sight adjustments to maintain optimal accuracy for that specific load.
What if my Lyman peep sight doesn’t have click adjustments?
Click to expand
Some older or simpler Lyman peep sights might have smooth adjustments without distinct clicks. In this case, you’ll need to be more careful with your turns. Try to make very small, consistent movements.
It can be helpful to mark the starting position with a tiny piece of tape or a very light scratch (if permissible and you know how to remove it later). Then, make a small turn and fire. You’ll be relying more on visual estimation and repetitive testing to find your zero.
Can I adjust my Lyman peep sight in cold weather?
Click to expand
Yes, you can adjust your Lyman peep sight in cold weather, but be aware of potential challenges. Cold can make your fingers stiff, affecting your dexterity when turning the adjustment knobs. Also, metal parts can become more brittle.
Ensure you handle the sight and rifle carefully. It’s also wise to wear thin gloves that still allow you to feel the knobs. If you’re using a sight with very fine clicks, extreme cold might make them harder to feel.
Conclusion
Adjusting a Lyman peep sight might seem daunting at first. But by understanding how it works and following a methodical process, you can achieve excellent accuracy. It’s about patience, observation, and making small, deliberate changes. Soon, you’ll find yourself hitting your mark with confidence, turning those frustrating misses into satisfying shots. Happy shooting!