
4 Pin vs 5 Pin Bow Sight for Hunting: Here’s the Simple Breakdown
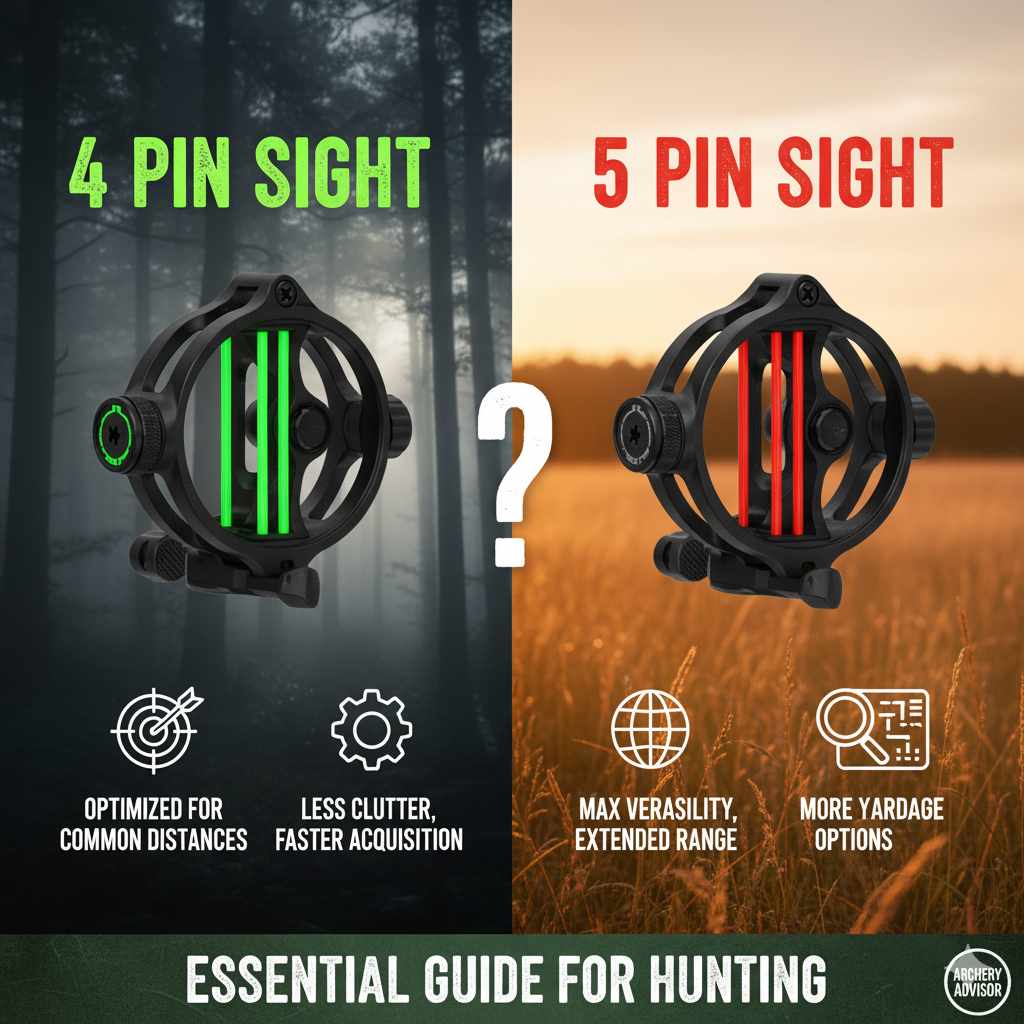
Choosing the right bow sight is crucial for accurate hunting shots. The main difference between 4-pin and 5-pin sights lies in the number of aiming points. A 4-pin sight offers versatility for common hunting distances, while a 5-pin provides an additional point for longer shots or finer adjustments, catering to different shooting styles and environments.
Archery beginners often face a bewildering array of equipment choices. Among the many decisions, selecting a bow sight can feel particularly daunting. You might be wondering: “What’s the big deal between a sight with four pins and one with five?” It’s a common question, and the answer might seem complicated at first. But don’t worry! I’m here to make it simple. We’ll break down what each type of sight offers, who it’s best for, and how to choose the one that will help you hit your mark with confidence. By the end of this guide, you’ll know exactly which bow sight is your perfect hunting partner.
Understanding Bow Sight Pins: Your Aiming Points
Imagine your bow sight pins as little aiming guides. Each pin represents a specific distance. You set each pin to be accurate at a certain range, like 20 yards, 30 yards, 40 yards, and so on. When you’re aiming at an animal, you simply select the pin that matches the distance to your target. This makes it much easier to hit your mark accurately, especially when you’re new to bowhunting or when shots present themselves quickly.
The Role of Pins in Accuracy
The more pins you have, the more options you have for different yardages. This is especially helpful if you hunt in varied terrain where distances to game can change dramatically. With correctly set pins, you can trust your aim without having to guess or constantly adjust your bow’s position. This confidence translates directly into more successful and ethical hunts.
What is a 4-Pin Bow Sight?
A 4-pin bow sight is a popular choice for many hunters. It offers a good balance between having multiple aiming points and keeping the sight head relatively uncluttered. Typically, these sights are designed with pins set at graduated distances that cover the most common shooting ranges encountered in hunting scenarios.
Setting Up Your 4-Pin Sight
Setting up a 4-pin sight involves a process called “sighting in” or “paper tuning.” This means you shoot your bow at a target and adjust each pin until it’s perfectly on target at its designated distance.
Here’s a general step-by-step process:
1. Start at Close Range: Begin by sighting in your closest pin (usually the bottom one). Set this pin for a distance like 20 yards. Shoot a group of arrows and adjust the sight up, down, left, or right until your arrows hit the bullseye for that 20-yard pin.
2. Move to the Next Distance: Once your 20-yard pin is dialed in, move your target to 30 yards. Now, adjust the next pin (usually the second from the bottom) until it’s hitting the bullseye at 30 yards.
3. Continue for All Pins: Repeat this process for your third pin (e.g., 40 yards) and your fourth pin (e.g., 50 yards).
4. Test at Hunting Distances: After setting all your pins, it’s a good idea to test them at your typical hunting yardages to ensure accuracy. Also, test some distances in between your set yardages to see where your arrows are landing.
Remember to use a sturdy rest for your bow and maintain a consistent shooting form throughout the sighting-in process. Following guidelines from reputable archery organizations like the Archery GB can provide more detailed instructions on fine-tuning your sight.
Pros of a 4-Pin Bow Sight
- Simplicity: Fewer pins mean a less cluttered view, which can be less intimidating for beginners.
- Versatility for Common Distances: Covers the most frequent hunting shot ranges effectively.
- Lighter Weight: Often lighter than sights with more pins, which can be a small but noticeable advantage.
- Less Clutter for Aiming: With fewer pins, there’s less to potentially distract your eye when making a shot.
- Greater Durability (Potentially): Fewer moving parts or adjustment points can sometimes mean more robust construction.
Cons of a 4-Pin Bow Sight
- Limited Long-Range Capability: May not offer an optimal pin for very long shots (e.g., beyond 60 yards).
- Less Fine-Tuning: You might have larger yardage gaps between pins if you tend to shoot at a wide variety of distances.
- May Require More Holdover: If a specific distance isn’t covered by a pin, you might need to mentally “hold over” or “under,” which requires more practice.
What is a 5-Pin Bow Sight?
A 5-pin bow sight adds an extra aiming point compared to its 4-pin sibling. This additional pin is typically set for a longer yardage, or it can be used to create smaller increments between common distances for even finer-tuned accuracy. This makes it a strong contender for hunters who frequently encounter longer shots or prefer having more precise yardage options.
Leveraging the Extra Pin
The fifth pin on a 5-pin sight can be set up in a couple of ways, depending on your needs. Some hunters will set it for a very long distance, like 60 or 70 yards, if they regularly practice or hunt in situations where such shots are possible and ethical. Others might use it to fill a gap between two other pins, for instance, if they want pins at 20, 30, 40, 45, and 50 yards instead of 20, 30, 40, 50. This allows for greater precision at intermediate ranges.
The sighting-in process is identical to that of a 4-pin sight. You’ll simply extend the process to include the fifth pin.
1. Establish Your First Four Pins: Complete the sighting-in process for your first four pins as you would for a 4-pin sight (e.g., 20, 30, 40, 50 yards).
2. Set the Fifth Pin: Decide on the yardage for your fifth pin. This could be your longest desired range (e.g., 60 yards) or an intermediate distance (e.g., 45 yards). Adjust the fifth pin to be accurate at this chosen distance.
3. Verify All Pins: Thoroughly test all five pins at their designated yardages and at intermediate distances to confirm your sight is perfectly calibrated.
Understanding your effective shooting range is vital. For ethical hunting, it’s recommended to know your limits. Resources from organizations like the MeatEater often discuss ethical distances and shot placement, which are critical considerations when deciding where to set your pins.
Pros of a 5-Pin Bow Sight
- Extended Range Capability: The extra pin allows for accurate aiming at longer distances.
- Increased Precision: Can provide finer adjustments for intermediate yardages, giving you more options.
- Versatility for Varied Terrain: Ideal for hunters who encounter diverse landscapes with unpredictable distances.
- Adaptability: More flexible for different shooting styles and hunting scenarios.
Cons of a 5-Pin Bow Sight
- More Clutter: Five pins can present a busier sight picture, potentially overwhelming for some beginners.
- Slightly Heavier: Generally a bit heavier than 4-pin sights due to the added components.
- More Complex Sighting-In: Requires more time and arrows to sight in all five pins precisely.
- Potential for Distraction: More pins might lead to confusion or distraction for novice archers aiming under pressure.
4 Pin vs 5 Pin Bow Sight for Hunting: Key Differences
When comparing a 4-pin and a 5-pin bow sight for hunting, the core differences revolve around range, complexity, and the visual field. The choice often boils down to personal preference, hunting style, and the terrain you usually hunt in.
Here’s a table to help visualize the key distinctions:
| Feature | 4-Pin Bow Sight | 5-Pin Bow Sight |
|---|---|---|
| Number of Pins | Four | Five |
| Typical Yardage Coverage | Covers common hunting distances (e.g., 20-50 yards). | Extends coverage for longer shots (e.g., 20-60+ yards) or offers finer increments. |
| Complexity for Beginners | Generally less complex, simpler sight picture. | Can be slightly more complex due to more pins. |
| Sight Picture Clutter | Less cluttered, cleaner view. | Potentially more cluttered. |
| Weight | Typically lighter. | Slightly heavier. |
| Sighting-In Time | Quicker to sight in. | Takes longer to sight in all pins. |
| Ideal Use Case | Beginners, hunters in close-quarters woods, those prioritizing simplicity. | Hunters facing open country, longer shots, those wanting more precise yardage options. |
When to Choose a 4-Pin Sight
A 4-pin sight is an excellent choice if you are:
- Just starting out your archery journey and want something straightforward.
- Primarily hunt in dense woods where shots are typically at shorter distances (e.g., under 40 yards).
- Prefer a clean, uncluttered view through your peep sight.
- Want to minimize weight on your bow setup.
- Tend to practice and hunt within a more limited, predictable range of distances.
When to Choose a 5-Pin Sight
Consider a 5-pin sight if you:
- Are comfortable with a slightly more complex sight picture.
- Hunt in open country, fields, or at longer distances.
- Want the flexibility to set pins for more precise yardages or extend your effective range (e.g., to 50 or 60 yards).
- Appreciate having more options for varying shot opportunities.
- Are willing to spend a bit more time to sight in and potentially master more aiming points.
- Are looking to potentially increase your effective range for ethical shots.
Factors to Consider Beyond Pin Count
While the number of pins is a significant factor, it’s not the only thing to look for in a bow sight. As you explore your options, also keep these features in mind:
1. Pin Size and Brightness
Size: Pins come in different diameters. Smaller pins (e.g., .010″ or .019″) offer more precision at longer distances but can be harder to see in low light. Larger pins (e.g., .019″ or .029″) are easier to acquire quickly and are brighter but can obscure small targets at long range.
Brightness: Most modern sights have a way to adjust brightness. This is crucial for hunting during dawn and dusk when light is low. Look for adjustable rheostats or fiber optic brightness controls. Many sights are designed to pick up ambient light. The Tenzing Outdoors blog offers insights into selecting sights based on these characteristics.
2. Pin Configuration and Adjustability
Individual Pin Adjustment: Ensure each pin can be adjusted both vertically and horizontally. This is essential for accurate sighting-in.
Gang Adjustment: Some sights allow you to move all pins up or down together. This is very useful for making minor adjustments after changing arrow setups or bow poundage.
Level: Many sights include an integrated bubble level. This helps you ensure your bow is perfectly vertical, preventing canting errors that can cause shots to go left or right.
3. Construction and Durability
Material: Sights are commonly made from aluminum or composite materials. Aluminum is generally more durable.
Weather Resistance: Hunting means facing the elements. Ensure your sight is built to withstand rain, dust, and temperature changes.
4. Mounting System
Offsets/Arbor Mounts: These allow you to move the sight further away from the bow riser, which can improve the sight picture clarity.
Direct Mount: Some sights attach directly to the bow. This is usually lighter but might offer less adjustment for positioning.
5. Accessories
Magnification: Some sights can accommodate a magnifier, which is useful for precise aiming at longer distances.
Light: Built-in or attachable lights can illuminate the pins in very low light conditions.
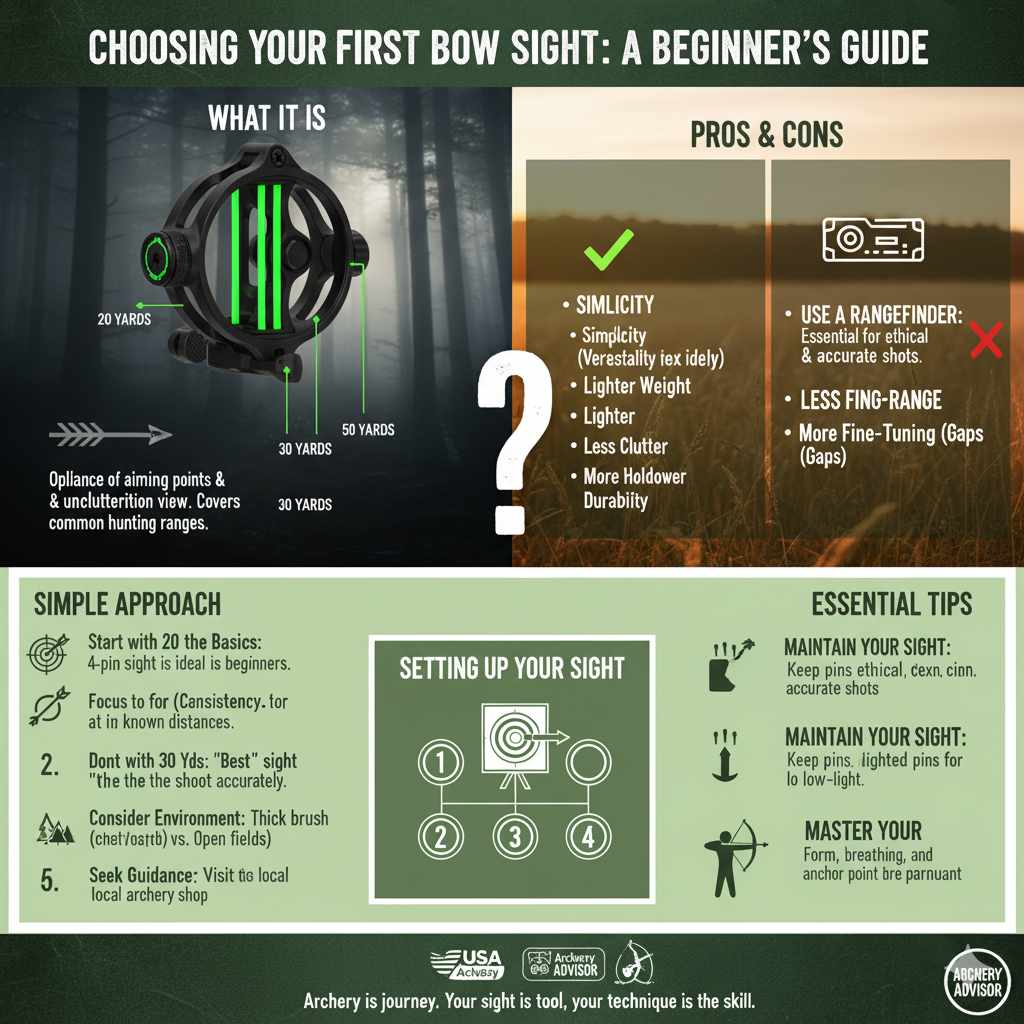
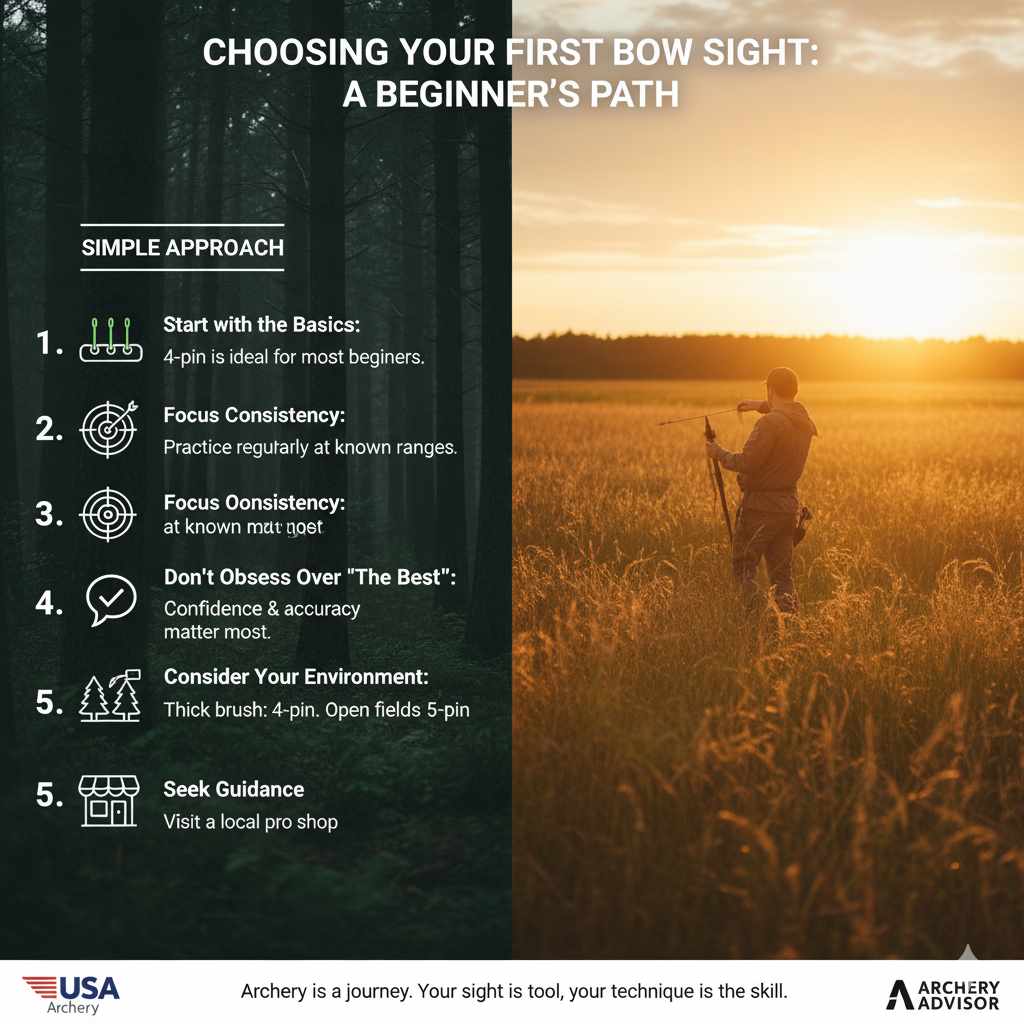
Choosing Your First Bow Sight: A Beginner’s Path
As a newcomer to archery and bowhunting, it’s easy to get overwhelmed. Remember, the goal is to build confidence and accuracy.
Here’s a simple approach:
1. Start with the Basics: For most beginners, a 4-pin sight is an excellent starting point. It’s simpler, easier to sight in, and covers the distances you’re most likely to encounter early on.
2. Focus on Consistency: Whatever sight you choose, the most important thing is to practice consistently. Learn your effective range and shoot from that range as much as possible.
3. Don’t Obsess Over “The Best”: There isn’t one “best” sight for everyone. The best sight is the one that you can use accurately and confidently. What works for a seasoned pro might not be right for you, and vice-versa.
4. Consider Your Environment: If you know you’ll mostly be hunting in thick brush, a 4-pin is likely sufficient. If you envision yourself hunting in vast open fields, a 5-pin might offer more benefit.
5. Seek Guidance: If possible, visit a local archery shop. They can let you look through different sights and offer personalized advice based on your bow and shooting style.
Archery is a journey of continuous learning and improvement. Your first sight is just one step on that path.
Frequently Asked Questions (FAQ)
Q1: Is a 4-pin bow sight good enough for hunting?
Yes, a 4-pin bow sight is very good for hunting, especially for beginners or those who hunt in wooded areas with shorter shot distances. It provides enough aiming points for common hunting ranges (e.g., 20-50 yards) and offers a cleaner sight picture, which can be less distracting.
Q2: When should I consider upgrading from a 4-pin to a 5-pin sight?
You should consider upgrading to a 5-pin sight if you frequently hunt in open terrain where longer shots are common (e.g., 50+ yards), or if you want more precise yardage increments between your pins for greater accuracy at intermediate distances.
Q3: Can I use a 5-pin sight if I’m a beginner?
You can, but it might feel a bit more complex initially. A 5-pin sight has more pins to manage and requires more effort to sight in. If you’re a beginner, starting with a 4-pin sight and mastering its use is often recommended. You can always upgrade later if your needs change.
Q4: How do I properly sight in my bow sight pins?
The process, often called “sighting in,” involves shooting your bow at a target at specific, known distances and adjusting each pin until it aligns with your point of impact at that distance. You typically start with your closest pin (e.g., 20 yards) and work your way out to your farthest pin. Consistency in your shooting form is crucial.
Q5: What does a .019 pin mean?
The “.019” refers to the diameter (in inches) of the fiber optic material that makes up the pin’s aiming point. Smaller numbers like .010 indicate thinner, more precise pins, while larger numbers like .019 or .029 indicate thicker, brighter pins that are easier to see in low light but less precise at long distances.
Q6: Does pin brightness matter for hunting?
Yes, pin brightness is very important for hunting. You’ll often be shooting during dawn and dusk, which are prime hunting times but have low light conditions. The ability to adjust or use bright fiber optic pins is crucial for acquiring your target and making an accurate shot.
Q7: Should my pins be set as far apart as possible?
Not necessarily. The ideal spacing depends on your bow’s trajectory and your shooting style. Most hunters choose pins for common shooting distances (e.g., 20, 30, 40, 50 yards). Some prefer to “stack” pins closer together for better precision at specific ranges. The goal is to have pins that match the distances you are most likely to shoot at.
Conclusion
Choosing between a 4-pin and a 5-pin bow sight for hunting is a decision that impacts your accuracy and confidence in the field. For beginners, a 4-pin sight often provides a simpler, more manageable introduction to bow sight technology, covering the most common hunting distances effectively. It offers a clear aiming point without overwhelming the sight picture.
As your experience grows, or if your hunting environment demands it, a 5-pin sight can offer expanded capabilities. The additional pin provides the option for greater range or finer adjustments at intermediate distances, catering to more varied shooting scenarios. Ultimately, the “better” sight is the one that best fits your personal shooting style, the type of game you pursue, and the terrain you hunt. Regardless of which you choose, remember that practice, consistent form, and understanding your equipment are the keys to successful and ethical bowhunting. Take the time to sight in your chosen sight meticulously, practice at the distances you expect to encounter, and you’ll be well on your way to making those vital shots. Happy hunting!


