Learn how to sight a traditional bow simply and effectively! This guide offers expert, beginner-friendly tips for aligning your aim, improving accuracy, and enjoying every shot with your traditional equipment. Master the basics of sighting and hit your mark with confidence.
Learning to shoot a traditional bow can be incredibly rewarding, but hitting your target consistently might feel tricky at first. Many beginners struggle with knowing where to aim, especially without the sights found on modern compound bows. It’s a common hurdle, but there’s a straightforward way to master it. This guide will walk you through the simple steps to sight your traditional bow, helping you improve your accuracy and enjoy the archery experience to its fullest. Let’s get you hitting that bullseye!
Why Sighting Matters for Traditional Bows
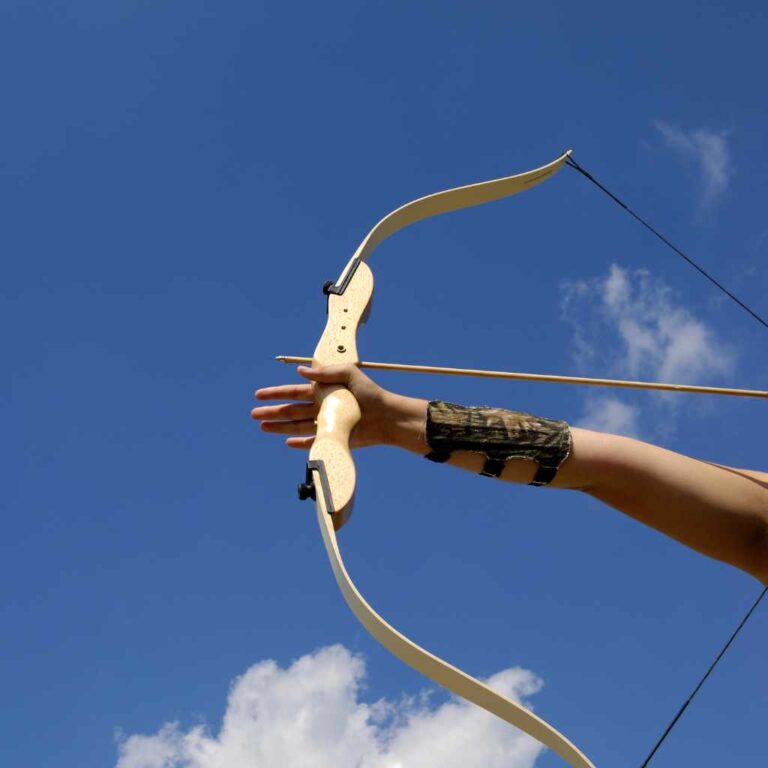
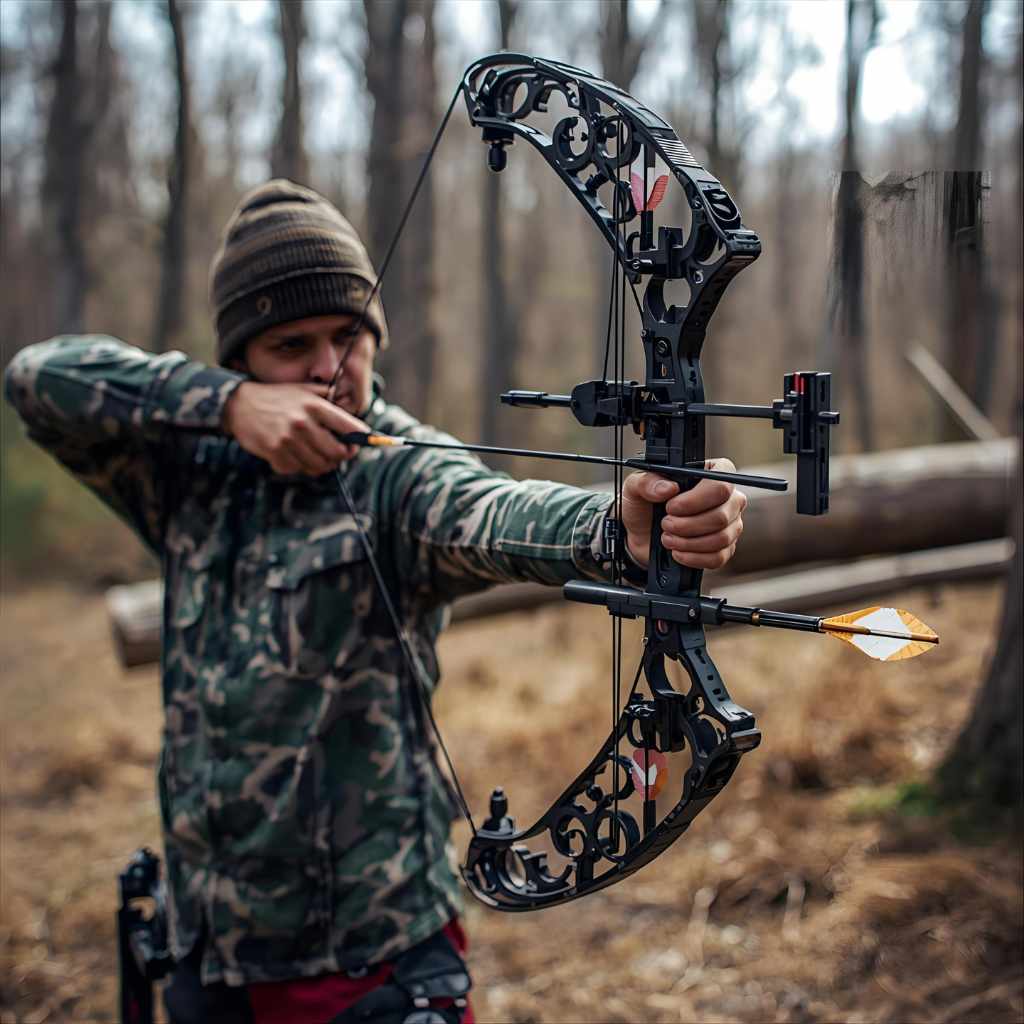
Traditional bows, like recurves and longbows, rely on instinctive aiming or a simple form of “gap shooting.” Unlike compound bows with their complex sight pins, traditional archery emphasizes a closer connection between you and your arrow. Sighting isn’t about attaching fancy gear; it’s about developing consistency in your aiming point. This consistency is key to understanding how your arrow flies and where it will land.
When you understand how to “sight” your traditional bow, you eliminate a lot of guesswork. You’re essentially teaching yourself to aim using specific anchor points, body alignment, and a consistent reference point on your bow or the target. This skill builds confidence and makes every shot more predictable. Ready to dive in and learn how?
Understanding the Basics: Instinctive Aim vs. Point of Aim
For traditional archery, two main schools of thought exist regarding aiming:
- Instinctive Aiming: This is the classic method. You look directly at your target and let your body’s natural aiming instincts take over. Your brain processes the distance and angles, and your muscles intuitively adjust. It feels like pointing your finger at something you want to hit. With practice, this becomes very accurate.
- Gap Shooting (Point of Aim): This method involves using a specific point on your bow, usually the arrow point itself or a small mark on the riser, as a reference. You’ll intentionally aim this reference point slightly above, below, or to the side of the target, depending on the distance. The “gap” between your reference point and the target is what you consistently adjust.
Many traditional archers find a blend of both works best for them. The goal is to find a method that feels natural and allows for repeatable accuracy. For beginners, starting with understanding gap shooting can be easier because it provides a tangible reference point.
Essential Equipment for Sighting Your Traditional Bow
While traditional bows are simpler, a few accessories can help you in your sighting journey. These aren’t “sights” in the modern sense but aids for consistency.
Your Bow
Before anything else, ensure your traditional bow is properly set up. This means having the correct arrow spine for your bow’s draw weight, a well-fletched arrow, and the string in good condition. A bow that’s too heavy to draw comfortably will make consistent aiming impossible. For beginners, it’s often recommended to start with a lighter draw weight, around 20-30 pounds, depending on your physical ability. You can always increase it later as you build strength.
Arrows
The arrows you use are critical. They need to be matched to your bow’s specifications (spine, length, points). All arrows should be identical for consistent flight. For learning, it’s good to use arrows with bright nocks or fletching so you can easily track their flight path.
Bow Square
A bow square is a simple, but essential tool. It helps you set your nocking point and brace height correctly. These two settings profoundly affect arrow flight and consistency.
Learn more about setting up your bow with a bow square here.
Arrow Rest
Most traditional bows come with a simple shelf or stick-on arrow rest. Some archers prefer a more advanced “whisker biscuit” or a flexible arrow rest for better arrow support and stability, which can contribute to more consistent shots.
String Marker or Nocks
Some archers place a small mark on their bowstring, just above or below the nocking point. This mark can serve as an additional aiming reference or anchor point consistency check. Brightly colored nocks can also make it easier to track your arrow’s path, especially in lower light conditions.
Step-by-Step Guide: Learning to Sight Your Traditional Bow
This method focuses on a simplified version of gap shooting, using your arrow point as a reference. It’s a great starting point for beginners.
Step 1: Gather Your Equipment and Set Up at a Short Distance
You’ll need your traditional bow, arrows, a target, and a safe shooting area. For this initial step, set up your target at a very close distance, say 5 yards (about 4.5 meters). This lets you focus on form and aiming without worrying too much about long-distance corrections.
Step 2: Achieve a Consistent Stance and Draw
Stand with your feet shoulder-width apart, perpendicular to the target. Relax your non-bow arm, pointing it towards the target. Draw the bowstring smoothly towards your face. Find a comfortable and repeatable anchor point. This is where your drawing hand contacts your face consistently with every draw. Common anchor points are the corner of your mouth or under your jawbone. The key word here is consistent.
Consistency Checklist:
- Feet placement
- Body orientation
- Drawing motion
- Anchor point (e.g., corner of mouth)
- Release hand position
A consistent foundation makes everything else predictable.
Step 3: Aiming with the Arrow Point
Nock an arrow and draw the bow to your anchor point. Now, look at your target. Try to visualize your arrow tip. For this initial exercise at 5 yards, you will likely aim your arrow tip directly at the center of the target. The idea is to see your arrow tip superimposed on the target bullseye.
As you hold at full draw, focus your sight on the bullseye. Your brain will naturally try to align the arrow with your intended point of impact. Don’t intensely stare at the arrow tip; let your vision naturally encompass both the target and your arrow.
Step 4: The Shot – Smooth Release
Once you are at full draw and your aim feels steady, execute a smooth release. This involves relaxing your drawing fingers to let the string slip away cleanly. Avoid “plucking” the string or jerking your release hand back. Follow through with your shot; let your drawing hand continue its natural path backward for a moment after the release.
Step 5: Evaluate Your Group and Adjust (If Needed)
After you shoot, look at where your arrows land. Don’t just focus on a single shot. The goal is to achieve a tight group of arrows. If your arrows are consistently landing in the same spot, even if it’s not perfectly in the bullseye, that’s fantastic initial progress! This means your aim and form are consistent.
If your group is scattered, go back to basics: check your stance, draw, anchor point, and release. Small inconsistencies in these areas can lead to big changes in where your arrow lands.
Developing Your Aiming Point for Different Distances
Once you can shoot a consistent group at 5 yards, you’re ready to start adjusting for longer distances. This is where gap shooting becomes more pronounced.
Understanding Vertical Gapping
As you increase distance, your arrow will naturally drop due to gravity and the trajectory of its flight. To compensate, you need to aim higher. This is vertical gapping.
The 10-Yard Adjustment
Move back to 10 yards (about 9 meters). At this distance, you’ll likely find that aiming your arrow tip directly at the bullseye causes your arrows to hit low. You’ll need to raise your aiming point.
Try this: Hold your draw to your anchor. Now, visually aim your arrow tip slightly above the bullseye. You’re creating a “gap” between the bullseye and where you are pointing. Experiment by moving your aim point up incrementally until the arrows start landing closer to the bullseye.
A common starting point for 10 yards might be aiming about 1-2 inches above the bullseye, but this varies greatly by bow, arrow, and archer. The important thing is to find what works for you.
Further Distances (20 Yards, 30 Yards, etc.)
Continue moving back in 10-yard increments (20, 30 yards). At each new distance, repeat the process of adjusting your aim point higher.
- At 20 yards, you’ll aim higher than at 10 yards.
- At 30 yards, you’ll aim even higher.
You are establishing a reference for your “gap” at each distance. Documenting these gaps is very helpful. You can even use a simple table:
| Distance (Yards) | Aiming Point Adjustment (Arrow Tip Relative to Bullseye) | My Notes |
|---|---|---|
| 5 | Directly on Bullseye | Starting point, good grouping |
| 10 | Approx. 1-2 inches above Bullseye | Arrows hitting low |
| 15 | Approx. 3-4 inches above Bullseye | (To be filled in after practice) |
| 20 | Approx. 5-7 inches above Bullseye | (To be filled in after practice) |
This table is a guide. Your personal adjustments will be unique.
Using the Arrow Rest as a Reference
Some archers find it easier to use their arrow rest or the point where the arrow contacts the shelf as their aiming reference. Instead of focusing on the arrow tip, you focus on the rest. You would then “gap” this reference point just as you would the arrow tip.
For example, at 20 yards, you might aim your arrow rest about 5-7 inches above the bullseye. This method often feels more stable as the rest is a fixed part of the bow. Experiment with both the arrow tip and the arrow rest to see which reference point feels more intuitive for you.
Horizontal Gapping: Accounting for Wind and Shot Variation
While less common for beginners, horizontal gapping (adjusting left or right) is important when you encounter wind or want to fine-tune your aim for specific spots.
Wind: If there’s a crosswind, you’ll need to aim slightly into the wind. A light breeze might require a very small adjustment—aiming perhaps half an inch to a full inch left or right, depending on wind direction and strength. Stronger winds will demand larger adjustments.
Shot Variation: Sometimes, even with good form, your grouping might be slightly off to one side. If your arrows consistently group to the left, you’ll need to consciously aim a tiny bit to the right to compensate.
Horizontal adjustments are generally much smaller than vertical ones. For beginners, focus on getting your vertical gaps sorted first. Once your vertical consistency is good, you can start to incorporate windage and fine-tuning.
Advanced Tips for Traditional Bow Sighting
As you get more comfortable, these tips can help you refine your skills even further.
Consistent Anchor Point is King
I can’t stress this enough. Your anchor point is the reference that makes everything else repeatable. If your anchor point moves even slightly, your shot will go off. Experiment to find an anchor that feels solid and is easy to access consistently.
Pre-Shot Routine
Develop a routine before every shot:
- Stance: Feet shoulder-width apart, body aligned.
- Nock Arrow: Firmly on the string.
- Bow Arm: Relaxed, pointing towards the target.
- Draw: Smoothly and deliberately.
- Anchor: Contact your face consistently.
- Aim: Find your gap or focus on the target.
- Hold: Steady and calm.
- Release: Smooth and clean.
- Follow-through: Let your motion complete naturally.
Going through these mental steps every time builds muscle memory and consistency.
Understanding Arrow Flight
Observing how your arrows fly is crucial. A well-tuned bow and arrow setup will have arrows flying straight towards the target. If your arrows are fishtailing (wobbling left and right in flight), it indicates an issue with arrow spine, fletching, or bow tuning. For advice on tuning, resources like ArcheryGB sometimes offer valuable insights into basic tuning.
Practicing with Different Light Conditions
Archery can happen at dawn or dusk. Practice in conditions that mimic when you might actually hunt or shoot. This helps you adapt your aiming to varying light.
Using a String Walking Technique (More Advanced)
String walking involves adjusting your draw length by moving your hand up or down the bowstring. This changes your anchor point and, therefore, your aiming point without changing your physical gap. It offers a wider range of aiming adjustments but requires significant practice to master and maintain consistency. This is generally considered more advanced than basic gap shooting and is often used by experienced archers.
The Importance of the Follow-Through
After you release the arrow, don’t drop your bow arm or drawing hand the instant the string leaves your fingers. Your follow-through allows your shot to be clean and prevents any accidental torque imparted to the bow. Imagine continuing the motion of your draw, as if you were going to draw again. This helps stabilize the shot.
Common Sighting Mistakes for Beginners and How to Fix Them
Even with guidance, first-time archers can stumble. Here are a few common pitfalls:
| Mistake | Why it Happens | How to Fix It |
|---|---|---|
| Inconsistent Anchor Point | Not holding the drawing hand in the exact same spot on the face each time. | Experiment with different anchor points until you find one that feels solid and repeatable. Use a mirror to check consistency in practice. Focus on feeling the contact with your face. |
| “Plucking” the String | Jerking the string away with the fingers instead of a smooth release. | Practice releasing by simply relaxing your fingers. Think of “letting go” rather than “pulling away.” Close your eyes and focus on the feeling of the release. |
| Aiming Too Hard / Over-focusing on Arrow Tip | Tensing up and staring intensely at the arrow tip, losing focus on the target. | Soften your gaze. Let your peripheral vision see the arrow tip while your primary focus remains on the target. Your brain will do the work of alignment. |
| Not Following Through | Dropping the bow arm or moving the drawing hand too quickly after release. | Consciously hold your form for a few seconds after the shot. Visualize continuing the draw motion. |
| Trying to Shoot Too Far Too Soon | Getting frustrated by poor long-range accuracy before mastering close range. | Start very close (5 yards) and only move back when you can shoot a consistent group. Build a solid foundation before increasing the challenge. |
| Not Using Ear and Nose as a Reference | Forgetting that body parts can be anchors. The line from your eye, through your anchor point, and to the target is critical. | Ensure your drawing hand consistently touches a specific point on your face, like the corner of your mouth or under your jawbone. This point, combined with your eye, creates a consistent line of sight. |
FAQ: Your Traditional Bow Sighting Questions Answered
Q1: Do I really not need sights on a traditional bow?
For pure traditional archery, yes, you typically do not use mechanical sights. The skill is in developing instinctive aim or using gap shooting methods where you use your arrow, riser, or a string mark as a reference. It’s about building your own aiming system, which is very rewarding!