Putting sights on your traditional bow is simpler than you think! This guide will walk you through installing sights step-by-step, ensuring a secure fit for improved accuracy. We’ll cover the tools you need, the installation process, and important alignment tips for a confident shot.
Getting your traditional bow dialed in for consistent shooting can be a rewarding part of archery. Many archers find that adding sights makes a big difference in accuracy, especially when starting out. While traditional bows often have a simple, elegant design, attaching accessories like sights might seem a little daunting at first. Don’t worry! With a little patience and the right steps, you can confidently mount sights on your bow and start hitting your targets more reliably.
This guide is designed to make the process clear, easy, and safe for beginners. We’ll break down exactly what you need and how to do it, step by step. By the end, you’ll have a well-mounted sight that helps you aim true and enjoy your archery journey even more.
Why Add Sights to Your Traditional Bow?
Traditional archery is a beautiful discipline that emphasizes instinct and feel. Many purists enjoy shooting “instinctively,” relying on their natural aiming ability. However, for beginners, consistently hitting the same spot can be challenging without some form of aiming assistance. This is where sights come in.
- Improved Accuracy: Sights provide a clear reference point, helping you aim more precisely at your target. This leads to tighter groupings and a more satisfying shooting experience.
- Consistency: By eliminating some of the guesswork, sights help you repeat your shot process more consistently. This faster learning curve means you build confidence quicker.
- Easier Target Acquisition: For many new archers, just finding the target can be half the battle. Sights give you a definitive point to focus on, making it easier to acquire your aim.
- Adaptability: As you progress, you can adjust your sights to compensate for different distances, arrow types, or even personal shooting styles, further enhancing your accuracy.
While the allure of instinctive archery is strong, adding sights is a practical step for many who want to improve their accuracy and enjoy the sport more readily. It’s a tool to help you learn and grow as an archer, not a compromise on tradition.

Essential Tools and Materials
Before you start, gather these items. Having everything ready will make the installation process smooth and efficient.
- Your Traditional Bow: Make sure it’s the bow you intend to install sights on.
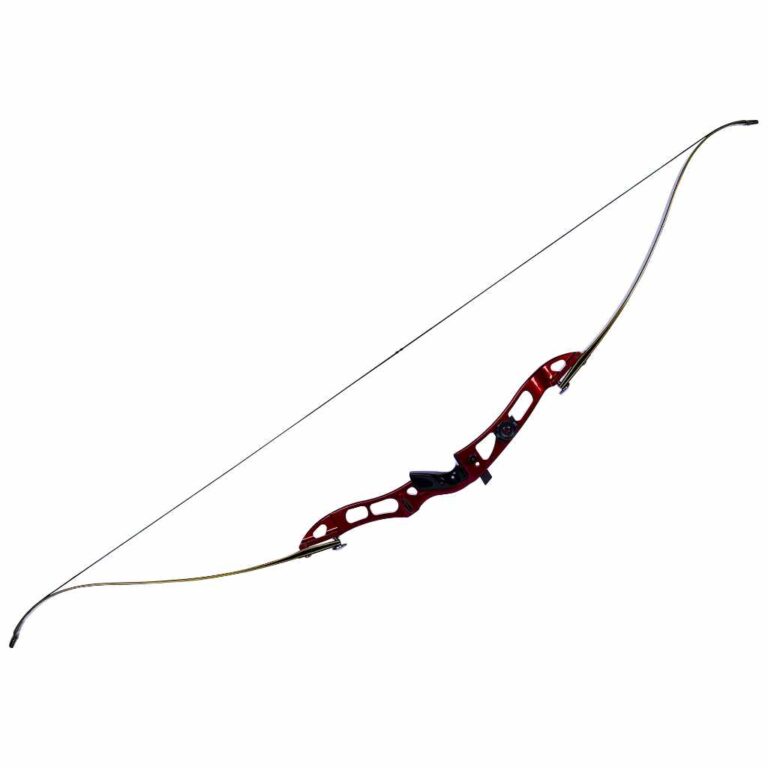
- Bow Sight: Choose a sight designed for traditional bows. These are typically simpler than compound bow sights.
- Allen Wrenches (Hex Keys): Most sights come with or require specific-sized Allen wrenches for installation. Ensure you have a set that fits the sight’s mounting screws.
- Small Adjustable Wrench or Pliers: You might need these to gently tighten nuts or bolts, depending on your sight model.
- Bow Square (Optional but Recommended): This handy tool helps ensure your sight is mounted perfectly perpendicular to the bow riser. It’s great for getting a factory-level setup. You can find good options from brands like Lancaster Archery, which provides clear usage guides.
- Thread Locker (e.g., Loctite Blue): A small amount of blue thread locker (medium strength) is highly recommended to prevent screws from loosening due to bow vibration over time.
- Soft Cloth or Rag: For wiping down surfaces and keeping your bow clean.
- Pin Gauges or Paper (for sighting in): While not for installation, you’ll need these later for fine-tuning.
Understanding Your Traditional Bow’s Sight Mounting Points
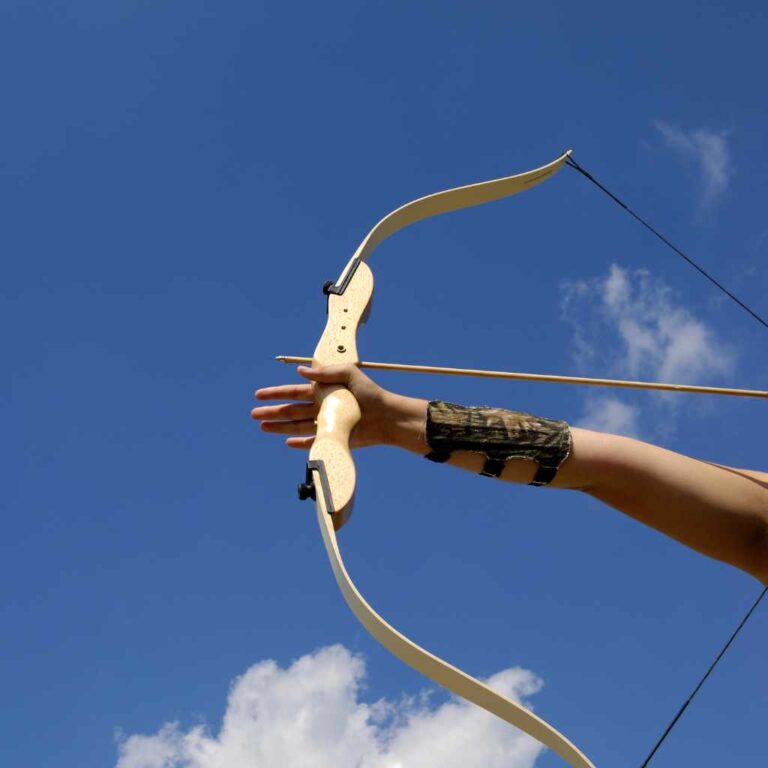
Traditional bows, especially recurve and longbows, often have specific built-in features for mounting accessories. The most common point for a sight is a threaded hole on the side of the bow’s riser (the main handle part). This is often referred to as a “sight window” or “sight mount hole.”
Some risers might have one or more of these holes. They are usually threaded to accept standard sight mounting bolts. If your bow doesn’t have pre-drilled holes, you might need a specialized clamp-on sight bracket, though these are less common for traditional bows and can sometimes affect the bow’s feel. Always check your bow’s specifications or consult with a knowledgeable archery shop if you’re unsure about mounting points on your specific model.
A critical aspect here is the orientation. The mounting hole is typically on the side of the riser that faces the archer when shooting right-handed (left side of the bow) or left-handed (right side of the bow). This is because the bow is designed to be held by the archer’s hand, and for right-handed archers, the arrow passes to the left of the riser.
Types of Traditional Bow Sights
Traditional bow sights are generally much simpler than those found on compound bows. They focus on providing a basic aiming point that doesn’t interfere with the classic shooting experience.
- Single-Pin Sights: These are the most common and straightforward. They feature a single pin that serves as your aiming point. You adjust this pin up or down to change your point of impact for different distances.
- Multi-Pin Sights: Less common for traditional bows but available, these have multiple pins that you can set for specific distances (e.g., one pin for 10 yards, another for 20, etc.). This requires more precise initial setup.
- “See-Through” Aperture Sights: These sights use a small peep hole or aperture that the archer looks through, with the bow riser serving as the aiming reference. They enhance precision by forcing the archer to align the aperture with the target.
For beginners, a single-pin sight is usually the best starting point. It’s simple to understand, easy to adjust, and offers a significant improvement in accuracy without adding too much complexity to your bow.
Step-by-Step Guide: How to Put Sights on a Traditional Bow
Let’s get your new sight installed! Follow these steps carefully for a secure and accurate placement.
Step 1: Prepare Your Bow
First, ensure your bow is stable and secure. If you have a bow vise, use it. Otherwise, lean it against a wall or secure it in a way that it won’t fall over. Make sure the area you are working in is clean and well-lit.
Gently clean the area around the sight mounting hole with a soft cloth to remove any dust or debris. This will ensure a good fit for the sight.
Step 2: Identify the Mounting Holes
Locate the threaded hole(s) on the side of your bow’s riser. These are specifically designed for mounting accessories like sights, stabilizers, or arrow rests.
If your sight comes with a mounting bracket or bar, identify which part attaches to the bow riser. Most traditional sights will have a bolt or arm that directly screws into the riser.
Step 3: Apply Thread Locker (Optional but Recommended)
Take the mounting bolt that comes with your sight. Apply a small drop of blue (medium strength) thread locker to the threads of the bolt. Be careful not to use too much, as it can squeeze out and make removal difficult later if needed. A standard automotive thread locker like Loctite Blue 242 is perfect for this. You can find more information on thread locker uses from resources like Henkel Adhesives, the makers of Loctite.
The purpose of thread locker is to create a secure bond that prevents the bolt from vibrating loose during shooting. Traditional bows, especially when shot with a finger release, can cause vibrations that might loosen standard screws over time.
Step 4: Mount the Sight to the Riser
Carefully insert the threaded mounting bolt of your sight into the corresponding hole on your bow riser. Begin screwing it in by hand. Spin the bolt clockwise to tighten it.
Once you’ve threaded it in by hand as far as it will go, use the appropriate Allen wrench or tool to tighten it further. If you have a bow square, this is where it becomes invaluable. Place the bow square against the riser, ensuring the sight is perpendicular to the limb. Gently tighten the sight until it’s snug and perfectly aligned.
Important: Do not overtighten! You don’t want to strip the threads on your bow riser or the sight. Tighten it until it feels secure and doesn’t move. It should be firm, not forced tight.
Step 5: Secure the Sight Arm/Bar (If Applicable)
Some sights have an arm or bar that extends from the main mounting block. This arm holds the pin or pins and might have its own screws or adjustment mechanisms.
Ensure all screws on this adjustable arm are snug but not overly tight. You’ll need to be able to move and adjust these later when sighting in. If your sight has a quick-disconnect feature, ensure it’s locked securely.
Step 6: Check for Stability
Once installed, gently try to wiggle the sight. It should feel solid and firmly attached to the riser. There should be no play or looseness. If there is, carefully tighten the main mounting bolt a little more.
If you used thread locker, give it a few hours to set before putting significant stress on the sight, although typically it’s secure enough to handle initial adjustments immediately.
Step 7: Initial Alignment Check
With the sight mounted, visually inspect its position. For a basic single-pin sight, the goal is to have the pin positioned so that when you draw and aim, the pin is roughly in line with your dominant eye and perpendicular to the bow’s plane.
This initial placement is more about convenience for adjustment. You’ll fine-tune its exact position when you start the sighting-in process. The goal here is to ensure it’s not mounted at an odd angle that makes aiming or adjusting very difficult.
Sighting In Your New Traditional Bow Sight
Installation is only the first part! Now, you need to ensure your sight is set up to hit where you aim. This process is called “sighting in” or “tuning.”
A Safe Shooting Range is Crucial
Always sight in at a safe archery range with a proper backstop. Ensure no one is behind your target. You’ll be shooting many arrows, so wear an armguard and finger tab or release aid for comfort and safety.
The Basic Sighting-In Process
This is a general guide. Always refer to your sight’s specific instructions.
- Set Up Your Target: Place a large, clear target at a known, close distance, such as 10 yards (about 9 meters). This is a good starting point for traditional bows.
- First Shot: Draw your bow, anchor your draw hand consistently, and aim using your new sight. Release the arrow.
- Analyze the Shot: Look where your arrow hit the target. Then, look at your sight pin.
- Adjust the Sight:
- If your arrow hit high, move your sight pin down.
- If your arrow hit low, move your sight pin up.
- If your arrow hit left, move your sight pin right.
- If your arrow hit right, move your sight pin left.
Remember: Adjustments are often reciprocal depending on the sight mechanism. For example, lowering the physical pin might mean a stronger spring or screw adjustment. Always check your sight’s manual. Generally, you want to move the sight in the direction you want the arrow to go. So, if your arrow hit left, move the sight mechanism to the left.
- Repeat: Shoot another arrow, aiming at the same spot. Make small adjustments to your sight based on the new shot’s position. Continue this process until your arrows are grouping tightly around the aiming point at 10 yards.
- Increase Distance: Once you are consistent at 10 yards, move your target back to a longer distance, like 20 yards (18 meters), and repeat the adjustment process. This allows you to set your basic sighting out to a common hunting or target distance.
- Fine-Tuning: As you become more comfortable, you can fine-tune your sight for even greater accuracy at various distances. Many traditional sights allow for adjustment of pointer tension or elevation for this purpose.
A visual aid can be very helpful here. Many archers use charts to understand adjustments. For example, at 10 yards, a quarter-inch adjustment on the sight might translate to a specific change in where your arrow impacts. Tools like the Tradbow.com sighting guide offer valuable insights into this process for traditional archers.
Table: Common Sight Adjustments and Their Effects
This table helps illustrate how adjustments on your sight typically affect your arrow’s impact point. Always consult your specific sight’s manual for exact instructions, as mechanisms can vary.
| Arrow Impact | Desired Adjustment | Action for Most Sights |
|---|---|---|
| Arrow hits High | Lower Point of Impact | Move sight pin/mechanism DOWN |
| Arrow hits Low | Raise Point of Impact | Move sight pin/mechanism UP |
| Arrow hits Left | Move Point of Impact Right | Move sight pin/mechanism RIGHT |
| Arrow hits Right | Move Point of Impact Left | Move sight pin/mechanism LEFT |
Maintaining Your Bow Sight
Once your sight is installed and sighted in, a little maintenance will ensure it stays in good working order and continues to help you with accuracy.
- Regular Checks: Periodically check the tightness of the sight mounting bolt and any adjustment screws. A quick wiggle test before each shooting session can catch loose parts early.
- Cleanliness: Keep the sight clean. Dust and dirt can affect the movement of adjustment mechanisms. A dry, soft cloth is usually sufficient for cleaning.
- Avoid Harsh Environments: While traditional bows are durable, exposing your sight to extreme moisture, sand, or dirt can cause damage. Store your bow properly when not in use.
- Thread Locker Reapplication: If you notice your sight becoming loose despite regular checks, you might need to remove it, clean the threads, and reapply a small amount of blue thread locker.
Proper maintenance ensures your sight remains a reliable tool for years to come, helping you enjoy your archery experience to the fullest.

Frequently Asked Questions (FAQ) about Installing Sights on Traditional Bows
Q1: Do I need to drill holes in my traditional bow riser to install a sight?
Most modern traditional bow risers, especially factory-made ones, come with pre-drilled and threaded holes specifically for mounting sights and other accessories. You typically do not need to drill anything. If your older or custom bow doesn’t have these holes, you might need to look for specialized clamp-on sights, though these are less common and can sometimes affect the bow’s performance or aesthetics.
Q2: How do I know which side of the bow to mount the sight on?
You mount the sight on the side of the riser that faces you when you hold the bow to shoot. For right-handed shooters, this is the left side of the bow. For left-handed shooters, it’s the right side of the bow. This is because the arrow rests on the arrow shelf or rest and passes the riser on that side.
Q3: Can I install a compound bow sight on my traditional bow?
While it might be technically possible with adapters, it’s generally not recommended. Compound bow sights are designed for a different shooting style and often have more complex features, weights, and lengths that can unbalance a traditional bow or conflict with its shooting dynamics. It’s best to use sights specifically designed for traditional archery.
Q4: How tight should I make the sight mounting screw?
You should tighten the sight mounting screw until it is snug and the sight does not move or wiggle. However, avoid overtightening, as this can strip the threads in your bow riser or damage the sight itself. If you use a bit of blue thread locker, it will help secure it without requiring extreme force.
Q5: My arrow is hitting way off target. Is it the sight installation?
The sight installation itself is usually straightforward. If your arrows are hitting way off, it’s more likely an issue with the sighting-in process (adjusting the sight pins correctly) or your shooting form (consistency in drawing, anchoring, and aiming).