Quiet your traditional bow with simple, effective tips! By checking your equipment, using string silencers, and refining your shooting form, you can significantly reduce noise for a more enjoyable and stealthy archery experience.
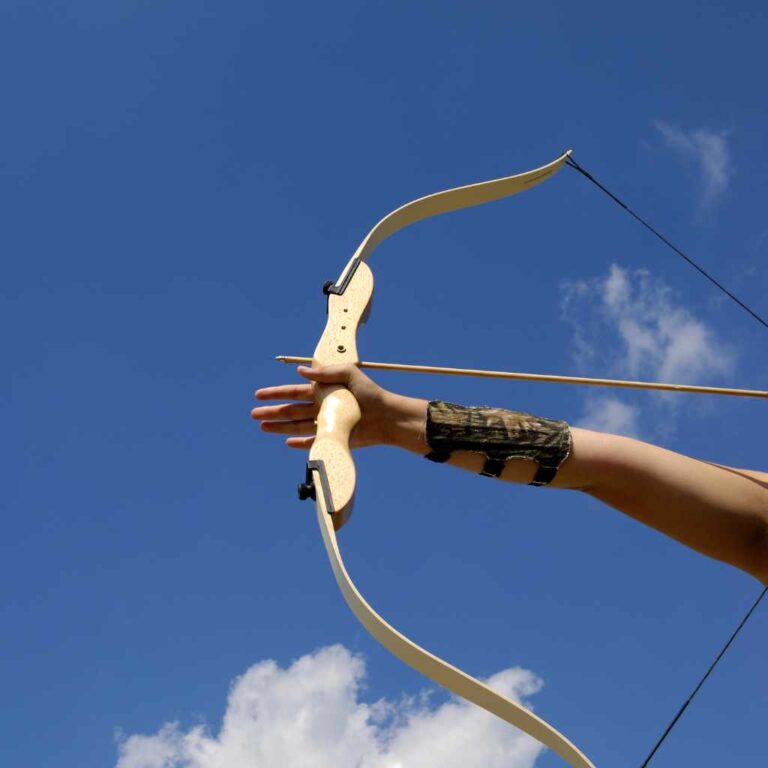
Hello fellow archery enthusiasts! If you’ve picked up a traditional bow, you’ve likely discovered the satisfying thrum it makes when you shoot. While some of that sound is just part of the experience, excessive noise can be a bit of a bother, especially if you’re aiming for stealth or just a more peaceful practice session. It can be frustrating when your bow sounds like it’s working too hard. But don’t worry, I’m here to show you how easy it can be to quiet things down. We’ll go through some simple, proven methods that don’t require a lot of fuss. Get ready to enjoy a much quieter shot!
Why Does a Traditional Bow Make Noise?
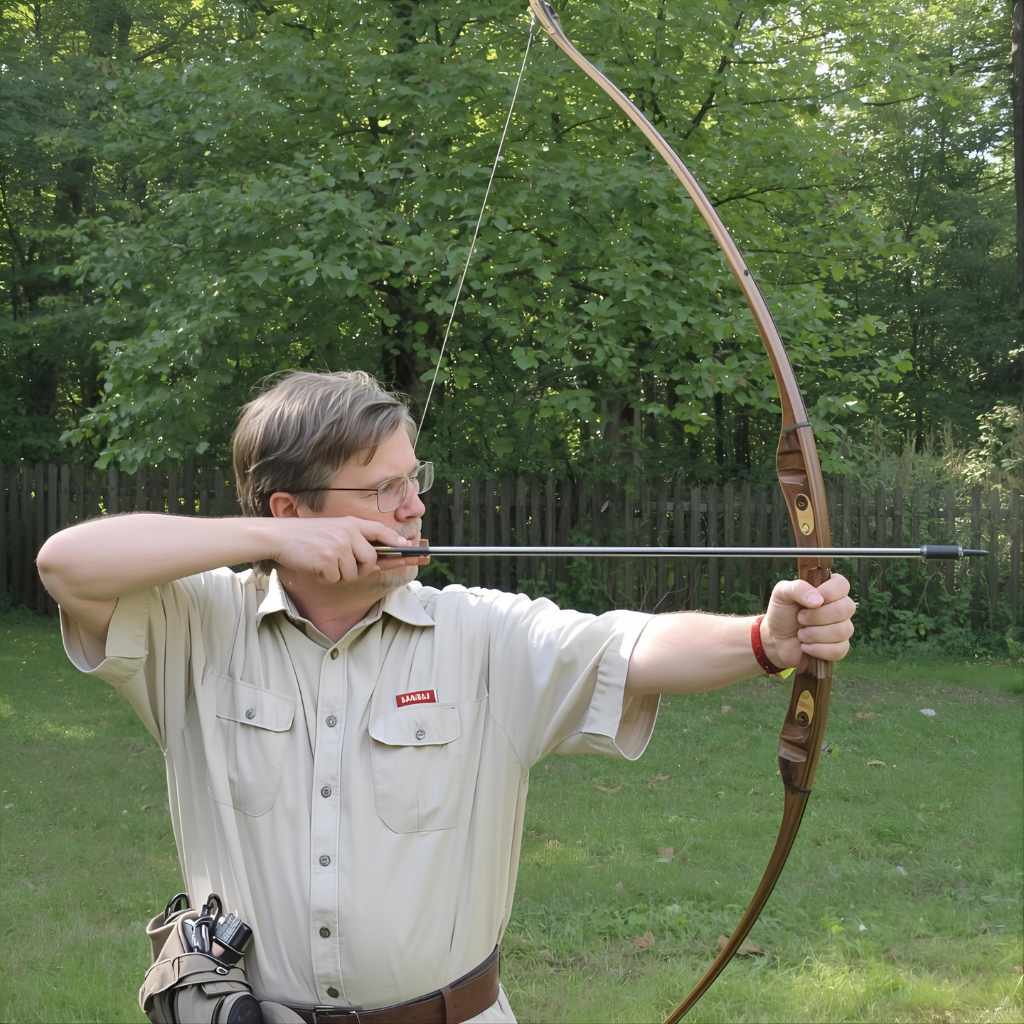
Traditional bows, also known as recurve or longbows, create noise primarily through two main mechanisms: the vibration of the bow limbs and the string. When you draw and release the string, a tremendous amount of energy is transferred. This energy causes the limbs to flex and snap back, creating vibrations. Simultaneously, the bowstring, upon release, whips forward and then snaps back, generating its own distinct sound. These vibrations travel through the riser and limbs, and the string’s movement creates an audible ‘thwack’ or ‘twang’. Understanding these sources of sound is the first step in learning how to quiet your bow.
The Importance of a Quiet Bow
A quieter bow offers several advantages, especially for certain types of archery:
- Stealth for Hunting: If you’re hunting, a less noisy bow is crucial. Game animals have excellent hearing, and a loud shot can spook them, ruining your opportunity.
- Improved Shooting Experience: For many archers, a quieter bow is simply more pleasant to shoot. It reduces distraction and allows for better focus on form and accuracy.
- Equipment Longevity: Excessive vibration can sometimes lead to wear and tear on your bow over time. Reducing it can contribute to the long-term health of your equipment.
- Less Disturbance: When practicing near others or in quiet natural settings, a quieter bow is more considerate and enjoyable for everyone involved.
Proven Effortless Tips to Quiet Your Traditional Bow
Let’s dive into the practical, beginner-friendly ways you can reduce the noise from your traditional bow. These are all straightforward adjustments that can make a big difference.
1. Inspect Your Equipment Thoroughly
Before making any adjustments, a thorough inspection of your bow and arrow setup is the most critical step. Loose parts, worn components, or incompatible accessories can all contribute to excessive noise.
a. Check the Bowstring
Your bowstring is a primary source of noise. A worn-out or damaged string can vibrate more and create a louder sound.
- Inspect for Fraying: Look closely at the string for any signs of fraying, especially where it contacts the cams (if applicable – though less common on traditional bows) or the string grooves.
- Check Serving: The serving is the protective wrapping around the string, especially at the loops and center. Ensure it’s intact and not loose.
- Waxing: A dry bowstring can be noisy. Regularly waxing your string helps keep it smooth and supple, reducing friction and noise. Use a good quality bowstring wax and apply it sparingly and evenly.
b. Examine the Limbs
The limbs are the parts of the bow that bend. They need to be in good condition to perform optimally and quietly.
- Look for Cracks or Delamination: Inspect the limbs very carefully for any visible cracks, splinters, or signs of delamination (where layers of the wood or fiberglass might be separating). If you see any damage, stop using the bow immediately and consult a professional.
- Limb Pockets/Tips: Ensure there’s no excessive play or looseness where the limbs connect to the riser or at the string nocks.
c. Tighten All Fasteners
On recurve bows with take-down designs, the limbs attach to the riser. Make certain these bolts are snug and properly seated. Any looseness here can cause rattling and vibration.
d. Check the Arrow Rest
The arrow rest guides your arrow. A worn or improperly adjusted rest can cause the arrow to fly erratically, leading to extra noise from both the arrow and the bow.
- Is it Secure? Ensure the rest is firmly attached to the riser.
- Is it Worn? Check for excessive wear on any cushioning material or contact points.
e. Inspect the Arrow Itself
Believe it or not, arrows can contribute to noise!
- Feathers/Vanes: Ensure your fletching (feathers or vanes) is intact and not damaged. Damaged fletching can cause the arrow to fly less predictably, and consequently, the bow may vibrate more.
- Nocks: Make sure the nocks (where the string attaches to the arrow) are not cracked or loose. A loose nock can result in an unsafe release and add noise.
- Spine: Using arrows with the correct spine (stiffness) for your bow is crucial. Arrows that are too stiff or too weak will ‘fly’ poorly, leading to erratic flight and adding to noise. Resources like the Archery Trade Association (ATA) spine chart can help you find the right match for your setup.
2. Utilize Bowstring Silencers
Bowstring silencers are specifically designed to absorb vibration and dampen the sound of your bowstring. They are one of the most effective and easiest ways to quiet your bow.
a. Types of Silencers
There are a few common types:
- Bumper Puddings/String Dampers: These are small, often rubber or felt pads that attach to the limbs, usually near the string attachment points. They absorb the shock as the string hits them upon release.
- Cat Whiskers/Fur Silencers: These are tufts of synthetic or natural fur that are tied around the bowstring, typically a few inches or more from each end. They are very effective at reducing string oscillation and that common ‘twang’ sound.
- String Jumper/Silencer: Similar to cat whiskers but often thicker and sometimes made of different materials, these also wrap around the string to absorb vibration.
b. How to Install String Silencers (Cat Whiskers Example)
Installing cat whiskers or similar fur silencers is quite simple:
- Prepare: Get your silencer material (often sold in pairs or bundles).
- Position: Decide where you want to place them. A good starting point is usually 6-8 inches down from each limb tip, or where the string usually stops its recoil.
- Tie-On: Take one bundle of fur and fold it in half, creating a loop. Place this loop against the bowstring.
- Wrap: Use a separate piece of string (often provided, or dental floss works well) or a strong thread to tightly wrap around the base of the loop, securing the fur to the bowstring. Wrap tightly for about an inch to an inch and a half.
- Secure: Tie off the wrapping string securely. Some people add a drop of super glue to the knot for extra security.
- Trim (Optional): You can trim the fur to be neater or to adjust its fluffiness and effectiveness.
Note: Always ensure that your silencers do not interfere with your arrow as it passes by. They should be positioned to catch string vibration, not the arrow’s flight path.
c. Installing Limb Dampers/Puddings
These are often adhesive and simply stick onto the inner surface of the limbs, near the string nocks. Clean the limb surface thoroughly with rubbing alcohol before applying for best adhesion. They are typically designed to be struck by the string just after the arrow has left. Consult the manufacturer’s instructions for exact placement.
3. Tune Your Arrows and Brace Height
Arrow tuning and setting the correct brace height are crucial for bow performance and noise reduction.
a. Arrow Tuning
For a traditional bow, this primarily means ensuring your arrows are spined correctly for your draw weight and draw length. An incorrectly spined arrow will “fishtail” or show erratic flight, leading to more bow noise. You can learn more about arrow spine and tuning at reputable archery resources that often cover the physics involved.
A simple test for proper arrow spine involves observing the arrow’s flight. If it’s flying true, the bow will generally be quieter. Mis-spined arrows can cause the limbs to oscillate more violently.
b. Brace Height
Brace height is the distance from the deepest part of your bow’s grip to the bowstring. It significantly impacts the speed and noise of your bow.
- Finding the Sweet Spot: Different bows have recommended brace height ranges. Too low, and your bow will be noisy and potentially uncomfortable (string slap). Too high, and you lose speed and efficiency.
- Adjusting Brace Height: You adjust brace height by adding or removing twists from your bowstring. Each full twist adds approximately 1-1.5 inches to the brace height.
- The Sound Test: The best way to find the optimal brace height for quietness is through trial and error. Start within the manufacturer’s recommended range. Fire a few shots, listen, and feel. Gradually adjust the brace height by adding or removing twists (remember to unstring the bow before twisting!). You’ll often find a point where the bow feels and sounds most efficient and quiet.
A diagram illustrating brace height measurement:
| Component | Measurement Point | Description |
|---|---|---|
| Grip | Deepest part of the grip | The point on the handle where your hand rests |
| Bowstring | To the center serving | The measurement is taken perpendicular to the string |
Important: Always ensure the bow is unstrung before twisting it. Consult your bow manufacturer’s guide for recommended brace height ranges for your specific model. For example, the G5 Outdoors Bow Tuning Guide, while for compound bows, illustrates principles of tuning that have parallels in understanding bow function and noise.
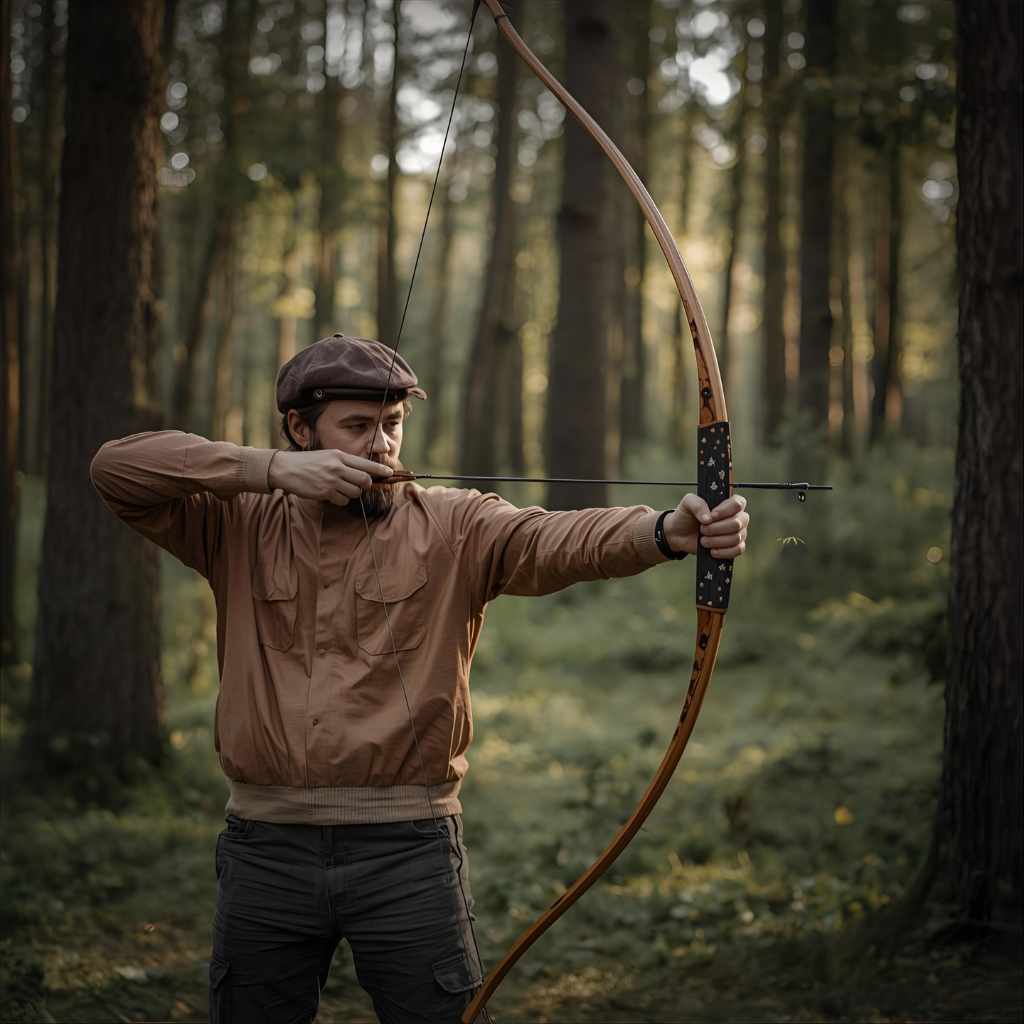
4. Improve Your Shooting Form
Believe it or not, how you shoot can also influence bow noise!
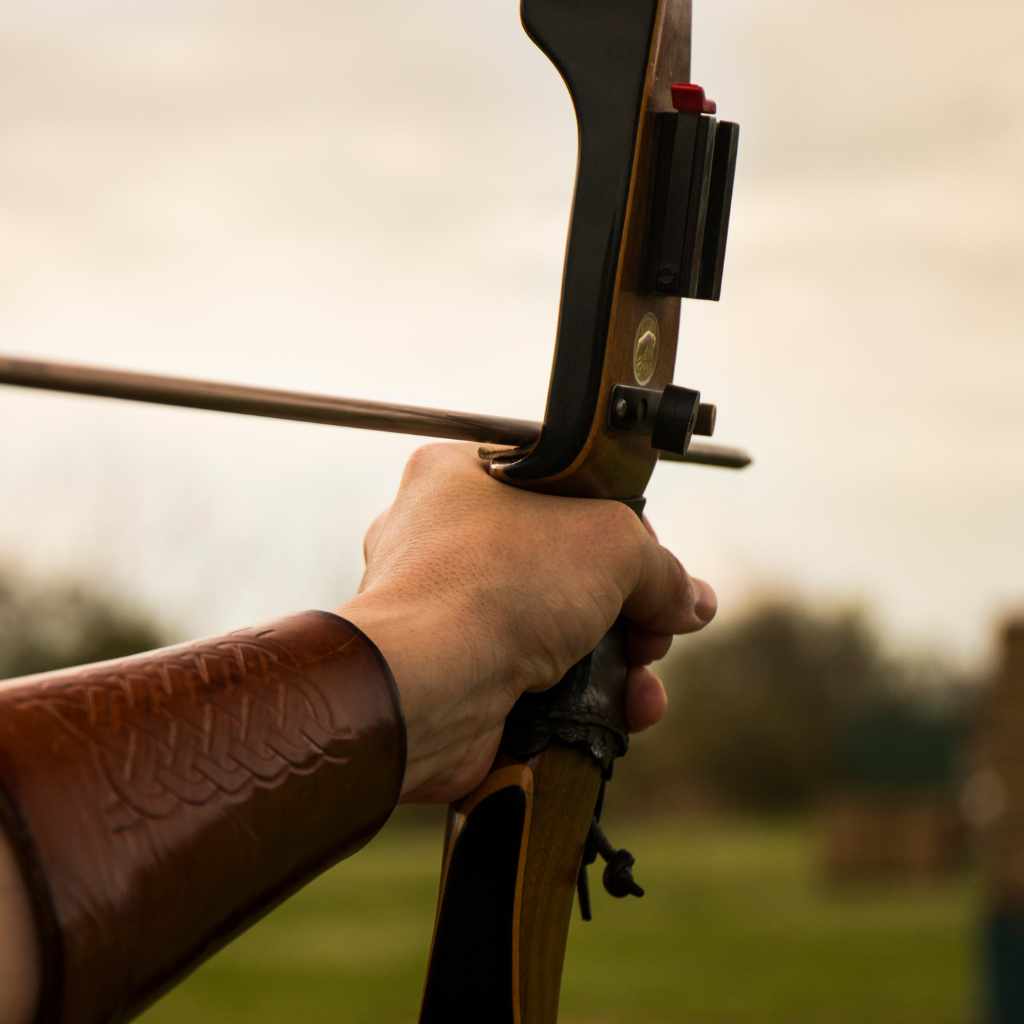
a. Grip Consistency
A death grip on the bow can transfer more vibration into your hand and arm, making the bow sound louder. A relaxed, consistent bow grip is key. Imagine holding the bow like a resting bird – firm enough not to drop it, but not so tight you crush it. Your hand should be on the grip lightly, allowing the bow to move slightly forward after the shot.
b. Follow-Through
A good follow-through ensures you’re drawing the bow cleanly and releasing the string smoothly. An abrupt or jerky release can cause unnecessary limb movement and vibration.
Focus on drawing smoothly to your anchor point, holding steady, and then allowing the string to slip through your fingers cleanly. Your drawing hand should naturally move back along your jawline after the release.
c. Avoiding String Slap
This is a common issue, especially for beginners, where the bowstring or cable hits your arm upon release. This is often caused by improper shooting form, a too-high brace height, or sometimes even undersized gloves or bracers. String slap is loud and can be painful. Ensure your bracer is worn correctly and your release is clean.
5. Consider Limbsaver or Other Limb Silencers
Beyond string silencers, some archers use specialized products designed to reduce limb vibration.
- Material: These are often made of a rubber-like material designed to absorb shock.
- Placement: They typically adhere to the outer surface of the bow limbs.
- Effectiveness: While some users report a noticeable reduction in vibration and noise, their effectiveness can vary depending on the bow and the specific product. They are generally a secondary measure after ensuring everything else is in order.
6. Archery Wax for String and Limb Protection
As mentioned earlier, regular waxing of your bowstring is essential not just for longevity but also for noise reduction. A dry string will create more friction and vibrate noisily. Similarly, some archers apply a light coat of wax to the limbs to protect them and ensure smooth operation, though this is less critical for sound dampening than string waxing.
Table: Common Bow Noises and Their Solutions
Here’s a quick guide to common sounds and what might be causing them:
| Suspicious Sound | Probable Cause | Solution |
|---|---|---|
| Loud “Twang” or “Thwack” | String vibration, insufficient brace height, worn string | Install string silencers, adjust brace height, wax/replace string |
| Rattling or Loose Sound | Loose limb bolts, loose arrow rest, accessories not secured | Tighten all fasteners, ensure rest is secure |
| Buzzing | Limb vibration, arrow rest contact, loose string serving | Check arrow rest, inspect string serving, consider limb dampeners |
| Clicking/Popping | Loose nock on arrow, string rubbing on cams (less common on traditional) | Check arrow nocks for fit and damage, inspect string path |
| Sharp “Whap” (and possible arm discomfort) | String slap on shooting arm | Ensure proper bracer use, check shooting form, adjust brace height |
When to Seek Professional Help
While these tips are geared towards simple, beginner-friendly solutions, there are times when you might need to consult a professional archery shop:
- Suspected Damage: If you find any cracks, delamination, or significant wear on your bow limbs, riser, or string, take it to an expert. Firing a damaged bow can be dangerous.
- Persistent Noise: If you’ve tried all the basic tips and your bow is still excessively noisy, a professional can help diagnose underlying issues possibly related to tuning or equipment compatibility.
- String Replacement: While stringing a bow can be done at home with the right tools (bow stringer), if you’re uncomfortable or unsure, a shop can professionally string and inspect your bow.
You can often find local archery shops through resources like the USA Archery “Find a Club or Coach” tool, which can also point you to knowledgeable individuals.
Frequently Asked Questions (FAQ)
Q1: How much noise is normal for a traditional bow?
A: A moderate “thwack” or “thrum” is perfectly normal for a traditional bow. It’s the sound of energy being released. Excessive loud noises like loud twanging, buzzing, or rattling are usually signs that something can be improved.
Q2: Can I put a silencer on any traditional bow?
A: Yes, most traditional bows (recurve and longbows) can benefit from string silencers. Ensure they are installed correctly and don’t interfere with the arrow’s flight path. Avoid anything that might damage the limbs or string.
Q3: How often should I wax my bowstring?
A: It depends on your shooting frequency and environment, but generally, you should wax your bowstring every few hundred shots or whenever it looks dry. Doing a visual check before each practice session is a good habit.
Q4: Will quieting my bow affect its speed?
A: In most cases, tuning for quietness, especially by optimizing brace height and arrow flight, will actually improve the efficiency and speed of your bow rather than decrease it. Adding heavy silencers incorrectly might slightly reduce speed, but well-placed, lightweight silencers have minimal to no impact.