How to Tune a Traditional Bow for Accurate Shooting
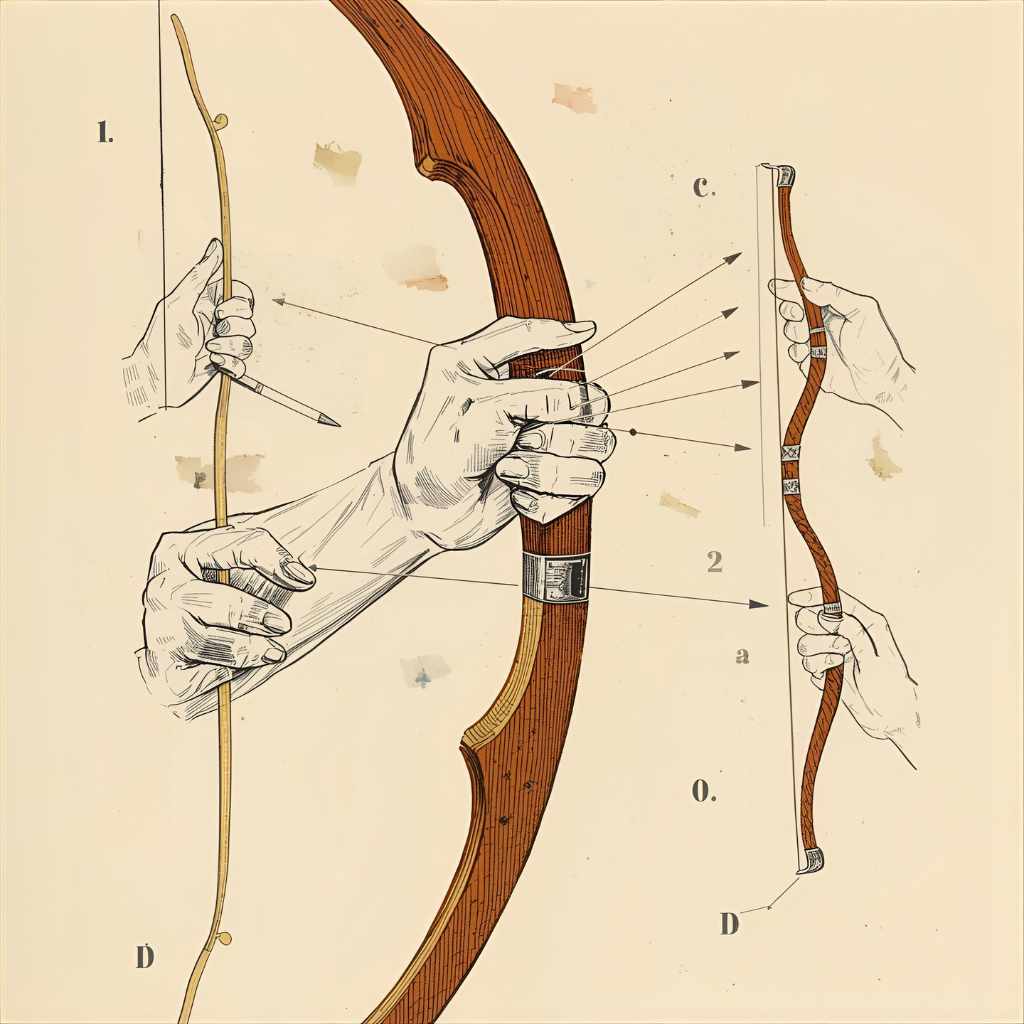
Tuning a traditional bow involves adjusting its accessories and string to ensure smooth shooting and accuracy. For beginners, this means focusing on practical steps like checking the arrow rest, nocking point, and tiller. Simple adjustments lead to more consistent shots and a more enjoyable archery experience. For more on this, see our guide on What is the Weight of a Traditional Mongol Bow Pull Explained. For more on this, see our guide on How Much Traditional Back Bow in Royale High Worth Today.
Welcome, fellow archers! Do you ever feel like your arrows aren’t quite hitting where you aim, even though you’re practicing diligently? It’s a common puzzle for new archers, and often, the solution lies not just in your aim, but in your equipment. Specifically, your traditional bow might need a little tuning. Don’t worry if “tuning” sounds complicated. Think of it like giving your bow a gentle check-up to make sure everything is working in harmony. We’re going to break down how to tune your traditional bow into simple, manageable steps.
This guide is designed for you, whether you’re just starting or looking to improve your consistency. We’ll avoid confusing jargon and focus on what truly matters for a smooth, accurate shot. By the end, you’ll feel more confident understanding your bow and making the small adjustments that can make a big difference. Let’s get your traditional bow singing!
Why Tuning Your Traditional Bow Matters
Imagine a perfectly tuned musical instrument. Each note rings out clear and true. Your traditional bow is much the same. When it’s “in tune,” it means every component is working together efficiently. This leads to several great benefits:
- Improved Accuracy: A well-tuned bow will shoot arrows more consistently, making your groupings tighter.
- Smoother Shot Cycle: You’ll feel less vibration and a more predictable release from the bow.
- Arrow Flight: Arrows will fly straighter and truer, reducing fishtailing or porpoising.
- Extended Bow Life: Proper tuning can prevent unnecessary wear and tear on your bow.
- More Enjoyment: Honestly, hitting your mark more often is just plain fun!
For beginners, understanding these basic tuning principles is like learning the fundamentals of archery. It builds a solid foundation for all your future shooting endeavors.
Understanding the Basics of Traditional Bow Tuning
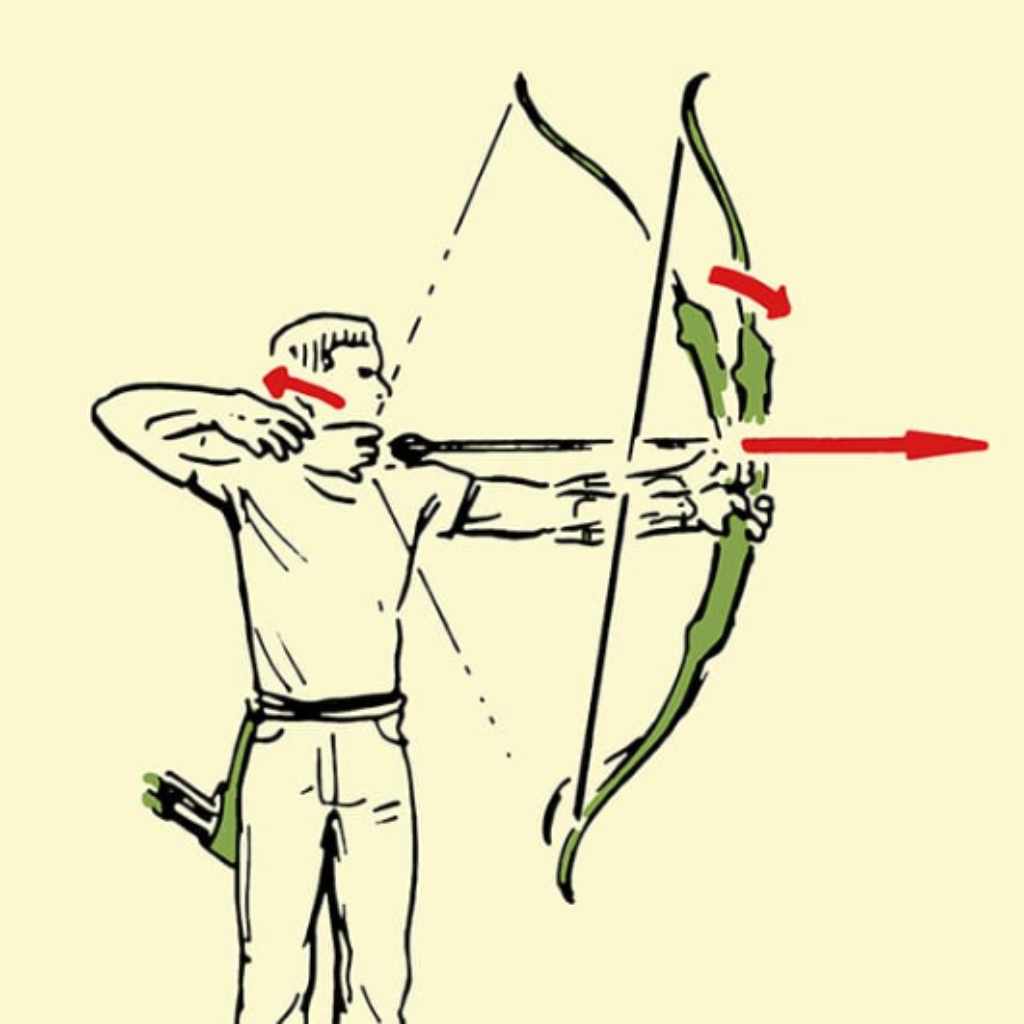
Traditional bow tuning is less about complex formulas and more about observation and making small, targeted adjustments. Unlike modern compound bows with their intricate systems, traditional bows are simpler, meaning their tuning is often more straightforward. The key components we’ll focus on are:
- The arrow rest system
- The nocking point
- The arrow spine and fletching
- The bowstring
- The tiller (even on simple bows)
We’ll cover each of these, focusing on how you can check and adjust them yourself.
Essential Tools for Tuning
You don’t need a professional bow shop’s worth of gear to tune a traditional bow. Here are a few helpful items:
- Bow Square: This is a crucial tool for setting the nocking point. It helps measure the distance from the arrow rest to the nocking point.
- Serving Wrench or Pliers: Useful for tightening or adjusting serving threads on your bowstring.
- Bow Stringer: Absolutely essential for safely stringing and unstringing most traditional bows. Never try to string a recurve or longbow without one! You can find reliable bow stringers from reputable archery suppliers like Lancaster Archery Supply.
- Arrow Straightener (Optional): If you suspect bent arrows, this tool can help.
- Fletching Jig (Optional): For re-fletching arrows if your vanes or feathers get damaged.
- Marker Pen: For marking spots on your bow or arrows.
- Paper to Shoot Through: A simple way to check arrow flight.
- Your Bow, Arrows, and Lots of Patience!
Step-by-Step Guide: How to Tune a Traditional Bow
Let’s dive into the practical steps. We’ll go from the most common issues to more in-depth checks.
Step 1: Check Your Arrows
Before you even touch your bow, make sure your arrows are in good shape. Imagine trying to tune a piano with broken strings; it won’t work well!
- Inspect for Damage: Look for cracks, bends, or dents in the shaft. Check the nock for splits and the fletching for tears or coming loose.
- Spine Consistency: While it’s hard to check “spine” (how stiff an arrow is) without specialized tools, notice if all your arrows feel similar. If you have a mix of different types and brands, they might behave differently. For consistent tuning, it’s best to shoot arrows that are matched as closely as possible in spine weight for your bow’s draw weight. The Archery Trade Association (ATA) offers guidelines and recommendations for equipment, which can be a good resource for understanding industry standards.
- Replace Damaged Arrows: A damaged arrow is not only inaccurate but can be dangerous. Always discard any arrow with a visible crack or significant bend.
Step 2: Inspect and Adjust Your Arrow Rest
The arrow rest supports your arrow between the shot. A stable, properly aligned rest is key.
- Type of Rest: Traditional bows can have simple rests (like a shelf with a strip of leather or carpet) or more advanced versions. For basic tuning, ensure whatever you have is secure and not loose.
- Alignment: A simple arrow rest should be relatively flat and allow the arrow to sit cleanly. Expensive modern rests aren’t common on “traditional” setups, so often it’s just ensuring the material (like rug material or leather) is in good condition and not chewed up. If you have a “hair rest” or simple leather pad, make sure it’s not too worn down.
- Center Support: If your rest has a plunger or a central support, ensure it’s not bent or broken. For many simple rests, this isn’t applicable.
Step 3: Set the Nocking Point
The nocking point is where the arrow nock attaches to your bowstring. Getting this right is one of the most impactful tuning steps.
Using a Bow Square:
- String your bow safely with your bow stringer.
- Place the bow with the limb pointing upwards.
- Hook the bow square onto your bowstring.
- The longest, flat edge of the square should rest against the bowstring.
- The measured edge of the square will show you the distance from the bottom of the bowstring to your arrow rest’s center. Typical rests are set about 1/8 to 1/4 inch above the arrow rest’s center. This slight upward angle helps the arrow to fly level.
- If you have a nocking point tied on, you may need to move it. If you don’t have one, you can tie one using specialized serving thread. A simple method is to tie a few tight loops to create a small bump precisely at your desired height.
- If your nocking point is already tied on and you need to adjust it, you can carefully unwrap or adjust its position. Many archers use small brass nocks that crimp onto the string; these can be adjusted with pliers.
- Test: Nock an arrow and see where it sits relative to the arrow rest. Try drawing and releasing a few arrows. If the arrow seems to dip hard at release or fly erratically, adjust the nocking point up or down by a tiny bit (the width of a piece of paper) and test again. Consistent groups are your goal.
Step 4: Check Your Bowstring
The bowstring is the heart of the action!
- Serving: The serving is the thread wrapped around the string, especially at the loops and in the middle where the arrow nocks and your fingers/release make contact. Ensure the serving is tight, not frayed, and not coming undone. If the middle serving is worn, it can affect arrow release and even your fingers.
- Waxing: Keep your string waxed. A dry string can degrade faster and perform less consistently.
- Brace Height: The brace height is the distance from the deepest part of the bow’s grip to the bowstring when the bow is strung.
- Adjusting Brace Height: You can change the brace height by adding or removing twists from the bowstring. Adding twists makes the string shorter, increasing brace height. Removing twists makes the string longer, decreasing brace height. A few twists can make a noticeable difference.
- Finding the Right Brace Height: Often, traditional bows have a recommended brace height range. If not, start around 7-8 inches for most longbows and recurves and experiment. Too low a brace height can cause string slap on your arm and make the bow less efficient. Too high can make the bow feel “hot” and less forgiving.
- How to Test: Shoot a few arrows. If you notice excessive string vibration, or if the bow feels “slow” or “clunky,” try adjusting the brace height by a small amount (e.g., 1/4 inch) and shoot again.
Step 5: Paper Tuning (A Beginner’s Best Friend!)
Paper tuning is a simple yet effective way to diagnose arrow flight issues. It tells you if your arrow is entering the air cleanly.
What You’ll Need:
- A large sheet of cardboard or a sturdy frame
- A large sheet of plain paper (newsprint or similar works well)
- Something to hold the paper taut (tape, clamps)
- A safe shooting lane in your range where you won’t miss the paper target.
How to Do It:
- Set up the paper target about 5-10 feet in front of you. Ensure it’s wide enough to catch your arrow.
- From a very close distance (almost touching the paper with your bow tip), shoot an arrow directly at the paper. Don’t draw the bow back a lot; just enough to push the arrow through.
- Examine the hole the arrow made. This is your baseline.
- Now, move back to your normal shooting distance and shoot a full arrow.
- Analyze the Hole:
- Perfect Flight: The arrow passed through the paper cleanly, with the fletching passing through without tearing. This is what you’re aiming for!
- Tear Left (Archer’s Paradox): If the arrow tears vertically with fletching coming through first and the shaft hole to the left (for a right-handed shooter), it might indicate that the arrow is too stiff (over-spined) or the nocking point is too low.
- Tear Right: If the arrow tears vertically with fletching coming through first and the shaft hole to the right (for a right-handed shooter), it might indicate that the arrow is too flexible (under-spined) or the nocking point is too high.
- Tear Up (Horizontal Tear): This often points to an issue with the arrow rest height or if the arrow is hitting the rest on its way out.
- Tear Down (Horizontal Tear): Less common, can indicate nock pinch or other string issues.
- Adjustments Based on Paper Tuning:
- Nocking Point: Adjusting the nocking point (up or down by a tiny amount, e.g., 1/16 inch) is the first thing to try for vertical tears.
- Arrow Rest: If available, adjust the height of your arrow rest slightly.
- Arrow Spine/Flexibility: If multiple arrows show the same tear pattern and adjustments don’t fix it, it might be an arrow spine issue. This can sometimes be corrected by using different fletching sizes or brands, or by seeking advice on arrow selection for your specific bow. For beginners, sticking to well-matched arrows is key here.
Remember to make only one adjustment at a time and re-test. Paper tuning is an iterative process.
Step 6: Fletching Check
Your fletching (feathers or vanes) are like the tail fins on a rocket. They keep your arrow stable in flight.
- Straightness: Ensure feathers or vanes are straight and not bent, torn, or peeling away.
- Contact: Make sure your fletching isn’t rubbing excessively on your bow’s riser, string, or arrow rest during the shot. This can cause erratic flight.
- Repair or Replace: If fletching is damaged, you can often repair small tears or replace individual vanes. For feathers, it’s usually a replacement job if they are significantly damaged.
Step 7: Tiller Check (For the More Curious)
Tiller refers to the difference in draw weight from the top limb to the bottom limb of your bow. On many traditional bows, especially simple longbows, the tiller is fixed and not adjustable. However, understanding it can help.
- There’s usually a “true tiller” where both limbs are designed to flex equally, and an “uneven tiller” where one limb is slightly stiffer.
- When unstrung, measure the distance from the string to the limb tip at both the top and bottom. On a perfectly tillered bow, these distances often are the same (or very close).
- Impact: Uneven tiller can cause the bow to vibrate more, feel less stable, and affect how “straight” the bow points when aimed.
- Adjustment: For most beginner traditional bows, tiller isn’t easily adjustable by the user. If you suspect a significant tiller issue, it might be worth consulting a bowyer or experienced archery shop.
However, even on non-adjustable bows, you can sometimes discern if one limb feels significantly stiffer when drawing. Pay attention to how your bow “points” at full draw – does it naturally rest comfortably or does it feel like it’s fighting you?
Troubleshooting Common Traditional Bow Tuning Problems
Here’s a quick reference for common issues:
| Problem | Possible Cause | Solution |
|---|---|---|
| Arrows flying erratically (wobbling, fishtailing) | Incorrect nocking point, arrow rest alignment, damaged fletching, or wrong arrow spine. | Adjust nocking point, check arrow rest, inspect/replace fletching, test arrow spine similarity. |
| Excessive vibration after the shot (hand shock) | Low brace height, string slap, wrong arrow spine, or bow design. | Increase brace height by twisting string, check for string/fletching contact, investigate arrow spine suitability. |
| Inconsistent arrow groups | Any of the above, plus inconsistent draw or release, or damaged bow components. | Systematically check arrows, rest, nocking point, string, and practice consistent form. |
| Arrow hitting shelf or rest on exit | Nocking point too high or too low, or arrow rest is not set up correctly. | Adjust nocking point, verify arrow rest height and alignment. |
Advanced Tuning Considerations (Briefly!)
Once you’ve mastered the basics, you might explore:
- Bare Shaft Tuning: Shooting arrows without fletching to see their trajectory and compare it to fletched arrows. Requires precise nock sets and shooting into a forgiving backstop.
- String Material: Different string materials (like B-50, Fast Flight) can affect bow performance and require different brace heights.
- Arrow Spine Selection: This is crucial if you’re buying new arrows. Factors include bow weight, draw length, arrow length, and intended use. Resources like 3Rivers Archery offer excellent guides on this.
For now, focus on getting the fundamentals right. These advanced techniques build on a well-tuned base.
Frequently Asked Questions (FAQ) about Tuning a Traditional Bow
Q1: How often should I tune my traditional bow?
A: It’s a good practice to give your bow a quick check before a major shooting session. A full tune-up, especially if you notice changes in performance, is a good idea a couple of times a year, or after changing strings or making any repairs.
Q2: Can I tune my bow without a bow square?
A: While a bow square is highly recommended for precise nocking point setting, you can approximate it. You’d need to measure the distance from the rest’s center to the string using a ruler and mark it.