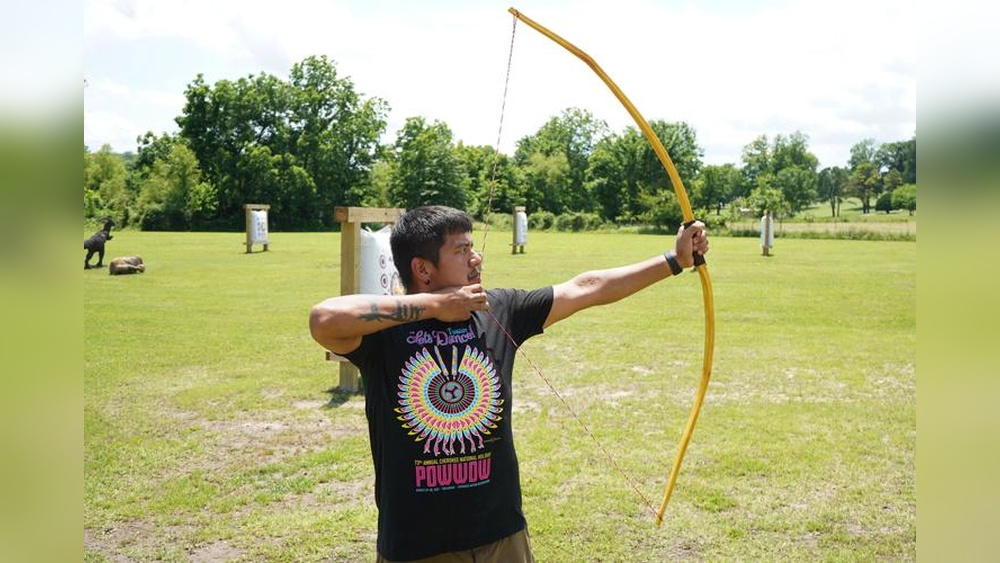
How to Make a Traditional Cherokee Bow: Step-by-Step Guide
Learning to make a traditional Cherokee bow is more than a craft, it’s a way to connect with Indigenous history, nature, and practical skills that have lasted for centuries. The Cherokee, a Native American people originally from the Southeastern United States, developed bows perfectly adapted to their environment, using local woods and time-tested methods. Today, bowyers, hobbyists, and history enthusiasts find value and meaning in building these bows by hand. Whether your interest is in traditional archery, survival skills, or cultural heritage, this step-by-step guide will help you understand the full process.
Understanding The Cherokee Bow
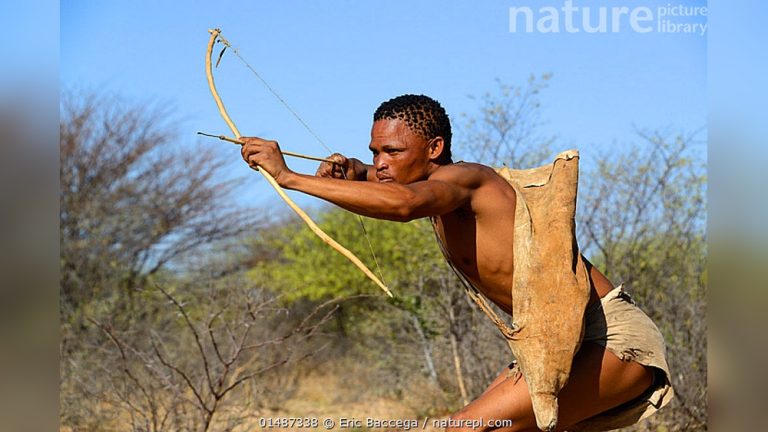
A Cherokee bow is not just a hunting tool. It represents a blend of survival, craftsmanship, and respect for nature. These bows were typically made from local hardwoods and were designed for reliability and efficiency. Unlike modern compound bows, a traditional Cherokee bow is simple and often made from a single piece of wood (self bow), without any added mechanical parts.
Cherokee bows usually measured around 60 to 70 inches in length. They are known for their D-shaped cross-section, which provides a balance of strength and flexibility. The string was traditionally made from plant fibers or animal sinew, adding to the bow’s natural quality.
Understanding these characteristics will help you appreciate the unique qualities of Cherokee bows as you begin your own project.
Choosing The Right Wood
The most important material for your bow is, of course, the wood. Cherokee bowyers used woods that were strong, flexible, and available in their region.
Common Woods Used
- Osage Orange: Highly valued for its strength and flexibility. Osage orange is considered one of the best bow woods in North America.
- Hickory: Popular because it is common and resilient. Hickory can absorb shock well.
- Black Locust: Similar to Osage orange, but a bit harder to work with.
- Elm: Used when other woods were not available; it is not as strong but can still produce a good bow.
Not all woods are suitable. Avoid softwoods like pine, which are too weak and likely to break under tension.
Selecting Your Stave
A stave is the long, straight piece of wood you will shape into a bow. When selecting a stave, look for:
- Length: At least your height, ideally 68, 72 inches.
- Straightness: Few or no twists or large knots.
- Growth Rings: Tight, even rings for better strength.
- Curing: Wood should be seasoned (dried) for several months to prevent warping and cracking.
Pro Tip: If you cut your own wood, harvest it in late winter, when sap is low, and let it dry slowly in a cool, shaded place.

Credit: www.archerytoronto.ca
Tools And Materials Needed
Before you start, gather these basic tools and materials:
- Sharp hatchet or small axe
- Drawknife or spokeshave
- Rasp and files
- Sharp knife (carving or utility)
- Sandpaper (medium and fine grit)
- Measuring tape
- Pencil or chalk
- Bowstring material (artificial sinew, Dacron, or natural fibers)
- Linseed oil or beeswax (for finishing)
While traditional Cherokee bowyers used stone tools, modern hand tools make the process more accessible without changing the final product’s character.
Shaping The Bow Stave
Transforming a rough stave into a bow takes patience and care. This stage will determine the bow’s strength and shooting ability.
Laying Out The Bow
- Find the Back: The back is the side that faces away from you when you shoot. Use the side with the fewest knots.
- Mark Centerline: Draw a straight line down the length of the stave. This will help you keep the limbs even.
- Mark Handle and Limbs: Mark a handle section in the center (about 5, 6 inches) and equal limbs on either side.
Rough Shaping
Use your hatchet or drawknife to carefully remove wood and create a rough bow shape. The stave should be widest at the handle (about 1. 5, 2 inches) and taper to about 0. 5, 0. 75 inches at the tips.
Work slowly. Always remove wood from the belly (the side facing you when shooting), not the back.
Pro Tip: Never cut into the back’s growth ring; this can cause the bow to break.
Comparing Bow Woods
To help you choose the right wood, here’s a comparison of four common species:
| Wood Type | Strength | Flexibility | Availability | Traditional Use |
|---|---|---|---|---|
| Osage Orange | Excellent | High | Moderate | Highly prized by Cherokee |
| Hickory | Very Good | Good | High | Common substitute |
| Black Locust | Very Good | Moderate | Moderate | Used in some regions |
| Elm | Fair | Good | High | Alternative wood |
Tiller: Balancing The Bow Limbs
Tiller is the process of making sure both limbs bend evenly when the bow is drawn. This is a critical step for performance and safety.
How To Tiller
- Cut Nocks: Carve small grooves near each tip for the bowstring.
- Preliminary Stringing: Use a loose string to brace the bow (called a tillering string).
- Check Bend: Place the string and pull it a few inches at a time. Watch how each limb bends.
- Remove Wood: If one limb is stiffer, carefully shave wood from the belly (never the back) of that limb.
- Repeat: Continue stringing, pulling, and shaving until both limbs bend smoothly and evenly.
Pro Tip: Do not rush tillering. Removing too much wood at once can ruin the bow.
Limb Shape Comparison
Traditional Cherokee bows can have slightly different limb profiles:
| Limb Profile | Advantages | Disadvantages | Common Use |
|---|---|---|---|
| Flat | Easy to make, stable | Less efficient energy transfer | Beginner bows |
| D-shaped | Good balance of strength and speed | More skill required | Traditional Cherokee bows |
| Rounded | Very smooth draw | Harder to maintain even tiller | Advanced bows |
Making And Attaching The Bowstring
The bowstring is as important as the bow itself. Traditionally, Cherokee used plant fibers like dogbane or animal sinew, but modern materials like Dacron are often used for safety and durability.
Bowstring Materials
- Natural fibers: Dogbane, milkweed, nettle, or sinew (for authenticity)
- Synthetic fibers: Dacron or artificial sinew (for ease and strength)
Making The String
- Measure String Length: Bowstring should be about 3, 4 inches shorter than the bow’s length.
- Twist or Braid: Twist fibers together or braid them tightly. For synthetic, use a Flemish twist.
- Form Loops: Create small loops at each end to fit over the nocks.
Attaching The String
- Fit the loops over the nocks and carefully brace the bow.
- Never leave a wooden bow strung for long periods; this can cause “string follow” and weaken the bow.

Credit: www.youtube.com
Finishing The Bow
A well-finished bow resists moisture and lasts longer. Finishing also honors the tradition of respecting your tools.
Sanding
- Smooth the entire bow with medium, then fine sandpaper.
- Remove all sharp edges, splinters, and tool marks.
Oiling Or Waxing
- Apply linseed oil or melted beeswax to protect the wood.
- Rub the finish in with a cloth, let it absorb, and then buff lightly.
- Repeat 2, 3 times for best results.
Decorative Touches
Some traditional Cherokee bows were decorated with simple carvings or natural stains. You can add these if you want to personalize your bow, but keep it functional.
Making Traditional Cherokee Arrows
A bow is only half the story. Traditional Cherokee arrows were made from local woods and natural materials.
Materials Used
- Shafts: River cane, dogwood, or shoots from straight saplings.
- Fletching: Turkey, hawk, or buzzard feathers.
- Points: Flint, bone, or fire-hardened wood.
Making An Arrow
- Straighten Shafts: Use heat to bend crooked shafts straight.
- Cut to Length: About 28, 32 inches for most archers.
- Add Fletching: Split feathers and glue or tie them to the shaft.
- Attach Points: Use sinew or glue to fix the point securely.
The arrow must be balanced and straight to fly well from your bow.
Safety Considerations And Common Mistakes
Building and using a traditional bow comes with risks. Always follow basic safety rules.
Safety Tips
- Wear gloves when working with sharp tools.
- Test the bow at low draw weights before pulling it fully.
- Never point a bow at people or animals unless hunting legally and ethically.
Common Mistakes
- Over-drying Wood: Wood that dries too quickly will crack.
- Cutting Into the Back: Weakens the bow and increases the chance of breakage.
- Rushing Tillering: Unbalanced limbs can cause the bow to snap.
- Using Green Wood: Unseasoned wood will warp and lose power quickly.
- Improper Stringing: Forcing the string can twist or break the limbs.
Pro Tip: Always have a backup stave ready in case your first bow does not survive the process.
Comparing Traditional Cherokee Bow To Modern Bows
How does a handmade Cherokee bow compare with modern bows? Here’s a quick look:
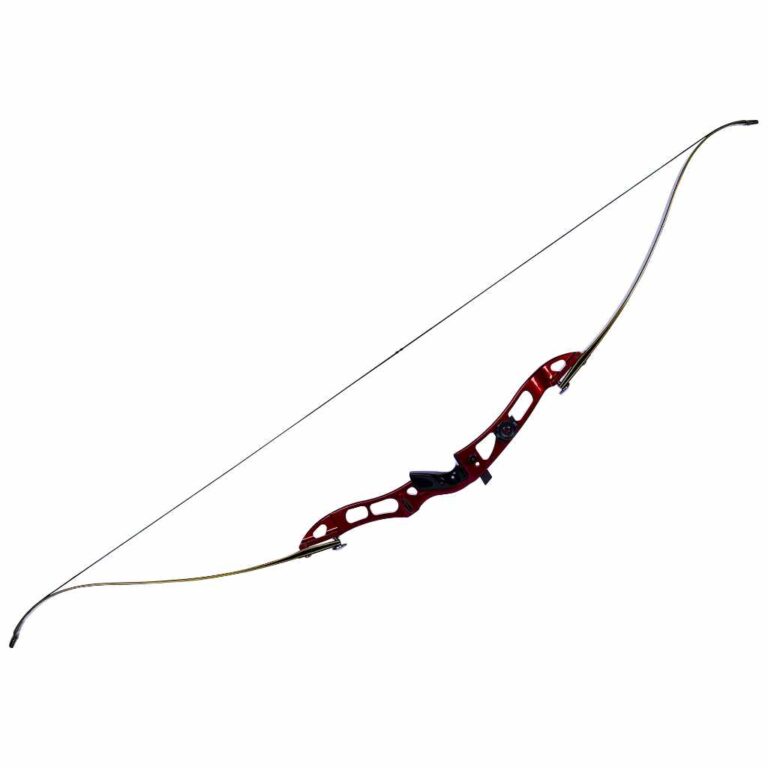
| Feature | Cherokee Bow | Modern Recurve/Compound |
|---|---|---|
| Material | Wood, sinew | Fiberglass, carbon, aluminum |
| Draw Weight | 25, 50 lbs (typical) | 20, 70 lbs (adjustable) |
| Maintenance | Low-tech, easy to repair | More specialized tools needed |
| Accuracy | Depends on skill | Often more forgiving |
| Cultural Value | High, historical, personal | Low, mainly sport/utility |
While modern bows offer more technology and precision, a traditional Cherokee bow gives you a direct connection to history and nature. In my experience, shooting a bow you made yourself is deeply satisfying, even if it requires more practice to master.

Credit: www.youtube.com
Respecting Tradition And The Land
Making a Cherokee bow is not just about the final product. It is about respecting the materials, the skills, and the culture behind the craft. If you gather your own wood, take only what you need and thank the land for its resources.
Learning from Indigenous teachers or reading reliable sources helps you understand the meaning behind each step.
For more about Cherokee history and bow-making, the Smithsonian Institution offers a wealth of resources on Native American tools and traditions: Smithsonian National Museum of the American Indian.
Frequently Asked Questions
How Long Does It Take To Make A Traditional Cherokee Bow?
Making a bow by hand usually takes between 15 and 40 hours, depending on your experience and the quality of your stave. This time includes selecting, seasoning, shaping, tillering, and finishing. If you need to season your own wood, add several months for drying before you start.
Can I Make A Cherokee Bow Without Power Tools?
Yes, you can make a traditional Cherokee bow using only hand tools, as the Cherokee did. A sharp hatchet, drawknife, rasp, and knife are enough. Power tools can speed up rough shaping but are not necessary. Working with hand tools also gives you more control and a closer connection to the process.
What Is The Ideal Draw Weight For A Traditional Cherokee Bow?
The ideal draw weight depends on your strength and use. For target shooting and beginners, 25, 35 pounds is comfortable. For hunting, 40, 50 pounds is better. Always start lighter if you are new, and never force the bow to avoid injury.
Proper tiller and balanced limbs will give you the best shooting experience.
How Do I Store And Care For My Bow?
Store your bow unstrung in a cool, dry place away from direct sunlight or heat. Extreme moisture or dryness can warp the wood. Apply a light coat of oil or wax every few months to keep the wood protected. Check for cracks or splinters before each use.
Are There Any Laws About Making Or Using Traditional Bows?
In most US states, making a traditional bow for personal use is legal. However, hunting regulations vary. Some states require bows to meet minimum draw weights for hunting, and certain areas may restrict harvesting wood from public land. Always check local laws and respect protected species and lands.
Building your own traditional Cherokee bow is a rewarding journey. You’ll gain not only