How to Make a Traditional Chinese Bow And Arrow: Step-by-Step Guide
Building a traditional Chinese bow and arrow is more than a craft, it’s a journey into history, culture, and skilled handwork. For centuries, Chinese archers relied on these weapons for hunting, war, and sport. Their unique design, especially the recurved shape, made them famous across Asia.
Today, making a traditional Chinese bow and arrow is both a tribute to old masters and a way to experience ancient technology with your own hands.
Many people are attracted to archery after seeing movies or visiting museums, but few realize the challenges and rewards of making a bow from scratch. This guide breaks down the process clearly, using simple English and practical steps. Whether you are a beginner or already have some woodworking skills, you’ll find everything you need to start making your own traditional Chinese bow and arrow.
Understanding Traditional Chinese Bows
Traditional Chinese bows are quite different from modern archery equipment. They are known for their recurve shape, where the tips curve away from the archer when unstrung. This design stores more energy, giving arrows greater speed and power. Most Chinese bows are composite bows, made from several materials, not just wood.
Key Materials And Their Roles
A classic Chinese bow uses:
- Wood: Forms the core, giving structure and flexibility.
- Horn: Often used on the belly (side facing the archer) for strength and power.
- Sinew: Glued to the back (opposite side) to add tension and prevent breaking.
- Glue: Traditional hide glue binds the materials together.
These materials combine to make the bow strong, flexible, and highly efficient. The choice of materials and how they are layered is what separates a good bow from a weak one.
Bow Types In Chinese Tradition
There are several types of traditional Chinese bows, each with its own features. Here is a comparison of three common styles:
| Bow Type | Length (Unstrung) | Main Use | Common Materials |
|---|---|---|---|
| Ming Dynasty Bow | ~130 cm | Military, hunting | Wood, horn, sinew |
| Qing Dynasty Bow | ~140 cm | Military, sport | Wood, horn, sinew |
| Han Dynasty Bow | ~160 cm | Long-range warfare | Wood, bamboo, sinew |
Each style has different handling and shooting qualities. For beginners, the Ming or Qing style is often recommended because they are easier to build and handle.
Gathering Materials And Tools
Before you start, gather all the required materials and tools. Using the right materials makes the process smoother and the final bow more reliable.
Materials Needed
- Wood for the core: Maple, mulberry, or bamboo are common choices. The wood should be straight, free of knots, and about 2, 2.5 cm thick.
- Water buffalo or ox horn: Used for the belly. Pieces should be about 1 cm thick.
- Animal sinew: Usually deer or cattle tendon, dried and pounded.
- Hide glue: Traditional hide glue is best. It’s strong and flexible.
- String material: Silk or hemp for a traditional touch; modern synthetic fiber is easier but less authentic.
- Leather strips: For grip and nocking points.
Tools Required
- Saw and knife: For shaping wood and horn.
- Plane or rasp: To smooth surfaces.
- Clamps: For holding pieces together during glueing.
- Files and sandpaper: For fine finishing.
- Measuring tape: Precision is key in bow making.
- Heat source: A heat gun or open flame for bending wood.
Pro Tip: If you can’t find animal horn or sinew, some builders use modern substitutes like fiberglass or synthetic sinew. While not 100% authentic, these can be easier to work with for first-time builders.

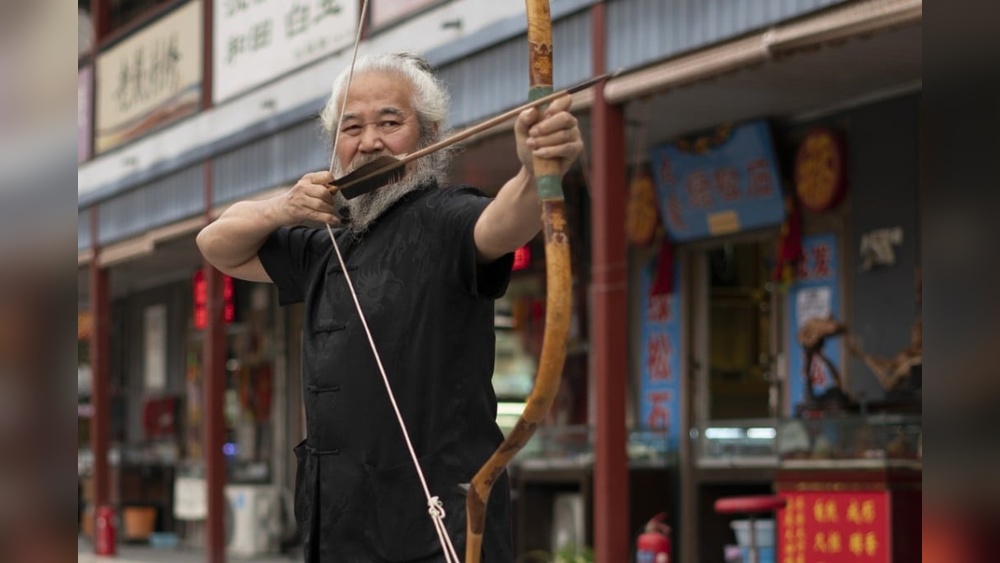
Credit: www.scmp.com
Preparing The Bow Core
The core is the backbone of the bow. Its shape and flexibility decide the bow’s performance.
Selecting And Shaping The Core
Choose a piece of wood about 130, 150 cm long, 2, 2. 5 cm wide, and 1. 5 cm thick. The wood should be straight-grained and free of cracks.
- Mark the center: This will be your grip area.
- Shape the limbs: Taper each limb (the ends) so they become thinner and narrower towards the tips. The core should look like a long, flat stick with a slight curve at the ends.
- Steam bending: If your bow design requires recurved tips, steam the ends and bend them over a form. Hold with clamps until dry.
Smoothing And Testing
Use a plane or rasp to smooth the wood. The limbs must be even in thickness and width for balanced shooting.
Example: In my experience, small knots or uneven thickness can cause the bow to twist or break when pulled. Always check the wood carefully before moving to the next step.
Adding The Horn Belly
The horn gives the bow its compressive strength. This step is critical for storing energy in the bow.
Sizing And Shaping The Horn
Cut the horn into two strips, each matching the length and width of the bow’s belly. The pieces should be about 1 cm thick and as even as possible.
- Flatten the horn: Heat it gently and press until flat.
- Shape to fit the core: Use a file to match the horn to the curve of the core’s belly.
Glueing The Horn
- Apply hide glue: Coat the horn and wood core with a thin, even layer.
- Press together: Align the horn to the belly of the core and clamp tightly.
- Drying time: Allow to dry at least 3, 5 days in a warm, dry place. Do not rush this step.
Pro Tip: Uneven glue or poor alignment can cause the bow to break at full draw. Take your time to ensure a perfect fit.
Laminating The Sinew Back
Sinew acts like a spring, storing energy as the bow is drawn.
Preparing The Sinew
- Soak the sinew: Use warm water for several hours until soft.
- Pound flat: Use a mallet to separate the fibers.
Applying The Sinew
- Mix with glue: Coat each strand with hide glue.
- Lay on the back: Press sinew fibers onto the back (opposite side from the horn) of the bow, working from the grip outward.
- Layering: Add 2, 3 layers for strength, letting each dry overnight.
Curing
Let the sinew dry for 1, 2 weeks. It should be hard and slightly glossy when fully cured.
Pro Tip: Many beginners try to rush sinew curing, but patience is key. Moving too fast leads to weak bows.
Shaping And Finishing The Bow
When the sinew is fully cured, it’s time to shape and finish the bow.
Final Shaping
- Check the limbs: Make sure both limbs bend evenly. If not, gently remove material from the stiffer side.
- Smooth all surfaces: Use sandpaper for a clean finish.
Adding The Grip And Tips
- Leather grip: Wrap the center with leather for comfort.
- Horn nocks: Attach small horn or wood pieces to the tips to hold the string.
Painting And Decoration
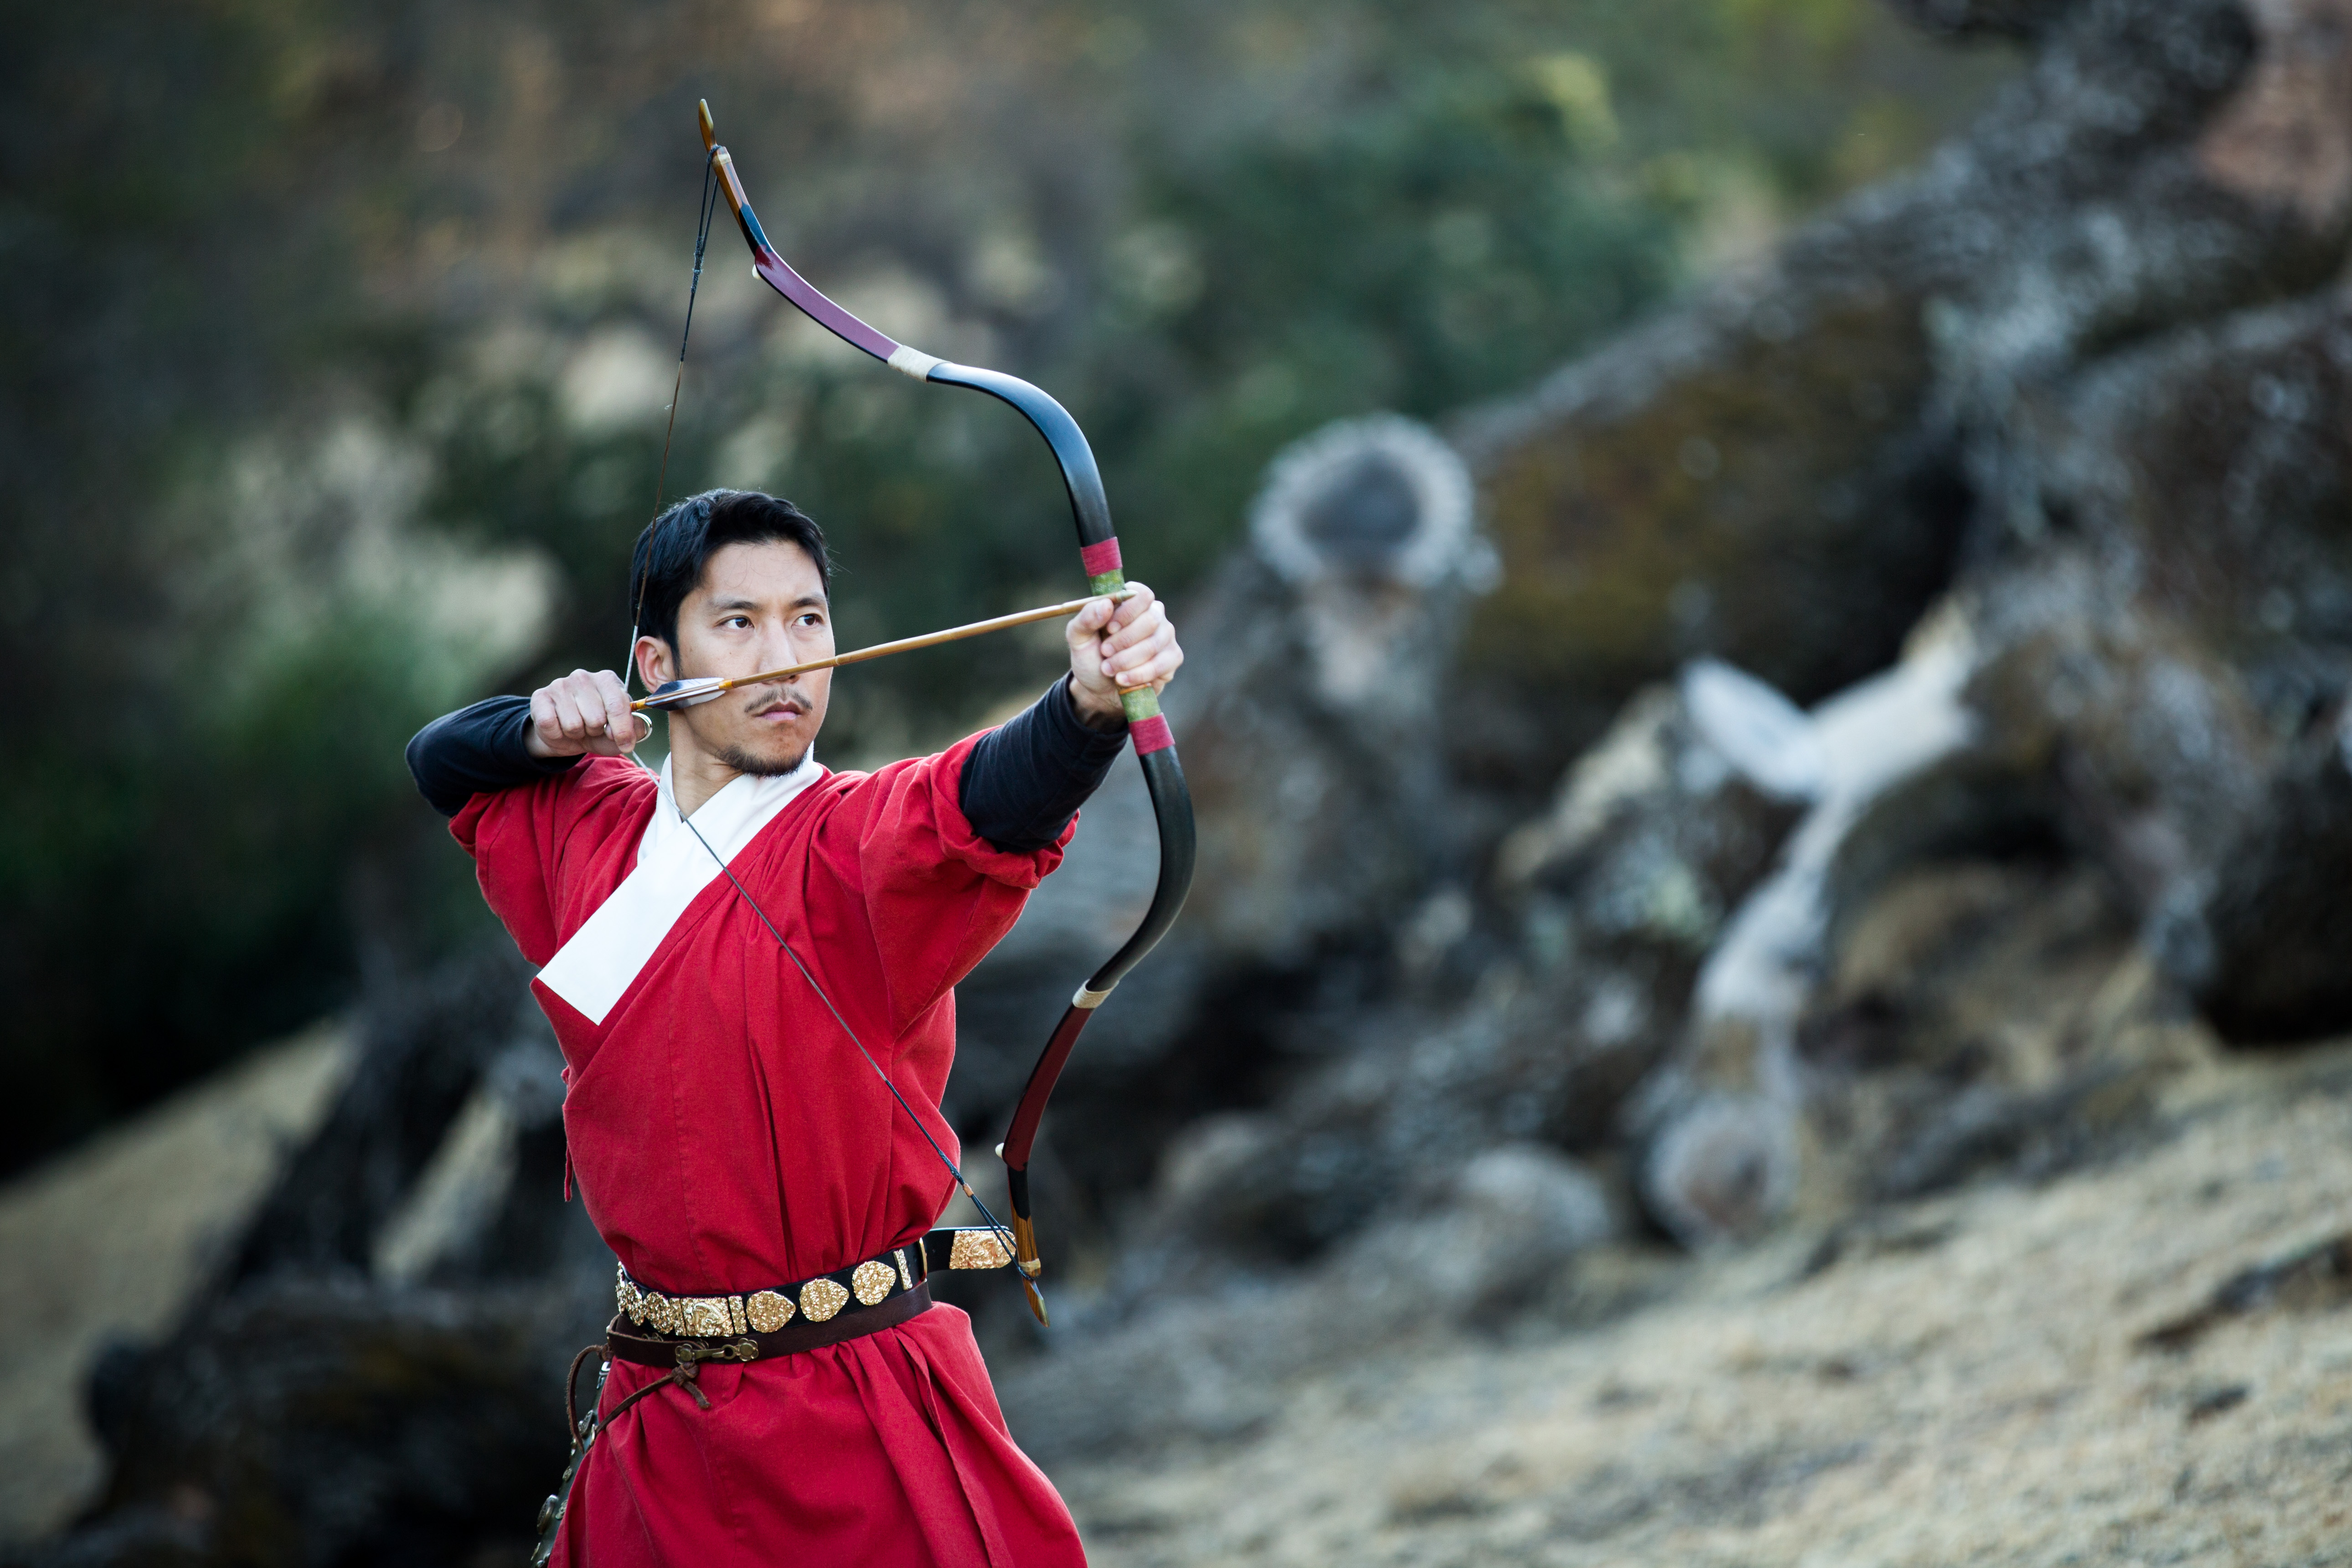
Traditional Chinese bows often featured painted designs or silk wrapping. This is optional but adds beauty and personal touch.
Credit: thewayofarchery.com
Making The Bowstring
A good string is just as important as the bow itself.
Choosing Material
- Silk: Traditional, but expensive and less durable.
- Hemp: Cheaper, strong, but can absorb moisture.
- Synthetic (Dacron): Modern option, not traditional but easy for beginners.
String Construction
- Measure length: The string should be about 5, 7 cm shorter than the unstrung bow.
- Twist fibers: Twist or braid the fibers tightly for strength.
- Make loops: Form a loop at each end to attach to the bow’s nocks.
Stringing The Bow
Carefully attach the string to the nocks. The recurved limbs should flex, storing energy. The bow is now ready for tillering and testing.
Tuning And Testing The Bow
Tuning is the process of adjusting the bow for even bending and proper power.
Tillering
- Draw the bow: Pull the string back slowly, watching how each limb bends.
- Adjust as needed: If one limb is stiffer, carefully remove wood or sinew until both sides bend evenly.
Safety Testing
- Short pulls first: Start with short draws to check for cracks or weak spots.
- Full draw: Once safe, pull to full draw length (usually about 28 inches for most adults).
Pro Tip: Never draw the bow past its safe limit. Traditional Chinese bows are powerful, but over-drawing can cause them to snap.
Crafting Traditional Chinese Arrows
A good bow needs well-made arrows. Traditional Chinese arrows are longer and heavier than many modern arrows.
Materials Needed
- Arrow shafts: Poplar, birch, or bamboo are common.
- Arrowheads: Steel, bone, or flint.
- Fletching: Goose or turkey feathers.
- Nocks: Carved into the shaft or added as a separate piece.
Arrow Construction Steps
- Cut shaft to length: About 80, 90 cm.
- Straighten: Heat over a flame and gently bend to straighten.
- Attach arrowhead: Carve a slot, add glue, and insert the head.
- Add fletching: Glue 2, 3 feathers at the rear for stability.
- Shape the nock: Cut a small groove at the end for string placement.
Example: When I tested my first homemade arrows, I learned that using too-light feathers made the arrows fly poorly. Proper fletching is vital for accuracy.
Bow And Arrow Performance Comparison
To appreciate the strength of traditional Chinese bows, compare their performance to modern recurve bows.
| Bow Type | Draw Weight (lbs) | Arrow Speed (fps) | Max Range (meters) |
|---|---|---|---|
| Traditional Chinese Bow | 40-80 | 150-180 | 250-350 |
| Modern Recurve Bow | 30-50 | 160-200 | 200-300 |
| English Longbow | 60-100 | 140-170 | 300-400 |
Note: Actual performance depends on materials, craftsmanship, and arrow type. Traditional Chinese bows are known for their balance of power and compact size, making them effective on foot or horseback.

Credit: en.people.cn
Common Beginner Mistakes
Avoid these frequent errors to increase your chances of success:
- Choosing poor-quality wood: Weak or knotted wood will almost always break under tension.
- Rushing glue drying: Hide glue needs time to set fully. Impatience leads to weak bonds.
- Skipping tillering: Even bending is essential for safety and accuracy.
- Using synthetic materials without checking compatibility: Some modern glues and fibers do not bond well with natural horn or sinew.
- Improper arrow balance: Incorrectly weighted arrows fly poorly and can damage the bow.
Cultural And Historical Significance
Traditional Chinese bows were more than just tools, they were symbols of status, skill, and heritage. In ancient China, archers were respected as warriors and scholars. The bow was a sign of power, and competitions were held in royal courts and among the military.
These bows played a key role in famous battles like the Battle of Red Cliffs and during the expansion of the Mongol Empire, who learned much from Chinese bow-making techniques. Many museums today display these bows as examples of ancient engineering.
If you wish to learn more about the history and significance of Chinese archery, visit the Chinese Archery Wikipedia page.
Caring For Your Bow And Arrows
A traditional bow requires regular maintenance:
- Keep dry: Moisture weakens wood, horn, and sinew. Store in a dry place.
- Unstring when not in use: This prevents the limbs from losing their power.
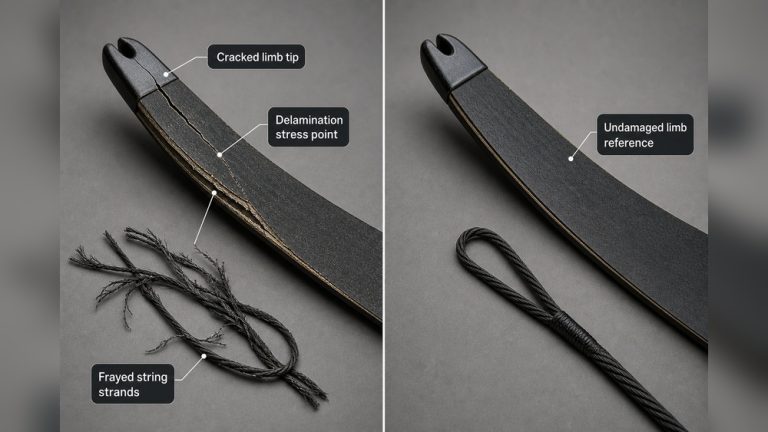
- Inspect regularly: Look for cracks, loose glue, or frayed string.
- Oil the wood: Use a natural oil to protect against drying and cracking.
Pro Tip: Never store your bow near heaters or in direct sunlight for long periods. Extreme temperature changes can warp the materials.
Frequently Asked Questions
How Long Does It Take To Make A Traditional Chinese Bow And Arrow?
For beginners, it usually takes about 2 to 4 weeks to complete a bow and several arrows. The process involves waiting for glue and sinew to dry, which takes most of the time. Experienced makers may finish faster, but patience is essential for best results.
Can I Use Modern Tools And Materials For Traditional Chinese Bows?
Yes, you can use modern tools like power sanders or synthetic strings to make the process easier. However, using traditional materials like horn, sinew, and hide glue gives the most authentic experience and best performance. Some modern glues or plastics may not bond well with natural materials, so test before using them.
What Is The Draw Weight Of A Typical Traditional Chinese Bow?
Traditional Chinese bows often have a draw weight between 40 and 80 pounds. This is strong enough for hunting and archery practice. Beginners should start with a lower draw weight (around 40 pounds) to avoid injury and build proper technique.
Are Traditional Chinese Bows Suitable For Beginners?
They can be, but the process is more complex than making a simple wooden bow. Beginners should study the steps carefully and start with easier designs, like the Ming or Qing style bows. Practicing with modern recurve bows first helps you understand archery basics before building your own traditional bow.