How to Make a Traditional Mongolian Bow: Step-by-Step Guide
The Mongolian bow is a symbol of skill, resilience, and centuries-old craftsmanship. For hundreds of years, nomads on the Central Asian steppe relied on this powerful weapon for hunting, warfare, and survival. Making a traditional Mongolian bow today is not just about building a tool, it’s about preserving a piece of living history.
If you want to craft your own, the process requires patience, precision, and a deep respect for tradition. This guide will lead you through every key step, from choosing materials to stringing your finished bow, with practical advice and insights beginners often overlook.
Understanding The Mongolian Bow
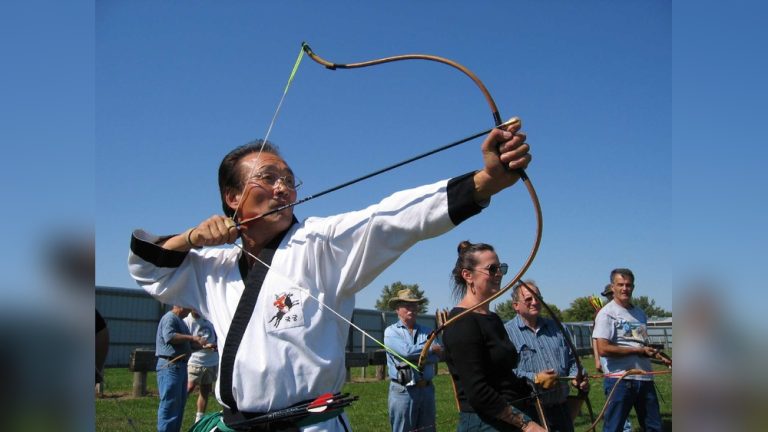
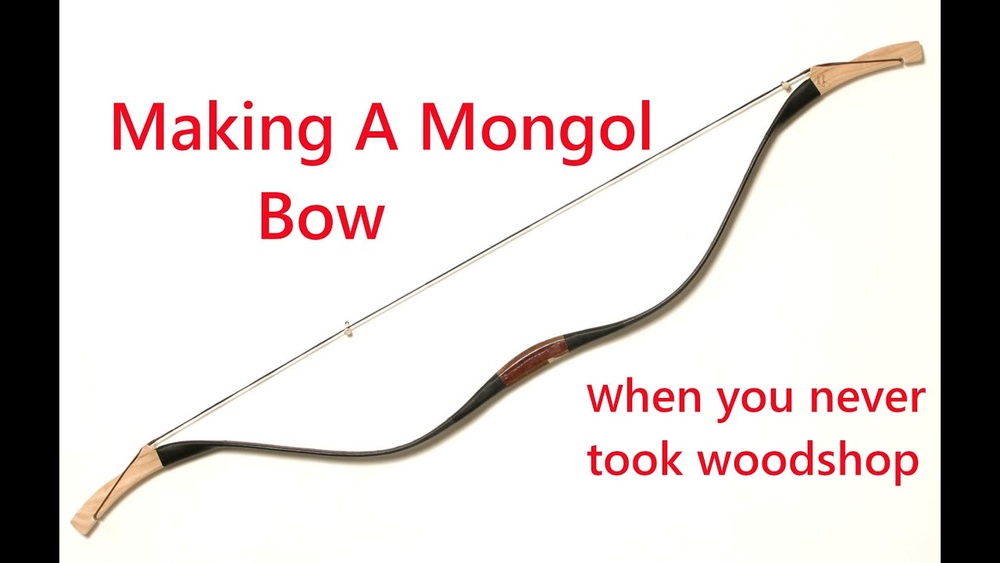
The traditional Mongolian bow is a type of composite bow, meaning it’s made from several materials combined for strength and flexibility. Its distinct shape, a pronounced recurve with sharp, almost “C”-shaped tips, gives it power and speed. These bows were famous for their use by Mongol horse archers, who could shoot accurately while riding at full gallop.
Modern replicas often use modern adhesives or tools, but this guide focuses on the traditional methods and materials as closely as possible. The process is demanding, but the rewards are substantial: a bow that feels alive in your hands and carries a story with every arrow.
Materials And Tools: What You Need
Before starting, gather the right materials. Mongolian bows use a composite construction:
- Wood: Forms the core. Traditionally, woods like maple, birch, or mulberry are used for flexibility and strength.
- Horn: Buffalo or cow horn is bonded to the belly (the side facing the archer) for compression strength.
- Sinew: Dried animal tendon, glued to the back for tensile strength and resilience.
- Glue: Animal hide glue (not modern synthetic glues) binds everything together.
- String: Traditionally made from twisted animal sinew or horsehair.
You’ll also need:
- A sharp drawknife or carving knife
- Fine saw
- Sandpaper (or traditional abrasives like dried horsetail grass)
- Clamps or binding cords
- Scrapers
- Measuring tape
- Bowstring jig (optional but helpful)
Pro Tip: Using authentic materials can be challenging to source and work with. Don’t compromise on quality, your bow’s performance depends on it.

Credit: classic-bow.com
Planning And Measuring: Bow Dimensions
One common mistake is neglecting the measurements. A traditional Mongolian bow is compact, usually 120, 140 cm (about 47, 55 inches) unstrung. The limbs are highly recurved, and the handle is relatively short.
| Part | Traditional Size (cm) | Function |
|---|---|---|
| Overall Length | 120, 140 | Total bow length unstrung |
| Handle | 12, 16 | Grip area |
| Limbs (each) | 50, 62 | Power and flexibility |
| Tip Recurves | 10, 13 | Extra power at release |
Beginners often skip precise measurements and end up with an unbalanced or weak bow. Carefully mark out all dimensions on your wood core before cutting.
Preparing The Core: Shaping The Wood
The core is the spine of the bow. Traditionally, a single piece of wood is shaped to the correct length and profile. Here’s how to proceed:
- Select your wood: Choose straight-grained, knot-free wood. Let it season for several months to prevent warping.
- Cut to length: Saw your core to the correct size, allowing extra for trimming.
- Shape the profile: Use your drawknife or carving knife to taper the limbs gradually from the handle to the tips. The cross-section should be a gentle rectangle.
- Form the recurve: Steam the limb ends and carefully bend them back (away from the archer) using a form or jig. Bind securely and let dry for several days.
Example: Steaming the wood makes it pliable, but overheating can cause it to lose strength. Test a small offcut first to find the right steaming time.
Preparing The Horn: Fitting And Shaping
The horn strips provide power and resilience. Mongolian bows traditionally use water buffalo horn, but cow horn can work if buffalo is unavailable.
- Cut horn strips: Saw your horn into strips about 1, 1.5 cm wide and 3, 5 mm thick, matching the curve of your core as closely as possible.
- Soften and shape: Soak horn strips in warm water to make them flexible. Gently heat if needed, but never boil.
- Fit to the core: Carefully file and sand the horn so it fits snugly against the belly of the wood core. Avoid gaps.
Pro Tip: Slight mismatches can be corrected with careful sanding, but never force the horn. Cracks can ruin the entire bow.
Preparing The Sinew: Processing And Laying
Sinew layers are what give the Mongolian bow its famous snap and resilience.
- Obtain animal sinew: Deer, elk, or cattle sinew works best. Remove fat and membrane, then dry thoroughly.
- Pound and separate: Use a mallet to pound the dried sinew until it separates into fine fibers.
- Soak and glue: Dip the sinew in warm water to soften, then coat with hide glue.
When laying sinew:
- Apply the first layer evenly along the back (the side facing away from the archer).
- Use overlapping strips for even coverage.
- Let dry for at least 24 hours between layers.
- 2, 3 layers are standard for strength and flexibility.
A beginner’s error is not allowing enough drying time, rushing this step can cause bubbling or weak adhesion, leading to bow failure.
Gluing And Laminating: Assembly Process
Traditional Mongolian bows are a triumph of natural adhesives. The assembly must be slow and careful.
- Apply hide glue to the belly of the core, then press on the horn strips. Clamp or bind tightly and let set for several days.
- Repeat with sinew: After the horn is secure, repeat the gluing process on the back with your prepared sinew layers. Again, bind and dry thoroughly.
- Cure fully: Hide glue needs time. Let the laminated bow rest in a dry, warm environment for at least several weeks, longer is better.
Warning: Never rush the curing process. Incomplete curing can lead to delamination when the bow is first drawn.
Shaping And Tuning: Achieving The Right Curves
Once the bow is fully cured, it’s time for final shaping.
- Trim excess horn and sinew carefully with a sharp knife or scraper.
- Sand the limbs to smooth transitions and remove rough edges.
- Ensure both limbs are balanced in thickness and weight.
- Check the recurve, each tip should have the same angle and length.
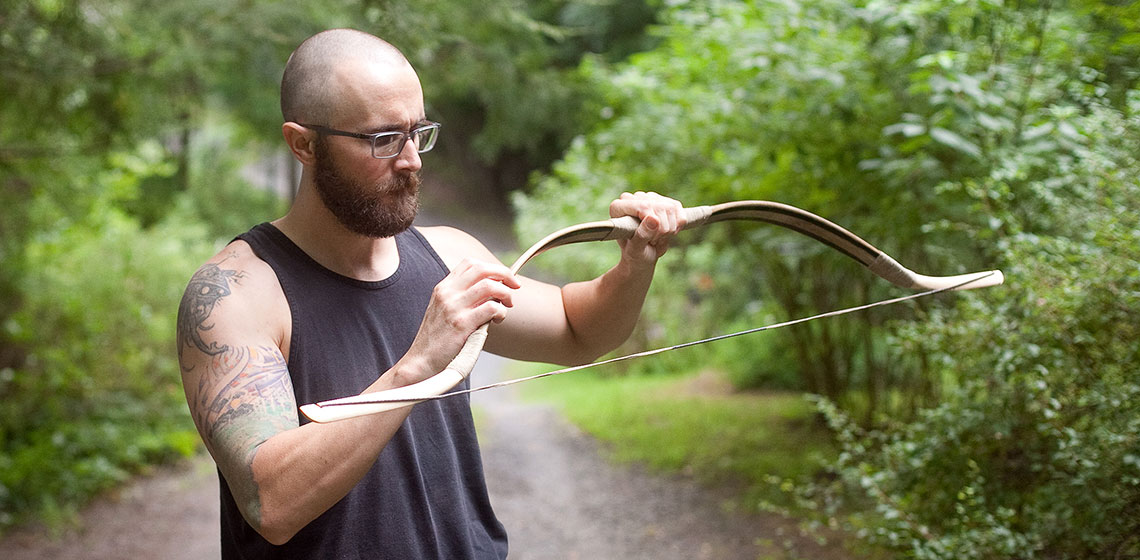
A subtle but important step is tillering: repeatedly flexing the bow to check for even bending. Adjust by removing small amounts of material from stiff spots. This tuning process may take days but is vital for performance.
Credit: exarc.net
Finishing Touches: Sealing And Protecting
The Mongolian steppe can be harsh, so traditional bows are protected with natural sealants.
- Apply a thin layer of lacquer, boiled linseed oil, or even natural tree resins to seal the wood and sinew from moisture.
- Some bows are wrapped at the handle and tips with rawhide, bark, or silk for extra strength.
Not all finishes are equal, some modern products can damage natural glues or make the bow slippery. Stick to traditional or proven-safe coatings.
Making The Bowstring
A bow is only as good as its string. Traditional Mongolian strings are made from twisted animal sinew or horsehair.
Steps to make a string:
- Clean and split sinew or gather long horse tail hairs.
- Twist fibers tightly, adding more as needed for length.
- Rub with animal fat or beeswax to bind and protect.
- Form loops at each end for attaching to the bow.
Modern strings can be used for convenience, but they can change the bow’s feel and draw. For authenticity, take time to make your own.

Credit: silkroadbows.com
Stringing The Bow: Safety And Technique
Stringing a Mongolian bow requires care due to its strong recurve.
- Use a bow stringer if possible.
- Hook one end of the string to the bottom tip, brace the handle against your foot, and gently flex the top limb until you can loop the string over the tip.
- Check for even tension and symmetry.
Pro Tip: Never dry-fire (shoot without an arrow) a traditional bow. The energy can break the limbs or delaminate the glue.
Testing And Adjusting: First Draws
The moment of truth comes with your first draw. Start slow:
- Draw the bow to half, then three-quarters, watching for any strange sounds or uneven bending.
- If the bow flexes unevenly, return to tillering and adjust.
- Check for cracks, separations, or “soft spots.”
As you gain confidence, test the full draw length. Mongolian bows typically have a draw length of 28, 32 inches, suitable for powerful shots on horseback or foot.
Example: When I tested my first traditional bow, I noticed a slight twist in one limb. Careful heat bending and sanding corrected it, and performance improved dramatically.
Comparing Mongolian Bows To Other Traditional Bows
For context, here is how the Mongolian bow compares to other famous traditional bows:
| Bow Type | Material | Draw Weight (lbs) | Typical Use |
|---|---|---|---|
| Mongolian Bow | Wood, horn, sinew | 40, 100 | Horseback archery, warfare, hunting |
| English Longbow | Yew wood | 60, 110 | Infantry warfare, hunting |
| Japanese Yumi | Bamboo, wood | 30, 50 | Ceremonial, target shooting |
| Turkish Bow | Wood, horn, sinew | 40, 80 | Horseback archery, flight shooting |
The Mongolian bow stands out for its combination of power, compact size, and versatility on horseback.
Historical And Cultural Significance
The Mongolian bow is more than a weapon, it’s a key part of Mongolian identity. Chinggis Khaan (Genghis Khan) and his armies owed much of their success to their mastery of horseback archery and the bows they carried. Even today, the bow is celebrated during the Naadam festival in Mongolia, where archers of all ages compete.
Crafting a bow in the traditional way is a way to connect with this heritage. As you work, remember that you’re part of a long, proud line of craftsmen and warriors.
Practical Tips And Common Mistakes
Many beginners underestimate the complexity of traditional bow-making. Here are some practical tips and pitfalls to avoid:
- Start with a small practice bow: Before attempting a full-size Mongolian bow, practice with a shorter, simpler model to learn the basics of shaping and laminating.
- Respect drying times: Hide glue and sinew must dry completely at every step. Impatience ruins more bows than any other mistake.
- Check for symmetry: Regularly compare both limbs, unevenness leads to poor performance and can even cause the bow to break.
- Use the right glue: Animal hide glue is essential. Modern glues can be too rigid or flexible, leading to failure.
- Document your process: Take notes and photos. Each bow is unique, and learning from mistakes is key to improvement.
Modern Resources And Further Learning
While traditional methods are rewarding, modern resources can help you avoid mistakes. Workshops, online forums, and museum exhibits provide guidance and inspiration. Books like “The Traditional Bowyer’s Bible” offer step-by-step advice, and reputable sites such as the Wikipedia entry on Mongolian bows provide historical context.
Frequently Asked Questions
What Is The Ideal Wood For A Mongolian Bow Core?
The ideal wood is straight-grained, flexible, and strong. Traditionally, maple, mulberry, or birch are preferred because they offer a balance between strength and elasticity. Using wood with knots or twists can cause weak spots that might break under tension.
Can I Use Synthetic Materials To Make A Mongolian Bow?
While modern synthetics like fiberglass or epoxy can work, they change the bow’s feel and performance. Authenticity and connection to tradition are lost. If you want a true traditional experience, stick to natural materials, wood, horn, sinew, and hide glue.
How Long Does It Take To Make A Traditional Mongolian Bow?
The process takes several weeks to months. This includes time for collecting and preparing materials, shaping, gluing, and especially for drying and curing at each stage. Rushing any step can ruin the final result, so patience is essential.
What Draw Weight Should A Beginner Aim For?
For a first bow, aim for a draw weight between 35, 50 pounds at 28 inches. This range is strong enough for target shooting but not so heavy that it’s difficult to handle or risks injury. As your skill improves, you can build heavier bows.
How Do I Maintain A Mongolian Bow?
Store your bow in a cool, dry place away from direct sunlight and moisture. Unstring it when not in use to prevent limb fatigue. Periodically check for signs of cracking, loose glue, or fraying sinew. If using traditional finishes, reapply every few months to protect against humidity.
Making a traditional Mongolian bow is a journey, one that connects you with a rich history and hones your craftsmanship. By following these steps and respecting the process, you can create a bow that is not just a tool, but a living piece of culture and art.