How to Make Traditional Archery Bows: Step-by-Step Guide
Building a traditional archery bow is a project that blends history, craft, and personal satisfaction. Many people start this journey out of curiosity, a love for archery, or a desire to connect with the skills of ancient cultures. Whether you dream of making a simple longbow or a more complex recurve, the process requires patience, planning, and a steady hand.
This guide will take you through the complete process of making a traditional archery bow, step by step. You’ll learn how to choose the right wood, shape the bow, add a string, and finish your project for safe and enjoyable use.
The Essence Of Traditional Archery Bows
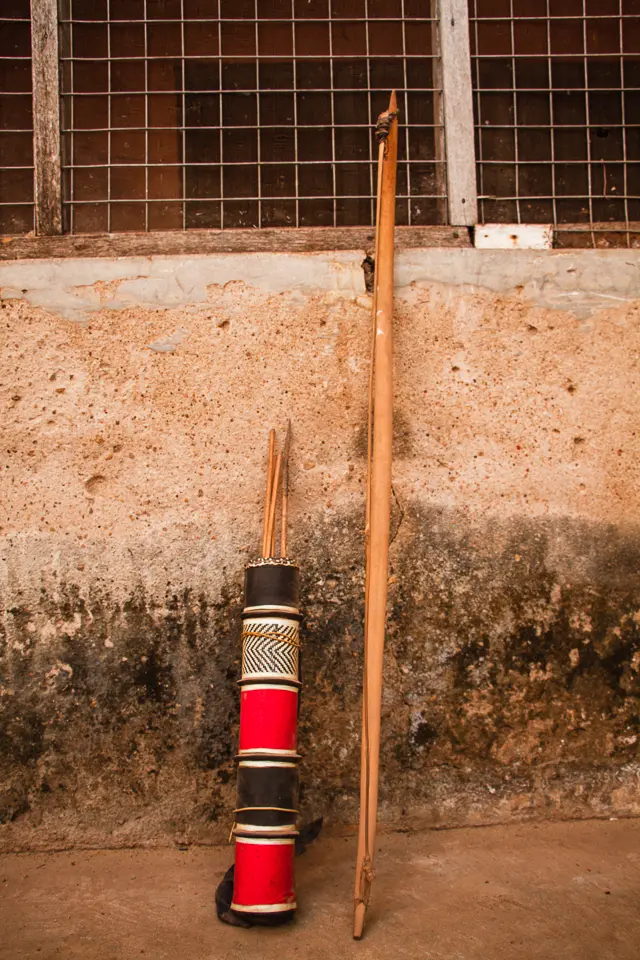
Traditional bows date back thousands of years. They were used for hunting, sport, and war by cultures around the world. Unlike modern compound bows, traditional bows rely on simple designs and natural materials. The most common types are the longbow and the recurve bow.
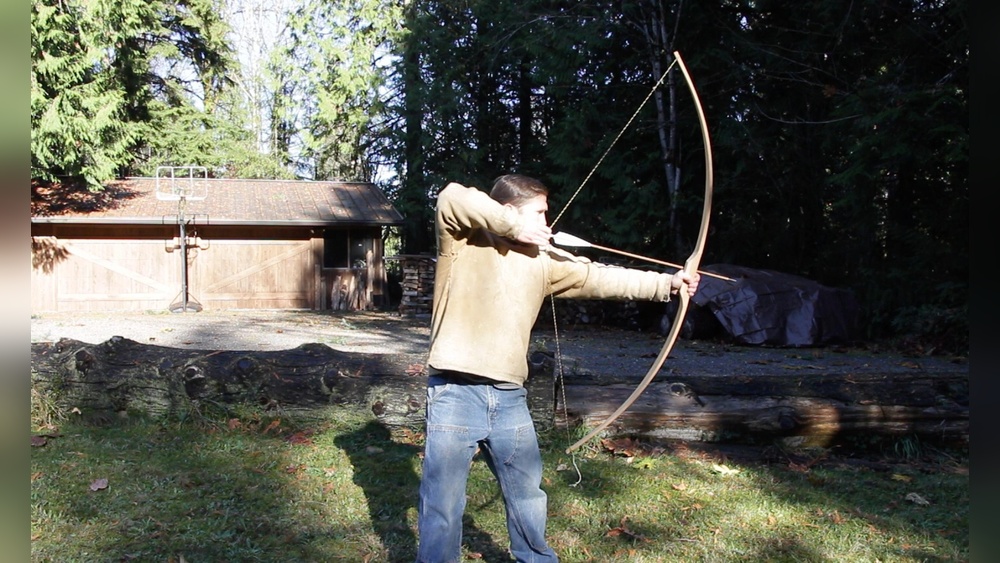
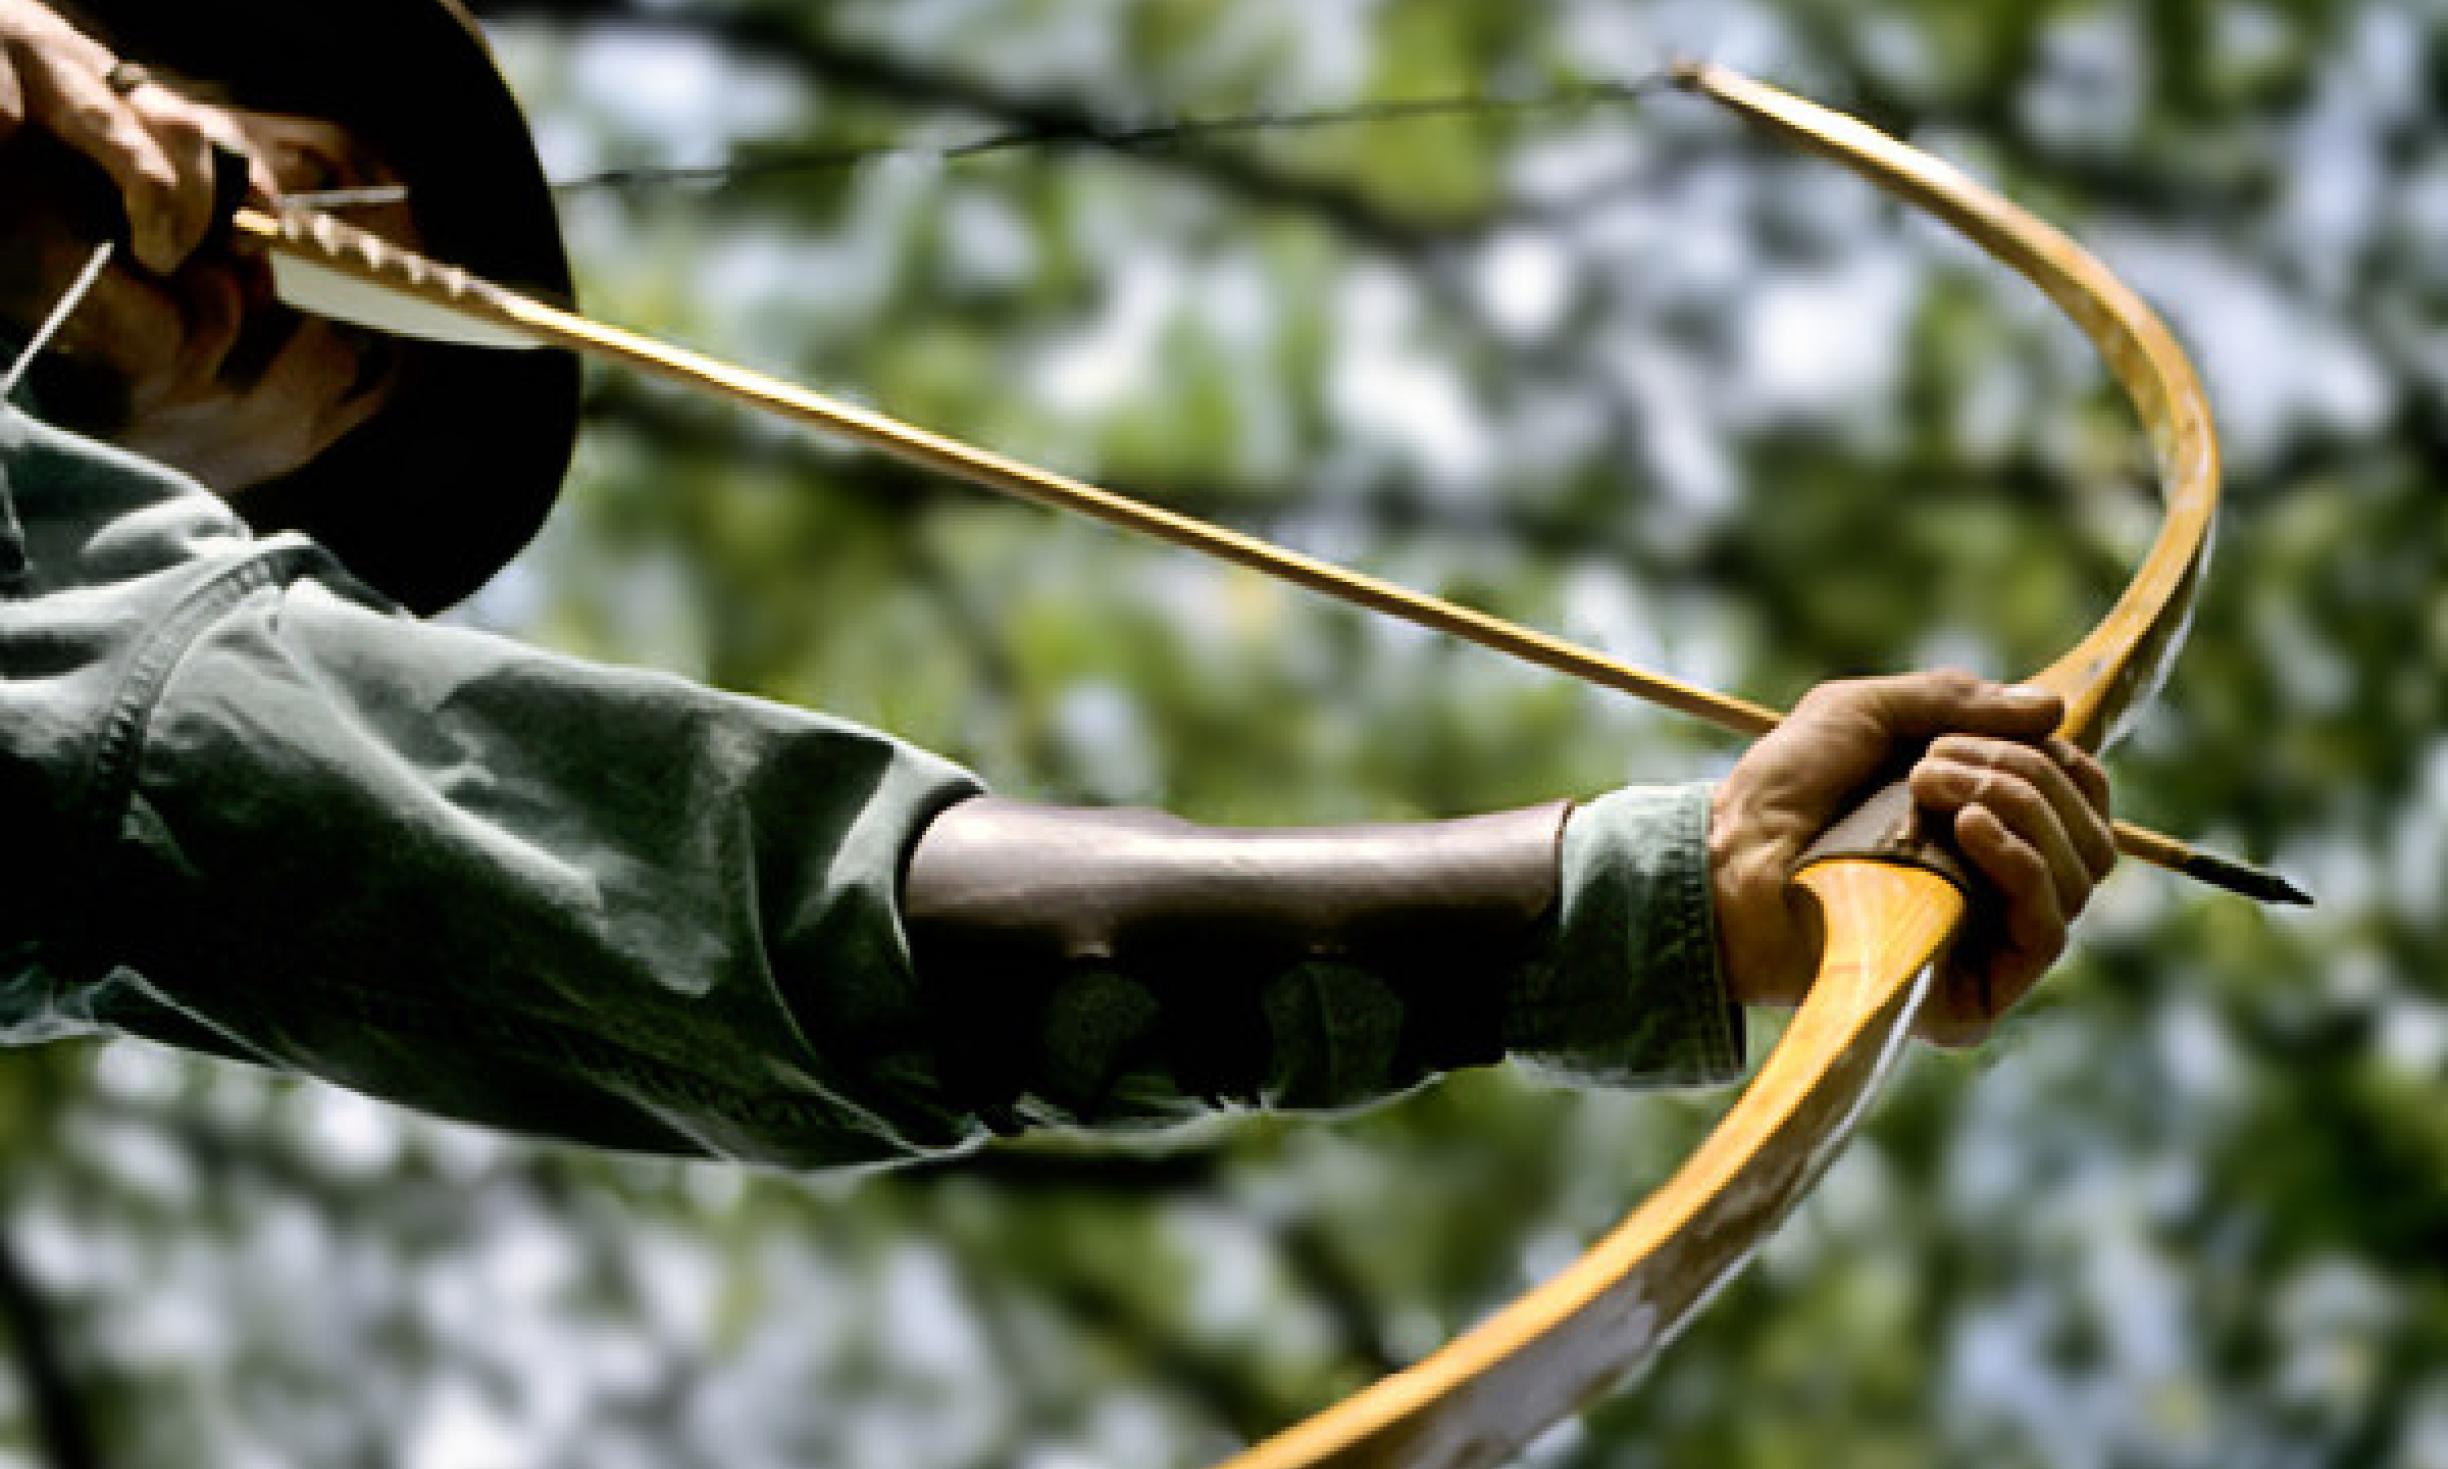
Longbows are tall, slightly curved, and have a D-shape when unstrung. Recurve bows curve away from the archer at the tips, which helps store more energy and deliver faster arrows. Both bow types can be made from one piece of wood (self-bow) or by laminating different woods together.
Making your own bow is more than just a craft. It teaches patience and respect for nature’s materials. Many beginners are surprised by how much the wood’s quality and preparation affect the final result. Learning these details can save you hours of frustration later.
Choosing The Right Materials
Best Woods For Bow Making
The wood you select will decide the bow’s strength, flexibility, and lifespan. Not all woods are suitable. The best bow woods are both elastic and strong, which allows them to bend without breaking.
Here’s a comparison of common bow woods:
| Wood Type | Pros | Cons | Common Use |
|---|---|---|---|
| Osage Orange | Very strong and flexible, resists rot | Hard to find, can twist as it dries | High-quality longbows |
| Yew | Classic, excellent performance, flexible | Expensive, protected in some areas | Historic English longbows |
| Hickory | Widely available, tough, forgiving to beginners | Heavy, sometimes rough grain | Beginner bows |
| Maple | Good strength, smooth grain | Less elastic than Osage or Yew | Laminated bows |
| Bamboo | Very strong in tension, lightweight | Needs lamination, not easy for self-bows | Modern traditional bows |
Pro Tip: When starting out, hickory is an excellent choice. It is forgiving if you make minor mistakes, and it’s more affordable than rare woods like yew.
Selecting The Right Stave
A stave is a piece of wood from which the bow is made. For best results:
- Choose a stave 68, 72 inches long (for longbows)
- At least 2 inches wide and 1, 1.5 inches thick
- Straight grain, free from knots or twists
If you plan to make a recurve bow, a slightly shorter stave (60, 66 inches) may be suitable. The most critical part is the grain. The grain must run the full length of the stave, or the bow can snap when drawn.

Credit: www.wikihow.com
Essential Tools And Safety
Before you start shaping your bow, gather the right tools. Proper tools make the process faster and help prevent injuries.
Tools List
- Drawknife: For rough shaping
- Rasp and file: For smoothing and shaping details
- Spokeshave: For refining the limbs
- Saw: To cut the stave to length and width
- Measuring tape and pencil: For marking your design
- Tillering stick or tillering tree: For adjusting limb balance
- Sandpaper: For final smoothing
- Protective gloves and goggles: For safety
Many beginners forget about safety gear. Working with hand tools can create splinters and sharp edges. Always wear gloves and goggles to protect yourself.
Pro Tip: If you don’t have a drawknife, a sharp knife can work, but it requires more time and care. Never rush, accidents happen when you hurry.
Preparing Your Bow Stave
The first step is to prepare your stave. If you start with green wood (fresh cut), it must dry before use. Drying wood too fast can cause cracks. Season wood slowly, ideally for 6, 12 months in a cool, dry place.
If you buy a pre-seasoned stave, you can begin shaping immediately. Mark the center of the stave and draw the outline of your bow, handle in the center, limbs on each side. A typical handle is about 4, 6 inches long.
Make sure your design matches the type of bow you want. For a longbow, the limbs should taper evenly from the handle to the tips. For a recurve, you’ll need to bend the tips away from the archer.
Credit: wildernessawareness.org
Shaping The Bow
Rough Shaping
Start by removing excess wood from the sides and belly (the part facing you when shooting). Use a drawknife to shape the bow, but go slowly. It’s better to remove less wood and check your progress often.
Many beginners make the mistake of taking off too much material, especially near the handle. This weakens the bow and can cause it to break. Aim for an even taper from the handle to the tips.
Tillering: Balancing The Limbs
Tillering is the process of carefully removing wood so that both limbs bend evenly when the bow is drawn. This is the most critical step for bow performance and safety.
Here’s a typical tillering process:
- Place the bow on a tillering stick or tree.
- Pull the string to a short distance (about 10 inches).
- Observe how each limb bends.
- Remove small amounts of wood from stiff spots.
- Repeat the process, gradually increasing the draw length.
This step can take several hours. Be patient, uneven limbs can make the bow inaccurate or dangerous.
Example: When I made my first bow, I rushed the tillering and ended up with one limb much weaker than the other. The bow shot arrows to the left every time. Careful tillering fixed this in my next project.
Adding Recurves (if Desired)
If you want a recurve bow, you’ll need to add curves at the tips. This is usually done with heat and gentle pressure.
- Heat the tips with steam or a heat gun until the wood becomes flexible.
- Carefully bend the ends away from the belly.
- Hold the curve in place until the wood cools and sets.
This process requires practice. Don’t overheat or force the wood, it can crack. Beginners often skip this step and start with a simple longbow, which is perfectly fine.
Cutting The Nocks
Nocks are small grooves at each tip where the string rests. Use a small file or saw to cut these grooves at a slight angle. The nocks should be deep enough to hold the string but not so deep that they weaken the tip.
Many first-time bowyers cut the nocks too close to the side, which can cause the string to slip. Always center the nocks on the limb tips.
Making And Attaching The Bowstring
A good bowstring is just as important as the bow itself. Traditional bowstrings can be made from linen, hemp, or modern materials like Dacron.
Steps To Make A Simple Bowstring
- Measure the bow’s length from nock to nock.
- Cut a string about 6 inches longer than this measurement.
- Twist or braid the string for strength.
- Make a loop at one end (the top loop).
- The bottom end gets a smaller loop or a simple knot.
When stringing the bow, always use a bow stringer. Never bend the bow by stepping on it or using brute force, this can twist the limbs.
Pro Tip: For your first bow, consider buying a pre-made Dacron string. Making your own is satisfying but takes practice to get the tension right.

Credit: www.wikihow.com
Final Sanding And Finishing
Once your bow is shaped and tillered, smooth all surfaces with sandpaper. Start with medium grit (120) and finish with fine grit (220 or higher). Smooth wood feels better in the hand and reduces the risk of splinters.
Apply a finish to protect your bow from moisture and wear. Traditional finishes include boiled linseed oil, tung oil, or even natural beeswax. Rub the finish into the wood and let it dry fully before use.
Warning: Never paint the back of the bow (the side facing away when shooting) with hard varnish. This can make the wood brittle.
Testing And Shooting Your Bow
Before shooting arrows, check the bow’s draw weight and length. Draw weight means how much force is needed to pull the string back. Most beginners are comfortable with 30, 40 pounds at 28 inches of draw.
Here’s a simple comparison of bow sizes and recommended draw weights:
| Bow Length | Recommended Draw Weight (Beginner) | Best For |
|---|---|---|
| 60 inches | 25, 35 lbs | Youth, small adults |
| 66 inches | 30, 40 lbs | Average adults |
| 72 inches | 35, 45 lbs | Taller adults, long draw length |
Test your bow by pulling the string back slowly. Listen for any cracking sounds. If the limbs bend evenly and feel smooth, you’re ready to shoot.
Pro Tip: Start with lightweight target arrows. Never draw the bow farther than you have tested during tillering.
Common Mistakes And How To Avoid Them
Making a traditional bow is rewarding but full of small challenges. Here are some common mistakes:
- Choosing poor-quality wood: This leads to weak, unreliable bows.
- Removing too much wood: You can always take off more, but you can’t put it back.
- Rushing the tillering: This creates uneven limbs and poor accuracy.
- Incorrect nock placement: The string slips off, risking breakage.
- Skipping the finish: Your bow absorbs moisture and warps over time.
Many of these issues come from impatience or lack of attention. Take your time, check your work at each step, and don’t be afraid to start over if something feels wrong.
Customizing Your Bow
Once you master the basics, you can personalize your bow in many ways:
- Add a leather grip for comfort.
- Carve decorations into the handle or limbs.
- Use horn or bone overlays on the tips for strength.
- Experiment with different finishes for appearance.
Some experienced bowyers add a backing (a thin layer of different wood or sinew) to increase strength. This is an advanced technique but can greatly improve performance.
Caring For Your Traditional Bow
Traditional bows need regular care to stay in good shape. Here’s what to do:
- Store the bow in a cool, dry place.
- Never leave the bow strung when not in use, it stresses the limbs.
- Clean with a soft cloth and reapply oil finish every few months.
- Inspect for cracks or twists before each use.
Pro Tip: If you see any splits, especially on the back of the bow, stop using it. Small cracks can quickly become dangerous breaks.
Traditional Vs. Modern Bows
Many archers wonder how a handmade traditional bow compares to modern equipment. Here’s a quick look:
| Feature | Traditional Bow | Modern Compound Bow |
|---|---|---|
| Material | Wood, natural fibers | Aluminum, carbon fiber |
| Draw Weight | Constant | Let-off at full draw |
| Maintenance | Manual, simple | Complex, requires tools |
| Performance | Depends on skill | Highly consistent |
| Cost | Low to moderate | High |
Traditional bows offer a direct, personal connection to the craft. They may not shoot as fast as modern bows, but they bring a sense of pride and accomplishment that’s hard to match.
Learning More And Joining The Community
Archery has a passionate community worldwide. Joining a local club or online forum can help you improve faster. Members often share tips, organize shooting events, and sometimes offer hands-on workshops.
One excellent resource is the Archery Trade Association. Their guides on safety and materials are trusted by professionals and hobbyists alike. For detailed history and design ideas, visit the Wikipedia page on bow and arrow.
Frequently Asked Questions
What Is The Ideal Wood Moisture Content Before Making A Bow?
The ideal moisture content for bow wood is about 8, 12%. You can measure this with a moisture meter, available at hardware stores. If the wood is too wet, it may warp or crack as it dries later.
Can I Make A Traditional Bow Without Special Tools?
Yes, but it’s harder. You can use a sharp knife and sandpaper for shaping, but tools like a drawknife and spokeshave make the work easier and safer. For beginners, borrowing or buying a basic tool kit is a smart investment.