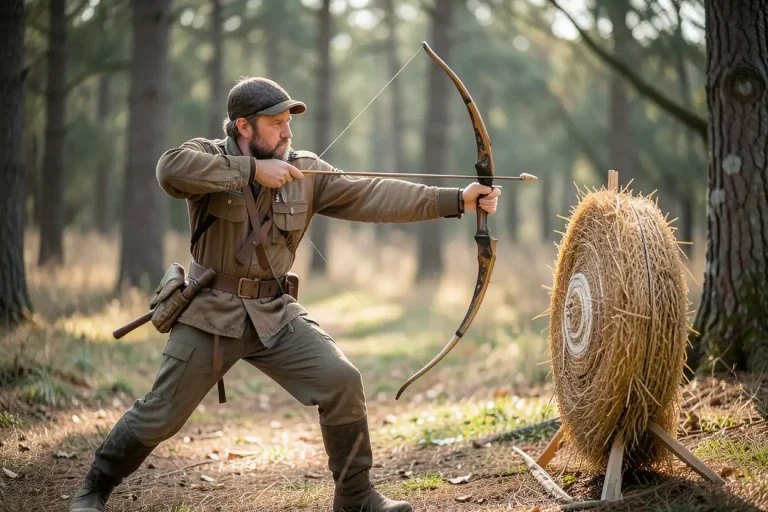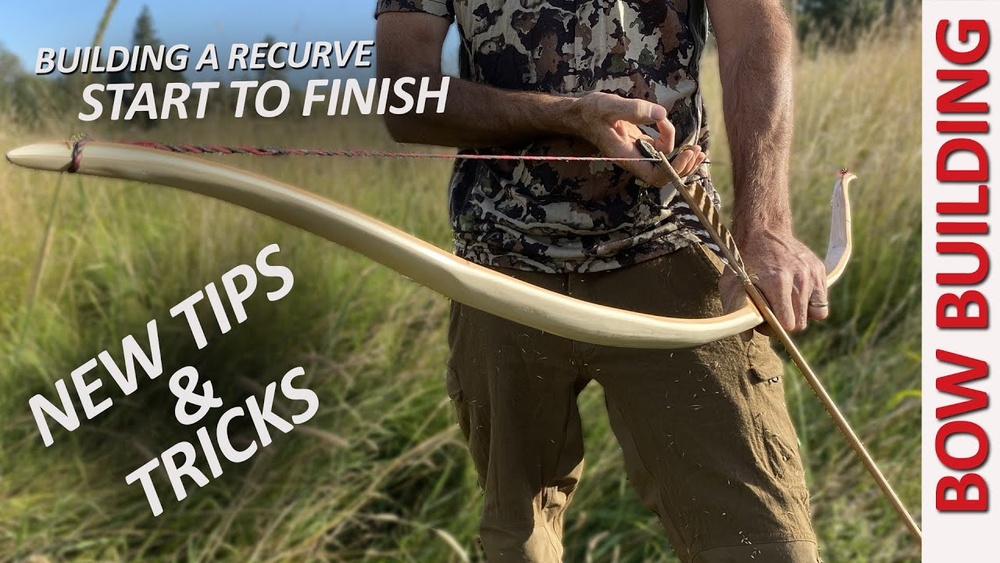
How to Make a Recurve Self Bow: Step-by-Step Guide for Beginners
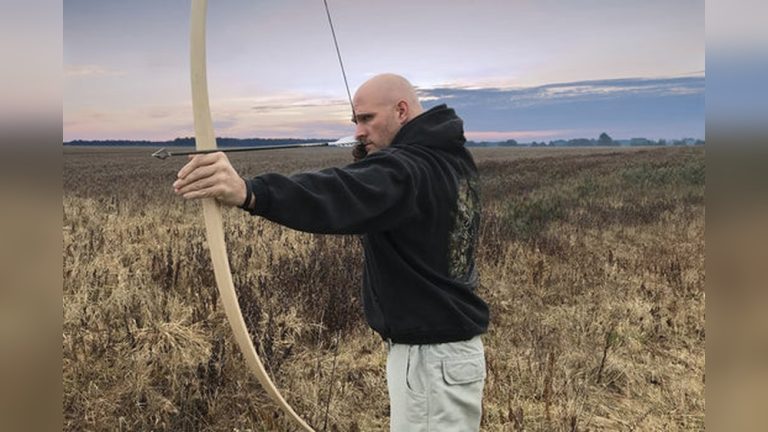
Making a recurve self bow is an ancient craft that blends patience, skill, and a connection with nature. There’s something deeply rewarding about turning a simple piece of wood into a working, elegant bow with your own hands. While the process requires attention to detail, the end result is not just a weapon or tool, but an object of pride and tradition.
Whether you’re a hobbyist, an aspiring archer, or someone interested in traditional skills, learning to make a recurve self bow can be a transformative experience.
This guide walks you through each step, from selecting wood to shaping the limbs, tillering, and finishing your bow. You’ll learn how to avoid common mistakes, choose the right materials, and understand the subtleties that separate a functional self bow from a mere stick with string.
By following these instructions, you’ll gain both practical knowledge and an appreciation for the art of bow making.
Understanding The Recurve Self Bow
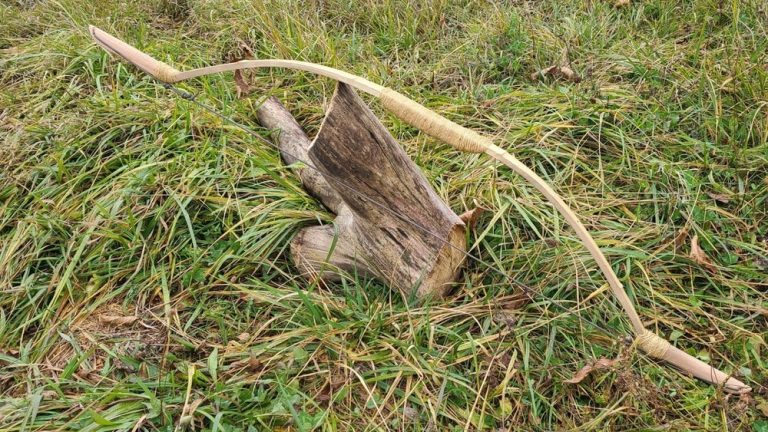
A self bow is made from a single piece of wood, unlike laminated bows that use multiple materials. The recurve shape means the tips curve away from the archer when unstrung, which stores more energy and delivers arrows faster. This design is used in many traditional cultures because it combines power with efficiency.
Why Choose A Recurve Self Bow?
- Simplicity: You only need one type of wood and basic tools.
- Tradition: Making a self bow connects you to ancient methods.
- Performance: The recurve shape adds speed and smoothness to your shot.
However, beginners often underestimate the importance of wood selection and tillering. Both are crucial for a safe, effective bow.
Choosing The Right Wood
Not every stick will make a good bow. The best self bows come from woods that combine strength, flexibility, and resilience.
Top Wood Choices
- Osage Orange: Highly prized for its strength and elasticity.
- Yew: Traditional in English longbows; flexible and strong.
- Hickory: Available in many places, tough and forgiving.
- Ash: Good for beginners, easy to work with.
- Elm: Flexible but less durable than hickory or osage.
The wood should be free of knots, twists, and branches. Look for a straight-grained stave about 6 feet long, 2-3 inches wide, and at least 1 inch thick.
Seasoning The Wood
Freshly cut wood (green wood) is too wet to use right away. It must dry, or season, before you start shaping. Air-dry your stave for at least 6, 12 months in a cool, dry place. Fast drying can cause cracks.
Pro Tip: If you buy a seasoned stave, ask the seller about moisture content. An overly dry or wet stave can ruin all your effort.

Credit: www.youtube.com
Tools And Materials Needed
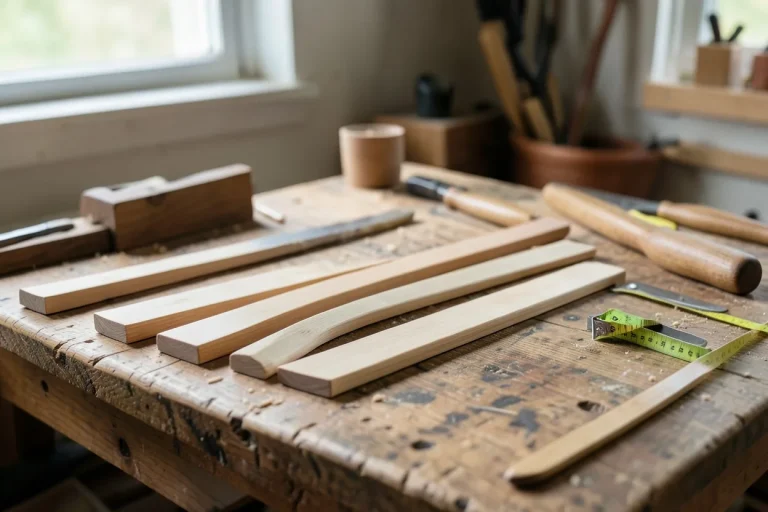
You don’t need a fancy workshop, but a few basic tools are essential.
- Drawknife: For rough shaping.
- Spokeshave: For finer shaping and smoothing.
- Rasp or file: Helps refine curves.
- Cabinet scraper: For delicate finishing.
- Bowstring material: Dacron, linen, or hemp.
- Measuring tape and pencil: For marking.
- Sandpaper: Various grits for smooth finish.
- Clamps: To hold wood as you work.
- Heat source: Heat gun or stove for recurving tips.
Optional but helpful:
- Tillering stick or tree: For checking limb balance.
- Leather gloves: Protect your hands during shaping.
Planning Your Bow Dimensions
Every archer is different, but certain dimensions work for most people. Here’s a basic guide for a standard recurve self bow:
| Dimension | Recommendation | Why It Matters |
|---|---|---|
| Length | 66, 72 inches | Longer bows are more forgiving and smoother to draw. |
| Width (handle) | 1.5 inches | Gives strength at the grip. |
| Width (mid-limb) | 1.25 inches | Allows gradual taper to tips. |
| Width (tips) | 0.5 inches | Reduces weight for faster arrows. |
| Thickness (center) | 0.75, 1 inch | Strong enough to resist breaking. |
These measurements are starting points. Adjust them based on your draw length and strength.
Laying Out The Bow
Place your stave flat on a workbench. Use a pencil to mark the center, this will be the handle section, usually about 6 inches long.
- Mark the center point.
- Measure equal distances out from the center to each tip.
- Sketch the outline: Wider at the handle, tapering to the tips.
- Mark the back (side facing the target) and belly (side facing you).
Warning: Do not remove wood from the back of the bow. Shave only from the belly to avoid weakening the structure.
Rough Shaping
Start by removing bark and sapwood, if necessary. Some woods, like osage, have a clear division between sapwood and heartwood. Always leave the first growth ring intact on the back.
Use the drawknife to shape the stave to your marks:
- Keep strokes even and controlled.
- Check symmetry often. Lay the bow flat and compare both limbs.
- Leave the handle area thicker for strength.
When the outline is clear and the limbs are roughly shaped, switch to the spokeshave for refining.

Credit: www.youtube.com
Shaping The Recurve Tips
The recurve is what gives your bow extra speed and smoothness. To create it:
- Mark about 10, 12 inches from each tip.
- Gently heat the limb with a heat gun or over a stove, never burn or scorch the wood.
- As the wood softens, bend the tip backward (away from the handle) over a round object, like a coffee can or pipe.
- Hold the tip in place until it cools and sets.
Both tips must curve equally for balanced shooting.
Example: When I first attempted recurving, I rushed and overheated the wood, causing a small crack. Take your time and move the heat evenly.
Tiller: Balancing The Limbs
Tillering is the process of ensuring both limbs bend smoothly and equally when drawn. This step determines how your bow will shoot and if it will last.
Steps To Tillering
- Cut shallow nocks at each tip to hold a tillering string.
- Place the bow on a tillering stick or tree.
- Slowly pull the string to about 10 inches. Observe how each limb bends.
- Remove wood from stiff areas on the belly using a rasp or scraper.
- Never remove wood from the back.
- Repeat: String, check, shave. Increase the draw length gradually (by 2 inches each time) until reaching your target draw (usually 28 inches for adults).
Pro Tip: Take frequent breaks. Overworking can cause mistakes or miss subtle problems in the curve.
Final Shaping And Sanding
Once tillering is complete, refine the bow’s shape for comfort and looks.
- Round off all edges, especially the handle.
- Sand from coarse to fine grits (start with 80, finish with 220).
- Smooth the nocks and tips to prevent string wear.
At this stage, you can add a small arrow shelf, but many traditional self bows are shelfless.
Applying A Finish
A finish protects your bow from moisture and adds beauty. Choose a finish that is flexible and allows the wood to breathe.
Popular options:
- Linseed oil: Traditional and easy to reapply.
- Tung oil: Durable and water-resistant.
- Varnish: Offers hard protection but may crack if over-applied.
Apply several thin coats, letting each dry fully. Avoid thick coats, as these can hinder the bow’s performance.

Credit: www.wikihow.com
Making And Installing The Bowstring
The string is as important as the bow itself. The most common materials are Dacron (synthetic), linen, or hemp (natural).
- Measure the bow’s length and make the string about 3, 4 inches shorter (for proper brace height).
- Traditional strings use a Flemish twist. Tutorials are widely available, but even a simple looped string works for beginners.
- Fit the string into the nocks, and check that the brace height (distance from handle to string) is about 6, 7 inches.
Example: On my first bow, I made the string too long, resulting in poor performance. Measure carefully and test the fit often.
Testing Your Bow
Before shooting, flex the limbs gently a few times. Listen for any creaks or cracks, these are warning signs.
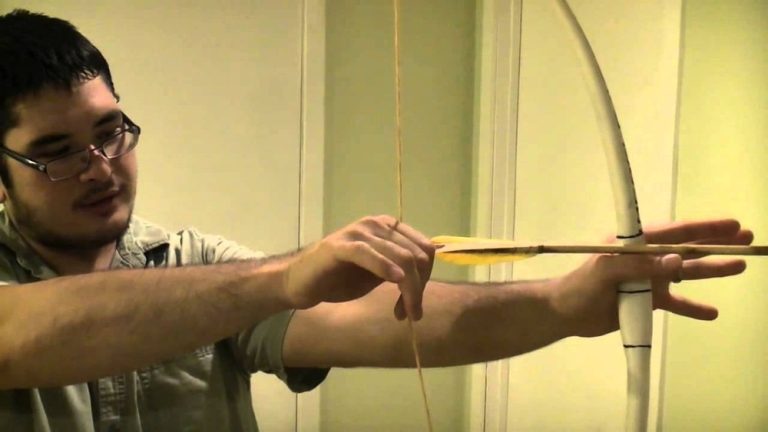
- Start with light draws. Do not pull to full draw immediately.
- If all feels solid, nock an arrow and shoot at a safe target.
- Check the limbs after every shot for the first 20, 30 arrows.
If you notice uneven bending or hear noises, check your tillering and fix as needed.
Caring For Your Recurve Self Bow
Proper care extends the life of your bow:
- Store in a cool, dry place. Avoid heat or direct sunlight.
- Unstring the bow when not in use to reduce stress.
- Reapply finish each season or after heavy use.
- Inspect for cracks or splinters regularly.
With good care, a self bow can last many years.
Common Mistakes And How To Avoid Them
Removing Wood From The Back
This weakens the bow and almost always leads to breaking. Only work the belly.
Rushing Tillering
Haste leads to uneven limbs and poor shooting. Take your time, making small adjustments.
Choosing Poor Quality Wood
Knots, twists, or cracks in the stave can cause sudden failure. Always start with the best wood you can find.
Overheating When Shaping Recurves
Excessive heat will damage the wood’s structure. Move the heat source steadily and don’t scorch.
Ignoring Moisture Content
Wet wood bends differently from dry wood and can lose its shape. Allow proper seasoning and store in a stable environment.
Comparing Recurve Self Bows To Other Bow Types
To help you understand the unique qualities of the recurve self bow, here’s a comparison with other popular traditional bows:
| Bow Type | Main Material | Performance | Difficulty to Make | Maintenance |
|---|---|---|---|---|
| Recurve Self Bow | Single piece of wood | Fast, smooth, traditional feel | Moderate | Medium, needs regular care |
| Longbow | Single piece of wood | Slower, forgiving | Easy to moderate | Low to medium |
| Laminated Recurve | Wood, fiberglass, glue | Very fast, stable | High | Low |
| Compound Bow | Metal, composite | Very high speed, mechanical | Very high | High (complex parts) |
Advanced Tips For Ambitious Bowyers
If you want to take your skills further, consider these advanced techniques:
- Back the bow: Add a layer of sinew or rawhide to the back for extra strength.
- Reflex/deflex design: Experiment with limb curves for different performance.
- Decorative inlays: Use antler or horn for tips or handle accents.
Warning: Advanced modifications increase the risk of breaking the bow if not done carefully. Practice with simple designs first.
Troubleshooting: What If My Bow Fails?
Sometimes, even experienced bowyers end up with a bow that doesn’t perform or breaks.
- Splintering on the back: Usually caused by removing wood from the back or using poor-quality wood.
- Twisted limbs: Can sometimes be corrected by gentle heat and bending, but severe twists require starting over.
- Stacking (hard to draw at full length): Limbs may be too thick or not tillered evenly. Sand the belly more in stiff areas.
- Hand shock (vibration after release): Try narrowing the tips or smoothing out the tiller.
Don’t be discouraged by failure. Each attempt teaches you more about wood and technique.
Real-world Examples And Community
Many archery communities and forums share photos, advice, and troubleshooting stories. The Primitive Archer forum and YouTube channels like “Backyard Bowyer” provide real-life examples and video tutorials. Joining such groups helps you learn from others’ experiences and share your own progress.
For historical context and more technical details, you can visit the Wikipedia: Bow and arrow page.
Frequently Asked Questions
How Long Does It Take To Make A Recurve Self Bow?
The process can take anywhere from a few days to several weeks, depending on your experience and the condition of your wood. Seasoning the wood takes the longest (months), but the actual crafting can be done in 10, 30 hours.
What Is The Minimum Draw Weight For A Hunting Bow?
Most states require a minimum draw weight of 40 pounds for hunting large game. Check your local regulations. For target practice, 25, 35 pounds is usually enough for beginners.
Can I Use Any Wood I Find In The Forest?
Not all wood is suitable. Look for straight, knot-free, and flexible woods like hickory, ash, or osage orange. Avoid softwoods like pine, which are too brittle. Always let the wood season properly before use.
Do I Need Special Tools To Make A Recurve Self Bow?
Basic hand tools like a drawknife, rasp, and spokeshave are enough. Power tools can speed up the process but are not necessary. Simple tools force you to work slower and notice small details, which helps prevent mistakes.