How to Carve a Self Bow: Step-by-Step Guide for Beginners
Carving a self bow, a traditional bow made from a single piece of wood, connects you to centuries of craftsmanship and nature. Unlike modern fiberglass or composite bows, the self bow is simple, elegant, and surprisingly powerful when made right.
Many beginners imagine it’s only for expert woodworkers or those with special tools, but with patience and guidance, almost anyone can carve a usable self bow. This guide breaks down the process, highlights key decisions, and shares practical advice that helps you avoid common mistakes.
Understanding The Self Bow
A self bow is a bow made from a single piece of wood, without added laminations or modern materials. The simplicity makes it both approachable and challenging. Each self bow is unique, shaped by the wood’s grain, species, and the maker’s touch.
Traditional societies across the world, Native American, European, Asian, crafted self bows for hunting and defense. Today, self bows are valued for their historical authenticity and the skill required to make them.
The process involves more than just cutting a stick. You must select the right wood, understand grain direction, and shape the bow so it bends smoothly without breaking. This transforms a rough stave into a reliable tool.
Choosing The Right Wood
The most important decision is your wood selection. Not every wood bends well or holds up under tension. Some common choices include:
- Osage orange: Highly prized for its strength and flexibility.
- Yew: Used in famous English longbows.
- Hickory: Readily available and forgiving for beginners.
- Ash: Easy to work, but can be heavy.
You can also use elm, maple, or black locust. The wood must be straight-grained, knot-free, and at least 5 feet (150 cm) long. The diameter should be 2, 3 inches (5, 8 cm).
Pro Tip: In my experience, hickory is best for first-time bowyers. It tolerates minor mistakes and is less likely to break during tillering.
Seasoning Your Stave
Fresh-cut wood is too wet. It must season, dry slowly, so it won’t warp or crack. Seal the ends with wax or glue to slow drying. Store the stave in a cool, dry place for at least 6 months, preferably a year.
If you buy a commercial stave, ask if it’s fully seasoned. Using wet wood usually leads to failure.
Tools And Materials Needed
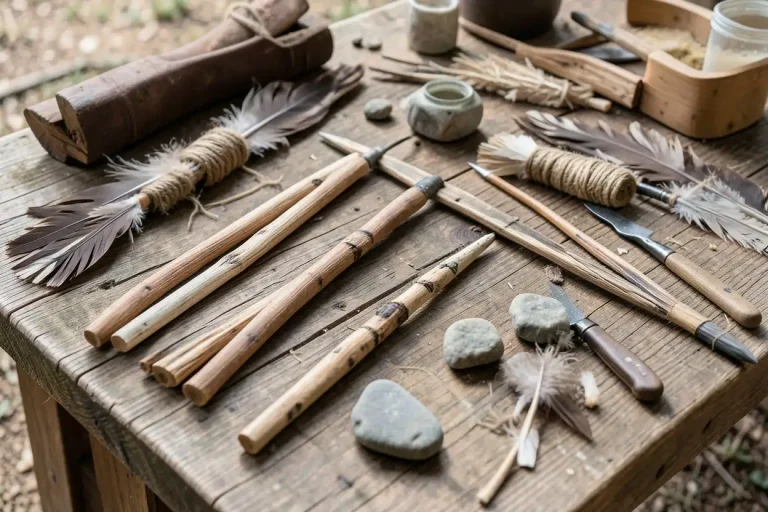
You don’t need a workshop full of expensive tools. Here’s what you really need:
- Drawknife: For shaping the stave.
- Rasp and files: For fine shaping.
- Spokeshave: For smoothing.
- Cabinet scraper: Removes thin shavings.
- Saw: For rough cuts.
- Measuring tape and pencil: Marking dimensions.
- Tillering string: A strong, temporary string for shaping.
- Sandpaper (80, 220 grit): For final smoothing.
- Clamps: To hold the bow while working.
- Protective gloves and eyewear
Optional but useful:
- Heat gun: For correcting twists.
- Workbench or sturdy table
Preparing The Stave
Start with a straight stave. Look for a piece with minimal knots, twists, or side branches. Any flaw can become a weak spot.
1. Remove Bark And Sapwood
Use the drawknife to strip the bark. For Osage or yew, keep the outermost growth ring intact, this becomes the bow’s back. Cutting into the ring weakens the bow.
2. Lay Out The Design
Mark the center (handle) and limb tips. A typical self bow is 66, 72 inches (167, 183 cm) long. The handle is usually 4, 6 inches (10, 15 cm) wide.
3. Rough Out The Shape
Using a saw, cut the stave to rough dimensions:
- Limbs: About 1.5, 2 inches (4, 5 cm) wide near the handle, tapering to 0.5 inches (1.2 cm) at the tips.
- Thickness: Start at 0.75, 1 inch (2, 2.5 cm).
Example: For a 68-inch bow, mark 34 inches from each end for the limbs and 4 inches in the center for the handle.

Credit: www.youtube.com
Shaping The Bow
Now, you’ll start to see the bow emerge. This stage is called floor tillering.
1. Shape The Back And Belly
The back (facing away from you when shooting) must stay as untouched as possible. Shape the belly (the side facing you) so it’s flat or slightly rounded.
2. Taper The Limbs
Use the drawknife and spokeshave to make the limbs thinner toward the tips. The taper should be smooth, with no sudden changes in thickness.
3. Handle And Grip
Leave the handle area thicker and wider for comfort and strength.
Pro Tip: Beginners often remove too much wood too quickly. Take thin shavings, check your progress often, and compare both limbs for symmetry.
4. Floor Tillering
Press the bow’s tips against the floor, gripping the handle. Both limbs should bend evenly. If one side is stiffer, remove a little wood from the belly on that limb.
Rough Tillering
Tillering is the art of making both limbs bend evenly. This is the step where most self bows fail if rushed.
1. Cut Nocks
Carve shallow notches at each tip for the tillering string.
2. String The Bow
Use a long tillering string (longer than the final bowstring) so the bow is only slightly bent.
3. Check Limb Balance
Pull the string a few inches and observe how the limbs bend. Both should curve smoothly, with no flat spots or hinges (sharp bends).
4. Remove Wood Gradually
Use a scraper or rasp to remove small amounts from stiff areas. Restring and check after each adjustment.
Example: If the upper limb bends less, carefully remove wood from its belly until both sides match.
5. Increase Draw
As the bow flexes more, shorten the tillering string until you reach your target draw length (commonly 28 inches for adults).
Pro Tip: Beginners often focus only on one limb at a time. Always check both limbs after each adjustment; imbalance can cause permanent twist or breakage.
Final Shaping And Smoothing
When the bow bends evenly to full draw, it’s time for finishing touches.
1. Refine The Limbs
Smooth and round the edges to prevent splinters. Remove tool marks with rasps and sandpaper.
2. Shape The Handle
Carve the grip to fit your hand comfortably. Some add a slight bulge or flat section for better control.
3. Sand The Entire Bow
Start with coarse sandpaper (80 grit), working up to 220 grit for a smooth finish.
4. Cut Final Nocks
Deepen and shape the string nocks at the tips. Make sure they’re even and smooth, rough nocks can cut the string.
5. Check Weight And Draw
A typical hunting bow draws 40, 60 pounds at 28 inches. If you want a lighter bow for target practice, aim for 30, 35 pounds.
Applying A Finish
Bare wood absorbs moisture, which weakens the bow over time. A protective finish adds durability and improves appearance.
- Linseed oil, tung oil, or polyurethane are common choices.
- Wipe the finish on with a cloth, let it soak, then wipe off excess.
- Apply 2, 3 coats, allowing each to dry fully.
Some bowyers decorate the back with paint, rawhide, or snake skins, but this is optional.
Making The Bowstring
You can buy a string or make your own. For a first bow, a Dacron B-50 string is reliable and stretches slightly, which is gentle on the bow.
1. Measure Your Bow
The finished string should be about 4 inches shorter than the bow’s length.
2. Install String Loops
The loops at each end fit over the nocks.
3. Brace Height
The distance from the grip to the string (brace height) should be 6, 7 inches.
If you want to make a traditional string, use linen, hemp, or sinew, but these are less forgiving.
Shooting And Adjustments
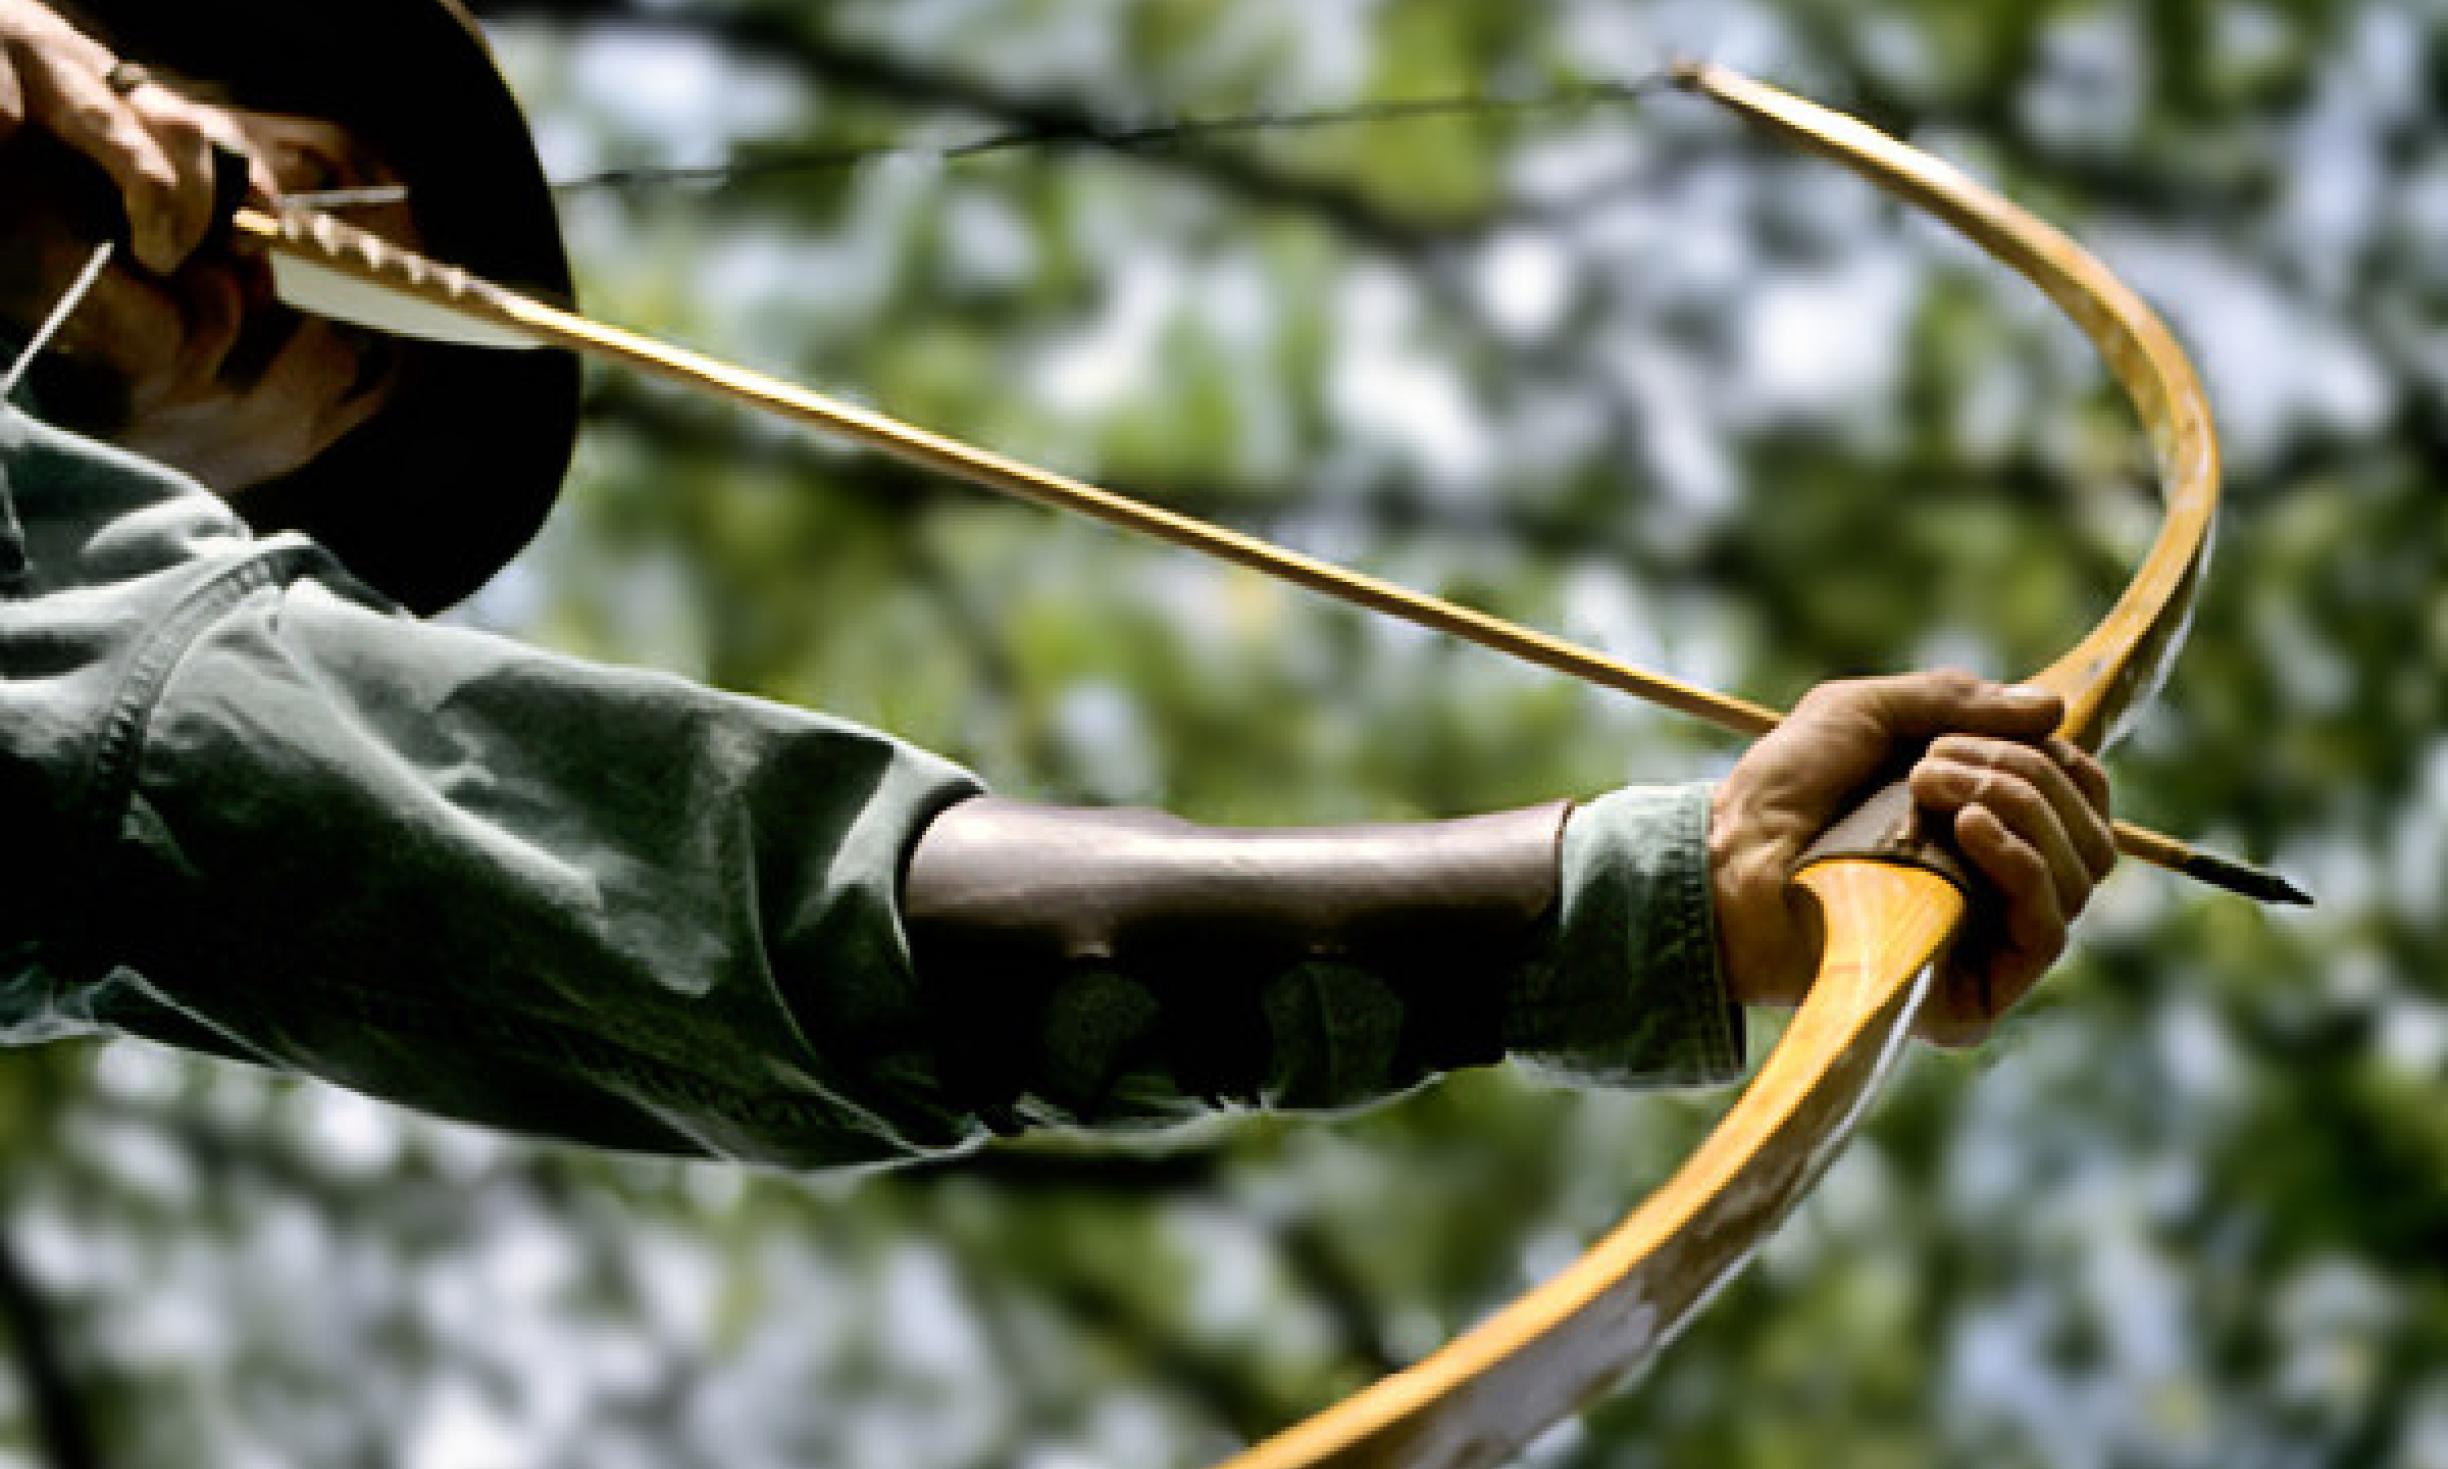
Never draw the bow more than your tillered length at first. Shoot a few arrows and observe how the bow handles.
- If one limb vibrates or twists, adjust by removing a tiny amount of wood from the belly.
- If the bow creaks, stop and inspect for cracks.
Example: When I made my first self bow, the upper limb was slightly stiffer. A few careful scrapes fixed the imbalance, and the bow shot smoothly.
Credit: wildernessawareness.org
Common Mistakes And How To Avoid Them
Removing Too Much Wood
Many beginners get impatient and take off too much wood during tillering. This weakens the bow and reduces power.
Cutting Into The Back
Never cut into the back’s growth ring, especially with Osage or yew. This is a leading cause of premature failure.
Ignoring Seasoning
Using green or wet wood almost always leads to cracks or a warped bow. Season your stave fully.
Poor Limb Symmetry
Uneven limbs make the bow shoot unpredictably and can cause twist or breakage. Check often with a measuring tape.
Stringing Too Soon
Don’t string the bow to full brace height until tillering is nearly complete. Rushing can cause catastrophic breakage.
Comparing Wood Types For Self Bows
Choosing the right wood impacts your experience. Here’s a comparison of popular self bow woods:
| Wood Type | Strength | Flexibility | Availability | Recommended For |
|---|---|---|---|---|
| Osage Orange | Excellent | Very High | Moderate | Experienced Bowyers |
| Yew | High | High | Rare | Traditionalists |
| Hickory | Good | Good | Common | Beginners |
| Ash | Moderate | Moderate | Common | Practice Bows |
Comparing Hand Tools For Bow Making
Some tools make shaping easier, but not all are necessary. Here’s how they differ:
| Tool | Main Use | Skill Level Needed | Pros | Cons |
|---|---|---|---|---|
| Drawknife | Rough shaping | Intermediate | Removes wood fast | Can gouge if misused |
| Spokeshave | Smoothing curves | Beginner | Precision control | Slower than drawknife |
| Rasp | Fine shaping | Beginner | Removes small amounts | Can leave roughness |
| Cabinet Scraper | Final smoothing | Intermediate | Very smooth finish | Needs sharpening |
Safety Tips For Bow Carving
Carving a self bow involves sharp tools and strong forces. Here’s how to stay safe:
- Wear gloves and eye protection when using drawknives or rasps.
- Clamp your stave securely to avoid slips.
- Cut away from your body, never toward yourself.
- Keep tools sharp; dull blades are more dangerous.
- Check for cracks before and after each tillering session.
Pro Tip: Always inspect your bow for splinters or splits before shooting. A hidden flaw can cause sudden breakage.

Credit: www.wikihow.com
Troubleshooting Problems
Even with care, issues can happen. Here’s how to handle them:
Bow Develops A Twist
If one limb twists, you can often correct it with gentle heat (using a heat gun) and careful bending. Clamp the bow in the correct position until it cools.
Small Splinters On The Back
Stop working immediately. Sand the area smooth, apply thin glue if needed, and avoid removing more from that spot.
Bow Feels Weak
If the bow is too easy to draw, you may have removed too much wood. Shorten the bow slightly or increase limb thickness next time.
String Keeps Slipping Off
Check that your nocks are deep and smooth enough to hold the string securely.
Caring For Your Self Bow
A well-made self bow can last years, but only with proper care.
- Store in a cool, dry place, avoid extreme heat or humidity.
- Unstring the bow when not in use to relieve stress on the limbs.
- Check for cracks regularly, especially after use.
- Reapply finish yearly or as needed.
Pro Tip: Never leave your bow in a hot car or direct sun. Heat can soften the glue and warp the wood.
The Joy And Challenge Of Self Bow Making
Carving a self bow is more than a woodworking project, it’s a test of patience, observation, and respect for natural materials. Each bow teaches you something new about wood, tools, and your own skills. The process is as rewarding as the final product.
If your first attempt doesn’t shoot perfectly, don’t be discouraged. Even experienced bowyers break bows sometimes. Each effort builds understanding and confidence.
For deeper learning and bowyer communities, explore online resources like the Primitive Archer forums or historical guides at Wikipedia.