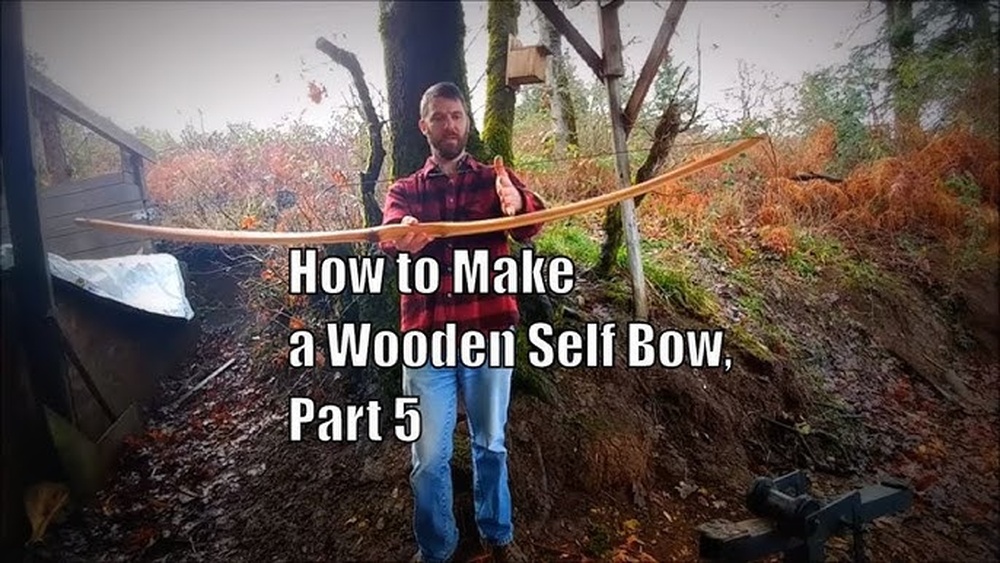
How to Make a Wooden Self Bow: Step-by-Step Guide for Beginners
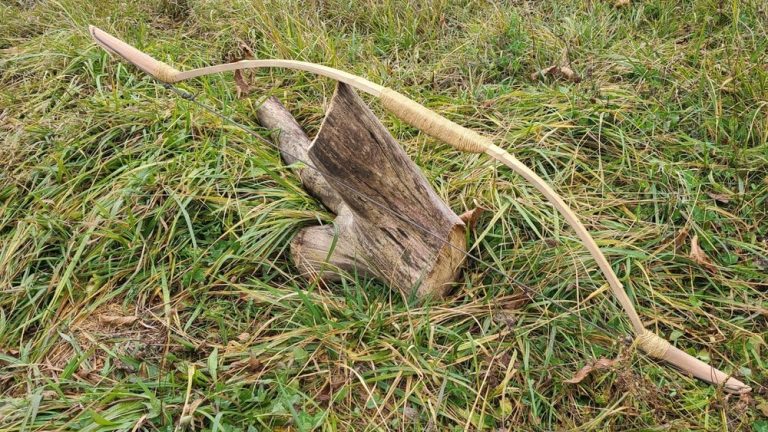
Making a wooden self bow is more than just a craft, it’s a journey into tradition and patience. A self bow is a bow made from a single piece of wood, shaped and bent by hand, without laminations or modern materials.
Many people are surprised by how satisfying it feels to shoot an arrow from something they’ve built themselves. If you want to experience archery in its purest form, making your own self bow is the way to begin.
This guide will walk you through the full process, from choosing the right wood to stringing and finishing your bow. Whether you want a survival tool, a unique project, or a deeper connection with archery’s roots, you’ll find clear, practical steps here.
Even if you’re new to woodworking, with care and patience, you can create a bow that’s both beautiful and functional.
Understanding The Wooden Self Bow
A self bow is the simplest type of traditional bow. Unlike composite or laminated bows, a self bow uses only one piece of wood. This simplicity means every part of the bow must be shaped and balanced with care. The right wood, correct shape, and smooth finish all play a role in the bow’s performance.
Advantages of a self bow:
- Simple materials (only one stick of wood needed)
- Lightweight and easy to carry
- Traditional look and feel
Common uses:
- Target shooting
- Survival situations
- Historical reenactment
The self bow’s main challenge is that the wood must handle both the tension and compression when drawn. This is why wood choice and careful shaping matter so much.
What You Need: Tools And Materials
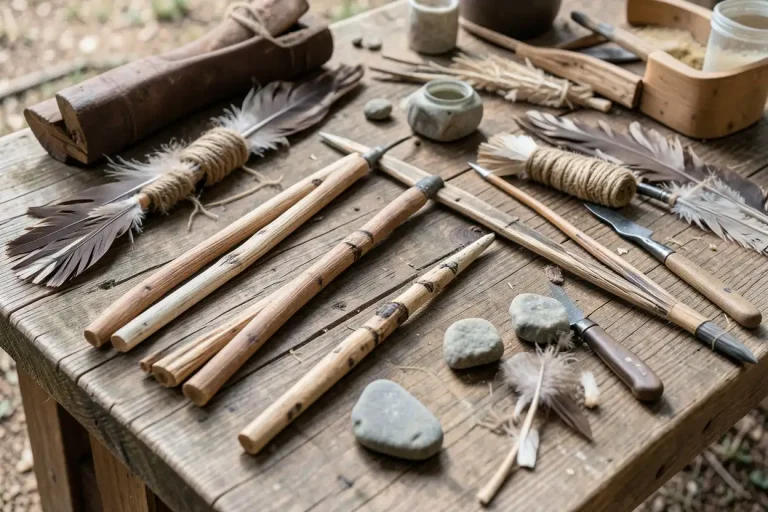
Before you begin, gather the right tools and materials. Having everything ready will make the process smoother and more enjoyable.
Essential Tools
- Axe or hatchet: For rough shaping the wood stave.
- Drawknife or spokeshave: To remove wood and shape the limbs.
- Rasp and file: For detailed shaping and smoothing.
- Cabinet scraper or sandpaper: To finish the surface.
- Measuring tape: For checking dimensions.
- Marking pencil: To draw lines and guide cuts.
- Tillering stick or tillering tree: For testing the bow’s bend.
- Wood clamps: To hold your work steady.
- Saw: For cutting the stave to length.
- Knife: For fine shaping and making nocks.
- String material: Dacron or natural fibers.
- Protective gloves and glasses: Safety always comes first.
Choosing The Right Wood
The most important decision is the type of wood. Not all woods work well for self bows. You need wood that is flexible but strong, with straight grain and no major knots.
Best woods for self bows:
- Osage orange: Highly elastic, durable, traditional favorite in North America.
- Yew: Classic European bow wood, especially for longbows.
- Hickory: Tough and available in many places.
- Ash: Flexible and easy to work.
- Elm: Good for beginners, bends well.
If you can’t find these, look for straight-grained, knot-free hardwood. Avoid softwoods like pine and cedar, they break easily.
Pro Tip: When possible, cut your own stave in late winter or early spring, before sap rises. Let it season (dry) for several months for best results.
Material Comparison
To help you choose, here’s a comparison of four popular self bow woods:
| Wood | Strength | Flexibility | Ease of Use | Availability |
|---|---|---|---|---|
| Osage Orange | Excellent | Very High | Medium | Limited |
| Yew | High | High | Hard | Rare |
| Hickory | Good | Good | Easy | Common |
| Ash | Medium | Medium | Easy | Common |
Preparing The Bow Stave
A stave is simply a stick or split log from which you shape your bow. The stave should be at least as tall as you are, usually 5.5 to 6 feet (170, 183 cm) long, and about 2 inches (5 cm) wide and 1.5 inches (4 cm) thick.
Stave Selection Tips
- Look for wood with straight grain, curves or waves can create weak spots.
- Avoid staves with knots, cracks, or twist.
- If buying, ask for “bow staves” or “split staves”; they’re sometimes sold online or at specialty wood shops.
Seasoning The Wood
Freshly cut wood, called “green” wood, contains a lot of moisture. This can cause your bow to warp or crack as it dries. Let your stave season in a dry place for at least 3, 6 months, depending on thickness and climate.
Pro Tip: Seal the ends of your stave with wax or glue to slow down drying and prevent cracks.
Shaping The Bow
Now, the real craft begins. Shaping the bow means removing wood until you have the right dimensions, then balancing both limbs so they bend evenly.
Laying Out The Bow
- Find the back: The “back” is the side farthest from the archer when shooting; it must follow the wood’s natural surface. The “belly” is the side facing you.
- Mark the center: Measure the stave and mark the exact center. This is your handle or grip area, usually about 4, 5 inches (10, 13 cm) long.
- Draw the limbs: On each side of the handle, mark the width you want. Most self bows taper from about 1.5, 2 inches (4, 5 cm) wide at the handle to about 0.5 inch (1.2 cm) at the tips.
Rough Shaping
Use an axe or hatchet to quickly remove excess wood, then a drawknife to refine the shape. Work slowly and evenly, removing too much too fast can ruin the stave.
- Back of the bow: Leave the outer growth ring untouched; this is your tension surface.
- Belly of the bow: Remove wood here to create the bend.
Limb Thickness Guide
Here’s a reference for typical self bow dimensions:
| Section | Width | Thickness |
|---|---|---|
| Handle (center) | 1.5, 2 in (4, 5 cm) | 1, 1.5 in (2.5, 4 cm) |
| Mid-limb | 1.25 in (3 cm) | 0.75 in (2 cm) |
| Tips | 0.5 in (1.2 cm) | 0.5 in (1.2 cm) |
Warning: Never cut into the back of the bow (outermost ring). This can cause the bow to snap during use.
Tillering: Getting The Perfect Bend
Tillering is the process of removing wood from the belly to make both limbs bend evenly. This step is what separates a weak bow from a powerful, long-lasting one.
How To Tillering
- String the bow loosely: Use a long, weak string to brace the bow only slightly. Don’t use full draw yet.
- Check the bend: Place the bow on a tillering stick (notch at different intervals) or hang it on a tillering tree. Step back and observe the curve.
- Remove wood from stiff spots: Use a rasp or scraper to take off small amounts from areas that don’t bend as much.
- Repeat: String, check, and remove wood until the limbs bend in a smooth, even arc.
Common Tillering Mistakes
- Over-tillering: Removing too much from one spot, leads to weak limbs.
- Under-tillering: Not enough bend, bow feels stiff and heavy.
- Uneven limbs: One side bends more, causes twisted shots and possible breakage.
Pro Tip: Go slow! It’s easier to take more wood off than to fix an over-thinned spot.
Tillering Progression Guide
Here’s a progression table for safe tillering:
| Draw Length | Draw Weight (approx.) | Action |
|---|---|---|
| 6, 8 in (15, 20 cm) | 5, 10 lbs | Rough tiller, check for even bend |
| 12, 16 in (30, 40 cm) | 15, 20 lbs | Fine-tune limb balance |
| Full draw (26, 28 in) | Target weight (30, 60 lbs) | Final adjustments |
Cutting Nocks And Shaping The Handle
Once the limbs bend evenly, you’re ready to add the finishing touches.
Cutting String Nocks
At the tips of each limb, you need small notches (nocks) for the string. Use a small round file or sharp knife.
- Place nocks about 1/2 inch from the end, angled slightly away from the back.
- Cut just deep enough for the string to sit securely, not so deep as to weaken the tip.
Pro Tip: Reinforce tips with horn or hardwood overlays for extra strength, especially if using a powerful bow.
Shaping The Handle
Most self bows have a simple, slightly rounded handle. You can leave it flat or add a gentle palm swell for comfort. Sand smooth, and avoid removing too much material.

Credit: www.youtube.com
Sanding And Finishing The Bow
A smooth bow is more comfortable and less likely to give splinters. It also looks better and helps protect the wood.
Sanding
- Start with coarse sandpaper (80, 100 grit) to remove tool marks.
- Progress to finer grits (180, 220) for a smooth finish.
- Always sand along the grain, not across.
Applying Finish
To protect the wood from moisture and dirt, apply a finish. Good options are:
- Linseed oil: Penetrates deeply, gives a warm color.
- Tung oil: Dries harder, more water-resistant.
- Polyurethane: Very tough, but less traditional look.
Rub on a thin coat with a cloth, let it soak in, and wipe off excess. Repeat 2, 3 times for best results.
Pro Tip: Avoid thick varnish or paint, which can crack as the bow bends.
Making And Attaching The Bowstring
A strong, stretchy bowstring is vital. You can buy synthetic string (like Dacron) or twist your own from natural fibers (like linen or hemp).
Measuring The String
- The bowstring should be about 4 inches shorter than your unstrung bow.
- This gives the right “brace height” (distance from grip to string) when strung, usually 6, 7 inches for most self bows.
Making A Simple Flemish Twist String
- Cut two bundles of string material, each twice the bow’s length.
- Twist the bundles together, looping back on themselves to form a loop at one end.
- Continue twisting and braiding until the desired length.
- Tie off the other end with a simple knot.
Attaching The String
- Slide the top loop into the upper nock.
- Bend the lower limb slightly and slip the bottom loop into its nock.
- If the bow feels too stiff to string, remove a little more from the belly.

Credit: redhawk55.wordpress.com
Tuning And Shooting Your Bow
Your bow is nearly ready to shoot. But first, check its performance and make final tweaks.
Tuning Steps
- Check brace height: Should be 6, 7 inches.
- Draw and release gently: Listen for creaks or cracks.
- Test arrows: Shoot a few arrows at short range. If the bow twists or vibrates, check limb balance.
- Adjust if needed: Sand rough spots, adjust tiller, or shorten the string slightly.
Shooting Tips
- Use arrows matched to your bow’s draw weight and length.
- Always inspect your bow before shooting, especially the first few times.
- Store the bow unstrung to prevent fatigue.
Example: When I made my first hickory self bow, I noticed a buzz on release. By carefully checking the tiller, I found one limb was stiffer near the tip. A few careful passes with the scraper made the bend smoother and the bow shot quietly.
Maintenance And Long-term Care
A wooden self bow can last for years with simple care:
- Keep it dry: Store in a cool, dry place.
- Avoid extreme temperatures: Heat and humidity can warp or weaken the bow.
- Reseal annually: Rub on more oil or finish once a year.
- Check for cracks: Inspect before each use.
Never leave your bow strung when not in use, this is a common beginner mistake that weakens the limbs.

Credit: www.wood-database.com
Safety Precautions
Building and shooting a self bow is generally safe, but always keep these points in mind:
- Wear eye protection when chopping, cutting, or tillering.
- Cut away from your body when using knives or drawknives.
- Never draw a bow with visible cracks or damage.
- Keep bystanders behind you when testing or shooting.
If you’re unsure about a step, ask an experienced bowyer or join a community forum for advice.
Frequently Asked Questions
How Do I Know If My Bow Is Too Weak Or Too Strong?
A bow is too weak if it feels easy to pull and shoots arrows slowly. It’s too strong if you struggle to draw it to full length or feel pain. For most adults, a draw weight of 30, 50 pounds is comfortable. If in doubt, start with a lighter bow