How Did Native American Arrow Shafts Stay Straight?
Native American arrow shafts stayed straight through careful grain selection, heat straightening, repeated sighting, and moisture control. Skip one step, and shafts can warp, fly unevenly, and split more easily on release. This guide breaks down each method, explains the mechanical reason behind it, and points out where each one fails.
Why shaft straightness mattered


A straight arrow shaft matters because it leaves the bow cleanly and tracks the target more consistently. A bend changes spine behavior and can make the arrow fishtail, kick sideways, or group poorly. Straightness is part of arrow tuning, not a final cosmetic step.
That mattered in Native American archery tradition, where hand-made bows and arrows were used for hunting and warfare. The work depended on field knowledge, not modern jigs or one standard workshop method. Straight shafts were a practical requirement.
Wooden shafts can move after cutting. Grain runout, hidden bends, heat, impact, and especially moisture changes all alter shape over time. A shaft that looks fine one day can take on a slow curve after storage or a damp trip.
What woods were used for Native American arrow shafts?
There was no one wood for every tribe or region. Shaft wood came from what grew nearby and what made a clean, light, usable stem. Straight-grained saplings and shoots were preferred because they needed less correction after cutting.
In many parts of North America, makers used locally available woods such as dogwood, willow, ash, hickory, cedar, cane, and other straight shoots or reeds where those plants were common. The key was not a brand-name species. It was a stem with even grain, workable density, and few knots.
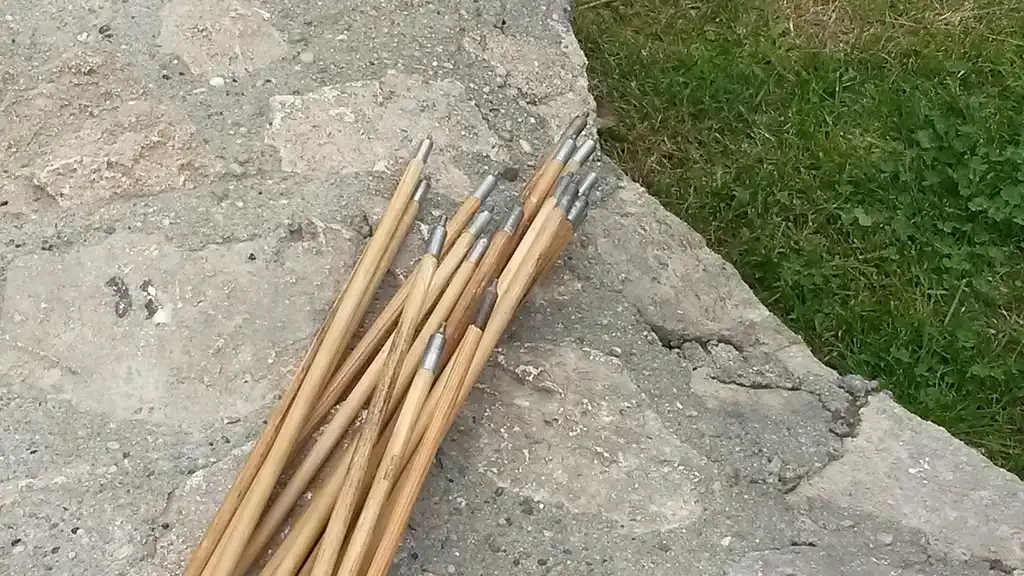
A shaft-ready stem had to be straight enough before trimming began. Makers looked for long, smooth grain, few side branches, and a stem that did not twist sharply. A piece with a hidden curve could still be used, but it demanded more straightening and more rechecking.
What made a shaft-ready stem
- Long, even grain with little twist
- No major knot clusters in the flight section
- Thin, uniform diameter for the intended arrow
- Low visible waviness before final shaping
- Enough toughness to take heat correction without splintering
How were arrow shafts straightened by Native Americans?
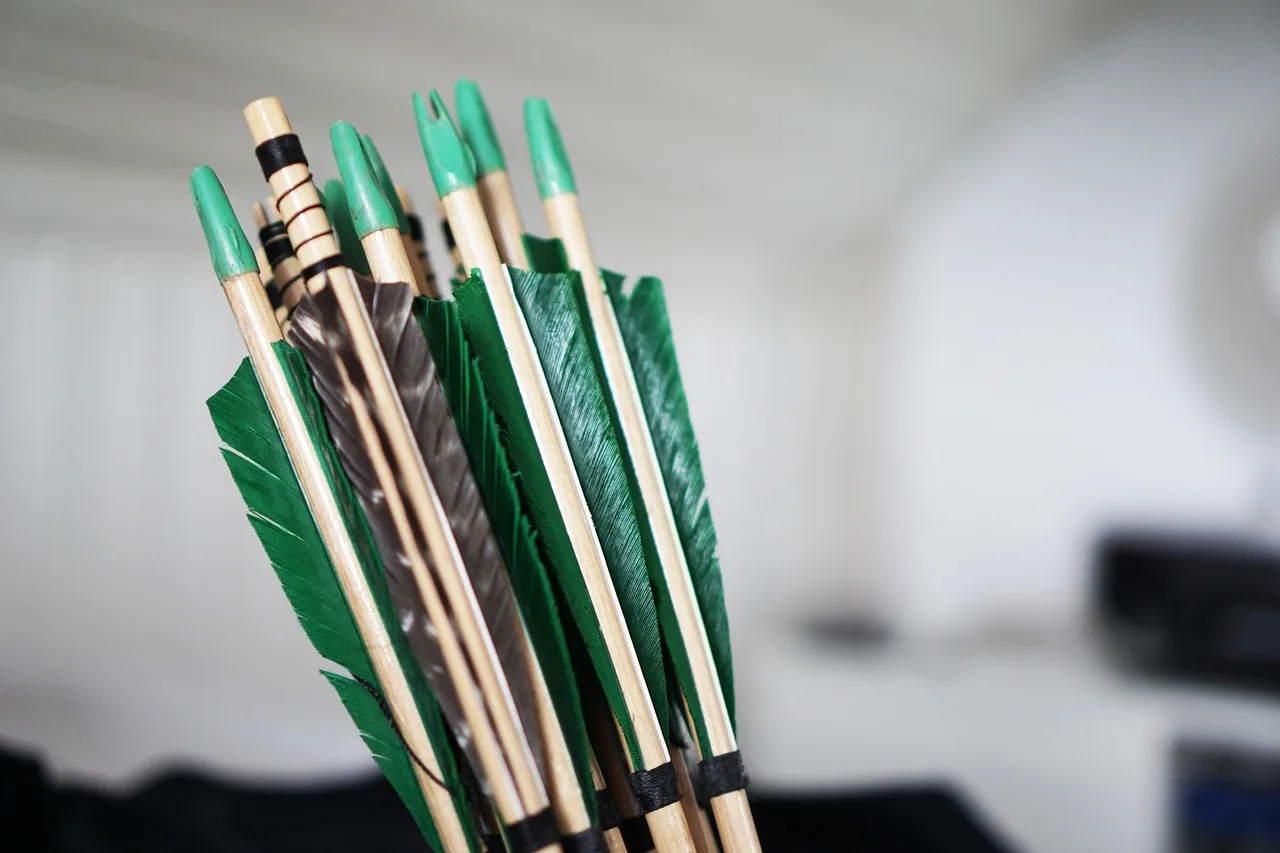
Arrow shafts were straightened by warming the wood, bending it back into line, and checking it against a straight reference as it cooled. That process worked on fresh-cut shafts and on finished shafts that had drifted out of line. The method changed with the shaft’s condition and the amount of bend.
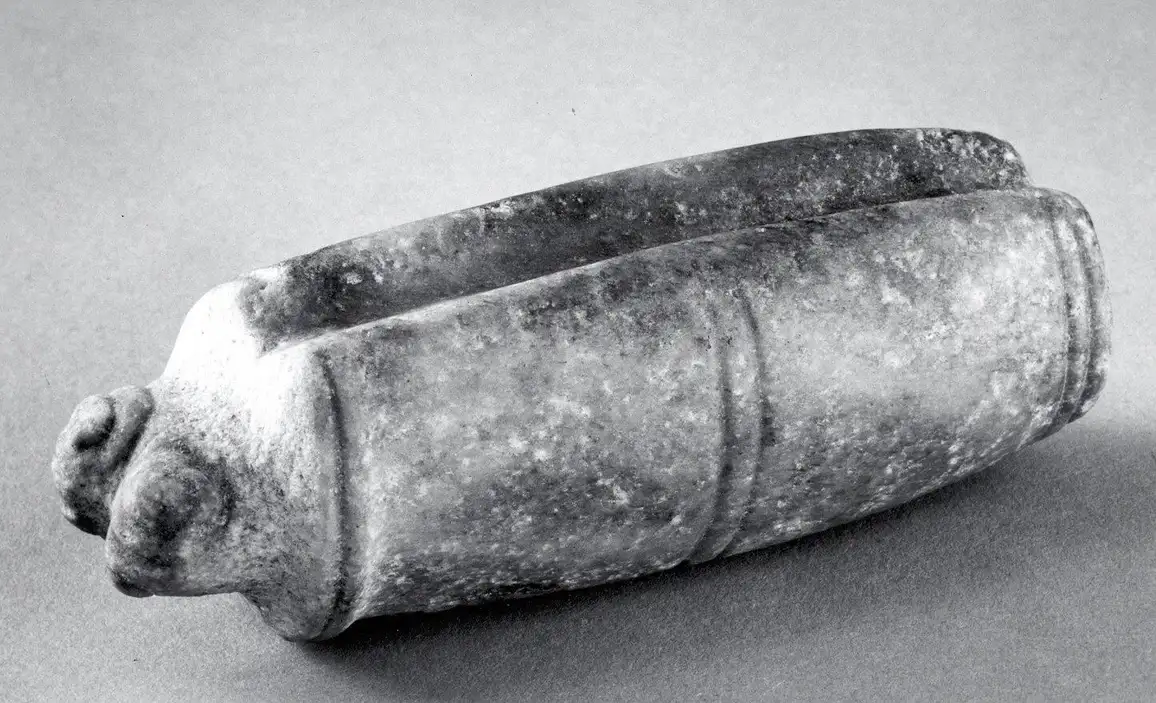
In ancient times, people used tools for straightening arrow shafts, and shaft-straightening tools are mentioned for a period from 10,800–8,300 BC. The exact tool varied by place and material, but the job was the same: apply controlled heat and pressure so the wood could be reset.
Heat-straightening tools were used to correct bends in shafts. A warmed shaft softens enough to move, then stiffens again as it cools. Archaeology places such tools in very early use, but the practical method is simple: heat, bend, sight, cool, and repeat if needed.
Step-by-step correction in the field
- Find the bend by rolling or sighting the shaft against a straight edge, string line, or known-straight reference.
- Warm only the bent section, not the whole shaft, so the correction remains localized.
- Press the curve slightly past straight, then release and recheck as the wood cools.
- Repeat on small bends rather than forcing one hard correction.
- Stop if the surface darkens, cracks, or begins to feel brittle.
A common first-timer mistake is heating the shaft until the surface looks dry and scorched, then bending it hard in one motion. That can hold for a short time, but it also raises the chance of hidden splits and later failure, especially near the nock or point end.
Suppose a roughly 28-inch reed shaft has a gentle bow near the middle after transport. A light warm-up and two small corrections may fix it. If the same shaft has a sharp kink at a knot, replacement is safer, because the weak point will likely open under shot load.
What could go wrong during correction?
Over-heating can make the outside fibers brittle. Under-drying leaves moisture inside the shaft, so it may straighten while warm and move again later. Hidden grain runout can also fool the eye; a shaft may look straight from one angle and drift off line when rolled.
Repeated correction has limits. Each heating cycle changes the wood a little more. If a shaft keeps springing back, shows a crush mark, or starts to splinter, the bend is no longer a simple alignment issue. It is a structural problem.
How did Native Americans keep arrows from warping?
They kept arrows from warping by controlling moisture, drying shafts before use, and storing them where humidity swings were lower. Wood moisture is a major cause of warping. Finished shafts that absorb water swell unevenly, then dry back out in a new shape.
Fresh-cut shafts and finished shafts needed different care. Fresh-cut wood needed time to season or dry enough for stable work. Finished arrows needed storage that protected them from damp ground, rain, smoke, and repeated wet-dry cycles.
Storage conditions mattered because humidity can change shaft shape over time. A dry shaft kept in a damp shelter may slowly take on a curve. A shaft kept near heat or a fire may also move if one side dries faster than the other.
Fresh-cut shafts versus stored shafts
- Fresh-cut shafts: more moisture, more movement, easier to bend, more likely to twist as they dry
- Stored shafts: usually already seasoned, but still vulnerable to humidity swings and transport damage
- Warping-after-use shafts: may need re-straightening after wet weather, impact, or long storage
Picture a bundle of straight shafts tied together during a wet trip. If one end stays damp longer than the rest, that side expands first and the shafts begin to bow. The fix is not force. It is drying, controlled warming, and a fresh check for straightness after the wood settles.
How do you straighten a wooden arrow shaft?
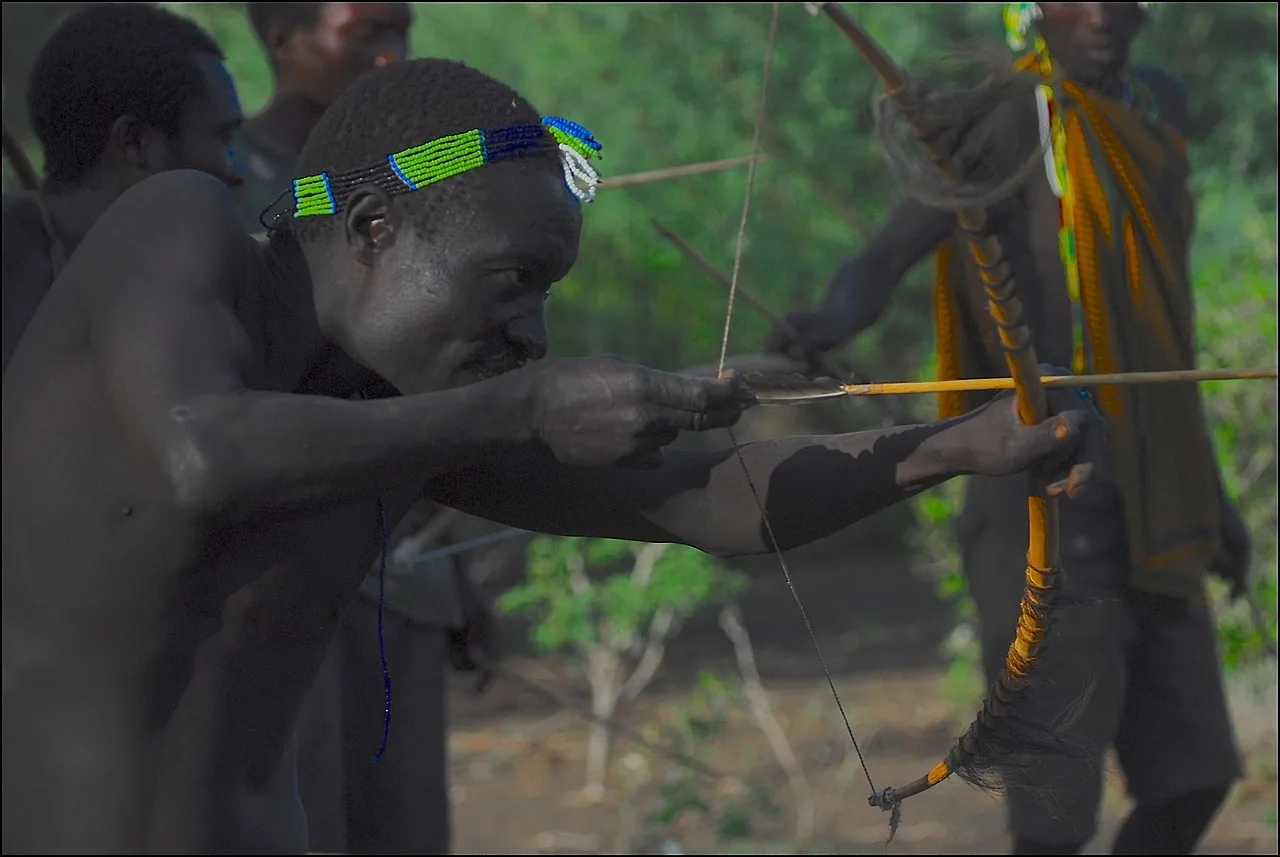
To straighten a wooden arrow shaft, warm the bend, press it back a little at a time, and recheck alignment before the wood cools completely. The goal is gradual correction, not a single hard snap into place. This works on many traditional shafts, but damage limits the method.
What tools were used to make arrows straight in ancient times?
Tools used in ancient times included simple heating implements, straightening sticks, and straight references for sighting the shaft. The historical record shows that people used shaft-straightening tools very early, and the method was practical rather than decorative. No modern machine was required.
Some traditions used the fingers, teeth, or a straight edge to judge line, along with heat from coals, a flame, or a warmed tool. The important part was control. The wood had to warm enough to move, but not so much that it burned or split.
Shaft straightness checklist
| Bend type | Likely cause | Straightening method | Risk of breakage | When to replace the shaft |
|---|---|---|---|---|
| Gentle bow along the length | Moisture change or mild storage warp | Warm the bend, press slightly past straight, recheck while cooling | Low to moderate | If it springs back after two or three attempts |
| Short kink near the middle | Impact or a hard drying spot | Localized heat only, then slow correction | Moderate | If the surface wrinkles, crushes, or creaks |
| Twist or corkscrew bend | Grain runout or uneven drying | Minor twist correction may help, but full replacement is often safer | High | Usually replace if the twist affects flight or nock alignment |
| Bend near nock or point end | Transport damage or repeated use | Very light heat only; avoid force near the ends | High | If the end fibers split or the bend returns quickly |
| Warp after wet weather | Water uptake and uneven drying | Dry first, then heat-straighten once stable | Moderate | If drying leaves a permanent curve or soft spots |
Decision path
- Fresh-cut shaft: dry it first, then straighten in stages. If it twists while drying, correct small bends early.
- Stored shaft: inspect for humidity warp, roll it, and correct only the sections that drifted.
- Warped after use: check for impact damage first. If the shaft is intact, re-dry and then straighten.
- Any shaft with cracks, deep splits, or a crushed grain line: replace it.
What do documented traditions show?
Documented traditions show that straightening was part of a larger craft system, not a single fixed recipe. Ishi, named as the last of the Yahi tribe and a source of traditional archery knowledge, is often used as a bridge to recorded Indigenous technique transmission. That matters because it helps connect living knowledge with older practices.
The main lesson is regional variation. Different climates, plants, and arrow styles changed the process. A maker working with cane in one region needed different handling than a maker choosing hardwood shoots in another. The goal stayed the same: a shaft that flew straight and held together.
That wider history fits the long record of archery. The oldest signs of bows and arrows are dated to about 72,000 to 60,000 years ago in South Africa. Earliest bow and arrow parts in Europe were found in Germany and dated to about 17,500 to 18,000 years ago. Archery has long served hunting and fighting in wars, and shaft care has always been part of that craft.
Frequently asked questions
How did Native American arrow shafts stay straight?
They stayed straight through a mix of careful wood selection, heat straightening, repeated sighting, and moisture control. Makers chose straight-grained stems, corrected small bends while the wood was warm, and stored finished shafts so humidity changes did less damage. The method changed with fresh-cut wood, stored wood, and shafts that warped after use.
What wood was used for Native American arrow shafts?
There was no single wood used everywhere. Native makers used local straight-grained woods and shoots such as dogwood, willow, ash, hickory, cedar, cane, and other available stems. The best choice depended on region, climate, and the kind of arrow being made. Straight grain and low defect count mattered more than one exact species.
Did Native Americans heat straighten arrow shafts?
Yes. Heat straightening was part of ancient shaft work, and shaft-straightening tools are mentioned for a period from 10,800–8,300 BC. Heat let the wood bend back into line before it cooled and locked into the new shape. The key was control, because too much heat could weaken the shaft.
Why do arrow shafts bend and warp?
Arrow shafts bend and warp because wood is not static. Grain runout, impact, uneven drying, heat, and moisture changes all move the fibers. A shaft may look straight after cutting and still drift later. If the bend is severe, repeated correction can do more harm than good, especially near the ends.