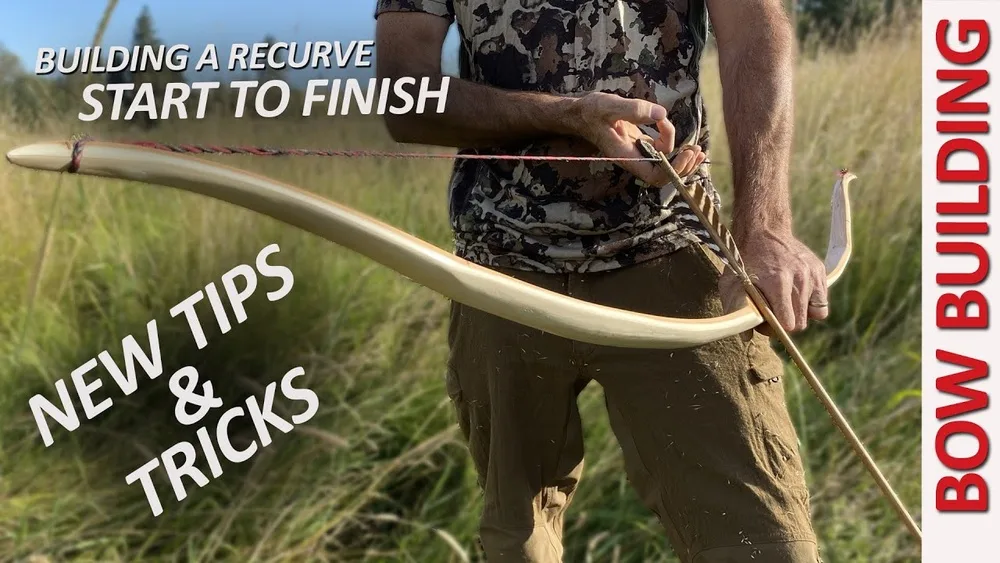
How to Make a Yew Self Bow: Step-by-Step Guide for Beginners
Making your own yew self bow is a rewarding project that combines skill, patience, and a connection to ancient tradition. The yew self bow, crafted from a single piece of yew wood, is famous for its power, flexibility, and beauty. For centuries, archers valued yew for its unique qualities. Today, building a yew self bow is both a craft and a personal journey.
If you’re new to bow making, don’t worry. This guide will walk you through each step, from selecting the right wood to finishing your bow for use. Along the way, you’ll learn important tips, common mistakes to avoid, and practical advice from real experience.
By the end, you’ll have a clear plan to build your own bow and understand why yew is such a special material.
Understanding The Yew Self Bow
The self bow is made from a single piece of wood, usually yew. Unlike laminated bows or composite bows, there are no glued parts or additional materials. This simplicity is why the self bow is famous for its reliability and performance.
Yew wood is prized because it has a tough outer layer (sapwood) and a flexible inner core (heartwood). The sapwood resists tension, while the heartwood withstands compression. This combination is ideal for storing and releasing energy.
Why Choose Yew?
Yew has been used for thousands of years, especially in English longbows. It’s not just tradition; yew’s unique structure gives it a balance of strength and flexibility. Yew bows feel smooth to draw and have less hand shock compared to other woods.
Pro Tip: If you can’t find yew locally, other woods like hickory, osage orange, or elm can work, but they don’t have the same legendary status.
Yew Self Bow Vs. Other Bow Types
Here’s a quick comparison to help you understand how yew self bows differ from other popular types:
| Bow Type | Main Material | Complexity | Performance |
|---|---|---|---|
| Yew Self Bow | Yew (single stave) | Moderate | Excellent for power and smooth draw |
| Laminated Bow | Multiple woods/glue | High | Very consistent, less natural feel |
| Fiberglass Bow | Fiberglass/wood | Easy | Durable, good for beginners |
| Osage Self Bow | Osage Orange | Moderate | Good, but heavier than yew |
Selecting And Preparing Yew Wood
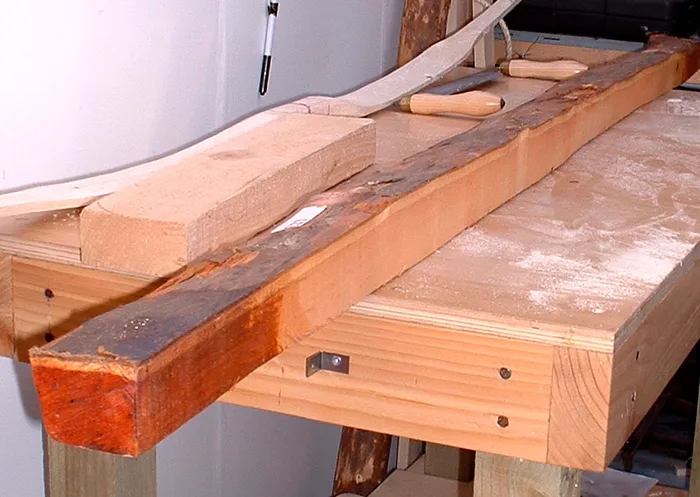
Choosing the right yew stave is the foundation of a successful bow. Not all yew is equal; you want a piece with straight grain, minimal knots, and enough length.
Picking The Right Stave
Look for these features:
- Length: At least 72 inches (for a full-sized longbow).
- Width: About 2, 3 inches.
- Depth: 1, 2 inches.
- Grain: Straight, without major twists.
- Knots: Small knots are okay, but avoid large or dead knots.
If possible, source your yew from a reputable dealer or harvest it yourself, following local regulations.
Warning: Fresh yew wood needs to dry for at least one year before use. Rushing this step can cause warping or cracking.
Preparing The Stave
Once you have your stave, remove any bark carefully. Do not cut into the sapwood; this outer layer is vital for strength. Use a drawknife or scraper.
Check for defects. Minor imperfections can be worked around, but deep cracks or rot are deal-breakers.
Example: When I made my first yew bow, I ignored a small twist in the grain. The result was a bow that never shot straight. Take your time in this step.
Credit: greenmanlongbows.co.uk
Tools And Materials Needed
You don’t need expensive tools, but having the right equipment makes the process easier and safer.
Essential Tools
- Drawknife: For shaping the stave.
- Spokeshave: For finer shaping.
- Rasp and file: For smoothing.
- Scraper: To finish surfaces.
- Measuring tape: For layout.
- Pencil: For marking lines.
- Clamps: To hold the wood.
- Saw: For trimming ends.
- Sandpaper: Various grits (80, 120, 220).
- Tillering stick or board: To check bow curve.
- String: Temporary and finished bowstring.
Materials
- Yew stave: As described above.
- Bowstring material: Dacron or linen.
- Finish: Tung oil, linseed oil, or varnish.
Pro Tip: Good lighting and a clean workspace are more important than fancy tools. Most mistakes happen when you can’t see details clearly.
Designing Your Yew Self Bow
Before you start shaping, plan your bow’s dimensions and style. There are many designs, but the classic English longbow is most popular for yew.
Key Measurements
- Length: 68, 72 inches is standard.
- Width: 1.5, 2 inches at the handle, tapering to 0.5, 0.75 inches at the tips.
- Draw weight: 40, 60 lbs for most adults.
The bow should have a gentle curve, not sharp bends. Mark the center for the handle, then lay out the limbs.
Layout Process
- Find the natural curve of the stave.
- Mark the handle area (about 6 inches).
- Mark limb tapers from the handle to the tips.
- Check for knots, twist, and grain changes.
Example: Many beginners make the mistake of making limbs too narrow. This can cause breakage or poor performance.
Shaping The Bow Stave
Now comes the real work: turning your yew stave into a bow. Start rough and move to finer shaping as you progress.
Rough Shaping
Begin by removing wood to the rough dimensions you marked. Use a drawknife for big cuts, then switch to a spokeshave for more control. Always cut along the grain.
Keep the sapwood intact on the back of the bow (the side facing away from you when shooting). Remove heartwood only from the belly (the side facing you).
Limb Tapering
The limbs should taper smoothly from the handle to the tips. This helps balance power and prevents weak spots.
Warning: Removing too much wood from one limb can cause uneven bending, leading to failure.
Handle Shaping
The handle area should be comfortable for your hand, usually oval or rounded. Avoid sharp edges.
Pro Tip: Wrap the handle with leather or cord for better grip after finishing.
Tillering: Achieving The Perfect Bend
Tillering is the process of adjusting the bow so both limbs bend evenly. This is where most bows succeed or fail.
Tillering Steps
- Cut temporary nocks at the tips for a test string.
- Mount the bow on a tillering stick or board.
- Pull the string gently and observe the curve.
- Remove small amounts of wood from stiff areas.
- Repeat until limbs bend evenly and smoothly.
Never rush tillering. Check often, and make small adjustments. The goal is a balanced bend, not a perfectly straight line.
Example: When I tested my second yew bow, I noticed one limb was stiffer. A few careful scrapes fixed the problem and improved performance.
Tillering Vs. Final Draw Weight
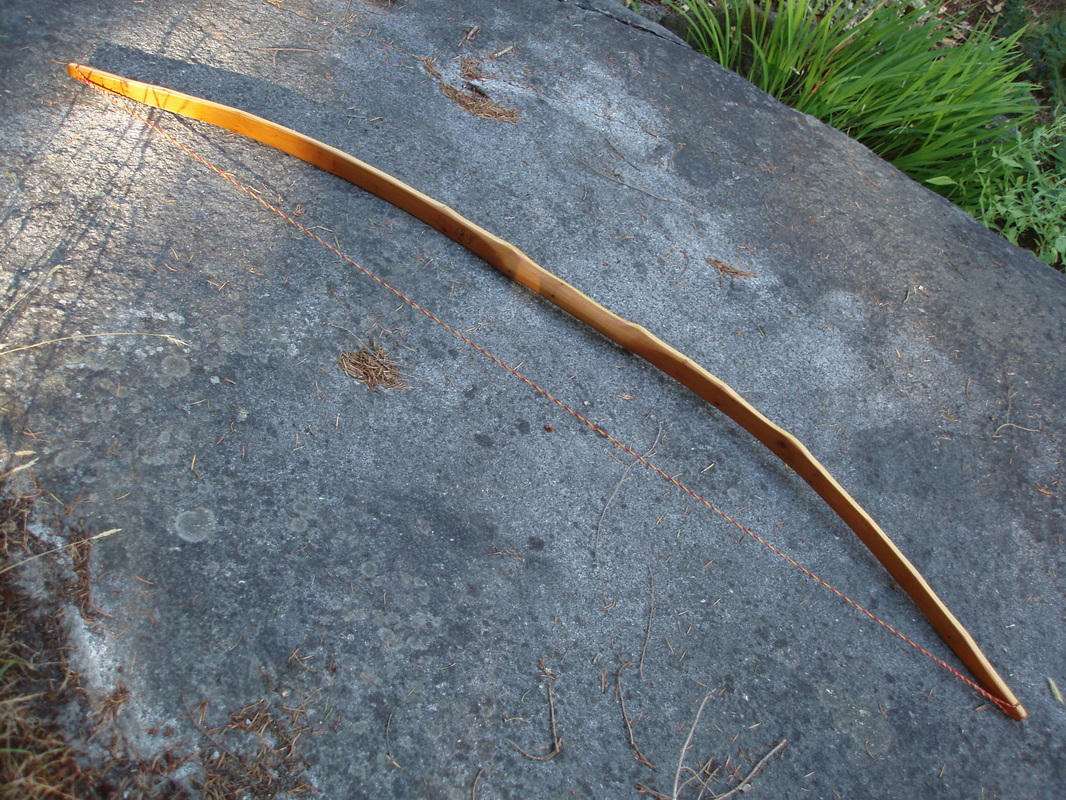
It’s important to check your draw weight as you tiller. Most archers aim for 40, 60 lbs, but if the bow feels too stiff, remove more wood gradually.
Here’s a comparison of different draw weights and who they suit best:
| Draw Weight | Suitable For | Common Use |
|---|---|---|
| 30, 40 lbs | Youth, beginners | Target practice |
| 40, 60 lbs | Adult men and women | Hunting, sport |
| 60+ lbs | Experienced archers | Long-distance shooting |
Credit: www.ravenbeak.com
Cutting Nocks And Final Shaping
Once tillering is complete, cut proper nocks for the bowstring. These should be about 0. 5 inches deep and smooth, to avoid string wear.
Nock Placement
Cut nocks on both sides of each tip, slightly angled. Use a file for smooth curves. Avoid sharp edges.
Warning: Poor nock placement can cause string slipping or damage.
Final Sanding
Sand the entire bow with progressively finer grits. Aim for a smooth finish, but don’t over-sand the sapwood. This layer is fragile.
Making And Attaching The Bowstring
A good bowstring is essential for performance and safety. Dacron is popular for its strength and stretch resistance, but linen is traditional.
Bowstring Length
The string should be about 3 inches shorter than the bow. This provides proper brace height (distance between the string and the handle).
Attaching The String
Use a simple timber hitch knot for the bottom nock and a loop for the top. Check tension and adjust as needed.
Pro Tip: Replace the temporary string with your finished string only after final tillering.
Applying Finish And Protecting The Bow
Finishing the bow helps protect it from moisture and wear. Choose a finish that is durable but allows the wood to breathe.
Finish Options
- Tung oil: Deep penetration, natural look.
- Linseed oil: Traditional, easy to apply.
- Varnish: Provides high protection, but can crack.
Apply 2, 3 coats, letting each dry completely. Wipe off excess. Don’t forget the tips and nocks.
Testing And Adjusting Your Yew Self Bow
Before using your bow in practice or hunting, test it thoroughly. Start with light draws, then progress to full draw.
Safety Checks
- Inspect for cracks or splits.
- Check string tension.
- Confirm even limb bending.
Shoot a few arrows at close range. Adjust as needed. If the bow feels rough or noisy, more sanding or tillering may help.
Example: My first yew bow made a loud “creak” before shooting. This is a warning sign; after checking, a small crack is often found near a knot. Always listen to your bow.
Yew Self Bow Maintenance Tips
Regular care keeps your bow performing well for years. Moisture and temperature changes can damage yew, so store your bow in a cool, dry place.
Maintenance Checklist
- Check for cracks after each use.
- Wipe down with a dry cloth.
- Reapply oil every few months.
- Avoid leaving the bow strung when not in use.
- Inspect the string for wear.
Common Mistakes And How To Avoid Them
Beginners often make errors that can ruin a bow. Here are some to watch for:
- Removing too much wood: This weakens the bow.
- Cutting into sapwood: Reduces strength.
- Rushing tillering: Causes uneven limbs.
- Ignoring grain direction: Leads to breaking.
- Poor nock shaping: Damages string.
Pro Tip: If you’re unsure, ask experienced bowyers for advice. Forums and communities are helpful.

Credit: www.youtube.com
Practical Tips For Beginners
Making a yew self bow is challenging, but these tips can help:
- Start with a practice stave before using expensive yew.
- Document each step with photos; this helps spot mistakes.
- Use slow, careful strokes when shaping.
- Test often, don’t wait until the end to check progress.
Example: When I started, I underestimated how much patience tillering takes. Spending extra time saves a bow from breaking.
Historical And Cultural Importance
The yew self bow is more than just a tool, it’s a piece of history. English longbows shaped battles and legends. Today, bowyers honor these traditions by keeping the craft alive.
Yew trees are protected in some regions due to their rarity. Always check regulations before harvesting.
If you want to learn more, the Wikipedia page on yew offers details on the tree’s biology and history.
Frequently Asked Questions
What Is The Best Way To Find High-quality Yew Wood?
Quality yew is rare in some areas. Try specialty wood suppliers or connect with traditional bowyers. Look for staves with straight grain and minimal knots. Some regions regulate yew harvesting, so check local laws before cutting.
How Long Does It Take To Make A Yew Self Bow?
The process takes weeks to months, depending on wood drying time and your experience. Shaping and tillering can take several days. Rushing increases the risk of mistakes or breakage.
Can I Use Other Woods If Yew Is Unavailable?
Yes, you can use osage orange, hickory, or elm. These woods offer good strength and flexibility, though performance varies. Osage is closest to yew for traditional bows.
What Is The Average Lifespan Of A Yew Self Bow?
With proper care, a yew self bow can last decades. Regular maintenance and careful storage are key. Avoid moisture and extreme temperatures.
Should I Consult A Professional Before Starting?
If you’re new, consulting an experienced bowyer or joining a bowmaking group is recommended. Professionals can spot potential problems early and give hands-on advice, making your first project much easier.
Crafting a yew self bow is a journey that combines patience, skill, and respect for tradition. With careful steps and a thoughtful approach, you can create a bow that’s not only functional but also a personal achievement. Whether for sport or history, your yew self bow will connect you to centuries of archers who valued this remarkable wood.