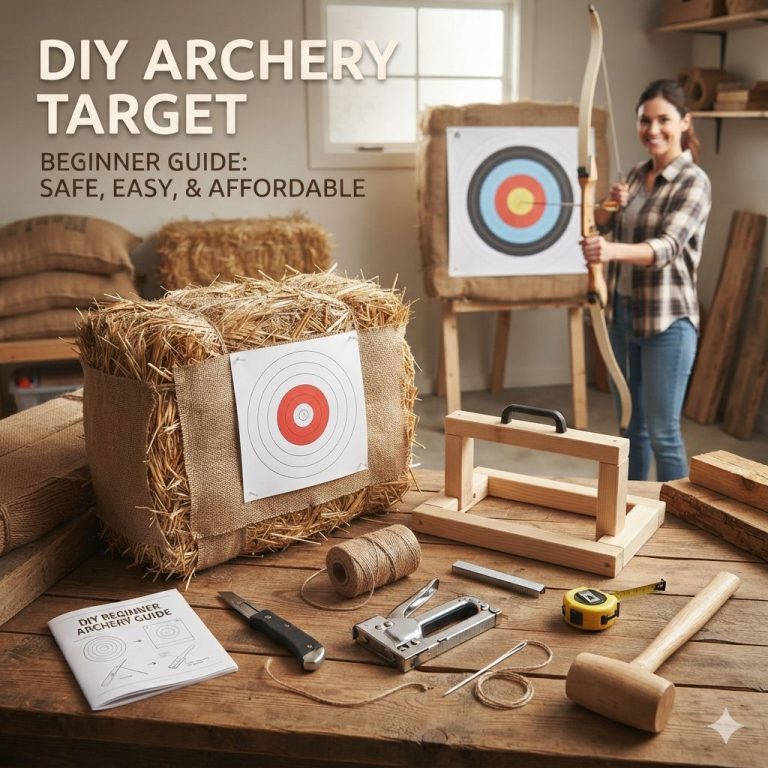
A DIY archery target stand is an essential, low-cost build for keeping your foam target upright and stable during practice. This guide provides simple, step-by-step instructions using common lumber, ensuring your target won’t tip over, allowing you to focus purely on hitting the bullseye safely.
Are you tired of chasing your expensive archery target every few shots? It’s incredibly frustrating when your foam block flops over right as you draw your bow. This ruins your rhythm and can even pose a minor safety issue if you rush to reset it. Don’t buy overpriced metal stands when you can build a rock-solid one yourself! As your archery guide, I promise to walk you through a simple, proven design. This project requires minimal cutting and uses basic dimensional lumber. Let’s build a stand that will last for seasons of practice.
Why Every Archer Needs a Target Stand (It’s About Safety and Focus)
Before we start cutting wood, let’s quickly cover why relying on leaning your target against a tree or just placing it on the ground isn’t ideal. A proper stand serves two main purposes: stability and optimal shooting height.
Stability Means Safety
When your target is stable, you can concentrate 100% on your form. A wobbling target can distract you, leading to rushed shots. More importantly, if an arrow misses the target face completely (called a “flyer”), a stable stand helps keep the target positioned correctly, reducing the chance of arrows bouncing unpredictably on the ground behind it. For a deeper dive into basic range safety, organizations like the National Archery in the Schools Program (NASP) emphasize secure setup.
The Right Height Makes Practice Better
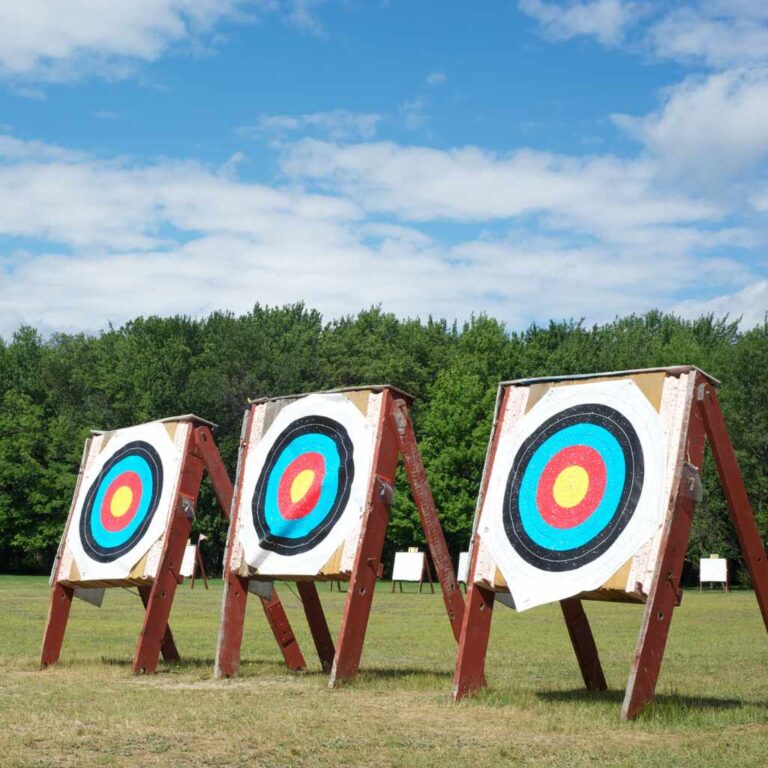
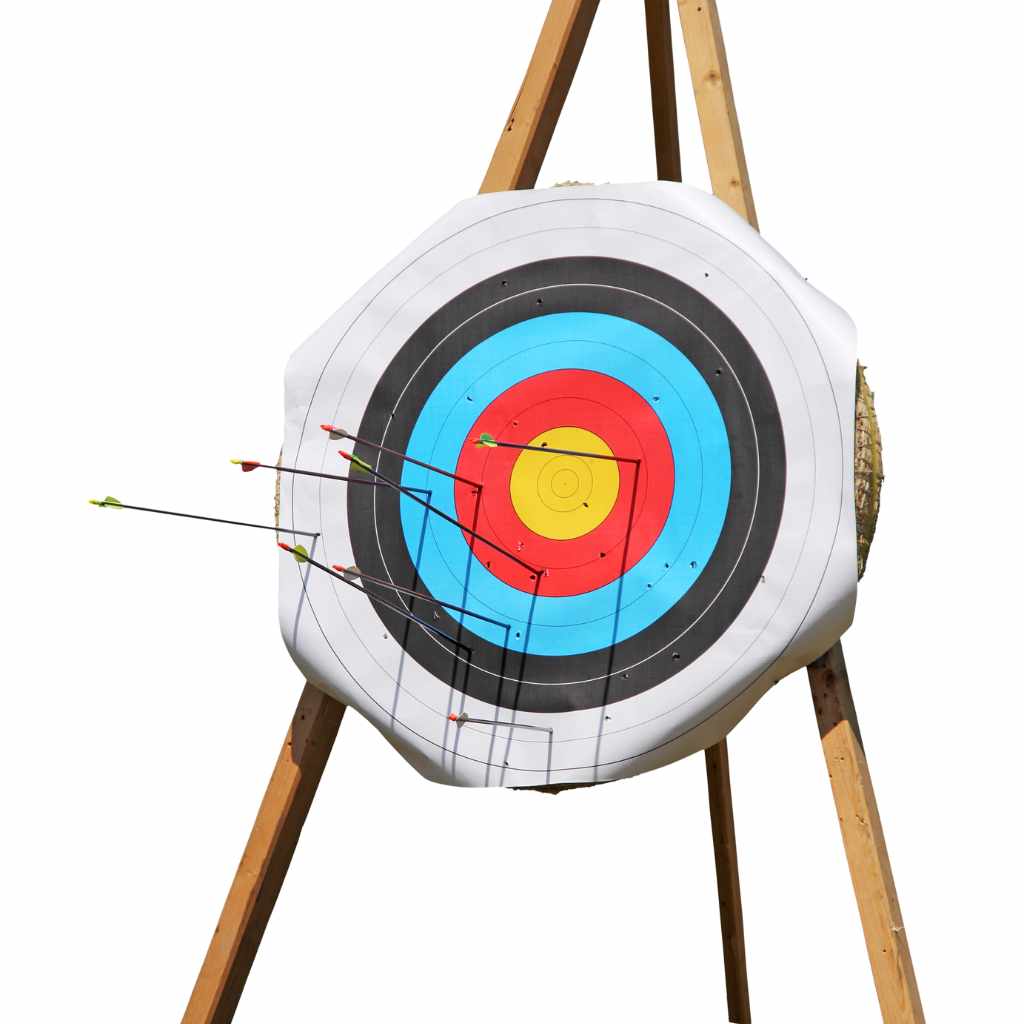
Most commercial target stands are designed to place the center of the target face near chest or eye level for an average adult (around 48 to 50 inches high). This aligns with competition standards and helps you practice shooting at a more realistic angle, which is crucial for improving consistency.
Gathering Your Supplies: Tools and Materials for Your DIY Archery Target Stand
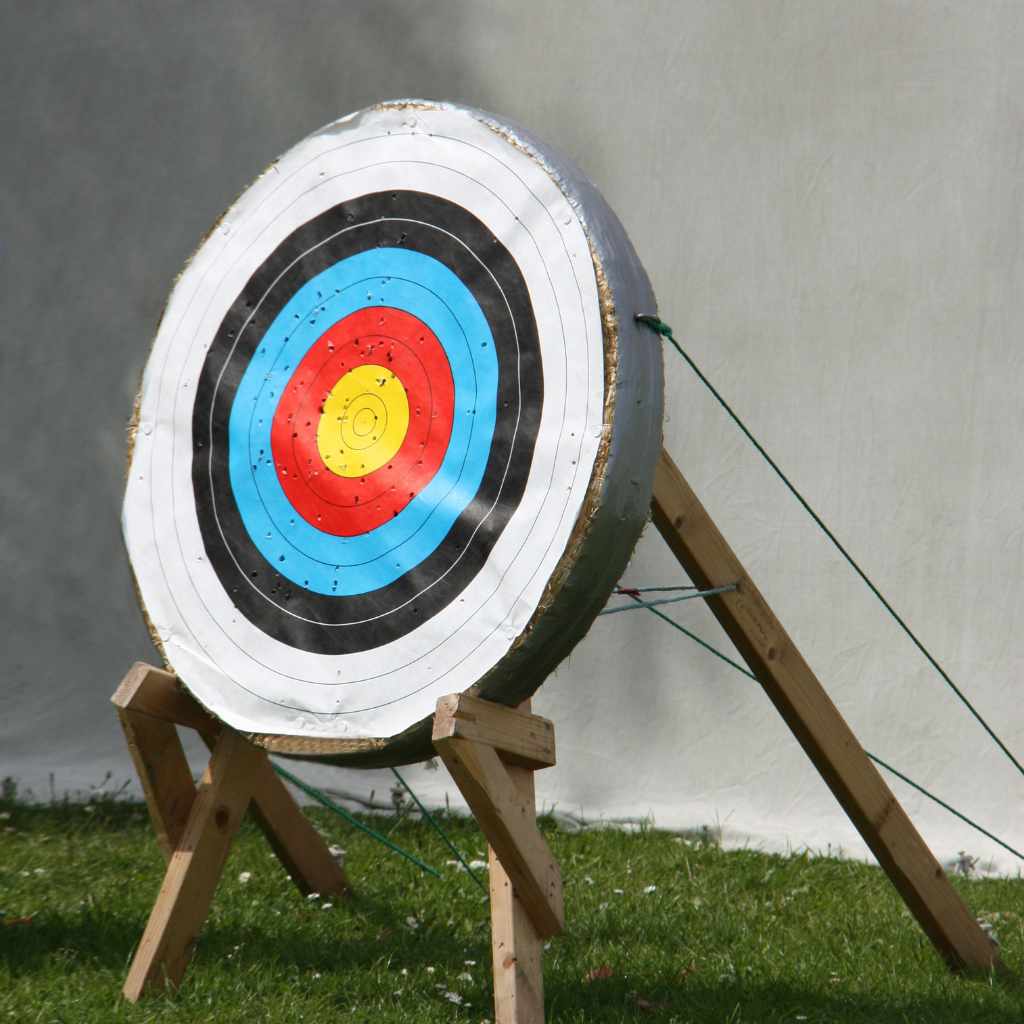
This design uses the classic “A-frame” concept, which is sturdy, easy to assemble, and relatively lightweight to move around your practice area. We are aiming for a stand that can support a standard 24×24 inch foam bag or layered block target.
Essential Tools List
You don’t need a full workshop for this project. Most of these items are likely already in a basic home toolkit.
- Measuring Tape or Ruler
- Pencil or Marker
- Safety Glasses (Always wear these when cutting!)
- Hand Saw or Circular Saw (A simple handsaw works fine for these cuts)
- Drill/Driver (Cordless is easiest)
- Clamps (Helpful but optional for holding pieces steady)
Materials Shopping List (The Wood)
We will use standard 2×4 lumber because it is strong, affordable, and readily available at any home improvement store. The total wood required is usually less than one standard 8-foot 2×4.
| Component | Lumber Needed | Quantity | Purpose |
|---|---|---|---|
| Legs/Supports (Long) | 2×4 lumber | 2 pieces @ 48 inches each | Forms the main height and stability of the stand. |
| Cross Braces (Short) | 2×4 lumber | 4 pieces @ 18 inches each | Connects the two A-frames for width and rigidity. |
| Target Cradle Sides | 2×4 lumber | 2 pieces @ 28 inches each | Creates the basket to cradle the target block. |
Hardware:
- 2.5-inch Exterior Wood Screws (About 30-40 screws are plenty)
- Heavy-Duty Carriage Bolts (1/4 inch diameter, at least 3 inches long) for the apex joint (Optional but recommended for superior strength).
Step-by-Step Construction: Building the A-Frame Sides
The entire stand is built around creating two identical A-frame sides first. Think of these as two triangles connected at the top.
Step 1: Cutting the Apex Angle
This is the only cut requiring an angle, and we can make it straightforward. Take your two 48-inch leg pieces (These will form the “A” shape). On one end of each piece, you need to mark and cut a shallow, symmetrical angle. This allows the two legs to meet neatly at the top (the apex).
- Measure down 6 inches from the top corner of both 48-inch boards. Mark this point.
- Draw a straight line connecting this mark to the exact center point on the top edge (width-wise).
- Cut along this line for both boards. When you hold them together, they should form a clean, pointed “A” shape at the top, looking somewhat like a house roof peak.
Step 2: Assembling the First A-Frame (The Hinge Point)
We will connect the two angled legs using a piece of hardware that allows them to pivot slightly if needed, although for a fixed stand, screws are easier. For maximum durability, I highly recommend using the carriage bolt here, as it handles the main stress point.
- Place the two cut 48-inch legs together so the angled tops meet perfectly.
- Drill a pilot hole right through the center where the two pieces overlap (about 3 inches down from the very top point).
- Insert your 3-inch carriage bolt through the pilot hole and secure it with a washer and nut on the back side. Tighten it firmly but leave a tiny bit of wiggle room so the wood can settle without splitting later.
Step 3: Adding the Base Width (The Footprint)
The base needs to be wide enough so the stand doesn’t tip forward or backward when the target is resting on it. We will use two of the 18-inch cross braces for this.
- Lay the A-frame assembly down. Measure up 10 inches from the bottom end of the legs (the base) on both sides. Mark this spot.
- Align one 18-inch brace perfectly across the back of the legs at these 10-inch marks.
- Using your drill and 2.5-inch screws, attach the brace securely to both legs. Use two large screws per side for strength (four screws total for this brace).
Step 4: Repeating for the Second A-Frame
Repeat Steps 1 through 3 exactly to create the second identical A-frame assembly. It is vital that these two frames are perfect mirror images of each other in terms of height and bracing placement, otherwise, your stand will lean.
Connecting the Frames: Creating the Full Stand Structure
Now we join the two A-frames using the remaining two 18-inch braces to create the final box structure.
Step 5: Establishing the Top Cross Brace
This top brace determines the overall width and provides a sturdy place to rest the target.
- Stand both assembled A-frames upright, facing each other. Temporarily prop them so that the angled apex points are level.
- Measure the distance between the two apex points. It should be close to 18 inches, but use one of your remaining 18-inch braces to span the gap perfectly between the two apexes.
- Screw this top brace securely into the back of the top of both A-frames using two screws on each side. This strongly locks in the structure.
Step 6: Adding the Final Stabilizer (The Back Leg Brace)
To prevent the whole unit from folding backward when an arrow impacts, we add a final brace near the bottom, connecting the two back points of the legs.
- Look at the space between the two rear legs, near the ground.
- Attach the final 18-inch brace here, screwing it firmly to the back side of each leg, making sure the stand sits stable on the ground. This brace acts as a rear stop.
Building the Target Cradle (The Shelf)
The stand is assembled, but we need a way to keep the actual target block (the foam) from sliding off the top braces. This is where the 28-inch pieces come in.
Step 7: Attaching the Cradle Sides
These boards will create a shallow “U” shape across the top structural brace you created in Step 5, holding your target securely.
- Take one 28-inch piece. Place it flat on top of the structure, running parallel to the main legs (front to back). It should rest directly on top of the uppermost structural cross-brace.
- Screw this piece down securely into the top brace beneath it, making sure it is centered between the two A-frames.
- Repeat with the second 28-inch piece. Ensure there is enough gap between these two side pieces to perfectly accommodate the width of your foam target (usually 18 to 24 inches).
Pro Tip: If your target face is 18 inches wide, set the two 28-inch cradle pieces about 18.5 inches apart on the structure. You want it snug enough to hold it, but loose enough to pull the target out easily for replacement or bagging.
Finishing Touches and Ensuring Longevity
Your target stand is structurally complete! Now, let’s make sure it lasts and is easy to use.
Reinforcing Critical Joints
While screws are strong, for an outdoor item that will face constant impact vibration, reinforcing the main joints is wise. Consider using metal L-brackets (corner braces) where the cross braces meet the main legs for added rigidity. If you used carriage bolts at the apex, you’ve already done the most important reinforcement.
Sealing the Wood
If this stand will live outdoors, even under a tree, moisture is the enemy. Untreated pine 2x4s will start to soften and weaken within a year or two if frequently wet.
- Apply two coats of inexpensive exterior stain or paint. This doesn’t need to be fancy; the goal is sealing out rain.
- Pay special attention to the cut ends of the wood, as they wick up the most moisture.
Checking Target Fit
Place your current archery target block onto the cradle. Does it sit level? Does it slide off easily? If it seems too loose, you can add thin strips of scrap wood or rubber padding to the cradle sides to create a tighter compression fit. This prevents any horizontal movement during arrow strikes.
Target Stand Comparison: DIY vs. Commercial Options
It’s helpful to see why investing a few hours in this DIY project is usually the better route for beginners just starting out.
| Feature | DIY 2×4 Stand (This Build) | Standard Metal/Wire Frame |
|---|---|---|
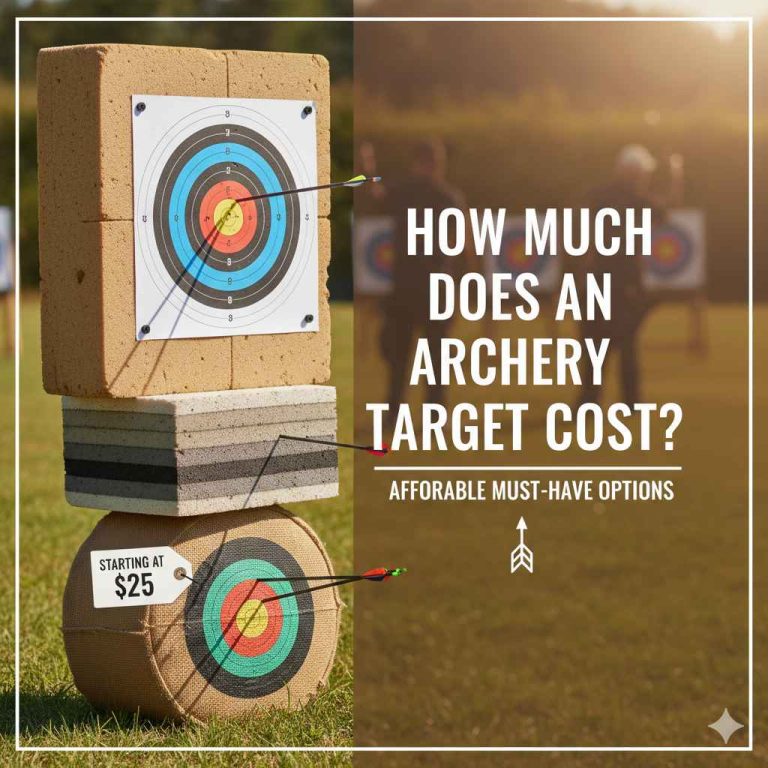
| Cost Estimate | $15 – $30 (for materials) | $50 – $90 (for a basic frame) |
| Stability Score | Excellent (Heavy wood base prevents tipping) | Fair (Often requires staking to prevent movement) |
| Target Fit | Customizable to any block size | Often limited to specific bag sizes |
| Longevity | Excellent (If treated/painted) | Good (Susceptible to rust if coating wears off) |
Common Beginner Questions (FAQ)
Q1: Can I use 2x3s or 2x2s instead of 2x4s to save money?
A: You can, but 2x4s are highly recommended for stability. Archery targets, especially foam block types, are heavy. 2x2s might feel shaky and could snap under the weight or impact vibration over time. Safety first!
Q2: What if I only have one target block? Do I still need the cradle sides (Step 7)?
A: Yes, the cradle sides are crucial! Without them, the flat bottom of your target resting on the horizontal braces can easily shift sideways or slide forward when hit, especially with heavy bows.
Q3: How tall should my target stand be?
A: The standard recommendation is to have the center of your target face (the highest scoring ring) positioned at chest height when you are standing naturally. For most adults, this means the top surface of the stand should be about 45 to 50 inches off the ground. This build achieves that height naturally.
Q4: My stand wobbles where the legs meet the ground. What did I do wrong?
A: This is almost always caused by uneven ground or by not securing the bottom rear cross brace (Step 6) tightly enough. If your ground is uneven, you can try adding small pieces of shim wood or heavy rubber pads under the feet until it sits perfectly level. Ensure all screws on the base bracing are tight.
Q5: How do I make this stand portable for transporting to a range?
A: For portability, instead of permanently screwing the two A-frames together (Step 5 & 6), use heavy-duty gate hinges where the two long 48-inch legs meet at the apex. Then, use a simple rope or bungee cord to lock the legs open when in use. This allows you to fold it flat for storage.
Q6: What kind of target can this stand hold?
A: This 2×4 A-frame design is perfect for standard layered foam blocks (like those from Morrell or Rinehart) up to about 30 pounds, or medium-sized bag targets that are 18×18 or 24×24 inches. It is not designed for very large, heavy 3D foam animal targets; those require a much wider, dedicated base.
Archery Confidence and Your New Build
Congratulations! You’ve just completed one of the most practical and useful projects in the entire sport of archery. Building your own target stand is more than just saving money; it’s about establishing a dedicated, safe, and consistent practice environment.
When you walk up to your range setup now, your target will be waiting patiently, perfectly aligned, ready for you to focus solely on your anchor point, sight picture, and follow-through. Take a moment to appreciate the craftsmanship—you built this! Every successful practice session starts with reliable equipment, and now, thanks to your solid DIY archery target stand, your foundation for improved accuracy is set.
Remember, archery is all about repeatable, comfortable motions. A stable stand removes one small variable, letting your skills shine through. Grab your bow, lace up those arrows, and enjoy the satisfying thud of arrows hitting the center of a perfectly mounted target. Happy shooting!