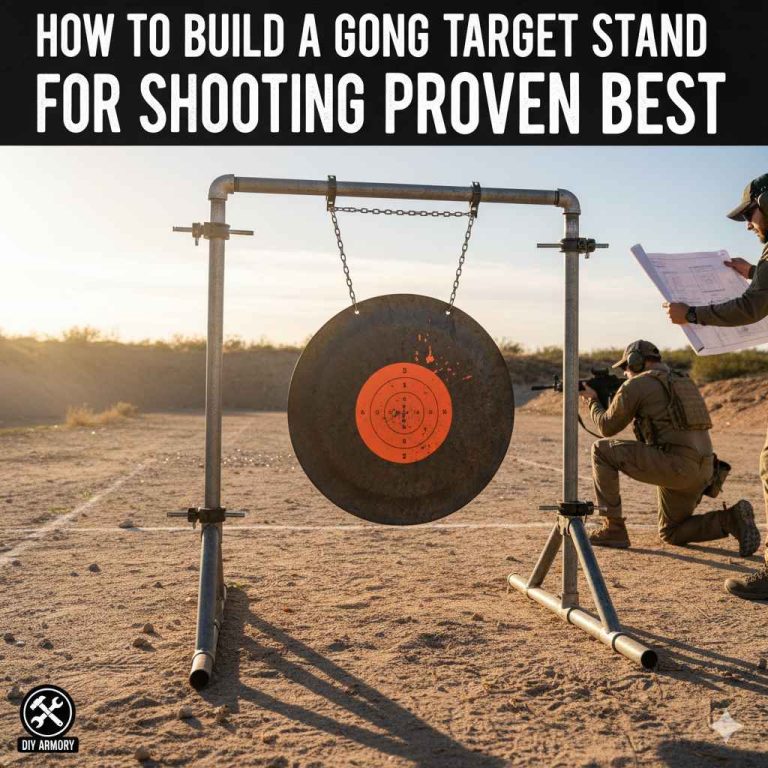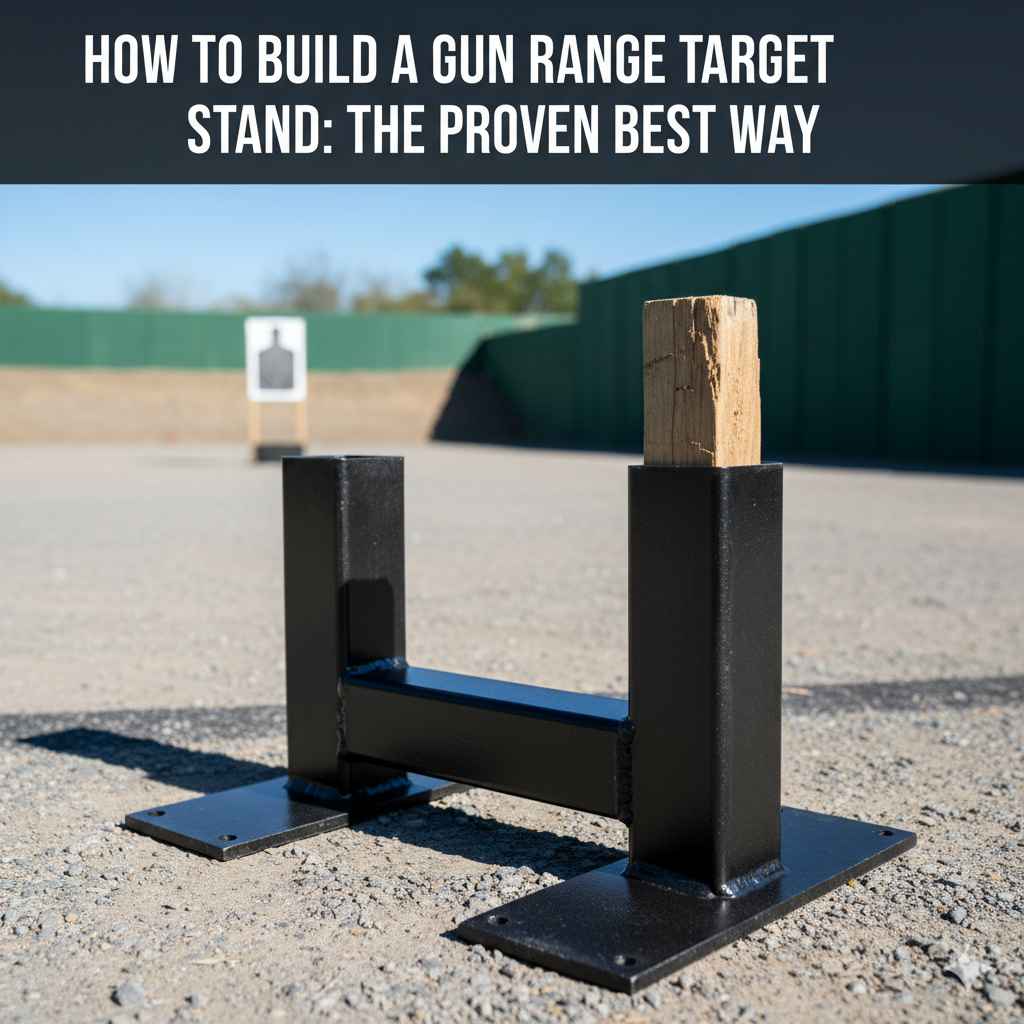
Building a gun range target stand is simple with the right plan. The proven best way for beginners is using standard 2×4 lumber to create a sturdy, portable H-frame base with two vertical uprights. This design is affordable, requires basic tools, is easy to assemble in under an hour, and can be quickly disassembled for transport.
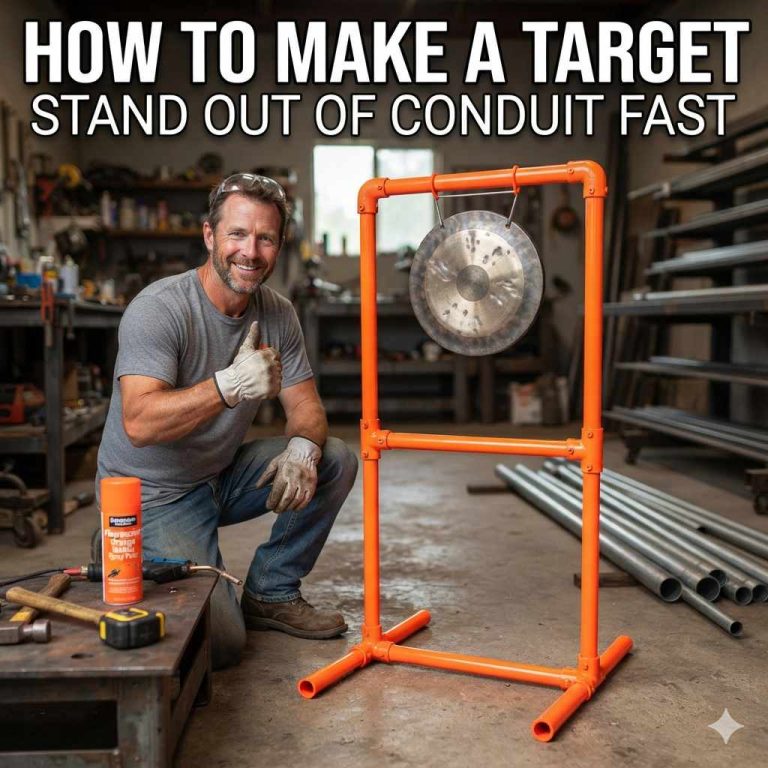
Hello, friends! Salman Arfeen here. Whether you’re sighting in a new scope or practicing your draw, having a reliable target stand is a must. Store-bought stands can be expensive and often don’t last. But what if I told you that you could build a better, stronger stand yourself for a fraction of the cost? It’s easier than you think!
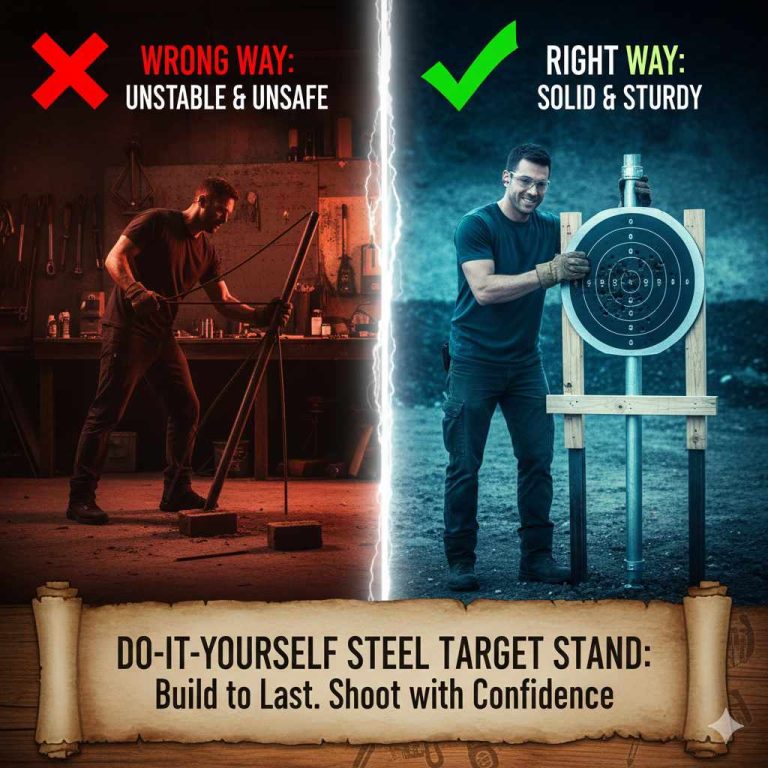
Many shooters get frustrated with flimsy stands that fall over in the wind or break after a few trips to the range. It can really ruin a good day of practice. Don’t worry, I’m here to help. We’re going to walk through a simple, step-by-step guide to build a rock-solid target stand that will serve you well for years. Let’s get started and build something you can be proud of!
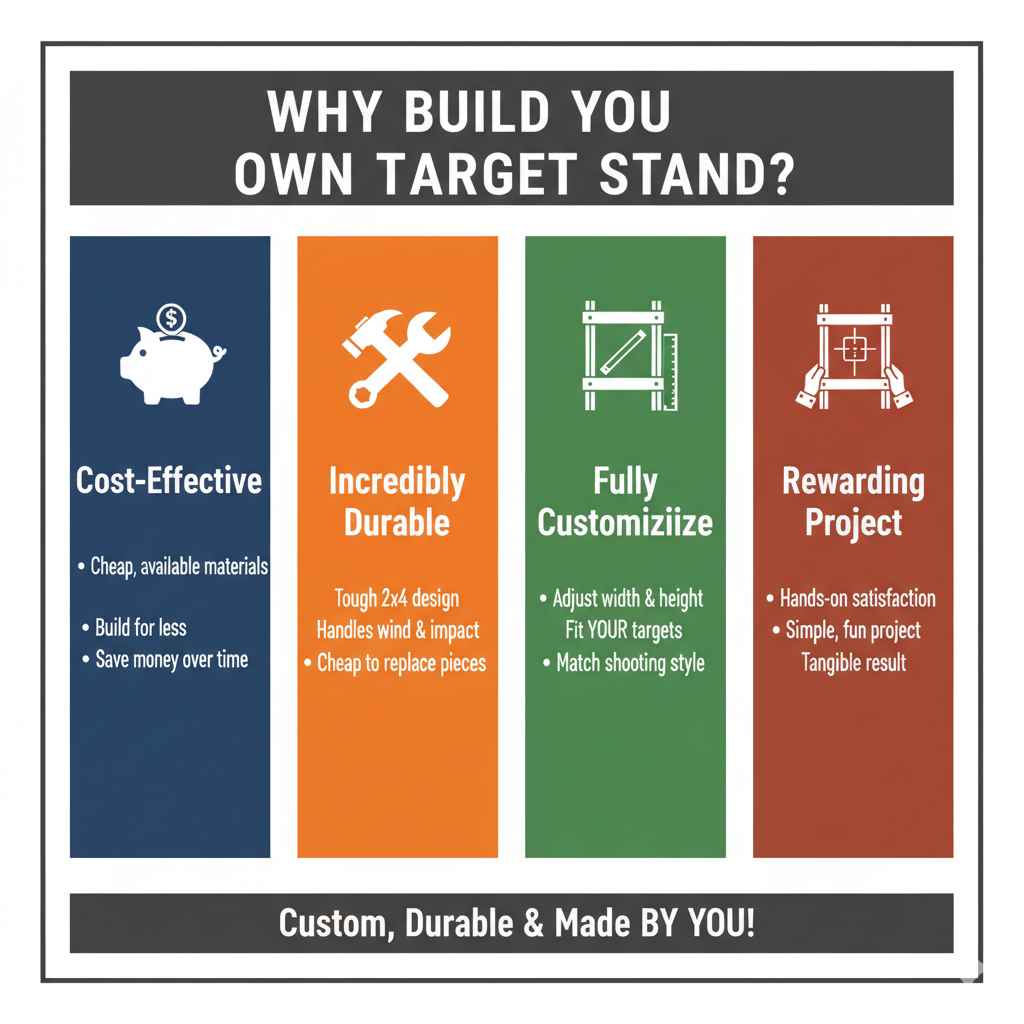
Why Build Your Own Target Stand?
Before we grab our tools, let’s talk about why a DIY target stand is such a great project for any shooter. It’s not just about saving money; it’s about creating something that perfectly fits your needs. You get to control the quality and design, leading to a much more satisfying experience at the range.
Here are a few key benefits:
- Cost-Effective: You can build a durable wooden stand for less than half the price of a comparable store-bought model. Most of the materials are cheap and widely available at any hardware store.
- Incredibly Durable: The 2×4 design we’re about to build is tough. It can handle wind, uneven ground, and the occasional stray shot far better than thin metal or plastic stands. And if a piece breaks? You can replace it for just a few dollars.
- Fully Customizable: Want it wider to hold multiple targets? Need it taller for long-range practice? You are in control. You can easily adjust the dimensions to fit your specific targets and shooting style.
- Easy to Transport: This design is brilliant because it can be assembled and disassembled in seconds without any tools. The pieces slot together, making it easy to fit in any car trunk.
- A Rewarding Project: There’s a special sense of satisfaction that comes from using equipment you built with your own hands. It’s a simple, fun project that gives you a tangible result you can use immediately.
Safety First: Your Most Important Tool
Building and shooting are both fun and rewarding hobbies, but safety always comes first. Before you make a single cut, let’s go over a few essential safety rules. Following these simple guidelines ensures your project goes smoothly and everyone stays safe, both in the workshop and at the range.
Workshop Safety
When working with tools and lumber, always protect yourself. Even simple projects require your full attention.
- Wear Eye Protection: Sawdust and wood chips can fly unexpectedly. Always wear safety glasses when cutting or drilling.
- Use Tools Properly: Read the manual for any power tools you’re using. Understand how they work and follow all safety recommendations. If you’re new to power tools, The Home Depot offers excellent safety guides to get you started.
- Secure Your Work: Use clamps to hold your lumber steady when cutting or drilling. This prevents the wood from slipping and causing an accident.
- Work in a Clean Space: A cluttered workshop is a hazardous one. Keep your work area tidy to avoid tripping hazards.
Range Safety
Once your stand is built, remember the fundamental rules of firearm safety every time you use it.
- Know Your Backstop: Always be sure of your target and what is behind it. Your backstop must be able to safely stop any bullets that miss or pass through the target.
- Follow Range Rules: Every shooting range has its own set of rules. Follow them carefully. For general guidelines, the National Shooting Sports Foundation (NSSF) provides a great overview of gun safety rules.
- Set Up at a Safe Distance: Place your target stand at a distance appropriate for the firearm you are using. This prevents ricochets and ensures a safe shooting environment.
- Wear Hearing and Eye Protection: This is non-negotiable. Always protect your hearing and vision when shooting.
Choosing Your Materials: Wood vs. PVC
The two most popular materials for DIY target stands are wood (specifically 2x4s) and PVC pipes. Both can create a functional stand, but they have different strengths and weaknesses. For a beginner looking for the “proven best way,” wood is the clear winner due to its durability and stability. However, PVC is a great lightweight alternative.
Here’s a simple breakdown to help you decide which material is right for your project:
| Feature | Wood (2x4s) | PVC Pipe |
|---|---|---|
| Durability | Excellent. Can withstand wind and accidental impacts. Easy to repair by replacing a single board. | Fair. Can become brittle in cold weather and may crack from impacts. Not as stable in wind. |
| Cost | Low. Standard lumber is very affordable. | Low to Medium. Pipe is cheap, but fittings can add up. |
| Stability | Very stable due to its weight. Great for windy conditions and uneven ground. | Lightweight and less stable. May need to be weighed down with sandbags. |
| Portability | Good. The design is fully collapsible, but the pieces have some weight to them. | Excellent. Very lightweight and easy to carry. |
| Ease of Build | Easy. Requires basic cuts and assembly with screws. | Very Easy. Requires cutting pipes and fitting them together. No screws needed if using a friction-fit design. |
| Best For | All-around use, windy conditions, and shooters wanting maximum durability. | Indoor ranges, calm weather conditions, and those who prioritize light weight. |
For this guide, we will focus on the 2×4 wood design because it provides the best combination of durability, stability, and low cost. It’s the kind of stand you can build once and use for years to come.
The Tools and Materials You’ll Need
One of the best parts about this project is that it doesn’t require a fancy workshop full of expensive tools. You can build this entire target stand with just a few basic items you might already have in your garage.
Materials List:
- Three (3) 8-foot long 2×4 boards: This is the most common and cheapest lumber. You can often find “utility” grade studs for just a few dollars each. Look for boards that are straight and not warped.
- One (1) box of 2.5-inch or 3-inch deck screws: These are coated to resist rust, making them perfect for an outdoor project. You’ll need about 24 screws in total.
- Two (2) 1×2 or 1×3 furring strips (8 feet long): These thin strips of wood will hold your target backer. They are very cheap.
Tools List:
- Tape Measure: For accurate measurements.
- Pencil: For marking your cuts.
- Saw: A hand saw will work just fine, but a circular saw or miter saw will make the cuts faster and cleaner.
- Power Drill: With a Phillips head bit for driving the screws. A standard cordless drill is perfect for this job.
- Safety Glasses: An absolute must-have for protecting your eyes.
That’s it! With these simple materials and tools, you’re ready to start building.
How to Build a Gun Range Target Stand: The Proven 2×4 Method
Now for the fun part! We’re going to build our stand. This design uses an H-shaped base for stability and two uprights to hold the target. The best part is that the uprights simply slide into the base, so you don’t need any tools to set it up or take it down at the range. Follow these steps, and you’ll have a finished stand in no time.
Step 1: Cut Your 2×4 Lumber
Accuracy here will ensure your stand is stable and all the pieces fit together nicely. Measure twice, cut once!
- For the Base Feet: Take one 8-foot 2×4 and cut four (4) pieces, each 24 inches long. These will form the feet of your stand, creating a wide, stable base.
- For the Base Cross-Members: Take your second 8-foot 2×4. Cut two (2) pieces, each 20 inches long. These will connect the feet and create the pocket for the uprights.
- For the Uprights: You will use the remaining portion of your second 2×4 and your third 8-foot 2×4. Cut two (2) pieces, each 60 inches (5 feet) long. This height is great for placing targets at a comfortable level. You can make these taller or shorter if you prefer.
When you’re done, you should have four 24-inch pieces, two 20-inch pieces, and two 60-inch pieces.
Step 2: Assemble the Base
We’ll now build the two H-shaped base assemblies. This is where the magic happens. By leaving a small gap in the middle, we create a slot for the uprights to slide into.
- Take two of your 24-inch “feet” pieces and lay them on a flat surface, parallel to each other.
- Take one of your 20-inch cross-members. Place it across the center of the two feet, forming an “H” shape. Make sure it’s centered.
- Secure the cross-member to the feet using two deck screws at each connection point. Drive the screws through the cross-member and into the feet.
- Now, here’s the most important part. Take another 20-inch cross-member. Place it right next to the one you just attached, but leave a small gap between them. This gap should be about 1.5 inches wide—the exact thickness of a 2×4. You can use a scrap piece of 2×4 as a spacer to get the perfect gap.
- Once you have the spacer in place, attach the second cross-member to the feet with two screws at each end, just like the first one.
- Repeat this entire process with the remaining two 24-inch feet and a spacer to create the second half of the base.
You should now have two identical H-shaped base pieces, each with a 1.5-inch slot in the middle.
Step 3: Cut and Attach the Furring Strips
The furring strips are what you’ll actually attach your cardboard target backer to. They are considered sacrificial—they’re cheap and easy to replace when they get shot up.
- Take your two 60-inch uprights and lay them down.
- Cut your 1×2 or 1×3 furring strips to be about 4-6 feet long. The width depends on how wide your target backer will be. A 24 to 36-inch width is common. So you will have two pieces of furring strips cut to your desired width.
- Place one furring strip across the two uprights near the top and another one lower down, perhaps 2-3 feet below the first.
- Attach the furring strips to the front face of the 2×4 uprights using one or two screws at each connection point.
You now have a complete target holder assembly: two tall uprights connected by two horizontal furring strips.
Step 4: Final Assembly (No Tools Needed!)
This is the best part of the design. To assemble your stand, you don’t need any tools.
- Place the two H-shaped base pieces on the ground, parallel to each other, about 2-3 feet apart. Make sure the slots are facing up.
- Take your target holder assembly (the uprights with furring strips attached).
- Slide the bottom of each 60-inch upright into the 1.5-inch slot on each base piece.
That’s it! The weight of the uprights holds them securely in the base. The stand is now ready for a target. To take it apart for transport, just lift the upright assembly out of the bases. The whole thing breaks down into three easy-to-carry pieces.
Tips for Setting Up and Using Your Stand
You’ve built a fantastic, sturdy target stand. Now let’s talk about how to get the most out of it at the range.
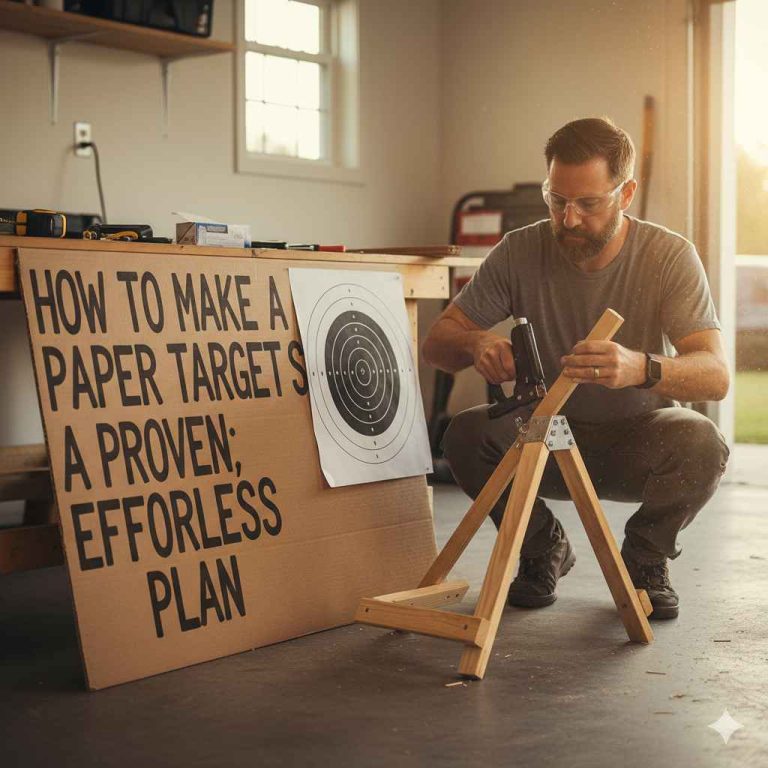
- Choose the Right Backer: You need something to staple or tape your paper targets to. The most common choice is a large piece of cardboard. It’s free and works perfectly. Corrugated plastic (like old election signs) is another great option as it holds up better in wet weather.
- Attaching Your Backer: The easiest way to attach your cardboard or plastic backer is with a staple gun. Simply press it against the furring strips and staple it on. You can also use wood screws with large washers if you want a more secure hold that’s easy to remove.
- Positioning on Uneven Ground: If the ground is uneven, you can easily adjust the stand. Simply rotate the base feet slightly until all four points are making solid contact with the ground. This H-frame design is much more stable on rough terrain than stands with a single flat base.
- Weigh It Down in High Winds: While this stand is heavy and stable, very strong winds can still be a challenge. If you’re shooting in gusty conditions, place a sandbag or a couple of heavy rocks on each of the base feet. This will anchor it firmly to the ground.
To help you decide on a backer, here is a quick comparison of common options:
| Backer Material | Pros | Cons |
|---|---|---|
| Cardboard | Free, widely available, easy to attach targets to. | Falls apart when wet, not very durable. |
| Corrugated Plastic | Waterproof, lightweight, more durable than cardboard. | Costs a few dollars, can crack with repeated impacts. |
| Plywood (Thin Sheet) | Very durable, lasts a long time. | Heavier, can produce some splatter or ricochet (use with caution). |
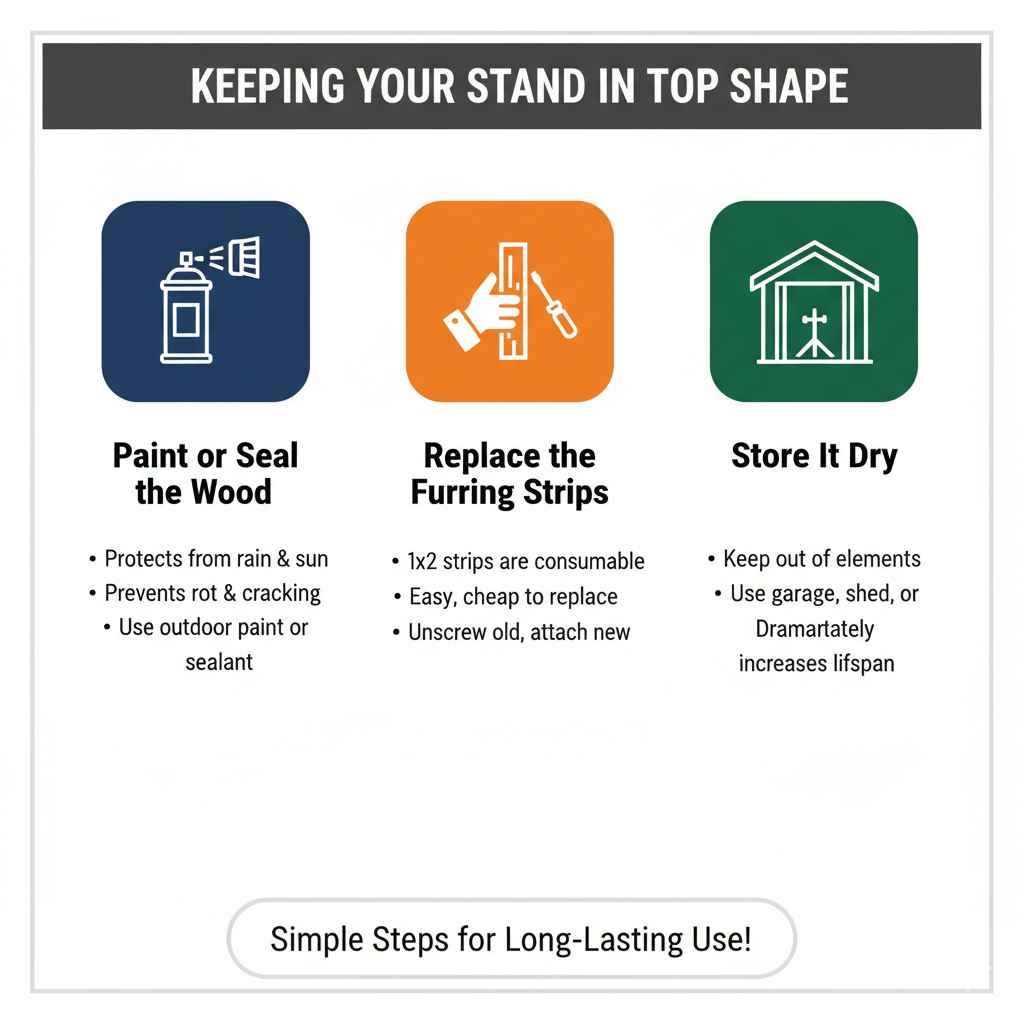
Keeping Your Stand in Top Shape
Your new 2×4 target stand is built to last, but a little care will extend its life even further.
- Paint or Seal the Wood: A coat of outdoor paint or wood sealant will protect the lumber from rain and sun. This prevents the wood from rotting or cracking over time. A simple can of spray paint works great.
- Replace the Furring Strips: The 1×2 furring strips are designed to be shot. When they get too chewed up, simply unscrew them and attach new ones. It’s a five-minute fix that costs less than a cup of coffee.
- Store It Dry: When you’re not using the stand, store it in a garage, shed, or basement. Keeping it out of the elements will dramatically increase its lifespan.
Frequently Asked Questions
What’s the best wood for a target stand?
Standard pine 2x4s, often sold as “studs” or “utility” grade lumber, are perfect. They are strong, incredibly cheap, and available everywhere. There is no need to spend extra on treated or premium lumber, as a simple coat of paint will provide all the weather protection you need.
How tall should my target stand be?
A height of 5 to 6 feet for the uprights is a great starting point. This places the center of a standard paper target at a comfortable eye level for most shooters standing or sitting. The beauty of a DIY stand is you can easily make the uprights taller for long-range shooting or shorter for prone shooting.
Can I use PVC pipes instead of wood?
Absolutely! A PVC stand is a great alternative if your top priority is light weight. It’s perfect for calm days or indoor ranges. However, it is not as stable in the wind and can become brittle in the cold. For all-around durability, the 2×4 wood design is superior.
How do I attach targets to the stand?
First, attach a large piece of cardboard or corrugated plastic to the furring strips using a staple gun or clamps. Then, you can easily tape, staple, or clip your paper targets onto that cardboard backer. This method saves your furring strips from getting shot up too quickly.
Is this design portable?
Yes, that’s one of its best features! The stand breaks down into three pieces: the two H-bases and the main upright assembly. The pieces are not connected by any hardware, so they just lift apart. This makes it easy to fit into the trunk of almost any car.
How far away should I place my target stand?
This depends entirely on the firearm you’re using and the type of practice you’re doing. For pistols, you might start at 7-15 yards. For rifles, you could be anywhere from 25 yards to hundreds of yards away. Always follow the rules of your specific shooting range and be aware of your skill level.
Can I use this stand for archery too?
Yes, you can! This stand is very versatile. To use it for archery, you would simply hang a dense foam or bag target from the furring strips instead of a cardboard backer. You might want to make the base wider for the extra stability needed to stop arrows.
Conclusion
There you have it—a simple, strong, and affordable gun range target stand that you can build yourself in an afternoon. By following these steps, you’ve created a piece of equipment that is far more durable and practical than many of the options you can buy at a store. You’ve also gained the satisfaction of making something with your own two hands.
This project is about more than just holding a target; it’s about taking control of your gear and enhancing your shooting experience. Now you have a reliable stand that won’t fall over in the breeze and is easy to transport to and from the range. So go ahead, load it up, head out, and enjoy some quality practice time. Happy shooting!