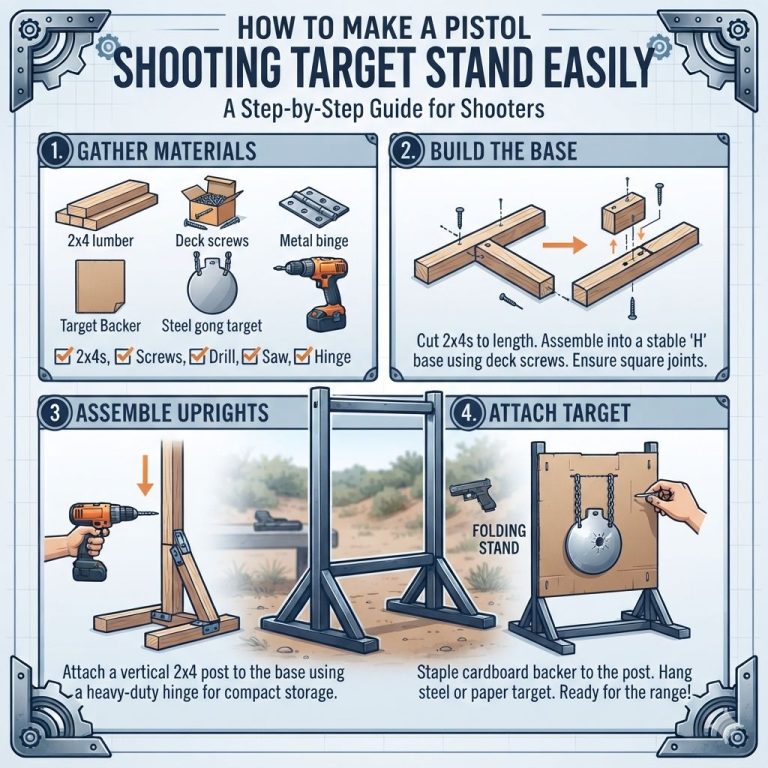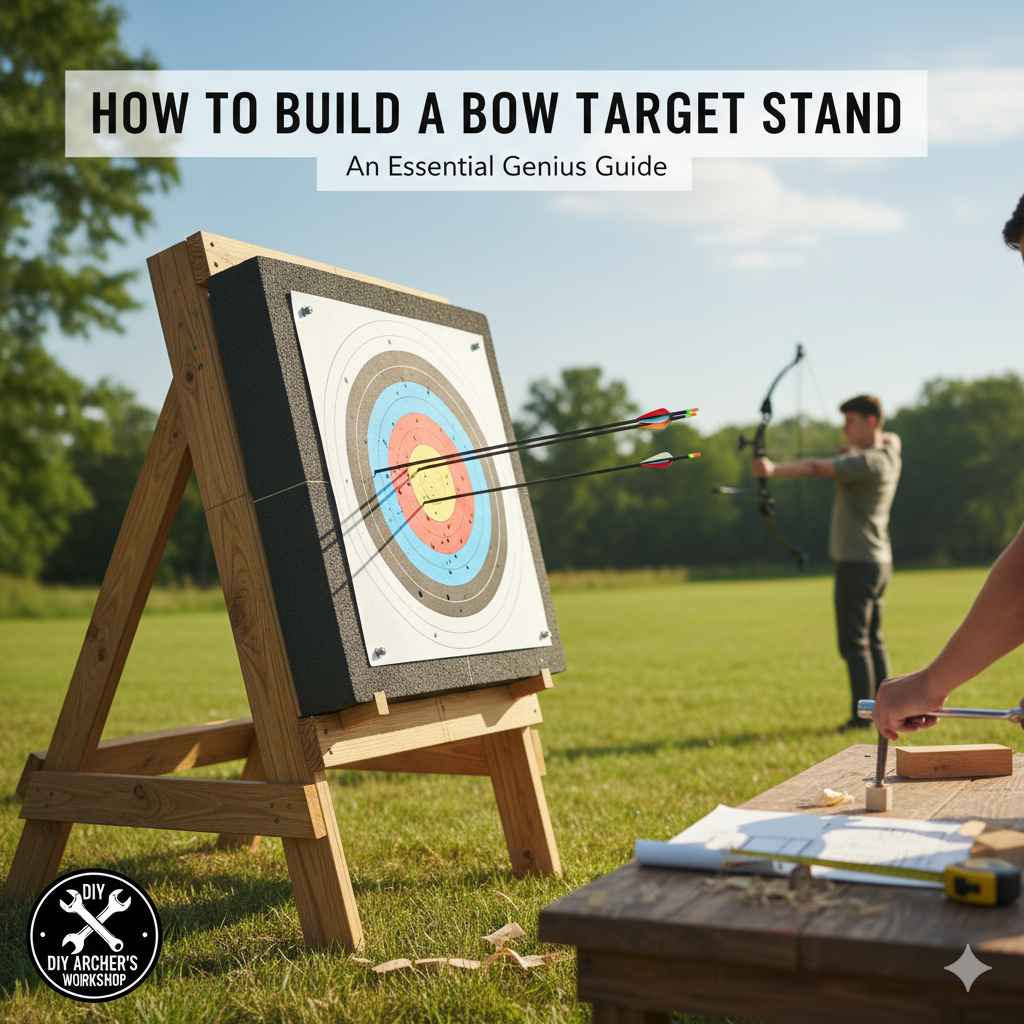
To build a bow target stand, gather basic lumber like 2x4s, wood screws, and a few common tools. You will cut the wood to create a stable base and an upright frame. Then, assemble the pieces to securely hold your archery target. This simple project improves your practice sessions and can be completed in an afternoon.
Hello, fellow archers! Salman here. Have you ever propped your brand-new target against a tree, only to have it tip over with the first arrow? Or maybe you’ve tried leaning it against an old chair, which feels wobbly and unsafe. It’s frustrating! A good practice session depends on a stable target, but buying a pre-made stand can be expensive.
Don’t worry, I have a simple solution for you. We are going to build a sturdy, reliable bow target stand ourselves. This guide will walk you through every step. It’s an easy, fun project that will save you money and make your archery practice much better. Let’s get started!
Why Build Your Own Bow Target Stand?
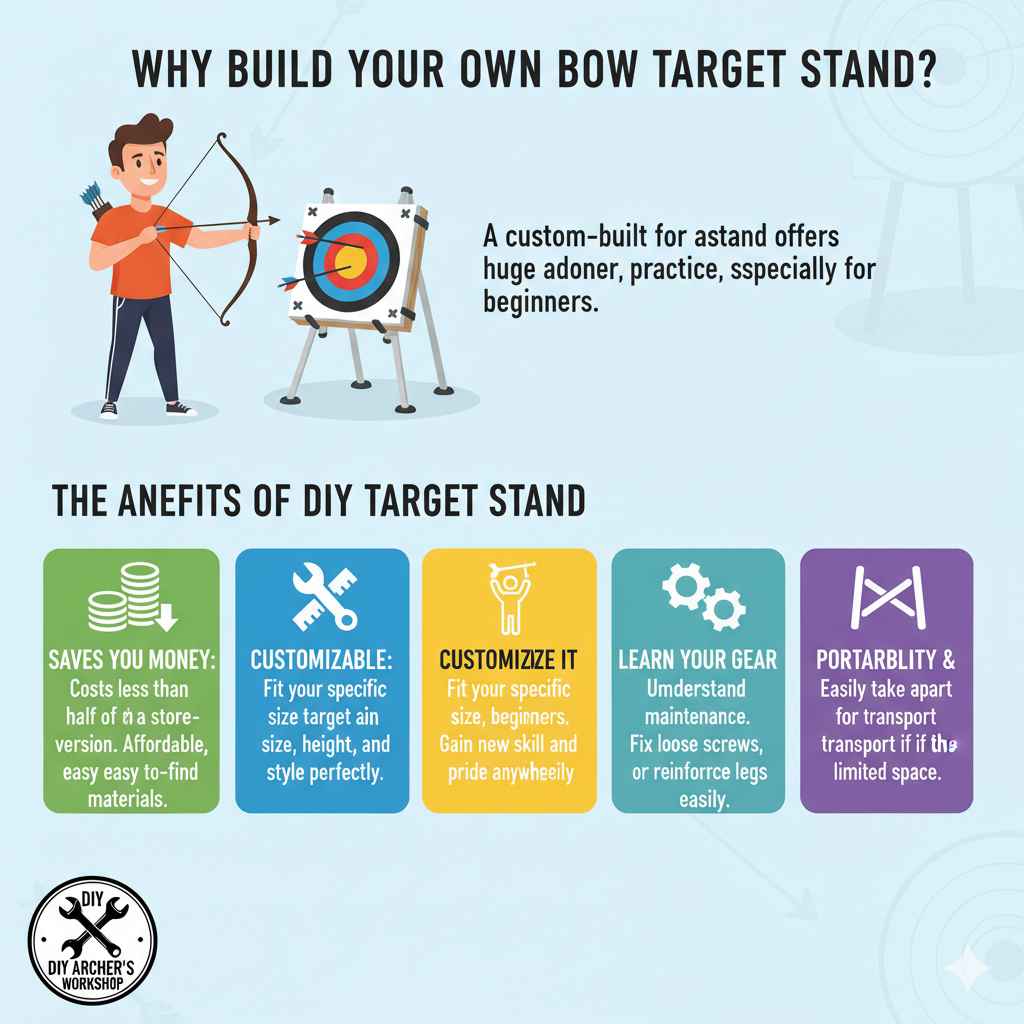
You might be wondering if it’s worth the effort to build your own stand. The answer is a big yes! A custom-built stand offers huge advantages, especially for beginners who want a reliable setup without a big price tag. It’s more than just a piece of wood; it’s the foundation for better, safer practice.
Benefits of a DIY Target Stand
- It Saves You Money: Commercial target stands can be surprisingly costly. Building your own often costs less than half the price of a store-bought version. You can use common materials that are affordable and easy to find.
- You Can Customize It: Is your target a unique size? Do you need your stand to be extra tall or wide? When you build it yourself, you control the dimensions. You can make it fit your specific target and shooting style perfectly.
- It’s a Fun and Rewarding Project: There’s a special pride that comes from building your own gear. This project is simple enough for beginners and doesn’t require fancy tools. You’ll gain a new skill and a great piece of equipment.
- You Learn How Your Gear Works: Understanding how your stand is built helps you maintain and repair it. You’ll know exactly how to fix a loose screw or reinforce a leg if needed.
- Portability and Storage: You can design your stand to be easily taken apart for transport or storage. This is great if you practice in different locations or have limited space.
Planning Your Bow Target Stand Design
Before you start cutting wood, let’s think about the design. A little planning goes a long way. The right design depends on your target type, where you shoot, and your budget. Here are a few popular and easy-to-build designs for beginners.
Common Stand Designs
Most DIY stands fall into one of a few simple categories. Each has its pros and cons, but all are great for starting out.
| Stand Type | Description | Best For |
|---|---|---|
| H-Frame Stand | Looks like the letter “H” from the side. It has two wide feet for stability and two upright posts to hold the target. This is the design we’ll build in this guide because it’s super stable and easy. | Square and rectangular bag targets or foam blocks. Excellent for flat ground. |
| Tripod Stand | Uses three legs for support, like a camera tripod. It often has a hook or a small platform at the top to hang a bag target. | Hanging bag targets and uneven ground, as you can adjust the legs. |
| Easel Stand | This design is similar to an artist’s easel. It has an A-frame shape with a back leg for support. It’s lightweight and often foldable. | Lighter foam targets and archers who need to transport their stand frequently. |
For this guide, we will focus on the H-Frame Stand. It’s the most versatile, stable, and straightforward design for beginners to build.
Things to Consider Before You Build
- Target Size and Weight: Measure your target’s height, width, and depth. A heavy bag target needs a wider, stronger base than a lightweight foam block. Make sure your stand’s dimensions will comfortably hold your target without tipping.
- Shooting Location: Will you be shooting on flat grass in your backyard or on slightly uneven ground at a club? The H-frame is best for flat surfaces. If your ground is very uneven, a tripod might be a better choice.
- Portability: Do you need to pack your stand into a car? Consider a design that can be assembled and disassembled easily using bolts and wing nuts instead of screws.
Materials and Tools You’ll Need
One of the best parts about this project is that it uses common materials and basic tools. You can find everything you need at a local hardware store. Check out this guide from The Home Depot for tips on selecting the right lumber.
Materials List
This list is for a standard H-Frame stand designed to hold a common bag target (around 30″ x 30″). You can adjust the lengths to fit your specific target.
| Item | Quantity | Notes |
|---|---|---|
| 2×4 Lumber | Three 8-foot long boards | This will be more than enough for all cuts. Pressure-treated wood is great for outdoor use. |
| Wood Screws | 1 box (about 50) | Use 2.5-inch or 3-inch deck screws. They are weather-resistant and strong. |
| Carriage Bolts with Washers and Wing Nuts (Optional) | 4 sets | Use these instead of screws for the uprights if you want to make the stand portable. Get 3/8-inch diameter, 4 inches long. |
| Wood Glue (Optional) | 1 bottle | Adds extra strength to the joints. Use an exterior-grade glue if the stand will live outside. |
Tools List
You don’t need a professional workshop for this. These basic tools will get the job done.
- Tape Measure: For accurate cuts.
- Pencil: For marking your measurements.
- Saw: A hand saw will work, but a circular saw or miter saw will make the cuts faster and straighter.
- Power Drill: To drive in the screws. Make sure you have a bit that matches your screw heads (usually a Phillips or star drive).
- Drill Bit: A small drill bit for pre-drilling holes to prevent the wood from splitting. Choose one slightly smaller than your screw’s diameter.
- Square: A speed square or combination square helps ensure your cuts and angles are perfectly 90 degrees.
- Safety Glasses: Always protect your eyes when cutting or drilling!
Step-by-Step Guide to Building Your H-Frame Stand
Alright, it’s time to build! Follow these steps carefully, and you’ll have a fantastic new target stand in no time. Remember to always practice safety first. Wear your safety glasses and work in a clear, open space.
Step 1: Measure and Cut Your Lumber
Accuracy is key here. Measure twice, cut once! We’ll cut all the pieces we need from our 2×4 boards. Here is the cut list for a stand that fits a standard 30-inch target.
- The Feet (Base): Cut two pieces of 2×4 to 36 inches each. These will be the long feet of the stand that sit on the ground.
- The Uprights: Cut two pieces of 2×4 to 48 inches each. These vertical pieces will hold the target up.
- The Cross Braces: Cut two pieces of 2×4 to 28 inches each. One will connect the feet, and the other will connect the uprights.
Use your square to mark a straight line before you cut. This ensures all your pieces will fit together nicely.
Step 2: Assemble the Base
The base is the foundation of your stand. A strong base means a stable target.
- Lay your two 36-inch “feet” pieces on a flat surface, parallel to each other. They should be about 24 inches apart.
- Take one of your 28-inch “cross brace” pieces. Place it across the center of the two feet, forming an “H” shape.
- Use your tape measure to make sure the cross brace is perfectly centered on each foot (it should be 4 inches from each end of the foot).
- Apply a bit of wood glue where the pieces meet for extra strength (optional).
- Pre-drill two holes through the cross brace down into each foot. This prevents the wood from splitting when you drive the screws.
- Secure the cross brace to the feet using four 2.5-inch screws (two for each connection point).
You now have a solid, H-shaped base! Flip it over and make sure it sits flat without wobbling.
Step 3: Attach the Uprights
Now we’ll add the vertical posts that will hold your target.
- Take your two 48-inch “upright” pieces. Stand one upright on the inside of one of the feet, right against the cross brace. It should be standing straight up.
- Use your square to make sure the upright is at a perfect 90-degree angle to the foot. This is very important for stability.
- Pre-drill two holes from the outside of the foot into the bottom of the upright.
- Drive two 2.5-inch screws through the foot into the upright to secure it.
- For extra support, drive two more screws at an angle (toe-nailing) through the upright into the cross brace.
- Repeat the process for the second upright on the other side. Make sure both uprights are parallel to each other.
For a Portable Stand: If you want to make it easy to take apart, use bolts instead of screws here. Drill a hole all the way through the foot and the upright, then secure it with a carriage bolt, washer, and wing nut.
Step 4: Add the Top Cross Brace
The final piece adds rigidity to the frame and keeps the uprights from spreading apart.
- Take your remaining 28-inch “cross brace” piece.
- Position it across the two uprights, about 6 inches down from the top. Make sure it is level.
- Pre-drill two holes through the cross brace into each upright.
- Secure it with four 2.5-inch screws (two for each side).
Your stand is now fully assembled! Give it a gentle shake to check for any wobbles. If anything is loose, add another screw to tighten it up.
Step 5: Finishing Touches (Optional)
Your stand is ready to use, but a few extra touches can make it even better.
- Add Target Hangers: Screw in a couple of large hooks or eyelets into the top cross brace. This is perfect for hanging a bag target with a grommet or handle.
- Create a Target Shelf: If you use a foam block target, you can add a small shelf for it to sit on. Cut a piece of plywood to the width of your stand (around 28 inches) and about 10 inches deep. Screw it onto the front of the two feet. This gives your block target a solid platform to rest against.
- Weatherproofing: If you plan to leave your stand outside, a coat of exterior paint, stain, or water sealer will protect the wood from rain and sun. This will make your stand last for many years.
Safety First: Building and Using Your Stand
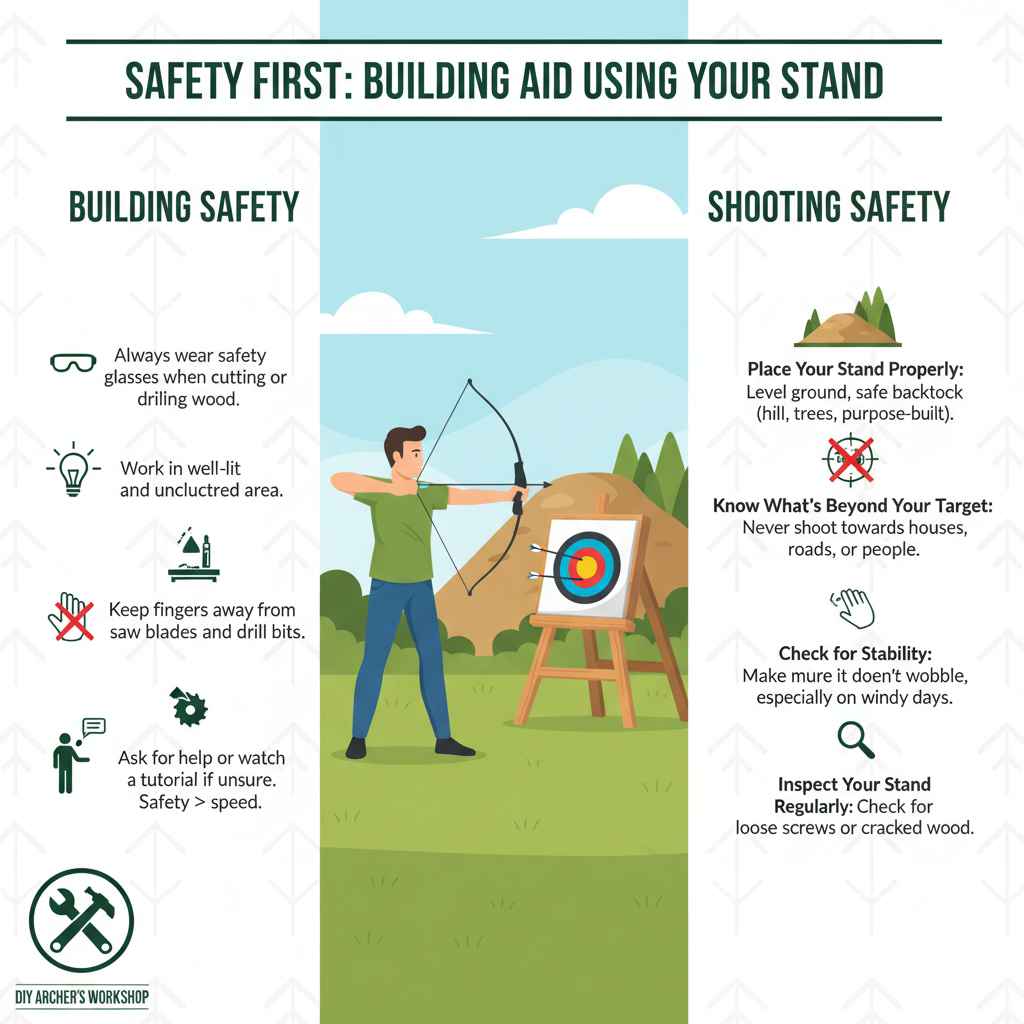
Safety is the most important rule in archery, and that applies to your equipment too. Always be mindful when building and using your stand.
Building Safety
- Always wear safety glasses when cutting or drilling wood.
- Work in a well-lit and uncluttered area.
- Keep fingers away from saw blades and drill bits.
- If you are unsure how to use a power tool, ask for help or watch a tutorial. Safety is more important than speed.
Shooting Safety
- Place Your Stand Properly: Always set up your stand on level ground. Ensure there is a safe backstop behind your target. A hill, a thick wall of trees, or a purpose-built backstop are good options. The Virginia Department of Wildlife Resources has excellent guidance on safe shooting practices.
- Know What’s Beyond Your Target: Never shoot in the direction of houses, roads, or areas where people might be. Be 100% sure of your backstop.
- Check for Stability: Before you start shooting, give your stand a gentle push. Make sure it doesn’t wobble or feel like it could tip over. This is especially important on windy days.
- Inspect Your Stand Regularly: Check for loose screws or cracked wood before each practice session. A well-maintained stand is a safe stand.
Frequently Asked Questions (FAQ)
How tall should I make my bow target stand?
A good rule of thumb is to build the stand so the center of your target is at shoulder height. For most adults, making the uprights around 48 to 60 inches tall works well. This promotes good shooting form by allowing you to aim straight ahead.
Can I build this stand with PVC pipes instead of wood?
Yes, you can build a similar stand using PVC pipes and fittings. A PVC stand is lighter and weather-resistant. However, it may not be as sturdy as a wood stand, especially for heavy bag targets or in windy conditions. For a heavier target, a wood frame is usually a better choice.
How do I make my stand more stable on uneven ground?
For slightly uneven ground, you can dig small trenches to level the feet of the H-frame. Another trick is to add adjustable feet by drilling a hole in the bottom of each foot and inserting a long bolt with a nut. You can then turn the bolt to raise or lower each corner. For very uneven terrain, a tripod design is often more stable.
What is the best way to weatherproof my wooden stand?
The best way to protect your stand is to apply a coat of outdoor deck stain, sealer, or exterior paint. This will prevent the wood from rotting, warping, or splitting due to rain and sun exposure. Applying a fresh coat every couple of years will keep it in great shape.
Can this stand hold a very heavy bag target?
Yes, this H-frame design is very strong. For an extra-heavy target (over 80 pounds), you can increase its stability by making the feet wider (e.g., 40 inches instead of 36) and by adding angled support braces from the uprights down to the feet.
How can I make my stand easier to store?
To make it easy to store, assemble the uprights to the base using carriage bolts and wing nuts instead of screws. This allows you to quickly disassemble the stand into three flat pieces: the base and the two uprights. They can then be easily stored in a garage or shed.
Is it safe to leave my target on the stand outside?
While the stand itself can be weatherproofed, most archery targets are not designed to be left in the elements. Rain can waterlog foam and bag targets, causing them to degrade quickly. It’s best to bring your target indoors after each practice session to prolong its life.
Conclusion: Your New Best Practice Partner
Congratulations! You now have a complete guide to building your very own bow target stand. By taking an afternoon to complete this simple project, you’ve not only saved money but also created a piece of gear perfectly suited to your needs. This sturdy, reliable stand will be your practice partner for years to come, helping you build skills and confidence with every arrow you shoot.
Remember, archery is a journey of continuous improvement, and having the right equipment makes that journey so much more enjoyable. Now, set up your new stand, step back to your shooting line, and let those arrows fly. Happy shooting!