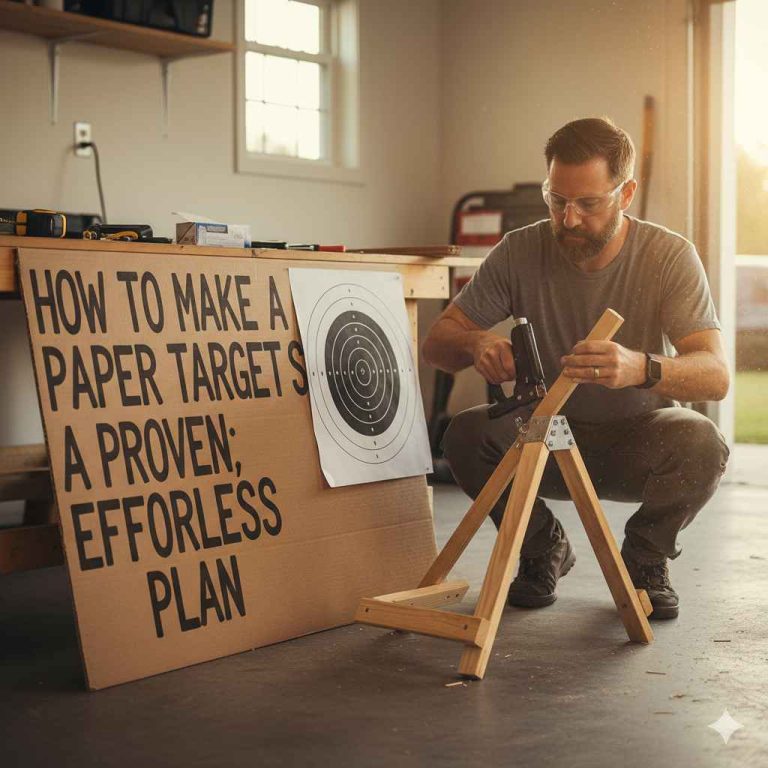
Building a durable gong target stand is simple with the A-frame design. Use four 4-foot legs and one 4-foot crossbeam made from 2×4 lumber. Secure the legs at the top with a hinge or carriage bolts, allowing them to fold for easy transport. This proven method provides excellent stability for safe and enjoyable shooting practice.
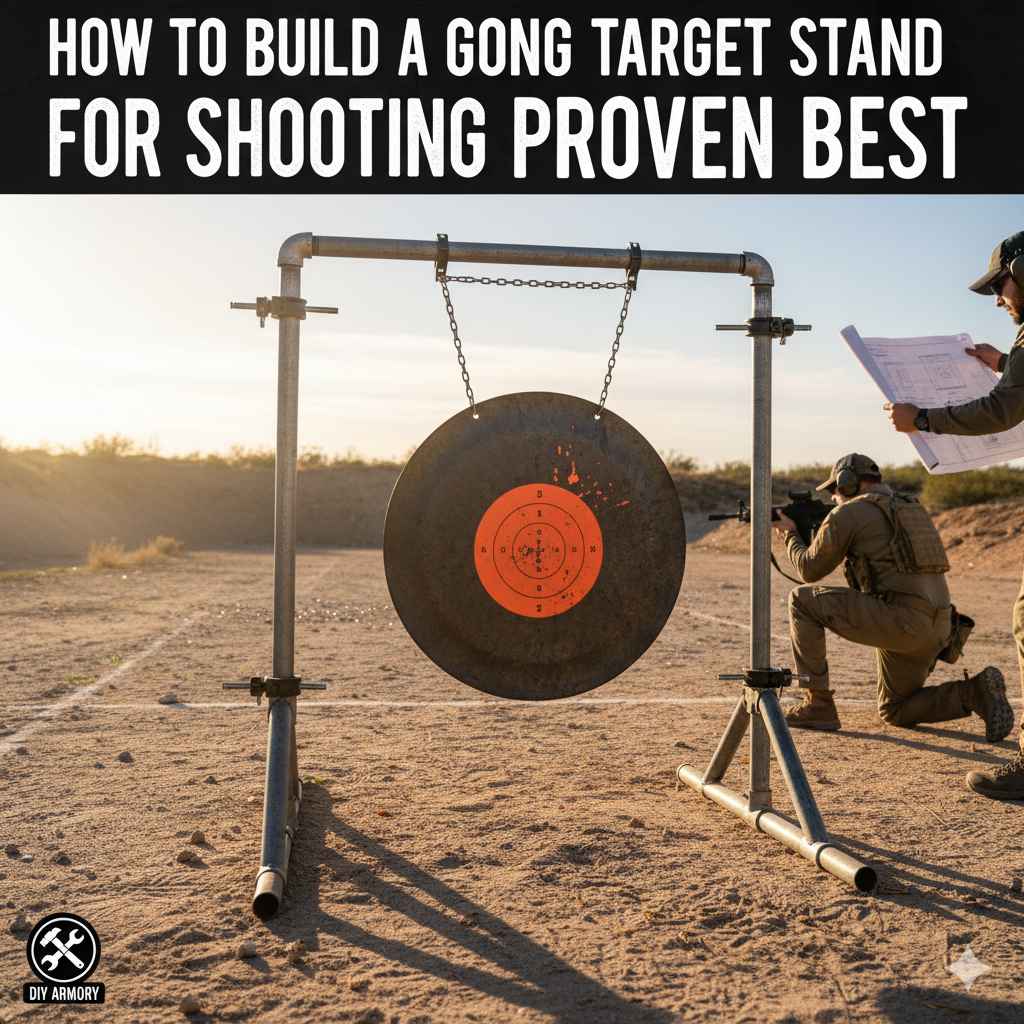
Hello, fellow archers! Salman here. There’s nothing quite like the satisfying clang of an arrow hitting a steel gong target. It’s instant feedback that tells you you’re right on the mark. But finding a good, sturdy stand to hang that gong can be a challenge. Store-bought stands can be flimsy or expensive, and a wobbly target is just plain frustrating. Don’t worry, though. Building your own is easier than you think, and I’m here to guide you. Together, we’ll build a tough, reliable stand that will make your practice sessions safer and more fun. Let’s get started!
We’re going to build an A-frame target stand. Why this design? Because it’s incredibly stable, easy to build with basic tools, and folds up nicely for transport. It’s a classic for a reason—it just works. This guide will walk you through every simple step, from picking your materials to setting it up for your first shot.
Why Build When You Can Buy? The DIY Advantage
You might see stands for sale online or at sporting goods stores. So, why bother building one yourself? There are some great reasons that put you in the winner’s circle.
- Save Money: Building your own stand often costs a fraction of a pre-made one. You can use common materials that are affordable and easy to find.
- Built to Last: You control the quality. By choosing sturdy materials like 2×4 lumber, you can create a stand that will withstand years of use and abuse, unlike some of the thinner metal stands on the market.
- Perfectly Customized: Need it taller? Wider? No problem. When you build it yourself, you can adjust the dimensions to perfectly fit your targets and your vehicle for transport.
- A Sense of Pride: There’s a special satisfaction that comes from using equipment you built with your own two hands. It’s a rewarding project that adds another layer of fun to your hobby.

Safety First: Your Most Important Tool
Before we cut a single piece of wood, let’s talk about safety. This is the most important step of all. We’re working with tools and, eventually, shooting equipment. Taking a few moments to think about safety ensures every part of this process is enjoyable.
Building Safety
- Wear Protective Gear: Always wear safety glasses to protect your eyes from sawdust and debris. Gloves are also a great idea to prevent splinters.
- Work in a Clear Space: Make sure your work area is clean and free of clutter. A tidy space is a safe space, reducing the risk of trips and falls.
- Understand Your Tools: Read the manual for any power tools you use, like a drill or saw. Understanding how they work is key to using them safely. The Occupational Safety and Health Administration (OSHA) offers excellent guidelines for power tool safety.
- Secure Your Work: When cutting or drilling, use clamps to hold your wood firmly in place. This prevents it from slipping and causing an accident.
Shooting Safety
- Know Your Backstop: Always be sure of what is behind your target. Set up in a safe location with a proper backstop, like a large hill or berm. Never shoot in a direction where people or property could be at risk.
- Maintain a Safe Distance: When shooting steel targets, bullet fragments can bounce back (this is called spall or ricochet). While less of a concern with field point arrows, it’s a critical rule for firearm users and a good habit for all. For archery, simply ensure your target is stable and your shooting lane is clear.
- Angle Your Target: A slight downward angle on your gong helps direct any potential spall or ricochet safely into the ground. Our build includes this simple but important feature.
Choosing the Right Materials for Your Stand
The heart of your stand is the material you choose. While you can use metal pipes or rebar, we’re focusing on wood (specifically 2×4 lumber) because it’s cheap, easy to work with, and incredibly strong. It’s the perfect choice for a beginner-friendly project.
Let’s compare the most common options to see why wood is our top pick.
| Material | Pros | Cons | Best For |
|---|---|---|---|
| 2×4 Lumber (Wood) | Inexpensive, easy to find, simple to cut and drill, very sturdy, absorbs impact well. | Can be heavy, may weather over time if left outside (can be sealed/painted). | Beginners and anyone wanting a durable, affordable, and easy-to-build stand. Our recommended choice! |
| EMT Conduit (Metal) | Lightweight, weather-resistant, easy to transport. | Requires special tools to cut, can be less stable in wind, may dent or bend from impacts. | Shooters who need a very lightweight, portable option and are comfortable working with metal. |
| Rebar (Steel) | Extremely durable, relatively inexpensive. | Very heavy, difficult to cut and weld, rusts easily. | Permanent or semi-permanent setups where portability isn’t a concern. Requires advanced tools. |
For this guide, we’ll be using standard 2×4 lumber. You can find it at any home improvement store. Look for straight boards without a lot of knots for the best results. A resource like the Home Depot lumber buying guide can be helpful if you’re new to selecting wood.
Gathering Your Tools and Supplies
You don’t need a fancy workshop for this project. Most of these tools are common household items. Here’s exactly what you’ll need.
Supplies List:
- Lumber: Three (3) standard 8-foot 2×4 boards. This will give you more than enough wood for the legs and crossbeam.
- Hardware for the Pivot:
- Two (2) 1/2-inch x 4-inch carriage bolts.
- Two (2) 1/2-inch nuts.
- Four (4) 1/2-inch washers.
- Hardware for the Hangers:
- Two (2) 1/2-inch x 3-inch eye bolts.
- Two (2) 1/2-inch nuts.
- Two (2) 1/2-inch washers.
- Target Hanging Kit: You’ll need chains or heavy-duty straps and hardware (like S-hooks or quick links) to hang the gong itself. Many companies sell pre-made kits for this.
- Optional: Wood glue for extra strength, and paint or wood sealant to protect your stand from the weather.
Tools List:
- Tape Measure
- Pencil
- Hand Saw or Circular Saw
- Power Drill
- 1/2-inch Drill Bit
- Wrench or Socket Set (to fit your nuts)
- Safety Glasses
- Work Gloves
Step-by-Step Building Instructions
Alright, time for the fun part! Let’s turn that pile of lumber into a rock-solid target stand. Follow these steps, and you’ll be done in no time.
Step 1: Measure and Cut Your Materials
Accuracy here makes assembly a breeze. Take your time and remember the old saying: “measure twice, cut once.” We will cut five pieces from our 2×4 boards.
- Cut the Legs: Measure and cut four (4) pieces of 2×4 lumber to a length of 48 inches (4 feet) each. These will be the legs of your two A-frames.
- Cut the Crossbeam: Measure and cut one (1) piece of 2×4 lumber to a length of 48 inches (4 feet). This will be the top bar that holds your targets.
A 4-foot by 4-foot stand is a great all-around size. It’s wide enough to be stable but small enough to fit in most cars. Here is a simple cutting guide:
| Component | Material | Length | Quantity |
|---|---|---|---|
| Legs | 2×4 Lumber | 48 inches (4 feet) | 4 |
| Crossbeam | 2×4 Lumber | 48 inches (4 feet) | 1 |
Step 2: Assemble the A-Frame Legs
Now we’ll create the two A-frame sides. This is where the stand gets its signature shape and stability.
- Pair Up the Legs: Take two of your 4-foot leg pieces and lay them on a flat surface.
- Overlap the Tops: Overlap the top ends of the two legs by about 1.5 inches (the actual width of a 2×4). The final shape should look like a narrow ‘X’ at the top.
- Mark for Drilling: Use your pencil to mark a spot in the center of the overlapped section. This is where your pivot bolt will go.
- Drill the Hole: Using your power drill and the 1/2-inch bit, drill a hole all the way through both boards at the mark you just made. A clamp can help hold them steady while you drill.
- Insert the Carriage Bolt: Push one of the 4-inch carriage bolts through the hole. Place a washer on the other side, then thread on the nut. Tighten it so it’s snug, but leave it just loose enough that the legs can pivot open and closed. Don’t overtighten!
- Repeat for the Other Side: Follow the exact same steps with the other two leg pieces to create your second A-frame.
You should now have two identical sets of legs that can open into an ‘A’ shape and fold flat for storage.
Step 3: Attach the Top Crossbeam
The crossbeam is the piece that connects the two A-frames and holds the weight of your gong. We’ll make a simple, secure notch for it to rest in.
- Position the Crossbeam: Stand up your two A-frame leg sets and spread them apart. Lay your 4-foot crossbeam across the ‘V’ created at the top of each A-frame.
- Trace the Notch: Let the crossbeam settle into the V-notch naturally. Use your pencil to trace along the bottom and sides of the crossbeam onto the inside of each leg. This shows you exactly where the crossbeam will sit.
- Cut the Notches (Optional but Recommended): This step is optional but adds a huge amount of stability. Lay the legs down and use your saw to make a shallow cut (about 1/2 inch deep) along the lines you traced. This creates a small shelf for the crossbeam to sit in, preventing it from slipping. For beginners, even just having the crossbeam rest in the ‘V’ is often secure enough.
- Prepare for Hangers: Lay the crossbeam flat. Measure and mark two spots where you want your targets to hang. A good starting point is about 12 inches in from each end. This spacing prevents targets from swinging into each other.
- Drill for Eye Bolts: At the marks you just made, use your 1/2-inch drill bit to drill a hole straight through the crossbeam.
Step 4: Prepare the Target Hangers
The eye bolts will provide a strong and reliable anchor point for your target chains.
- Insert Eye Bolts: Push the eye bolts through the holes you drilled in the crossbeam. The “eye” part should be on the bottom.
- Secure with Hardware: On the top side of the crossbeam, place a washer over the threaded end of the eye bolt, then thread on the nut. Tighten it securely with your wrench. These need to be tight, as they will be holding the weight of the steel target.
Your crossbeam is now ready to hang gongs!
Step 5: Final Assembly and Finishing Touches
We’re on the home stretch! Let’s put it all together.
- Set Up the Stand: Stand up your two A-frame leg assemblies. Spread them apart to a comfortable width—usually about 3 to 4 feet.
- Place the Crossbeam: Settle the crossbeam into the V-notches at the top of the legs. The weight of the beam and the angle of the legs will hold it securely in place. This no-tools assembly makes setup at the range incredibly fast.
- Paint or Seal (Optional): If you plan to leave your stand outside or want it to last for many years, now is a great time to apply a coat of outdoor paint or wood sealant. This protects the wood from rain and sun. A simple can of spray paint works great.
- Attach Hanging Hardware: Use your S-hooks or quick links to attach your chains or straps to the eye bolts. Your stand is now complete and ready for a target!
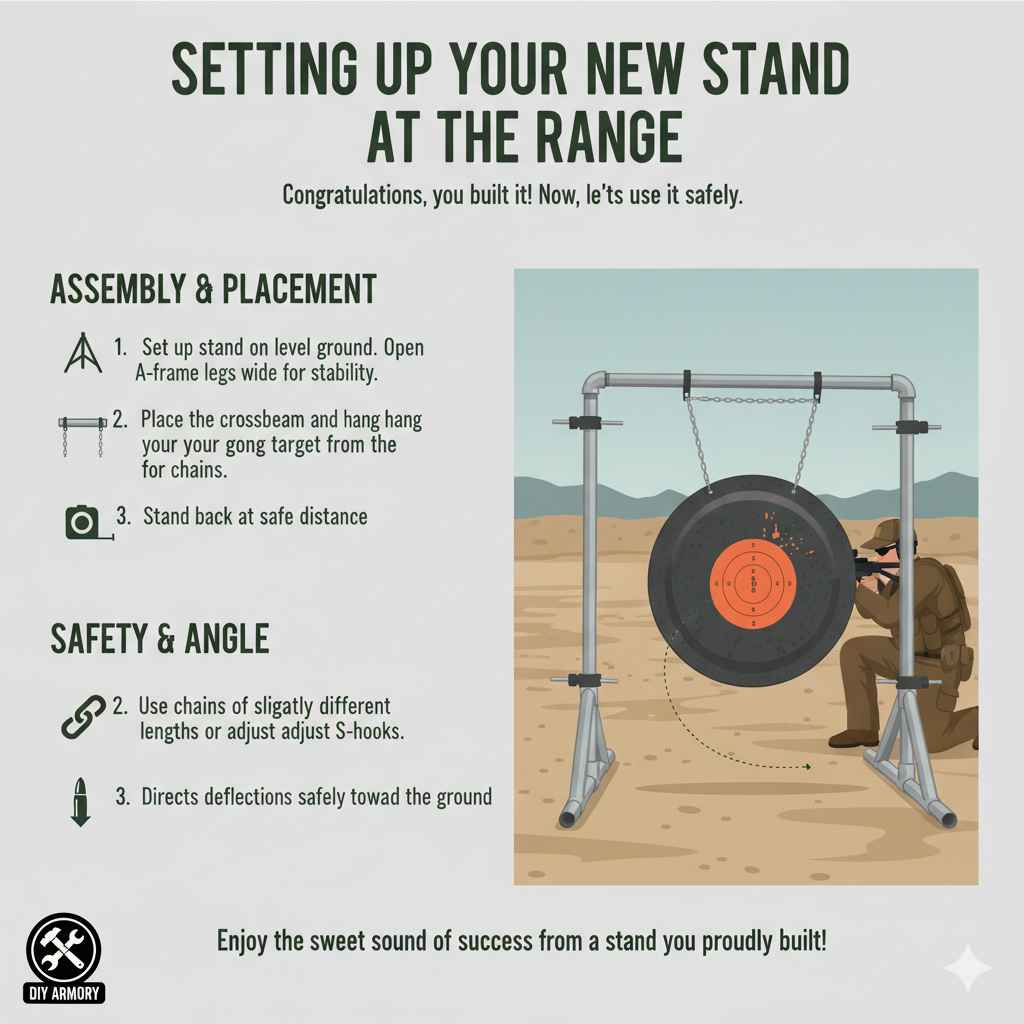
Setting Up Your New Stand at the Range
Congratulations, you built it! Now, let’s use it safely. When you get to your shooting spot, set up the stand on level ground. Open the A-frame legs to a wide, stable stance. Place the crossbeam and hang your gong target from the chains.
To give your target that slight downward angle we talked about for safety, you can use chains of slightly different lengths for the front and back bolts on your gong, or simply adjust the S-hooks. This ensures any deflections are directed safely toward the ground.
Stand back at a safe distance, take aim, and enjoy the sweet sound of success ringing from a stand you proudly built yourself.
Frequently Asked Questions (FAQ)
What is the best material for a gong target stand?
For most DIY builders, 2×4 lumber is the best material. It is affordable, strong, and easy to work with using basic tools. It provides a great balance of durability and cost, making it perfect for a first-time project.
How tall should a target stand be?
A height of around 4 feet is ideal for a portable stand. This places most gongs at a comfortable shooting height for standing or kneeling positions and keeps the stand stable. It’s also a convenient size for transport.
Can I make my stand adjustable?
Yes, you can make it adjustable by drilling multiple holes in the legs for the pivot bolt, allowing you to change the height and spread. However, for a first build, a fixed A-frame design offers the best combination of simplicity and stability.
How far apart should I hang my targets?
Hang your targets at least 18-24 inches apart. This prevents them from swinging into each other after a hit, which can damage the targets or chains. For the stand we built, placing the hangers 12 inches from each end of the 4-foot crossbeam works perfectly.
How do I transport this stand?
This A-frame design is built for easy transport! Simply lift off the crossbeam, and fold the two A-frame leg assemblies flat. The three pieces (crossbeam and two folded legs) will lie flat and can easily fit in the trunk of a car or the bed of a truck.
Do I need to use wood glue?
Wood glue is not necessary for this design, as the bolts and the force of gravity hold everything together securely. The design is meant to be easily disassembled for transport. If you were building a permanent, non-folding stand, then glue would add extra rigidity.
What kind of gong target should I use?
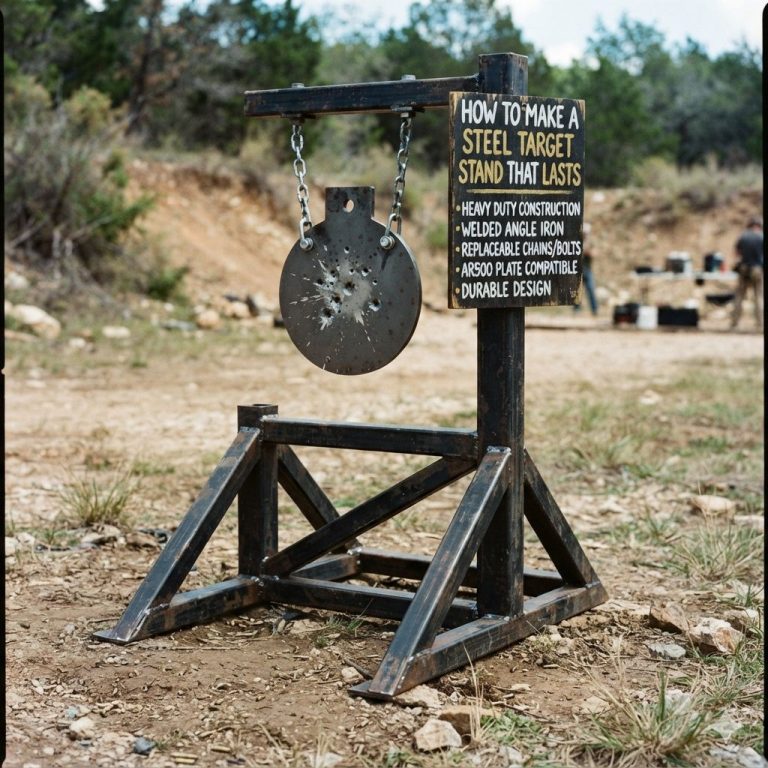
For archery, any steel target rated for arrows is fine. If you also plan to use firearms, you must use a gong made from hardened AR500 steel, which is designed to withstand bullet impacts safely. Always check the manufacturer’s recommendations for your specific target.
Your Next Favorite Piece of Gear
There you have it—a complete guide to building your very own durable, reliable, and portable gong target stand. This simple weekend project will save you money and give you a piece of gear you can be truly proud of. It’s more than just a target stand; it’s a testament to your ability to create something practical and useful for the hobby you love.
Now you can spend less time worrying about flimsy equipment and more time focusing on what really matters: honing your skills, enjoying the fresh air, and hearing that satisfying clang of a perfect shot. Happy shooting!