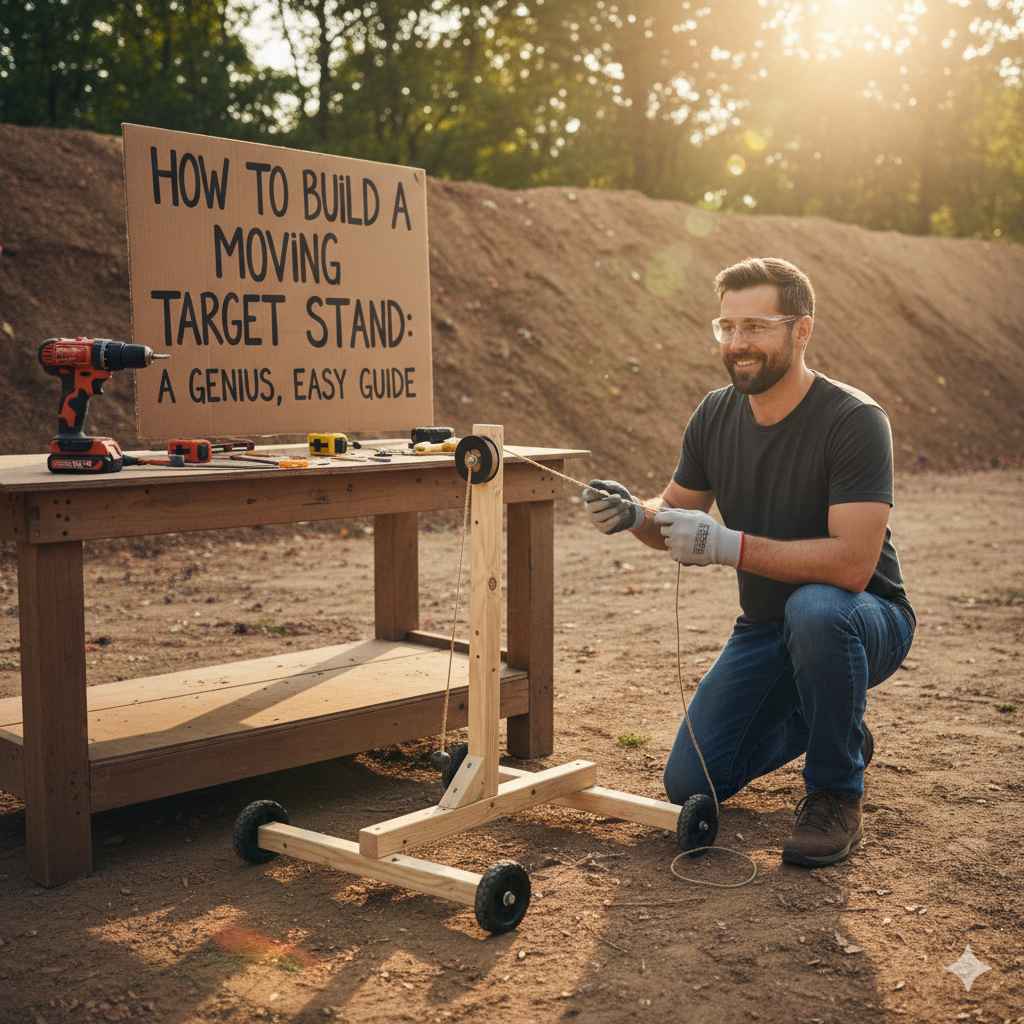
To build a moving target stand, construct a simple wooden frame with two upright posts and a top crossbeam. Attach a pulley to each end of the crossbeam. Run a rope through the pulleys to create a loop, and attach a lightweight target carrier to the rope. Pulling the rope by hand will move the target from side to side for dynamic practice.
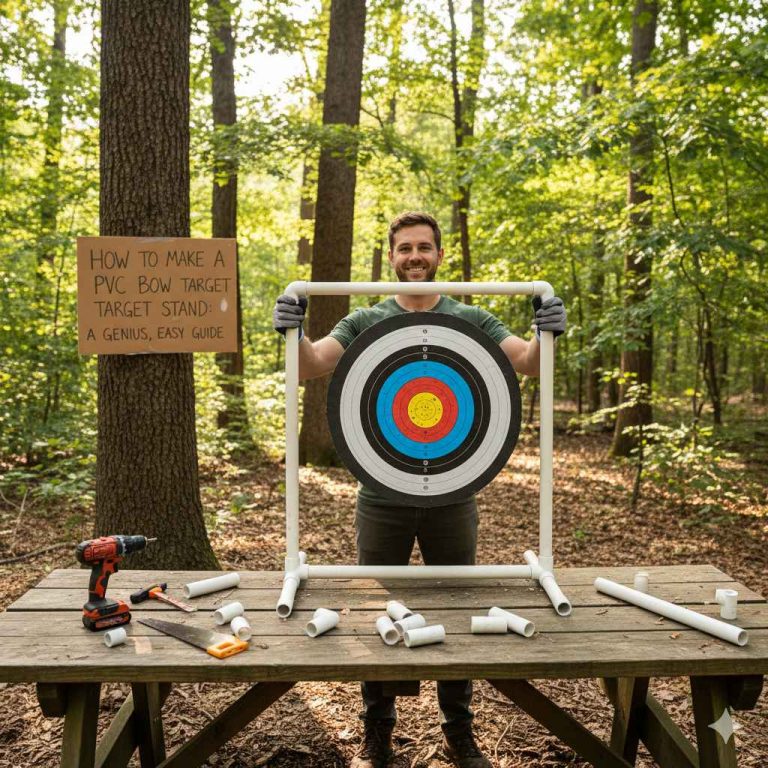
Are you tired of shooting at the same old static target? It can get a little repetitive. Your arrows group nicely, but you know real-life scenarios are never that still. You want a challenge that sharpens your instincts and makes practice more exciting. But building something that moves sounds complicated and expensive, right? Not at all! I’m here to show you a simple, budget-friendly plan to build your very own moving target stand. This guide will walk you through every step, making it easy and fun. Let’s build something that will take your archery skills to the next level!
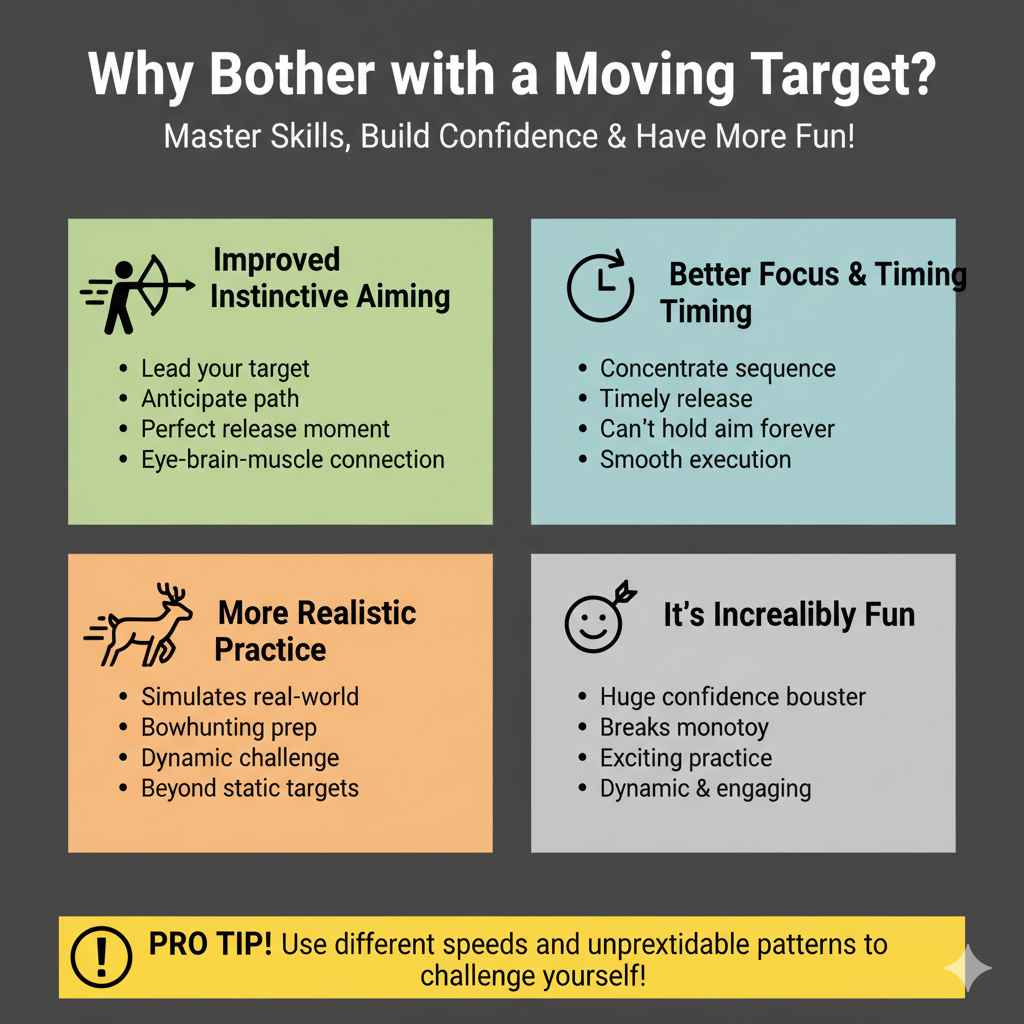
Why Bother with a Moving Target?
Shooting at a stationary bullseye is great for learning the basics of form and aiming. But once you have that down, introducing movement adds a whole new dimension to your practice. It’s not just about making things harder; it’s about making your skills more practical and well-rounded. A moving target helps you master skills that a paper target on a bale of hay never could.
Here are a few key benefits you’ll notice right away:
- Improved Instinctive Aiming: You’ll learn to lead your target, anticipate its path, and release your arrow at the perfect moment. This builds a powerful connection between your eyes, brain, and muscles.
- Better Focus and Timing: A moving target forces you to concentrate completely on the shot sequence. You can’t hold your aim forever, so you learn to execute a smooth, timely release.
- More Realistic Practice: Whether you’re a bowhunter or just enjoy a dynamic challenge, practicing on a moving target simulates real-world conditions far better than a static one.
- It’s Incredibly Fun: Let’s be honest, hitting a moving target is a huge confidence booster! It breaks up the monotony of regular practice and makes you excited to get out and shoot.
Safety First: Your Most Important Shot
Before we even touch a piece of wood or a single tool, let’s talk about safety. Building this project and using it requires your full attention. A moving target changes the game, so we need to be extra careful. Your shooting range must be secure, and you must know what is behind your target at all times.
Follow these rules every single time:
- Know Your Backstop: Your backstop needs to be much wider than for a static target. A large hill, a thick patch of woods where no one goes, or a tall, purpose-built backstop is essential. Remember, missed arrows can travel a long way.
- Clear the Area: Make sure no people or pets can wander into the shooting lane or behind the target area. Set up in a private, controlled environment.
- Wear Safety Gear: When building, always wear safety glasses to protect your eyes from sawdust and debris. When shooting, use your standard archery safety gear like an armguard.
- Inspect Your Equipment: Before each shooting session, check your bow, arrows, and the target stand itself for any signs of wear or damage.
- Start Slow: When you first use the moving target, have it move very slowly. As you get more comfortable and accurate, you can gradually increase the speed.
For more excellent tips on workshop safety, you can review this helpful woodworking safety guide from The Home Depot. Safety is not a suggestion; it’s a requirement for enjoying archery for years to come.
Gathering Your Gear: Tools and Materials
The beauty of this plan is its simplicity. You don’t need a professional workshop or expensive, specialized tools. Most of these items can be found at your local hardware store. Let’s get everything together before we start.
Tools You’ll Need
You probably have most of these in your garage already. If not, they are great basic tools to own.
- Tape Measure
- Pencil
- Safety Glasses
- Drill with Phillips head bit and various drill bits
- Saw (a circular saw or miter saw is fastest, but a handsaw works too)
- Wrench or socket set
- Level
- Sandpaper or a small sander (optional, for smoothing edges)
Materials List
We’re using common lumber for this build. It’s affordable, easy to work with, and strong enough for the job. Pressure-treated wood is a great choice if you plan to leave your stand outside.
| Item | Quantity | Size / Description | Notes |
|---|---|---|---|
| Lumber (for frame) | 4 pieces | 2x4s, 8 feet long | Standard pine or pressure-treated for outdoor use. |
| Plywood (for feet) | 1 small sheet | 3/4 inch thick, 2×4 feet | Provides stability for the base. |
| Wood Screws | 1 box | 3-inch, outdoor/deck screws | Get good quality screws to prevent rust. |
| Carriage Bolts | 4 | 3/8 inch x 4 inch | With nuts and washers for securing the uprights. |
| Pulleys | 2 | Fixed eye pulleys | Ensure the groove fits your rope size. |
| Eye Bolts | 2 | 1/4 inch x 3 inch | To hang the pulleys from. |
| Rope | ~40-50 feet | 1/4 inch nylon or paracord | Measure your frame width and double it, then add extra. |
| Carabiner Clip | 1 | Small to medium size | For easily attaching your target. |
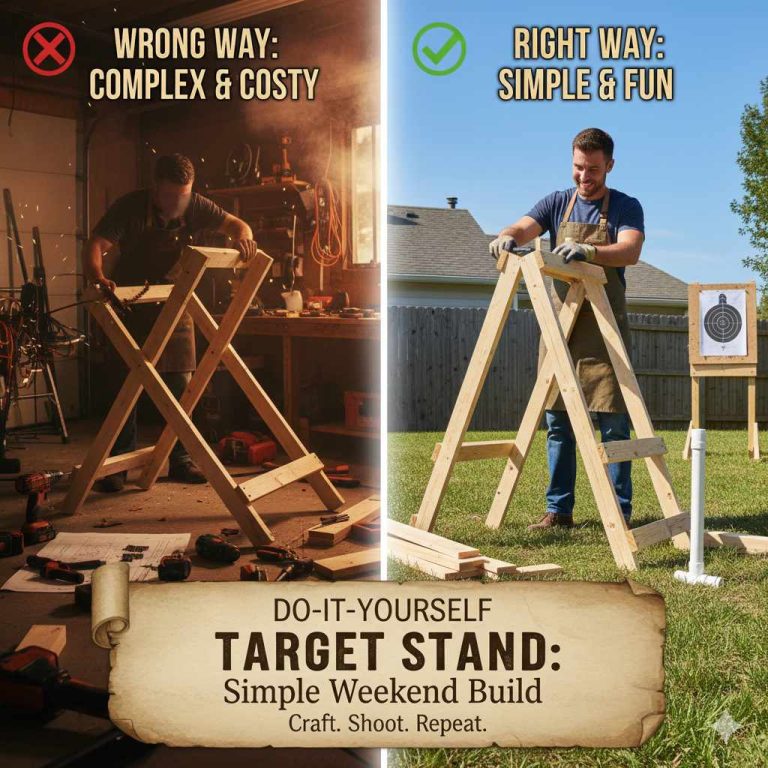
The Step-by-Step Build: Let’s Make Some Sawdust!
Alright, with our gear ready and safety in mind, it’s time for the fun part. We will build this in a few simple stages. Take your time, measure twice, and cut once. Let’s get started!
Step 1: Build the Base Feet
The base provides the stability for our entire stand. We want it to be solid so it doesn’t wobble or tip over, especially on uneven ground.
- Cut the Base Pieces: Take one of your 8-foot 2x4s and cut it into two 4-foot pieces. These will be the main parts of our feet.
- Cut the Feet Supports: From your 2×4 foot sheet of plywood, cut two rectangular pieces, each about 24 inches long and 12 inches wide. These will act as wide, flat “snowshoes” for your stand.
- Assemble the Feet: Center one of the 4-foot 2×4 pieces along the length of one of the plywood rectangles. Use your drill and 3-inch wood screws to attach the 2×4 to the plywood. Drive in about 4-5 screws along the length for a secure hold. Repeat this process for the second foot. You should now have two T-shaped feet that sit flat on the ground.
Step 2: Construct the Uprights and Top Beam
Now we’ll build the vertical part of the frame. The height is adjustable to your preference, but 6 feet is a good starting point.
- Cut the Uprights: Take two of your 8-foot 2x4s and cut them down to your desired height. Let’s go with 6 feet for this guide. You will have two 6-foot upright posts.
- Cut the Top Beam: Take your last 8-foot 2×4. This will be the top crossbeam that holds the pulley system. You can leave it at 8 feet for a nice wide track, or cut it down to 6 or 7 feet if you have less space. An 8-foot beam gives your target about 7 feet of travel distance.
- Attach the Uprights to the Feet: Stand one of the 6-foot uprights in the center of a base foot, forming an “L” shape when viewed from the end. Use your level to make sure it’s perfectly vertical (plumb). Drill two pilot holes through the upright and into the 2×4 of the base. Secure it using two 4-inch carriage bolts with washers and nuts. Tighten them firmly with a wrench. Repeat for the other upright and foot.
- Attach the Top Beam: Lay the frame down on the ground. Place the 8-foot top beam across the tops of the two uprights, making sure the ends overhang evenly. Use 3-inch wood screws to attach the beam to the top of each upright. Use at least two screws on each side for a strong connection.
At this point, you can stand your frame up. It should be sturdy and stable. If it wobbles, check that your bolts are tight and your feet are on level ground.
Step 3: Rig the Pulley System
This is the magic part that makes the target move. It’s surprisingly simple!
- Install the Pulley Hangers: On the underside of the top beam, measure in about 6 inches from each end. Drill a pilot hole at each mark that is slightly smaller than your eye bolts.
- Screw in the Eye Bolts: Twist the eye bolts into the pilot holes until they are snug and secure. The “eye” should be facing down.
- Attach the Pulleys: Use the fixed eye on your pulleys to hang one from each eye bolt. You can use a small S-hook or a split ring if the pulley eye doesn’t open. The pulleys should now hang freely from the bottom of the top beam.
Step 4: Create the Target Carrier
The target carrier is what your foam target or bag will hang from. We need something simple and lightweight that slides easily along the rope.
- Cut a Small Piece of Wood: You can use a leftover scrap of 2×4 or plywood. A small block about 4 inches by 4 inches is perfect.
- Drill Holes for the Rope: In your wooden block, drill two holes side-by-side, about 2 inches apart. Make the holes just big enough for your rope to pass through easily.
- Add a Hook: On the bottom edge of the block, screw in a small hook or another eye bolt. This is where you will clip your target.
- Create a Handle: Find a comfortable spot on the rope loop to create a handle. You can tie a smaller loop of rope or attach a wooden dowel. This will make it easier for a friend (or you) to pull the rope smoothly.
Step 5: String it Up and Test It Out
Now let’s put it all together and see our creation in action.
- Thread the Rope: Run one end of your rope up and through the left pulley, then across and through the right pulley. You should have one long piece of rope hanging down on each side.
- Attach the Target Carrier: Take the two ends of the rope. Thread one end through one hole of your wooden carrier block and the other end through the second hole.
- Create the Loop: Pull the two ends of the rope together and tie them with a secure knot, like a square knot or a figure-eight knot. You now have a continuous loop of rope running through the pulleys with a carrier that can slide along the top section.
- Attach the Carabiner: Clip your carabiner to the hook on the bottom of the target carrier. You can now easily attach and detach your foam target.
- Test the Motion: Pull down on one side of the rope loop. The target carrier should slide smoothly across the top beam. Pull the other side, and it should travel back. Success!
Choosing the Right Materials for Your Stand
While standard pine 2x4s work great, you might consider other options depending on your climate and how you plan to store the stand. The material you choose can affect the stand’s longevity and durability.
| Material Type | Pros | Cons | Best For |
|---|---|---|---|
| Standard Pine/Spruce (Untreated) | Inexpensive, lightweight, easy to find. | Not weather-resistant; will rot if left outside. | Indoor storage or dry climates. Budget-friendly builds. |
| Pressure-Treated (PT) Lumber | Excellent resistance to rot, moisture, and insects. | Heavier, more expensive, contains chemicals. | Stands that will be left outdoors permanently. |
| Cedar or Redwood | Naturally resistant to rot and insects. Looks great. | Significantly more expensive than pine or PT wood. | A premium build where appearance and longevity are key. |
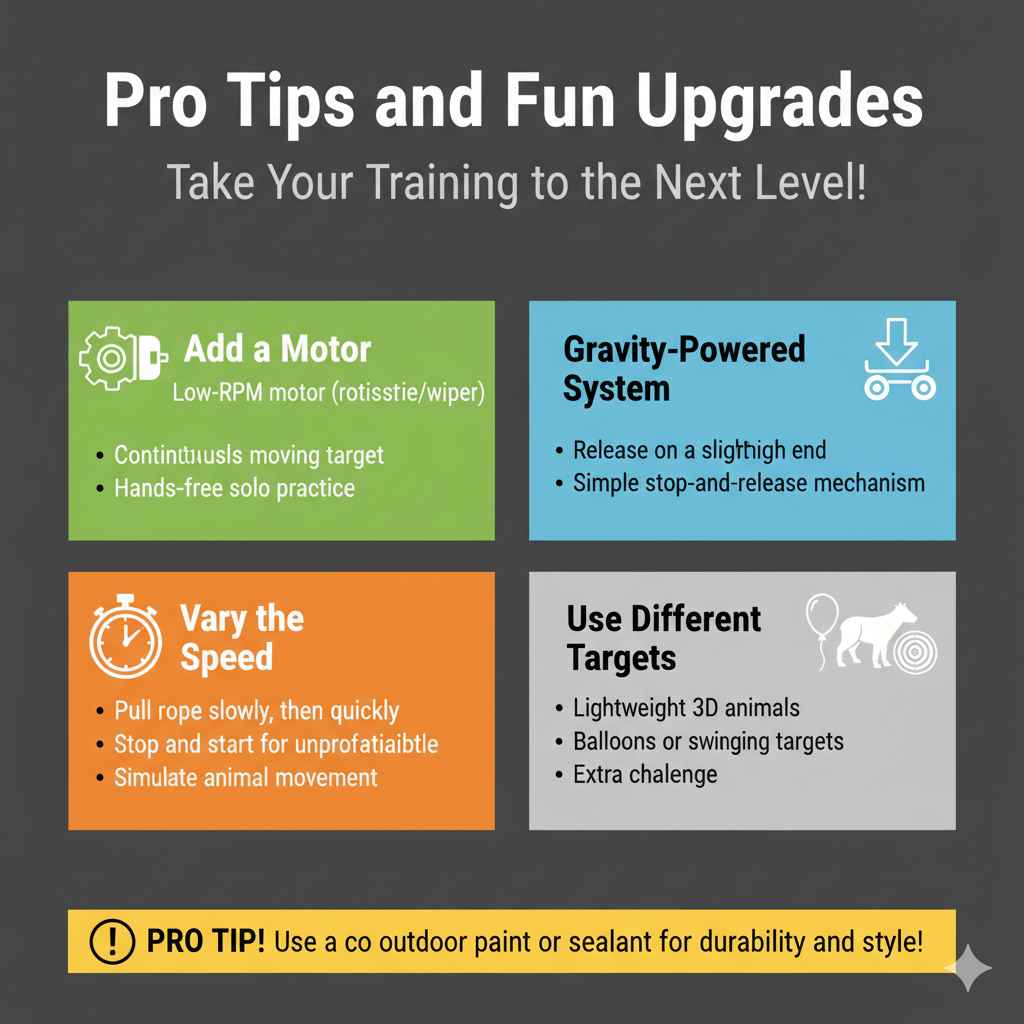
Pro Tips and Fun Upgrades
Your basic moving target stand is complete, but why stop there? Here are a few ideas to take your new training tool to the next level.
- Add a Motor: For a hands-free experience, you can attach a low-RPM motor, like one from a rotisserie or a windshield wiper, to one of the pulleys. This will create a continuously moving target for solo practice.
- Gravity-Powered System: Set up your stand on a slight incline. You can release the target at the high end and let gravity pull it to the low end. A simple stop-and-release mechanism can make it a fun challenge.
- Vary the Speed: Have the person pulling the rope vary the speed. They can pull it slowly, then quickly, or even stop and start it to simulate an animal’s unpredictable movement.
- Use Different Targets: Don’t just stick to a bullseye. Use 3D animal targets (lightweight ones!), balloons, or even swinging targets attached to the carrier for an extra challenge.
- Paint it: A coat of outdoor paint or sealant will not only make your stand look great but will also add an extra layer of protection against the elements, especially if you used untreated wood.
Frequently Asked Questions (FAQ)
What kind of target should I use on this stand?
The best targets are lightweight foam block targets or bag targets. Heavy or dense targets can put too much strain on the frame and rope system. Avoid using very heavy, self-healing block targets designed for broadheads on this moving system.
How far away should I shoot from the moving target?
Start close! Begin at 10-15 yards to get a feel for the movement and timing. As you become more proficient and your groups get tighter, you can gradually increase the distance. Safety is key, so don’t move back until you are confident.
Can this stand be made portable?
Yes! This design can be easily modified for portability. Instead of screwing the top beam on, you could use bolts and wing nuts. This would allow you to quickly disassemble the frame into a few manageable pieces that can fit in a truck or large car.
My rope keeps slipping off the pulley. What’s wrong?
This usually happens if the rope is too thin for the pulley’s groove or if the pulleys are not aligned vertically. Ensure your pulleys hang straight down from the eye bolts. You can also buy pulleys with deeper grooves (sheaves) designed to hold rope more securely.
Is this safe for crossbows or firearms?
This specific design is intended for archery with field points. Using it with more powerful equipment like crossbows or firearms would require significant reinforcement, a much larger and more robust backstop, and different materials. It is not recommended without major modifications and safety evaluations.
How can I make the target move more smoothly?
For the smoothest action, use a quality rope that doesn’t stretch much, like braided nylon. Also, ensure the pulleys are well-lubricated and can spin freely. If the wooden carrier is catching, you can sand the rope holes to make them smoother.
What if I don’t have anyone to pull the rope for me?
For solo practice, you can tie the pull-rope to a stationary object like a tree or post. Stand near the other end of the frame and pull the rope yourself. Or, for a more advanced project, consider adding a small electric motor as mentioned in the upgrades section.
Your Next Challenge Awaits
Congratulations! You’ve just learned how to build a fantastic tool that will add a whole new layer of fun and skill to your archery practice. This moving target stand is more than just a weekend project; it’s an investment in your growth as an archer. You’ve taken a few simple pieces of wood and turned them into a dynamic training machine.
Every time you step up to the line and watch that target glide across the frame, you’ll feel a sense of pride and excitement. You’ll be building muscle memory, improving your timing, and preparing yourself for more challenging shooting scenarios. So get out there, stay safe, and enjoy the thrill of hitting a target on the move. Happy shooting!