To make a rifle target stand, build a simple frame using either PVC pipe or 2×4 lumber. For PVC, cut pipes to form two H-shaped feet and connect them with a crossbar. Add two uprights to hold your target. For wood, create two A-frame legs and join them with a top beam. This DIY project is cheap, easy, and fully customizable.
Have you ever gotten to the shooting range, full of excitement, only to realize you have no good way to hang your targets? Propping them on rocks or a dirt mound just doesn’t cut it. It feels flimsy and unsafe. It can be a frustrating moment that ruins a good day of practice. You need something sturdy, reliable, and easy to use.
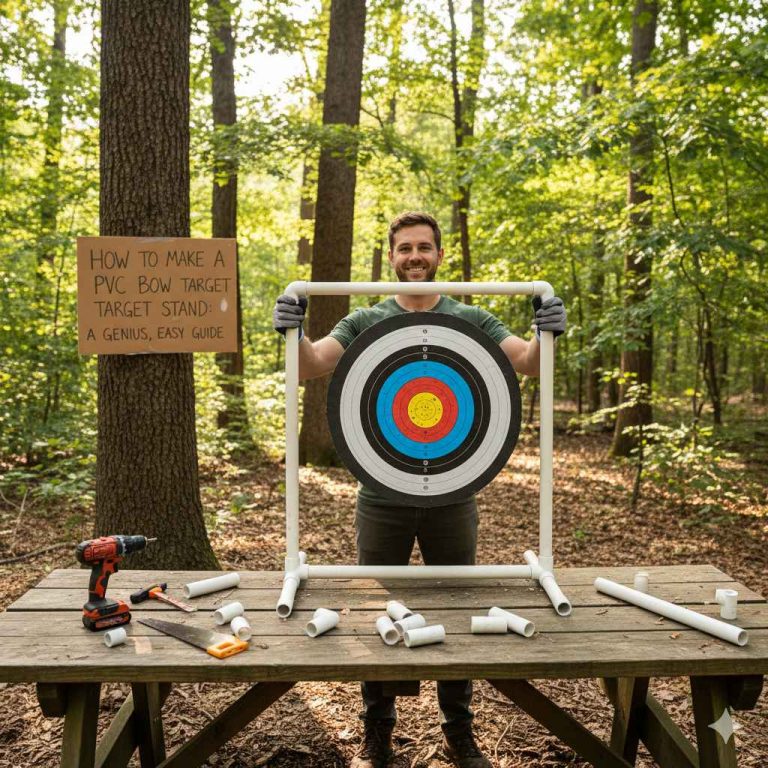
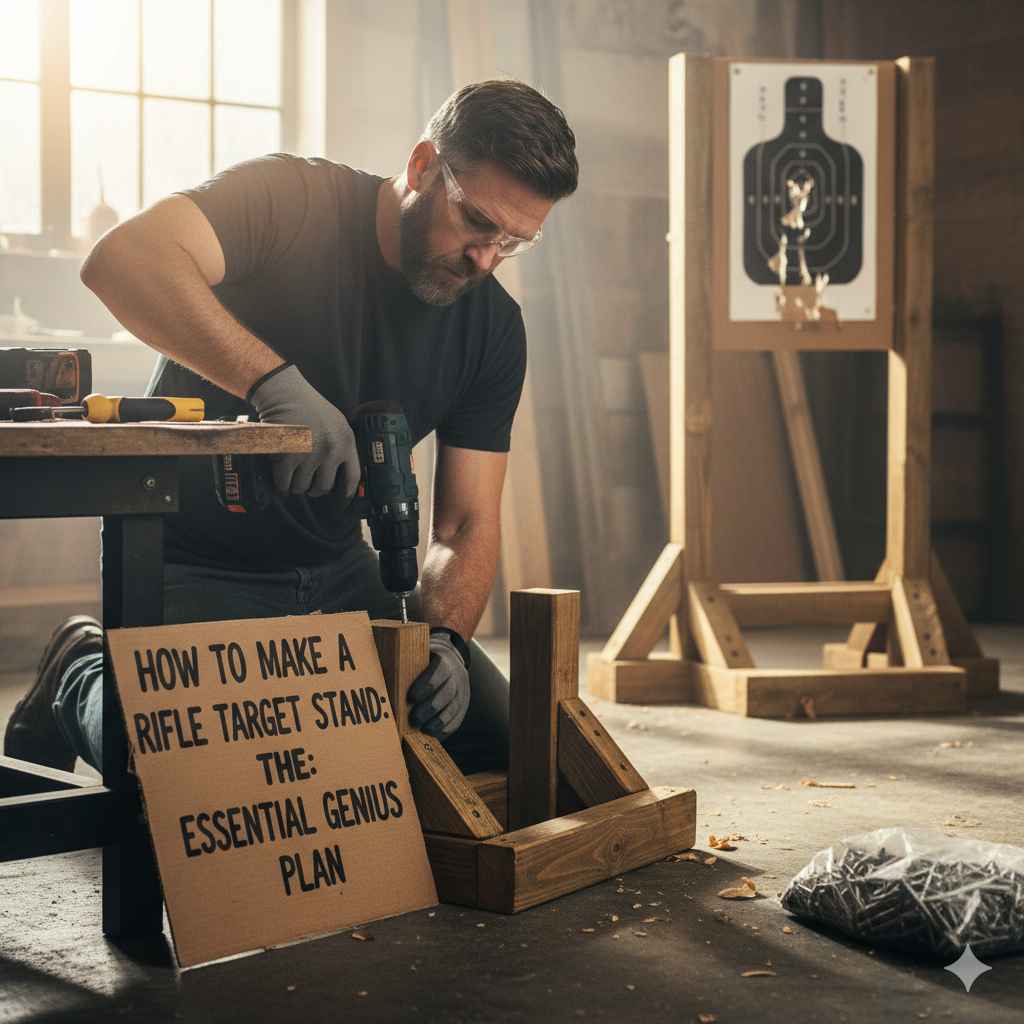
Don’t worry, there is a simple solution! You can build your own target stand. This guide will show you exactly how to do it. We have a genius plan that anyone can follow. You will learn to make a great stand that will last for years. Let’s get started!
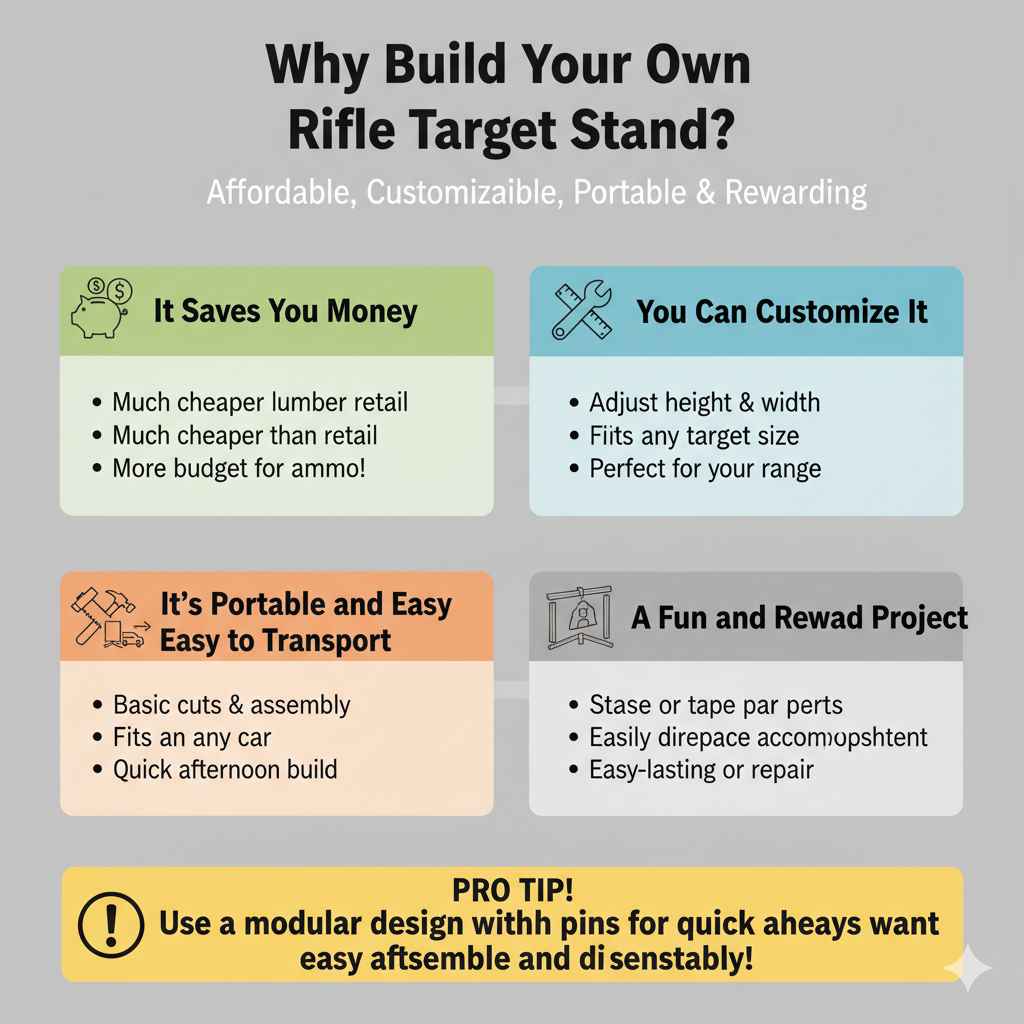
Why Build Your Own Rifle Target Stand?
Buying a pre-made target stand is an option, but building one yourself has some amazing benefits. It’s more than just a weekend project; it’s a smart choice for any shooter, from beginner to expert. Here’s why taking the DIY route is such a great idea.
- It Saves You Money: Let’s be honest, shooting sports can be expensive. Pre-made target stands can cost a lot. You can build a high-quality, durable stand for a fraction of the price using common materials from any hardware store.
- You Can Customize It: Is your favorite target an odd size? Do you need a stand that can hold multiple targets at once? When you build your own, you are in control. You can adjust the height, width, and design to perfectly fit your needs.
- It’s Portable and Easy to Transport: Many DIY designs are made to be taken apart easily. This means you can break your stand down in seconds, toss it in your car, and head to the range. No more struggling with a bulky, awkward piece of equipment.
- A Fun and Rewarding Project: There’s a special pride that comes from using something you built with your own hands. This project is simple enough for a beginner and gives you a real sense of accomplishment. Plus, you’ll know exactly how to fix it if it ever gets damaged.
Choosing Your Material: PVC vs. Wood
The first big decision is what material to use. The two most popular choices are PVC pipe and wood (usually 2×4 lumber). Both are excellent options, but they have different strengths. Your choice will depend on your budget, the tools you have, and what you value most in a stand—portability or pure toughness.
Let’s compare them side-by-side to help you decide.
| Feature | PVC (Plastic Pipe) | Wood (2×4 Lumber) |
|---|---|---|
| Cost | Very inexpensive. | Affordable, but usually a bit more than PVC. |
| Weight | Extremely lightweight and easy to carry. | Heavier and more solid. |
| Durability | Good, but can be damaged by a direct bullet hit. Becomes brittle in extreme cold. | Very durable. Can absorb stray shots better than PVC. |
| Weather Resistance | Excellent. Won’t rot or rust when left in the rain. | Needs to be painted or sealed to prevent rot over time. |
| Ease of Assembly | Very easy. Often requires no tools other than a pipe cutter or saw. Can be dry-fit without glue. | Requires a saw, drill, and screws. A bit more work. |
The Case for PVC: Lightweight and Weather-Resistant
A PVC target stand is the champion of portability. It’s so light that you can carry it with one hand. Assembly is like playing with building blocks for adults—you just cut the pipes and fit them together. Because it’s plastic, you never have to worry about rain or morning dew. If a piece breaks from a stray shot, fixing it is as simple as swapping in a new, cheap piece of pipe.
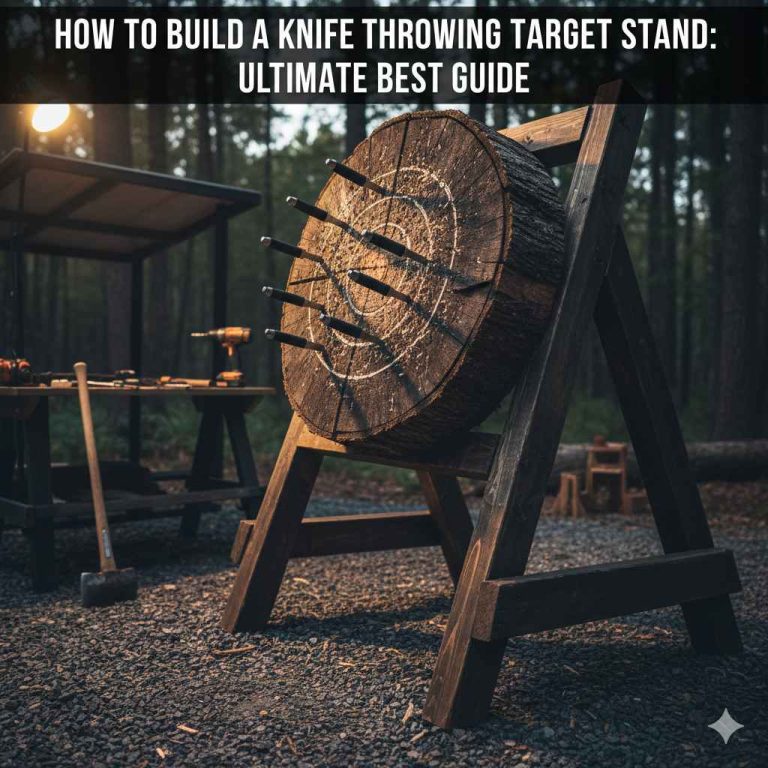
The Case for Wood: Sturdy and Traditional
If you want a stand that feels rock-solid, wood is the way to go. A 2×4 stand has a comforting heft to it. It’s less likely to get knocked over by the wind and can take more accidental hits without falling apart. The classic A-frame design is incredibly stable on uneven ground. While it’s heavier, many shooters appreciate its rugged, traditional feel. A well-built wood stand can last a lifetime.
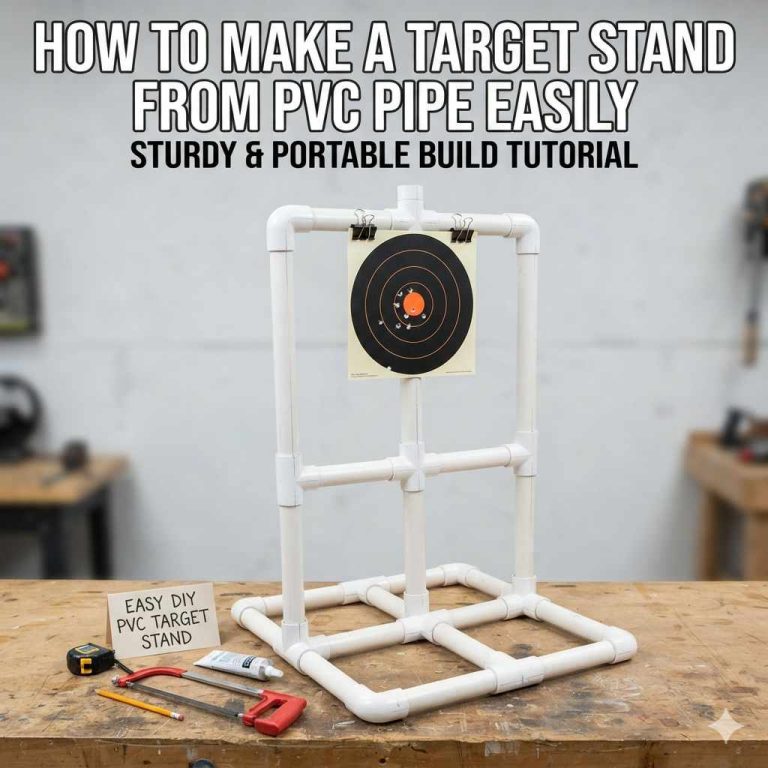
The Essential Genius Plan: Building a PVC Target Stand
Our favorite design for beginners is the PVC stand. It requires the fewest tools, the lowest budget, and the least amount of time. You can build this entire stand in under an hour. It’s the perfect project to get you started. This design is built to hold a standard 1×2 furring strip, which you can then use to attach your cardboard or paper targets.
Tools and Materials You’ll Need
You don’t need a fancy workshop for this. Most of these items are probably in your garage already, or you can get them cheap at any home improvement store.
- Tools:
- Measuring Tape
- Marker or Pencil
- PVC Pipe Cutter or a simple Hacksaw
- Materials:
- One 10-foot long piece of 1.5-inch Schedule 40 PVC Pipe
- Four 1.5-inch PVC T-fittings
- Two 1.5-inch PVC 90-degree elbow fittings
- Two 1×2 wood furring strips (8 feet long is standard)
- (Optional) PVC Cement for a permanent bond
Cut List: Getting Your Pieces Ready
Before you start, cut your 10-foot PVC pipe into the following lengths. A simple PVC cutter makes this job quick and clean. Remember the old rule: measure twice, cut once!
| Quantity | Length | Purpose |
|---|---|---|
| 4 | 12 inches (1 foot) | The “feet” for the base |
| 1 | 24 inches (2 feet) | The crossbar connecting the feet |
| 2 | 36 inches (3 feet) | The main uprights |
Step-by-Step Assembly Instructions
Now for the fun part! This goes together fast. We recommend “dry-fitting” everything first without glue to make sure it all lines up. Most people don’t glue their stands so they can be taken apart for easy transport.
- Build the Base Feet: Take two of your 12-inch pipes and one T-fitting. Push one pipe into each side of the “T” to make a straight line. The empty opening of the “T” should point up. Repeat this with the other two 12-inch pipes and another T-fitting. You now have two base pieces.
- Connect the Base: Take your 24-inch crossbar pipe. Connect it to the remaining openings on the two T-fittings from your base pieces. You should now have a wide, H-shaped base that sits flat on the ground. This is the foundation of your stand.
- Add the Uprights: Take your two 36-inch pipes. Insert one into each of the upward-facing openings on the base. Your stand now has height! These uprights will hold the target frame.
- Attach the Wood Furring Strips: Here’s the genius part. The 1.5-inch PVC pipe has an inside opening that is perfect for a 1×2 furring strip to slide into. Simply slide one furring strip into each of the upright pipes. You can now staple or clip your cardboard target backer directly to these wood strips.
- Adjust and Use: You can easily adjust the width for different sized targets by sliding the wood strips closer together or farther apart on your cardboard backer. It’s simple, stable, and incredibly versatile.
The Sturdy Alternative: Building a Wood (2×4) Target Stand
If you prefer the solid feel of wood, this A-frame design is a classic for a reason. It is incredibly stable, especially on windy days or uneven terrain. It requires a few more tools but is still a very straightforward project.
Tools and Materials for a Wood Stand
- Tools:
- Saw (a miter saw is great, but a hand saw works too)
- Drill with drill bits
- Measuring Tape
- Pencil
- Wrench or socket set
- Materials:
- Three 8-foot long 2×4 boards
- Two 3/8-inch carriage bolts (about 4 inches long)
- Two 3/8-inch nuts and four washers
- A box of 3-inch wood or deck screws
Cut List for Your 2×4 Stand
Get your saw ready and cut your three 2×4 boards into these pieces.
| Quantity | Length | Purpose |
|---|---|---|
| 4 | 48 inches (4 feet) | The legs for the A-frames |
| 1 | 48 inches (4 feet) | The main top crossbeam |
| 2 | 24 inches (2 feet) | The lower support braces for the legs |
Step-by-Step Wood Stand Assembly
- Build the A-Frame Legs: Take two of the 48-inch leg pieces. Overlap them at one end by about 3 inches. Drill a 3/8-inch hole through both boards at the center of the overlap. Secure them with a carriage bolt, washers, and a nut. Don’t tighten it all the way yet; you want it to pivot. Repeat this for the other two legs. You now have two “X” shapes.
- Attach the Support Braces: Open one of your “X” leg assemblies so the bottom ends are about 24-30 inches apart. Take one of the 24-inch brace pieces and screw it horizontally across the two legs, about one foot up from the ground. This turns your “X” into a sturdy “A”. Repeat for the other leg assembly.
- Mount the Top Crossbeam: Place your 48-inch top crossbeam into the “V” notch at the top of one A-frame leg. Secure it with a couple of screws, driving them in from the outside of the leg into the end of the beam. Attach the other A-frame to the other side of the beam in the same way.
- Final Touches: Stand it up and make sure it’s stable. Now you can fully tighten the pivot bolts on the legs. Your stand is complete! You can hang targets from the top beam using clamps or by screwing in eye hooks.
Hanging Your Targets: Smart and Safe Methods
Your stand is built, but how do you actually hang the targets? You have a few great options depending on what you’re shooting.
- Cardboard Backers: This is the most common method for paper targets. Get a large piece of cardboard (an old moving box is perfect). For the PVC stand, you can staple or clip it directly to the 1×2 wood uprights. For the wood stand, you can clamp it to the top beam.
- Clips and Clamps: Spring-loaded clamps are your best friend at the range. They are cheap, strong, and fast. You can use them to hold paper targets, cardboard backers, or even reactive targets.
- Chains and Bolts (for Steel Targets): If you plan to shoot steel targets, you must hang them correctly to ensure safety. Steel targets should be hung from chains or straps so they can absorb energy and direct bullet fragments down toward the ground. Never mount them rigidly. For more information on steel target safety, reputable manufacturers like Action Target provide excellent safety guidelines.
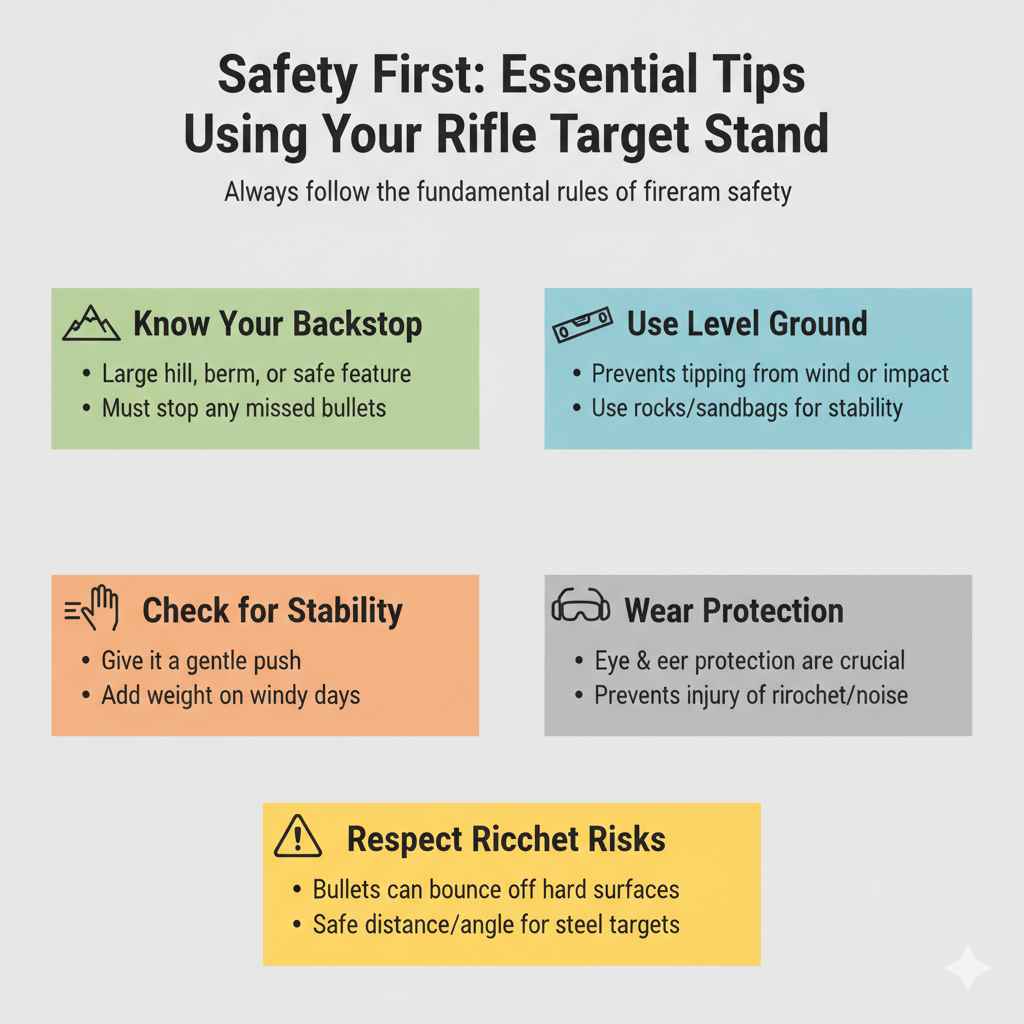
Safety First: Essential Tips for Using Your Target Stand
A great day of shooting is a safe day of shooting. Building and using your own stand is fun, but safety is always the number one priority. Always follow the fundamental rules of firearm safety.
- Know Your Backstop: Always be sure of your target and what is beyond it. Your backstop should be a large hill, berm, or other feature that can safely stop any bullets that miss the target.
- Use Level Ground: Set up your stand on the most level ground you can find. This prevents it from tipping over unexpectedly from wind or the impact of bullets.
- Check for Stability: Before you start shooting, give the stand a gentle push. Make sure it’s stable and won’t fall over easily. On windy days, you can place sandbags or rocks on the feet of your stand for extra stability.
- Wear Protection: Always wear proper eye and ear protection. Bullet fragments can ricochet, and even small-caliber rifles are loud enough to cause permanent hearing damage. The CDC provides great information on protecting your hearing during recreational activities.
- Respect Ricochet Risks: Understand that bullets can bounce off hard surfaces. This is especially true when shooting at steel targets or hard objects on the ground. Keep a safe distance and angle yourself appropriately.
Frequently Asked Questions (FAQ)
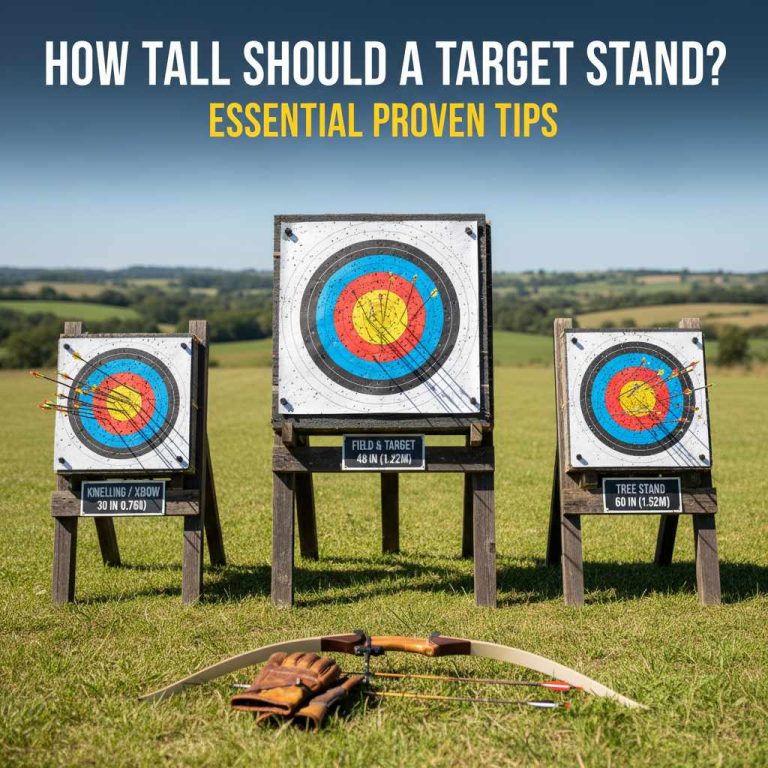
What’s the best height for a rifle target stand?
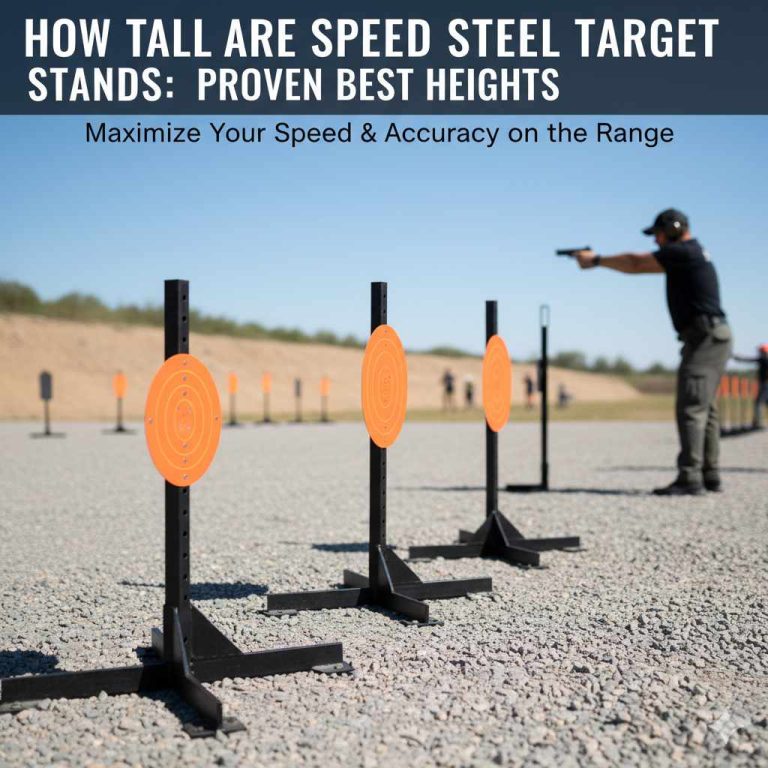
A good height places the center of the target at about shoulder level when you are in your shooting position (standing, sitting, or kneeling). A stand with 3- to 4-foot uprights is a great starting point, as it’s very versatile for different shooting stances.
Can I use this stand for pistol practice too?
Absolutely! Both the PVC and wood designs work perfectly for pistols. They are sturdy enough for any common handgun caliber. You might want to place the targets lower for typical pistol practice drills.
How do I make my PVC stand more stable in the wind?
The easiest way is to bring a couple of empty sandbags with you. When you get to the range, fill them with some dirt or sand and place them over the feet of the stand. You can also drill a hole in the feet and use tent stakes to pin it to the ground.
Is it cheaper to build or buy a target stand?
It is almost always cheaper to build your own. A simple PVC or wood stand can be built for under $25 in materials. Comparable stands from a store often start at $50 and go up from there.
How do I transport a DIY target stand?
The PVC stand is designed for travel. If you don’t glue the joints, it breaks down into a small bundle of pipes and fittings that can fit in any car trunk. The wood A-frame stand can also be transported easily, as the legs fold flat.
What kind of targets can I use with this stand?
You can use almost any kind! Paper targets, cardboard silhouettes, reactive splattering targets, and even properly hung steel targets are all compatible with these designs. Just make sure you attach them securely.
Can I paint my target stand?
Yes, and it’s a good idea! Painting a wood stand with exterior paint or sealer will protect it from the weather and make it last much longer. You can also paint a PVC stand with a spray paint made for plastic to give it a custom look or make it more visible.
Your Next Great Day at the Range Starts Here
You did it! You now have a complete, step-by-step plan to build a fantastic rifle target stand. Whether you choose the lightweight convenience of PVC or the rugged stability of wood, you are building more than just a piece of equipment. You are taking control of your practice, saving money, and enjoying the satisfaction of a job well done.
This simple project removes one more barrier between you and a great day of shooting. No more frustrating setups or flimsy targets. Now, you can focus on what really matters: improving your skills, staying safe, and having fun. So head to the hardware store, grab your materials, and get building. Your new favorite piece of range gear is just an hour or two away.