Building a pistol target stand is simple with the right plan. You’ll need basic tools, standard lumber like 2x4s and 1x2s, and wood screws. Just cut the wood to size, assemble a stable base and two upright posts, then add a cross-piece to hold your cardboard target backer. This DIY project is affordable, sturdy, and perfect for a day at the range.
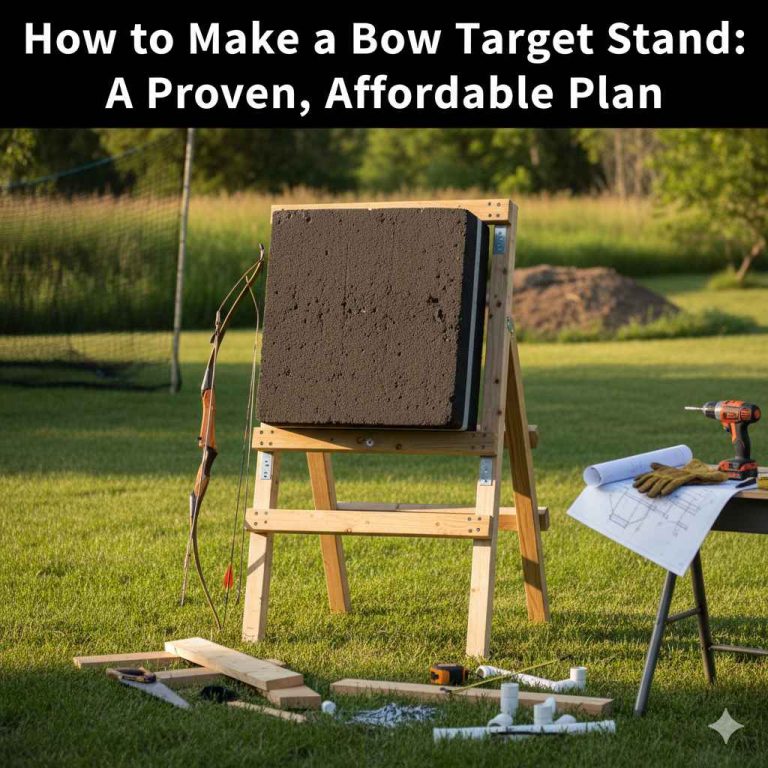
Hello, fellow shooting enthusiast! Salman here. Whether you’re drawing a bowstring or practicing with a pistol, a good target setup is key to improving your skills. Going to the range is fun, but propping targets on makeshift holders can be frustrating. They fall over, they’re not at the right height, and they just don’t feel reliable.
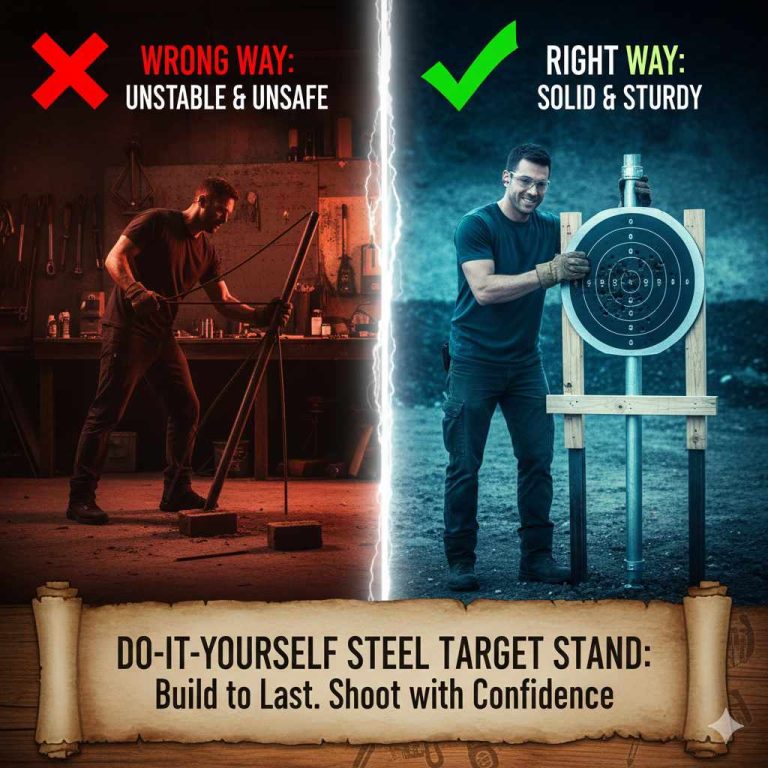
If you’ve ever felt that frustration, you’re in the right place. Building your own pistol target stand is one of the most rewarding and practical projects you can tackle. It’s easier than you think, saves you money, and gives you a sturdy, reliable setup for every practice session.
In this guide, I’ll walk you through the essential, proven steps to build a fantastic pistol target stand. We’ll cover everything from the tools you need to the final setup at the range. Let’s get started!
Why Build Your Own Pistol Target Stand?
You might wonder if it’s worth the effort to build a stand when you can buy one. For many shooters, especially those just starting out, a DIY stand offers huge advantages. It’s more than just a project; it’s an investment in better practice.
- It’s Incredibly Cost-Effective: Commercially made target stands can be expensive. You can build a very durable wooden stand for a fraction of the cost. Most of the materials are standard lumber and screws you can find at any hardware store.
- You Can Customize It: Want a wider stand for multiple targets? A taller one? A lighter one for easy transport? When you build it yourself, you control the design. You can tailor it perfectly to your needs, your vehicle size, and the type of shooting you do.
- It’s a Fun and Simple Project: You don’t need to be an expert woodworker. This project requires only basic cuts and simple assembly. It’s a great way to spend an afternoon and feel the satisfaction of creating something useful with your own hands.
- Durability and Repairability: A well-built wooden stand is tough. And if a piece eventually gets shot up or damaged, repairing it is easy and cheap. You just replace the damaged board, something you can’t do with many welded metal stands.

Safety First: A Non-Negotiable Priority
Before we pick up a single tool, let’s talk about the most important part of any shooting-related activity: safety. This applies to both building the stand and using it. Always remember the fundamental rules of firearm safety.
When using your stand, always follow these rules:
- Know Your Target and What Is Beyond It: This is the golden rule. Your stand must be placed in front of a safe and effective backstop, like a large earthen berm. Bullets can and do miss the target or pass through it. You are responsible for every round you fire.
- Use the Right Ammunition: This stand is designed for standard pistol calibers and paper or cardboard targets. Do not use it for high-powered rifle rounds or steel targets, as the stand is not designed to handle that level of energy and could be destroyed or create dangerous ricochets.
- Always Wear Eye and Ear Protection: This is mandatory for everyone at the range, including spectators. Splinters from the stand or splash-back from the target frame can cause serious injury.
- Follow All Range Rules: If you are at an established shooting range, their rules are law. If you are on private land, ensure you are following all local, state, and federal laws regarding discharging a firearm. The National Shooting Sports Foundation (NSSF) offers an excellent overview of gun safety rules.
Safety during the build is just as important. Wear safety glasses when cutting or drilling wood, and be mindful of your fingers around power tools. Work slowly and deliberately.
Choosing Your Design: The Simple and Sturdy H-Frame
There are many ways to build a target stand, from complex collapsible models to simple PVC frames. For a beginner, the best choice is the classic wooden H-frame design. It gets its name from its shape—two wide feet connected by a crossbeam, forming a stable “H” on the ground.
Why is the H-frame so great for beginners?
- Incredibly Stable: The wide feet prevent it from tipping over easily, even in a breeze.
- Easy to Build: It uses simple, straight cuts and basic screw-together assembly.
- Durable: Made from 2×4 lumber, it can take a beating and last for years.
- Holds Targets Securely: The design makes it easy to attach a large cardboard backer for hanging multiple paper targets.
We will focus on building this proven and essential design for the rest of our guide.
Tools and Materials You’ll Need
Gathering your supplies beforehand makes the whole process smooth and easy. You likely have many of these tools already. Everything else is readily available at a local home improvement store like The Home Depot or Lowe’s.
Required Tools
- Tape Measure: For accurate cuts.
- Pencil: For marking your cuts.
- Saw: A miter saw is fastest, but a circular saw or even a simple handsaw will work perfectly.
- Power Drill or Impact Driver: To drive the screws.
- Drill Bit: Slightly smaller than your screw diameter, for pre-drilling holes to prevent wood from splitting.
- Safety Glasses: Protect your eyes from sawdust and debris.
- Optional: A square for ensuring 90-degree angles.
Materials List (for one stand)
This table gives you a clear shopping list. We’re using standard, affordable lumber for this project.
| Material | Quantity | Purpose |
|---|---|---|
| 2×4 Lumber (8-foot length) | 2 boards | Forms the main structure: the base feet and uprights. |
| 1×2 Furring Strip (8-foot length) | 1 board | Used to hold the cardboard target backer. |
| 3-inch Deck or Wood Screws | Approx. 20 | For assembling the 2×4 frame. |
| 1.25-inch Deck or Wood Screws | Approx. 8 | For attaching the 1×2 furring strips. |
This entire list of materials should cost you less than $20, making it an incredibly affordable project.
Step-by-Step Guide to Building Your Pistol Target Stand
Now for the fun part! We’re going to build the stand. Follow these steps carefully, and you’ll have a finished stand in no time. Remember to wear your safety glasses.
Step 1: Measure and Cut Your Lumber
Accuracy here is key to a stable stand. Use your tape measure and pencil to mark all your cuts before you pick up the saw. Double-check your measurements!
From your two 8-foot 2×4 boards, you will cut:
- Two (2) pieces @ 24 inches long. These will be the feet of your base.
- Two (2) pieces @ 48 inches long. These will be the vertical uprights that hold the target.
- One (1) piece @ 21 inches long. This will be the cross-brace that connects the feet, forming the “H” shape.
(Note: An 8-foot board is 96 inches. Two 24″ pieces and one 48″ piece make 96″, so one board is used completely. The second board will yield the other 48″ upright and the 21″ cross-brace, leaving you with a spare piece.)
From your one 8-foot 1×2 furring strip, you will cut:
- Two (2) pieces @ 24 inches long. These will be the horizontal strips that your cardboard backer rests against.
Once everything is marked, carefully make your cuts. Try to make them as straight as possible for a solid fit.
Step 2: Assemble the Base
The base is the foundation of your stand. A strong base means a stand that won’t wobble.
- Lay your two 24-inch 2×4 “feet” on a flat surface, parallel to each other.
- Place the 21-inch 2×4 “cross-brace” between them, centered. It should connect the midpoints of the two feet, forming an “H” shape.
- To ensure a strong joint, we’ll pre-drill the holes. At each end of the cross-brace, drill two holes through it and into the foot piece.
- Use your drill to drive two 3-inch screws into each end of the cross-brace, securing it firmly to the feet. You should now have a sturdy, H-shaped base.
Step 3: Attach the Uprights
The uprights will hold your target at the proper height. It’s important to make sure they are straight.
- Take one of the 48-inch 2×4 “uprights.” Stand it on the end of one of the base feet. The 4-inch side of the upright should be flush with the end of the foot.
- Make sure the upright is standing straight up at a 90-degree angle to the foot. A helper or a square can be very useful here.
- Pre-drill two holes diagonally down through the upright and into the foot.
- Drive two 3-inch screws to secure the upright. Wiggle it to make sure it’s solid.
- Repeat this process on the other side with the second 48-inch upright.
You should now have a structure that looks like a tall, narrow goalpost sitting on an H-shaped base.
Step 4: Attach the Furring Strips (Target Backer Holder)
These thin strips are what you will staple or clamp your cardboard target backer to. They are designed to be easily replaceable if they get shot up over time.
- Take one of your 24-inch 1×2 furring strips.
- Place it across the front of your two uprights, about 6 inches from the top. Ensure it’s level.
- Use your drill and the 1.25-inch screws to attach the strip to the uprights. Use two screws per side. Do not overtighten, as you might split the thin wood.
- Attach the second 24-inch 1×2 furring strip across the front of the uprights, about 6 inches from the bottom of the uprights (or about 42 inches from the top).
Your stand is now fully assembled! The two furring strips create a simple and effective frame for attaching a large piece of cardboard.
Step 5: Finishing Touches (Optional but Recommended)
Your stand is functional, but a few extra steps can make it last much longer.
- Sand the Edges: Use a piece of sandpaper to quickly knock down any sharp edges or splinters. This makes it much nicer to handle and transport.
- Paint or Seal It: A coat of outdoor paint or wood sealer will protect the wood from moisture, preventing it from warping or rotting. A bright color like orange or white also increases its visibility at the range.
Alternative Designs: Wood vs. PVC
While the wooden H-frame is our top recommendation for beginners, you might see stands made from PVC pipe. Here’s a quick comparison to help you understand the differences.
| Feature | Wood (2×4) Stand | PVC Stand |
|---|---|---|
| Durability | Very high. Can absorb stray hits without failing. Damaged parts are easily replaced. | Low. PVC becomes brittle, especially in cold weather, and can shatter when hit by a bullet, creating sharp plastic shrapnel. |
| Stability | Excellent due to its weight. Very resistant to wind. | Poor. Very lightweight and easily knocked over by wind. Often requires sandbags. |
| Cost | Very low. Standard lumber is inexpensive. | Low to moderate. PVC pipe and fittings can sometimes cost more than lumber. |
| Portability | Moderate. It’s heavier than PVC but still easy for one person to carry. | Excellent. Very lightweight and can be disassembled for transport. |
| Safety | Good. Wood absorbs impacts well. Stray hits typically pass through or embed safely. | Poor to fair. Shattering PVC can be a hazard. It is not recommended for anything other than very low-velocity rounds like .22LR. |
For its combination of safety, stability, and durability, a simple wooden stand is the superior choice for most pistol shooting applications.
Setting Up and Using Your New Stand
Congratulations, you’ve built your stand! Now, let’s get it ready for the range.
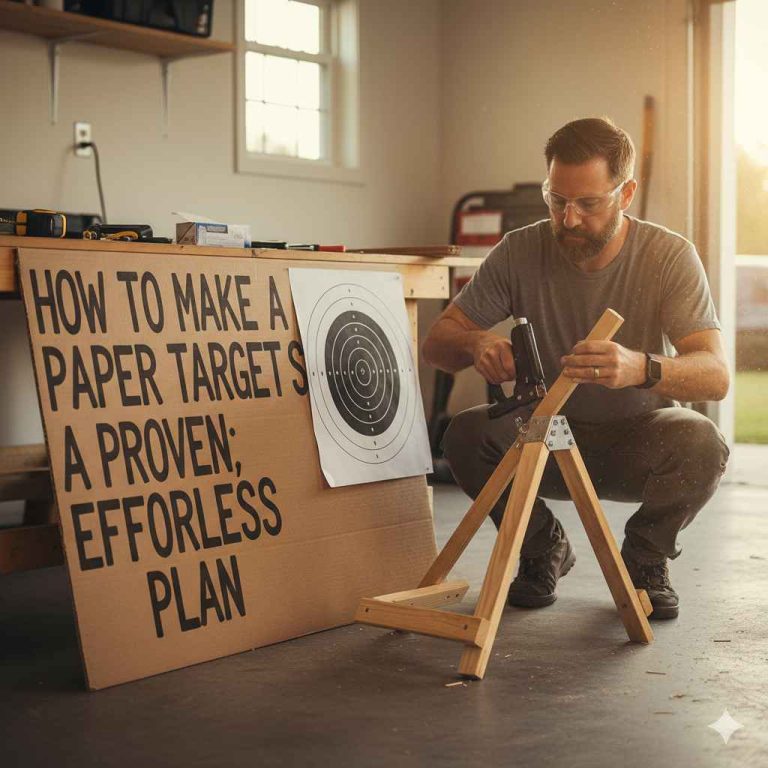
- Find a Large Cardboard Backer: The ideal backer is a large, flat piece of cardboard. A big shipping box, cut open, works perfectly. It should be wide enough to span the two uprights.
- Attach the Backer: Use a staple gun, binder clips, or clamps to attach the cardboard to the two 1×2 furring strips on your stand.
- Place Your Stand: Carry your stand to the firing line and place it at your desired distance. Make 100% sure it is in front of a safe backstop. On uneven ground, you can use small rocks or wood shims under the feet to make it level and stable.
- Hang Your Targets: Staple or tape your paper targets directly onto the cardboard backer. Now you’re ready for safe and enjoyable practice!

Frequently Asked Questions (FAQ)
What is the best wood for a pistol target stand?
Standard pine 2x4s, often labeled as “whitewood” or SPF (Spruce-Pine-Fir) at hardware stores, are perfect. They are strong, widely available, and very inexpensive. There is no need for more expensive pressure-treated or hardwood lumber for this project.
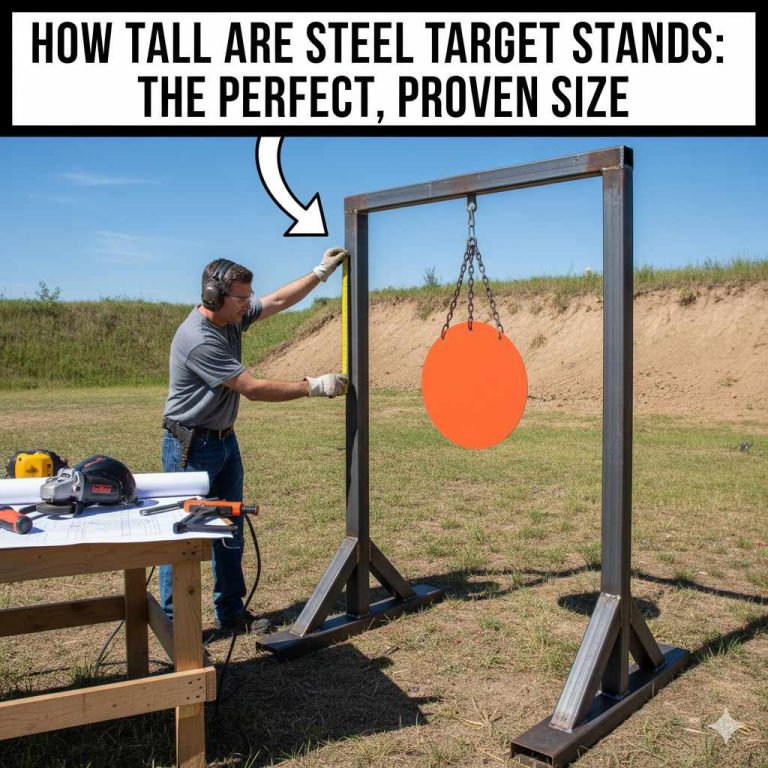
How tall should a pistol target stand be?
A good height for the uprights is between 4 and 5 feet (48 to 60 inches). This puts the center of the target at a natural eye level for most shooters when standing, which is ideal for defensive pistol practice or general marksmanship training.
Can I use this stand for rifles?
This stand is designed for pistol calibers and paper targets only. High-powered rifle rounds can easily destroy the wooden frame, even with near misses. For rifle shooting, you need a much more robust stand placed at a greater distance, and often one designed specifically to hold steel targets.
How do I make my stand more stable in windy conditions?
The H-frame design is naturally stable, but in very high winds, you can place sandbags, rocks, or your range bag across the feet of the base. This added weight will keep it securely planted on the ground.
What kinds of targets can I hang on this stand?
This stand is perfect for paper, cardboard, or adhesive shoot-and-see style targets. Simply attach them to the large cardboard backer. Never hang steel targets, bowling pins, or other hard objects from this wooden stand, as it can cause dangerous ricochets and destroy the stand.
How much does it cost to build this pistol target stand?
One of the best parts of this project is the low cost. As of late 2023, you can typically buy all the necessary lumber and screws for under $20. If you already have screws and scrap lumber, it could even be free!
Is a PVC or wood stand better?
For pistol shooting, a wood stand is almost always better. It is far more durable and stable. A stray shot that hits a wooden 2×4 will likely just make a hole, but a stray shot that hits a PVC pipe can cause it to shatter, creating a safety hazard and ruining the stand.
Conclusion: Enjoy Your Hard Work
There you have it—a simple, affordable, and incredibly effective pistol target stand that you built yourself. You’ve not only saved money but also created a piece of gear that will make your range time more productive and enjoyable. Every time you set it up, you can feel proud of the work you put in.
This project is a perfect first step into the world of DIY shooting gear. It shows that with a few basic tools and a clear plan, you can create high-quality equipment tailored to your needs. Now, all that’s left to do is pack up your new stand, head to the range, and enjoy some safe and effective practice. Happy shooting!