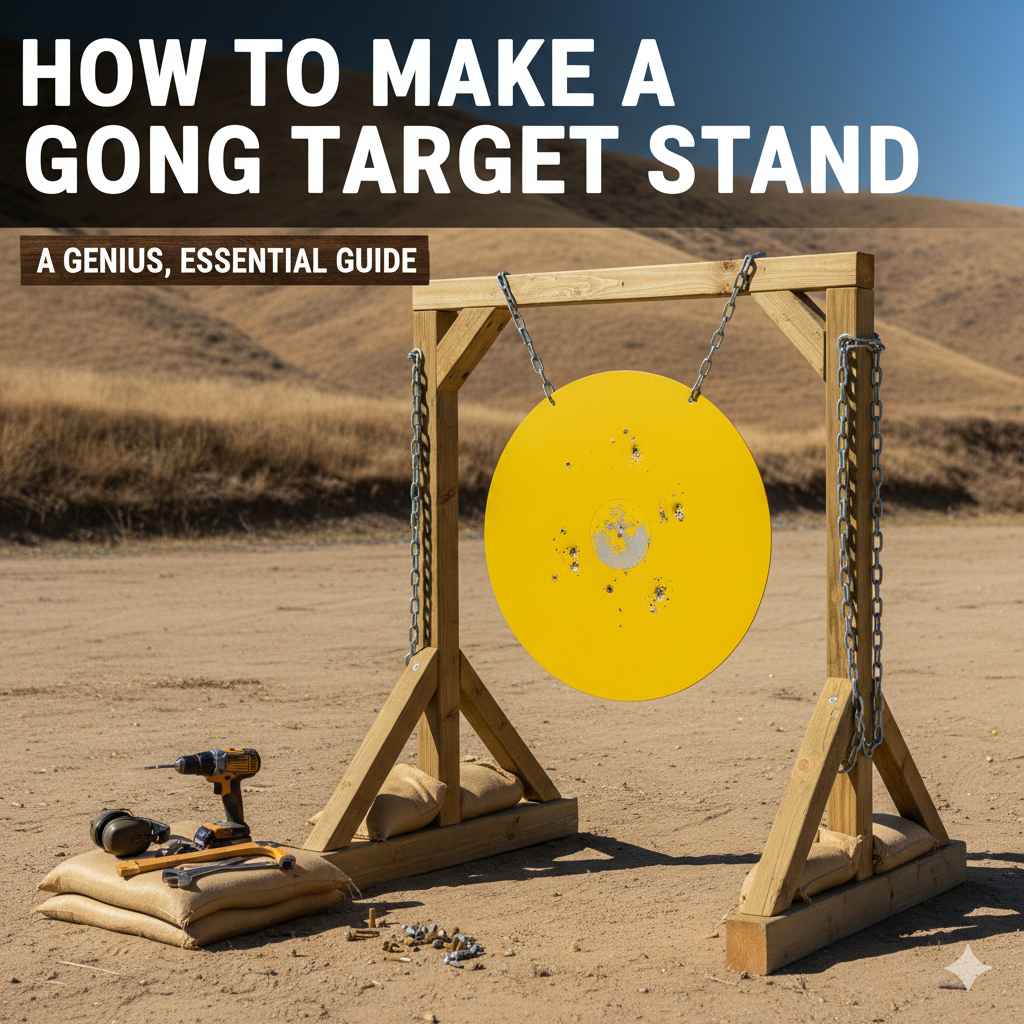
To make a gong target stand, construct two A-frame legs using simple lumber like 2x4s or metal pipe. Connect these legs at the top with a horizontal crossbeam. This crossbeam will hold the hardware (eyebolts and chains) needed to securely hang your gong target, creating a stable, portable, and highly effective practice station for any archer.
Hello, fellow archers! Salman here. Have you ever set up a practice session only to spend half your time propping up a wobbly target? It’s a common frustration. You want to focus on your form, your release, and the satisfying sound of an arrow hitting its mark. Instead, you’re wrestling with a target that leans, falls, or just won’t stay put. It can turn a fun hobby into a chore.
But what if I told you there’s a simple, sturdy, and affordable solution you can build yourself? Creating your own gong target stand is one of the most rewarding DIY projects for any archer. It gives you a reliable setup every single time. In this guide, we’ll walk through every step together. No confusing jargon, just clear instructions to build a stand you can be proud of. Let’s get started!
Why Build Your Own Gong Stand?
You might wonder if it’s worth the effort to build a stand when you can buy one. For many archers, especially those just starting out, the answer is a resounding yes! A DIY project offers a sense of accomplishment and comes with several fantastic benefits that pre-made options often can’t match.
- It Saves You Money: Let’s be honest, archery gear can add up. Commercially made target stands can be surprisingly expensive. By building your own, you can often cut the cost in half, using common materials from your local hardware store. That leaves more in your budget for arrows or other fun gear.
- You Can Customize It: Is your practice space on a slight hill? Do you prefer a specific target height? When you build your own stand, you are the designer. You can adjust the height, width, and even the materials to perfectly suit your needs and your shooting environment.
- It’s a Fun and Rewarding Project: There’s a special pride that comes from using something you built with your own two hands. This simple project is a great way to learn basic building skills and create a piece of equipment that will be part of your archery journey for years to come.
- Built to Last: You control the quality. You can choose sturdy materials to create a stand that is far more durable than some of the flimsy, lightweight options on the market. Your homemade stand will be a reliable practice partner, session after session.
Safety First: Your Most Important Tool
Before we pick up a single tool, let’s talk about safety. This is the most crucial step in any project. A few simple precautions ensure your building process and your future practice sessions are safe and enjoyable. Think of these as the unskippable rules of the game.
- Wear Your Safety Gear: When cutting or drilling, always wear safety glasses to protect your eyes from sawdust or debris. A pair of work gloves is also a great idea to prevent splinters and improve your grip on tools.
- Work in a Clear, Well-Lit Space: Make sure your work area is clean and free of clutter. Good lighting is essential to see your measurements and cut lines clearly, preventing mistakes and accidents. A garage, workshop, or even a clear patch of your driveway on a nice day will work perfectly.
- Understand Your Tools: Read the manuals for your power tools, especially if you’re new to using them. Understand how to operate them safely. The Occupational Safety and Health Administration (OSHA) offers excellent guidelines on power tool safety that are helpful for hobbyists, too.
- Secure Your Materials: When cutting wood, make sure it’s clamped down securely to a workbench or sawhorse. A stable piece of wood is much safer and easier to cut accurately. Never try to hold a small piece of wood with your hand while cutting it.
- Practice Range Safety: Once your stand is built, always be mindful of your surroundings. Ensure you have a safe backstop behind your target and that you know what is beyond it. Never shoot in the direction of people, animals, or property.
Gathering Your Gear: Materials and Tools
Alright, with safety covered, let’s get to the fun part: gathering what you need. This project uses simple, easy-to-find materials. We’ll focus on a classic wooden A-frame design because it’s strong, affordable, and perfect for beginners.
Choosing Your Core Material: Wood vs. Metal
While we are building with wood today, it’s good to know your options. Both wood and metal have their advantages for a gong target stand.
| Feature | Wood (e.g., 2×4 Lumber) | Metal (e.g., Steel Pipe or Conduit) |
|---|---|---|
| Cost | Generally more affordable and widely available. | Can be more expensive, especially for thicker steel. |
| Ease of Use | Very easy for beginners to cut, drill, and assemble with basic tools. | May require specialized tools for cutting and drilling. Assembly can be more complex. |
| Durability | Strong and durable, but can weather over time if left outdoors. | Extremely durable and weather-resistant, especially if painted. |
| Weight | Heavier, which adds stability but can make it less portable. | Can be lighter (like conduit) or heavier (like black pipe), affecting portability. |
Essential Tools List
You don’t need a professional workshop for this. A few basic tools will get the job done beautifully.
- Measuring Tape
- Pencil or Marker
- Hand Saw or Circular Saw
- Power Drill with Drill Bits
- Wrench or Socket Set (to match your bolts)
- Safety Glasses and Gloves
Materials Shopping List (for a Standard Wooden Stand)
This list will build a sturdy stand approximately 4 feet tall and 4 feet wide, which is a great size for most archery gongs. All of these items are readily available at stores like The Home Depot or your local lumberyard.
- Lumber: Three (3) standard 8-foot-long 2×4 boards.
- Hardware:
- Four (4) 3/8-inch hex bolts, 4 inches long (for the A-frame pivots)
- Eight (8) 3/8-inch flat washers
- Four (4) 3/8-inch lock nuts or nylon-insert lock nuts
- Two (2) 3/8-inch eyebolts, 5 inches long (for hanging the gong)
- A box of 3-inch long wood screws
- Gong Hanging Kit:
- Two (2) lengths of heavy-duty chain or fire hose strap
- Two (2) S-hooks or quick links
- Bolts and hardware to attach the chain/straps to your gong target
Let’s Build! A Step-by-Step Guide to Your DIY Gong Stand
Ready to bring it all together? Take your time with each step, and remember the old saying: “measure twice, cut once.” We’ll walk through this together, and you’ll have a finished stand before you know it.
Step 1: Measure and Make Your Cuts
First, we need to cut our 2×4 lumber to the right lengths. Clear measurements are the foundation of a sturdy stand. Use your measuring tape and pencil to mark each cut before you pick up the saw.
Here is your cutting list for the three 8-foot 2x4s:
Part NameQuantityLengthNotesLegs45 feet (60 inches)These form the main A-frame structure.Crossbeam14 feet (48 inches)This is the top piece that holds the gong.Leg Braces23 feet (36 inches)These add crucial side-to-side stability. Once all your pieces are marked, put on your safety glasses and carefully make your cuts with the saw. Take it slow and steady for straight, clean cuts.
Step 2: Assemble the A-Frame Legs
Now we’ll build the two “A” sides of our stand. Take two of the 5-foot leg pieces and lay them on a flat surface. Overlap the top ends by about 2-3 inches, creating the peak of the “A”.
Drill a hole through the center of the overlapped section. This hole needs to be large enough for your 3/8-inch bolt to pass through easily. Push a 4-inch hex bolt through the hole, placing a washer on each side. Secure it with a lock nut, but don’t tighten it all the way just yet. You want the legs to be able to pivot like scissors. This is what makes the stand foldable and easy to transport!
Repeat this process with the other two 5-foot leg pieces to create your second A-frame leg.
Step 3: Attach the Leg Braces for Stability
A wobbly stand is no fun. These leg braces are the secret to a rock-solid setup. Take one of your assembled A-frame legs and spread the bottom ends apart to a comfortable width, about 3-4 feet.
Place one of the 3-foot leg brace pieces across the two legs, about one-third of the way up from the bottom. Make sure it’s level. Secure the brace to each leg using two 3-inch wood screws on each side. Drilling pilot holes first will prevent the wood from splitting and make it easier to drive the screws in.
Repeat this for the second A-frame leg. You now have two strong, stable sides for your stand.
Step 4: Connect the Legs with the Crossbeam
This step brings it all together. Stand up your two completed A-frame sides. Place the 4-foot crossbeam into the “V” notch at the top of each A-frame, right where the legs pivot.
To secure it, drill a pilot hole down through the top of one leg, through the crossbeam, and into the leg on the other side. Drive a long wood screw or a lag bolt through this hole to lock the crossbeam in place. Do this on both sides of the stand. Now your main frame is complete and should stand on its own!
Step 5: Prepare to Hang Your Gong
The final construction step is adding the hardware to hang your target. On the top of your 4-foot crossbeam, measure in about 6-8 inches from each end. Mark these two spots.
Drill a hole at each mark, all the way through the crossbeam. The hole should be just big enough for your 5-inch eyebolts to fit through. Push the eyebolts through from the top, so the “eye” is facing up. On the underside of the crossbeam, place a washer and a nut on each eyebolt and tighten them securely.
Your stand is now fully built! Give it a quick once-over, making sure all screws and bolts are tight (except for the pivot bolts, which should remain just snug enough to allow folding).
Hanging Your Gong Target the Right Way
With the stand built, the final piece of the puzzle is hanging your gong. The way you hang it can affect the sound it makes and how long your hardware lasts. You want the gong to be able to swing freely to absorb the arrow’s energy.
Attach your S-hooks or quick links to the eyebolts on your stand. Then, attach your chains or straps to the quick links. Finally, bolt the other end of the chains or straps to the mounting holes on your gong target. Adjust the chain length so the gong hangs at your preferred height. A good starting point is to have the center of the gong at about chest height.
Chains vs. Straps: Which is Better?
This is a common question, and both have their merits.
- Heavy-Duty Chains: They are extremely durable and weather-resistant. The downside is that an accidental hit with a powerful bow can sometimes break a chain link.
- Fire Hose or Rubber Straps: These are excellent at absorbing impact. Arrows will often pass right through them without causing damage. They can degrade over time with sun exposure but are often quieter than chains.
For most archery purposes, either option works great. It often comes down to personal preference and what’s easily available to you.
Make It Your Own: Fun Customization Ideas
Your stand is functional, but why not make it uniquely yours? Here are a few simple ideas to add a personal touch and extra convenience.
- Give It a Coat of Paint: A good coat of outdoor paint or wood stain will not only make your stand look great but will also protect the wood from rain and sun, helping it last much longer.
- Add a Handle: Screw a simple cabinet handle onto the side of the crossbeam. This makes it much easier to carry your folded stand to and from your shooting spot.
- Mark Your Distances: Use a permanent marker or paint to mark common shooting distances on the legs of your stand (e.g., 20 yards, 30 yards). It’s a handy reference for practice.
- Install a Quiver Holder: Attach a simple PVC pipe tube or a set of hooks to one of the leg braces. This gives you a convenient place to hold your arrows while you shoot.

Frequently Asked Questions (FAQ)
How tall should I make my gong target stand?
A good height for the top crossbeam is between 4 and 5 feet. This allows you to hang the gong at a comfortable height, usually around shoulder or chest level, which mimics a natural shooting scenario. You can easily adjust our plan by using longer or shorter 2x4s for the legs.
What is the best wood to use for a target stand?
Standard pressure-treated 2×4 pine lumber is the best choice. It’s inexpensive, strong, and treated to resist rot and insects, making it perfect for outdoor use. Cedar is another great option as it’s naturally weather-resistant, though it can be more expensive.
Can I make this stand portable?
Yes, absolutely! The A-frame design with a single pivot bolt at the top of each leg is specifically designed for portability. By not overtightening the pivot bolts, the stand can be folded flat for easy transport and storage.
How do I stop the stand from wobbling on uneven ground?
The A-frame design is naturally quite stable. However, if the ground is very uneven, you can dig a small, shallow trench for the feet on the “uphill” side to sit in, leveling the stand. You can also attach wider “feet” to the bottom of the legs using scrap wood to give it a larger footprint.
Is a gong target safe for archery?
Gong targets made of AR500 steel are typically designed for firearms, but they work wonderfully for archery. Arrows will not damage the steel. The loud, satisfying “gong” provides instant feedback on a good hit. Just be sure to use field points, as broadheads can get damaged and may ricochet unpredictably.
Can I hang other types of targets from this stand?
Definitely! This stand is incredibly versatile. You can easily hang a bag target by running straps over the crossbeam or use clips to hang paper or cardboard targets from a piece of rope strung between the eyebolts. It can serve as the foundation for almost any target setup you need.
Conclusion: Your New Best Practice Partner
There you have it! You’ve just learned how to build a durable, custom, and cost-effective gong target stand. By following these simple steps, you’ve created more than just a piece of equipment; you’ve built a reliable partner for your archery practice. No more wobbly targets, no more frustrating setups—just a solid, dependable stand waiting for you whenever you’re ready to shoot.
I hope this guide has shown you how approachable and rewarding a project like this can be. Take pride in what you’ve built, and enjoy the confidence that comes with a perfect practice setup. Now, go have some fun and listen for that satisfying gong!
Happy shooting!