Building a DIY target stand is simple and affordable. For a basic PVC stand, cut PVC pipes for the base and uprights, then connect them with T-fittings and elbows. For a sturdier wood stand, cut 2x4s to create an H-frame base and vertical supports, securing them with screws. Both designs provide a stable, portable solution for your archery practice.
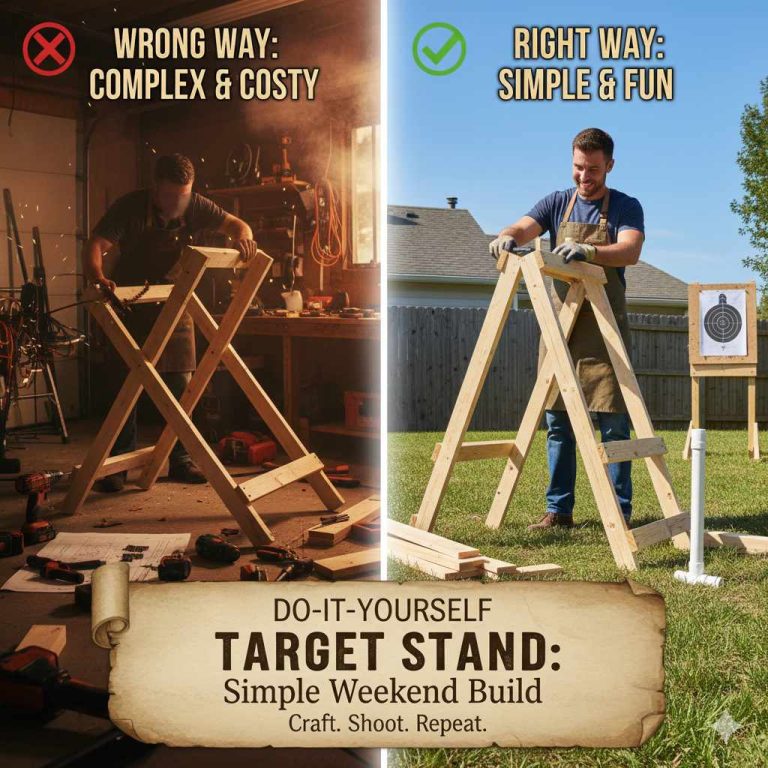
Welcome to the wonderful world of archery! As you get started, you’ll quickly realize that having a good place to practice is key. Propping your target against a tree or a fence just doesn’t cut it. It’s often unsafe and can damage your arrows. You need a reliable target stand. While you can buy one, building your own is easy, saves you money, and is a fun project. Don’t worry if you’re not a construction expert. I’m here to guide you through every simple step.
In this guide, we’ll walk through how to build two popular types of DIY target stands: one from PVC pipe and another from wood. Both are perfect for beginners and will have you practicing safely in no time. Let’s get started!
Why Build Your Own Target Stand?
Before we grab our tools, let’s talk about why a DIY project is such a great idea. Store-bought stands are fine, but building your own has some fantastic benefits that make it a rewarding choice for any archer, especially when you’re just starting out.
- It Saves You Money: Let’s be honest, archery gear can add up. A pre-made target stand can cost a surprising amount. Building your own with common materials from a hardware store is significantly cheaper, leaving you more money for arrows!
- You Can Customize It: Is your target an odd size? Do you practice in a windy area and need an extra-stable base? When you build your own stand, you are in complete control. You can adjust the height, width, and design to perfectly match your needs and your specific target.
- It’s Incredibly Easy: You do not need to be a master woodworker to build a great target stand. The designs we’ll cover use basic cuts and simple assembly. It’s a perfect weekend project that builds confidence both in your workshop and on the archery range.
- A Great Sense of Accomplishment: There’s a special pride that comes from using something you made with your own two hands. Every time you set up your stand for practice, you’ll get a small reminder of your resourcefulness and skill.

Choosing Your Design: PVC vs. Wood
The two most popular materials for DIY target stands are PVC pipe and standard wood lumber (like 2x4s). Both are excellent choices, but they have different strengths. Your decision will depend on your budget, what tools you have, and what you value most in a stand—portability or pure sturdiness.
Let’s break down the differences to help you choose the right path for you.
| Feature | PVC Target Stand | Wood (2×4) Target Stand |
|---|---|---|
| Cost | Very low. PVC pipes and fittings are extremely affordable. | Low. Lumber and screws are also inexpensive, but typically a bit more than PVC. |
| Portability | Excellent. PVC is lightweight and can be disassembled easily for transport. | Good. Heavier than PVC, but still portable. Harder to take apart on the fly. |
| Durability | Good. It’s weather-resistant but can become brittle in extreme cold or sunlight over time. | Excellent. Wood is very strong and stable. It can be treated or painted for weather resistance. |
| Ease of Build | Extremely easy. Cutting PVC is simple, and parts push-fit together. No drills or screws needed. | Easy. Requires a saw and a drill, but the assembly is very straightforward for a beginner. |
| Best For | Archers who need a lightweight, easily portable stand for foam or bag targets. | Archers who want a super-sturdy stand for heavier targets or for a semi-permanent backyard range. |
For most beginners, the PVC stand is the perfect starting point. It’s forgiving, cheap, and gets the job done beautifully. If you have a very heavy bag target or want something that will feel rock-solid in a strong wind, the wood stand is a fantastic choice.
Project 1: The Super-Simple PVC Target Stand
This design is a favorite for a reason. It’s light, you can put it together in under an hour, and it requires very few tools. It’s designed to be easily taken apart, so you can toss it in the trunk of your car and head to the park or range.
Materials & Tools You’ll Need
You can find everything on this list at your local hardware or home improvement store. We are using 1.5-inch diameter PVC pipe, as it offers a great balance of strength and low weight.
Materials List:
- (2) 10-foot lengths of 1.5″ Schedule 40 PVC pipe
- (2) 1.5″ PVC T-fittings
- (2) 1.5″ PVC 90-degree elbow fittings
- (4) 1.5″ PVC end caps
- PVC primer and cement (optional, but recommended for a permanent bond)
Tools List:
- Tape measure
- Marker or pencil
- PVC pipe cutter or a handsaw (hacksaw or wood saw works fine)
Step-by-Step Building Instructions
Follow these simple steps, and you’ll have a completed stand ready for action. Remember the old rule: measure twice, cut once!
Measure and Cut Your PVC Pipes:
Using your tape measure and marker, measure and cut your two 10-foot PVC pipes into the following lengths. A PVC cutter will give you the cleanest cuts, but a simple handsaw works perfectly well.- (2) pieces @ 48 inches (these will be your vertical uprights)
- (1) piece @ 40 inches (this is your top crossbar that holds the target)
- (2) pieces @ 12 inches (these are the center parts of the base feet)
- (4) pieces @ 10 inches (these are the front and back parts of the base feet)
Assemble the Base Feet:
Let’s build the two “H” shaped feet that will form the base of your stand. For each foot, you will need one T-fitting, one 12-inch pipe, and two 10-inch pipes.Push a 10-inch pipe into each side of the T-fitting. Then, push the 12-inch pipe into the bottom of the T-fitting. You should now have two identical pieces that look like a capital “T” on its side. Place the end caps on the four open ends of the 10-inch pipes. This gives your stand a finished look and keeps dirt out.
Attach the Uprights:
Take your two 48-inch vertical pipes. Insert one into the top, open socket of each T-fitting on your base feet. Your stand is starting to take shape! It should now look like two tall goalposts.Add the Top Crossbar:
Now, attach the two 90-degree elbow fittings to the top of each 48-inch upright pipe. Make sure the open ends of the elbows are facing each other. Finally, insert your 40-inch crossbar pipe into the elbows to connect the two sides. Give everything a firm push to make sure it’s snug.Final Check for Stability:
Stand it up! Your stand is complete. If you want it to be permanently assembled, you can go back and apply PVC primer and cement to each connection. However, many archers prefer to leave it unglued for easy disassembly and transport. It holds together surprisingly well with just a friction fit.
Project 2: The Sturdy 2×4 Wooden Target Stand
If you prefer the classic feel and ruggedness of wood, this 2×4 stand is a fantastic project. It’s heavier than the PVC version, making it extremely stable, especially for larger, heavier bag targets. This design uses basic lumber and is held together with screws.
Materials & Tools You’ll Need
This project requires a few more tools than the PVC version, but the steps are just as simple. Safety first—always wear safety glasses when cutting or drilling wood.
Materials List:
- (3) 8-foot long 2×4 lumber boards
- A box of 2.5-inch deck screws or wood screws
- (2) 3-inch carriage bolts with nuts and washers (optional, for removable feet)
Tools List:
- Tape measure
- Pencil
- Saw (a miter saw is fastest, but a circular saw or handsaw works too)
- Power drill with a Phillips head bit
- Drill bit slightly smaller than your screws (for pilot holes)
- Safety glasses
Step-by-Step Building Instructions
This design creates an “H” frame that is strong and resists tipping. Let’s get building!
Cut Your Lumber to Size:
Measure carefully and cut your 2×4 boards into the following pieces. Smooth, straight cuts are best.- (2) pieces @ 48 inches (Vertical Uprights)
- (1) piece @ 36 inches (Top Crossbar)
- (1) piece @ 36 inches (Bottom Support Brace)
- (4) pieces @ 24 inches (Base Feet)
Build the Main Frame:
Lay your two 48-inch uprights on a flat surface, parallel to each other. Place one 36-inch crossbar across the top, flush with the ends, to form the top of an “H”. Place the second 36-inch piece across the bottom, about 6 inches up from the bottom ends. This creates the main frame. Drill two pilot holes at each connection point and drive your 2.5-inch screws in to secure the frame. You should now have a sturdy ladder-like shape.Construct the Base Feet:
Take your four 24-inch pieces. You will create two feet by laying two pieces on top of each other and screwing them together. This double-thick 4×4 shape provides a heavy, stable base. Repeat for the other two pieces. You now have two chunky, 24-inch long feet.Attach the Feet to the Frame:
Stand your main frame up. Center one of the feet under each vertical upright, forming a “T” shape at the bottom. The stand should now be able to stand on its own. From the top of the foot, drill down into the bottom of the upright with two or three screws to secure it firmly. Repeat on the other side. For an even stronger connection, you can drill a hole through the foot and the upright and use a carriage bolt.Add a Target Backer (Optional but Recommended):
For hanging paper targets, you can add a backer board. Screw a thin piece of plywood or a flattened cardboard box to the front of your frame. This gives you a surface to pin or staple your targets to and can help stop arrows that miss your main foam target.
Setting Up for Safe and Effective Practice
Building your stand is only half the battle. Using it safely is the most important part of archery. A great stand means nothing if your practice area isn’t secure.
- Always Know Your Backstop: Your number one rule is to always know what is behind your target. An arrow can easily pass through a target. You need a safe backstop to catch any stray shots. A large hill, a dense patch of woods, or a purpose-built backstop are good options. Never shoot in the direction of houses, roads, or areas where people might walk.
- Check Local Rules: Before setting up a range in your backyard, check your local city or county ordinances. Some areas have restrictions on shooting bows and arrows within city limits. The USA Archery Club Finder is a great resource for finding designated safe shooting ranges near you.
- Create a Clear Shooting Lane: Make sure the path between you and your target is completely clear. Remove any rocks, branches, or other obstacles that could deflect an arrow and send it in an unpredictable direction.
- Level Ground is Your Friend: Place your stand on the most level ground you can find. An unstable stand can tip over, especially in the wind or when hit by an arrow. If the ground is uneven, you can use small shims of wood under the feet to level it out.
Fun Upgrades and Customizations for Your Stand
Now that you have a functional stand, you can add some personal touches to make it even better!
- Add Wheels: Screw a pair of small caster wheels onto the back feet of your wooden stand. To move it, you can simply tilt it back and roll it away like a dolly.
- Paint or Stain It: A coat of outdoor paint or wood stain on your 2×4 stand will protect it from rain and sun, helping it last for years. You can even paint it in fun colors!
- Arrow and Bow Holder: Add a simple cup holder or screw in a small section of larger PVC pipe to the side of your stand. This creates a perfect spot to hold your arrows or even rest your bow when you go to retrieve your shots.
- Add Sandbags for Stability: If you practice in a very windy area, simply place sandbags or other weights over the feet of either the PVC or wood stand. This will keep it anchored to the ground.

Frequently Asked Questions (FAQ)
What is the best material for a beginner’s DIY target stand?
For a true beginner, PVC is usually the best choice. It requires fewer tools, is lighter, more portable, and very inexpensive. It’s a fantastic first project to build your confidence.
How tall should my target stand be?
A good rule of thumb is to have the center of your target at about shoulder height. Our plans call for 48-inch (4-foot) uprights, which puts the target in a great position for most adults when practicing at standard distances.
Can I leave my DIY target stand outside?
A treated or painted wood stand can be left outside, though it will last longer if covered or stored in a shed. A PVC stand can be left out, but over many years, direct sunlight and extreme cold can make the plastic brittle. Since the PVC stand is so easy to disassemble, it’s best to store it indoors when not in use.
How do I hang my target on the stand?
For bag targets, they usually come with grommets or loops at the top. You can hang them directly over the top crossbar or use rope or bungee cords. For foam block targets, you can rest them on the bottom support brace of a wooden stand or use long bolts or threaded rods through the target to hang it.
Is a PVC stand strong enough for a heavy bag target?
Yes, a stand made with 1.5-inch Schedule 40 PVC is surprisingly strong and can easily hold most standard bag targets up to 50 pounds. For extremely heavy targets, the 2×4 wood stand is a more stable option.
What is the average cost to build one of these stands?
The PVC stand can typically be built for around $25-$35, depending on local prices. The wood stand is also very affordable, usually costing between $30-$45 for the lumber and screws.
How can I make my stand more stable in the wind?
The easiest way to add stability is with weight. Place sandbags, heavy rocks, or workout weights on the base feet of the stand. You can also widen the base by using longer pieces for the feet in your original design.
Your First Step to Better Practice
Congratulations! You now have all the knowledge you need to build a fantastic, reliable DIY target stand. Whether you choose the lightweight convenience of PVC or the rugged stability of wood, you’re creating an essential tool that will make your practice sessions more effective, safer, and much more enjoyable. Building your own gear is a rewarding part of the archery journey. It connects you to the sport in a new way and gives you a practical solution that you can be proud of.
So, head to the hardware store, gather your materials, and enjoy the process. Soon, you’ll be out on the range with your new stand, sending arrows downrange and watching your skills grow. Happy building, and shoot straight!